
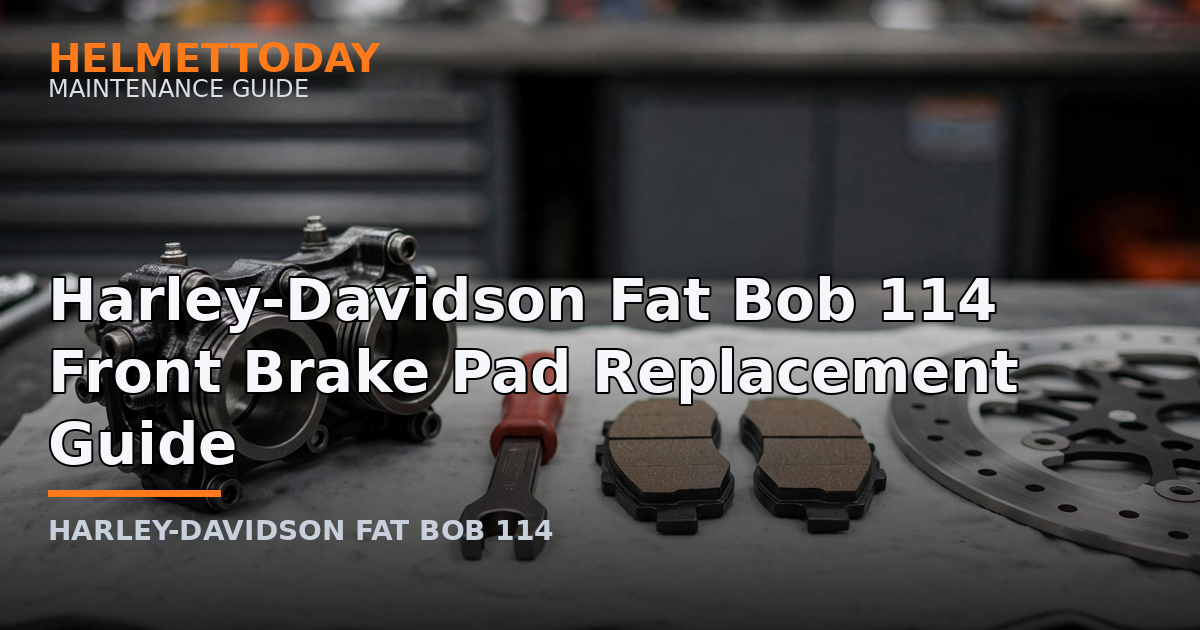
Brake pads are a wear item — check them every service and replace before they hit the wear indicators. On the Harley-Davidson Fat Bob 114, a front pad swap is a straightforward 30-minute job with basic tools.
Use pads matching the OEM compound type, and have fresh DOT 4 brake fluid on hand to top up the reservoir after pushing the pistons back.
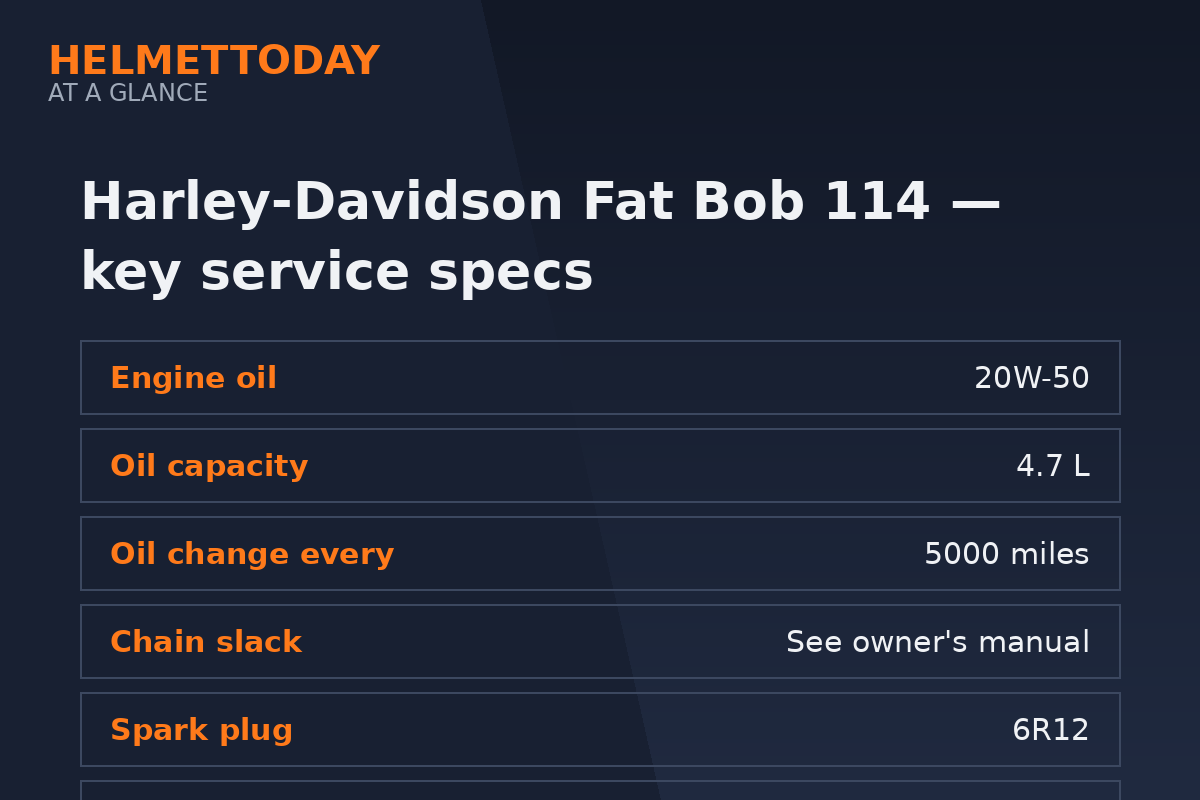
Harley-Davidson Fat Bob 114 quick service specs
| Item | Specification |
|---|---|
| Engine oil | 20W-50 |
| Oil capacity | 4.7 liters |
| Oil change interval | 5000 miles |
| Chain slack | See owner’s manual |
| Spark plug | 6R12 |
| Tire pressure (F/R) | 36 PSI front / 40 PSI rear |
| Battery | 12V 17.5Ah 310CCA AGM |
How to replace the front brake pads, step by step
- Remove the caliper bolts and slide the caliper off the disc — don’t let it hang by the brake hose.
- Note the pad orientation, then remove the retaining pin or clip and slide out the old pads.
- Push the pistons back into the caliper with a piston tool or a C-clamp and an old pad. Watch the reservoir — remove excess fluid if needed.
- Clean the caliper and pad abutment areas with brake cleaner. Lightly grease sliding pins with silicone brake grease.
- Fit the new pads in the same orientation, reinstall the retaining hardware, and remount the caliper. Torque bolts to spec.
- Pump the brake lever until firm, then check the reservoir level and top up with DOT 4.
- Bed the pads in with 10-15 gentle stops from 30-40 mph, allowing cooling between stops.
Common mistakes to avoid
- Letting the caliper hang by the hose — it damages the line internally.
- Forcing pistons without opening the reservoir — pressure can overflow fluid onto paint.
- Skipping the bed-in — unbedded pads stop poorly and wear fast.
- Touching pad surfaces — skin oil contaminates the friction material.
FAQ
How do I know the pads need replacing?
Most pads have wear indicator grooves or slots — when they’re gone, replace. Squealing, longer stopping distances, or a spongy lever are also signs.
Can I replace just one side?
No — always replace pads as a set per caliper so braking stays even.
Do I need to bleed the brakes?
Not for a pad swap unless you opened the system or the lever feels spongy. Top up the fluid and you’re done.
Related guides

Dan Heiman
Writer at Helmet Today, covering helmet reviews, fit and riding safety.