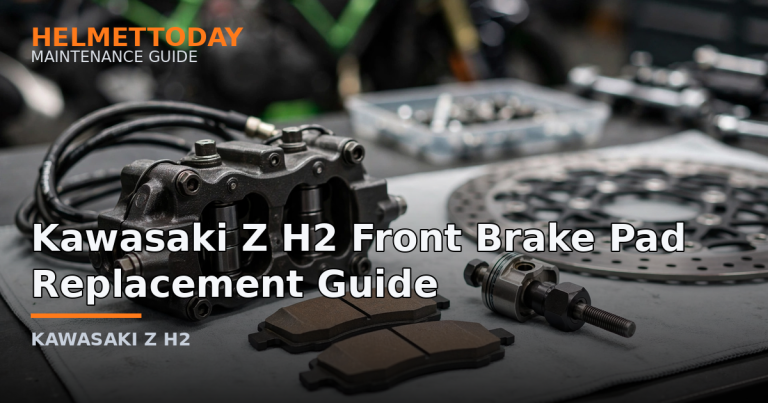

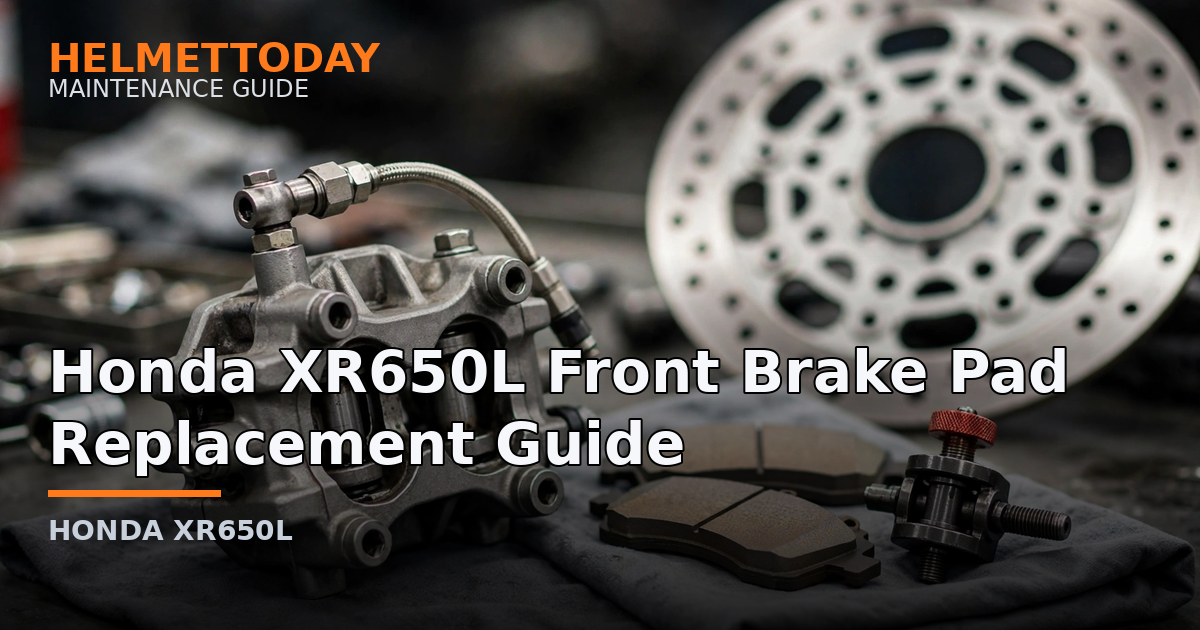
Brake pads are a wear item — check them every service and replace before they hit the wear indicators. On the Honda XR650L, a front pad swap is a straightforward 30-minute job with basic tools.
Use pads matching the OEM compound type, and have fresh DOT 4 brake fluid on hand to top up the reservoir after pushing the pistons back.
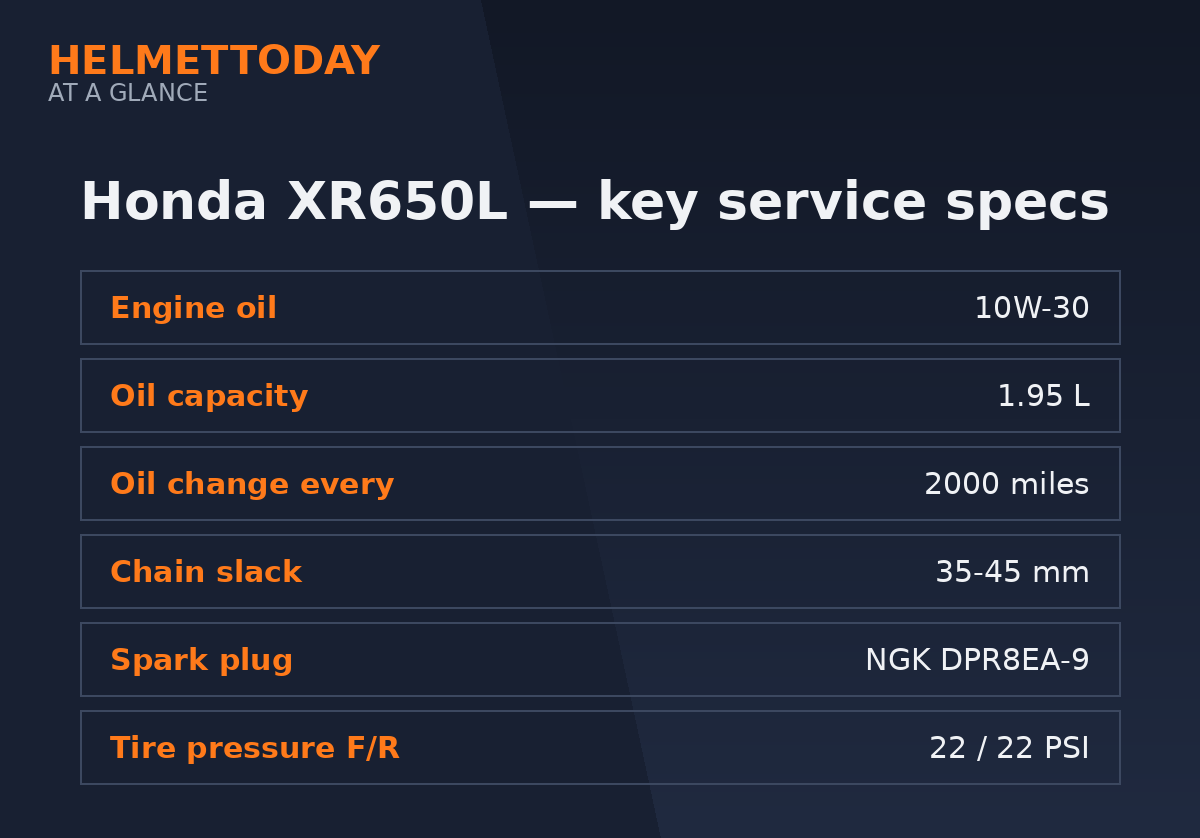
Honda XR650L quick service specs
| Item | Specification |
|---|---|
| Engine oil | 10W-30 |
| Oil capacity | 1.95 liters |
| Oil change interval | 2000 miles |
| Chain slack | 35-45 mm |
| Spark plug | NGK DPR8EA-9 |
| Tire pressure (F/R) | 22 PSI front / 22 PSI rear |
| Battery | YTX9-BS, 12V 8.0Ah |
How to replace the front brake pads, step by step
- Support the bike upright. Remove the caliper mounting bolts and slide the caliper off the disc — don’t let it hang by the brake hose.
- Remove the pad retaining pin or clip and slide the old pads out. Note the spring and shim positions.
- Push the caliper pistons back into their bores evenly. Watch the master-cylinder reservoir — remove excess fluid so it doesn’t overflow.
- Clean the caliper, pins, and pad contact points. Lightly grease sliding pins with brake-specific grease (never on pad or disc surfaces).
- Fit the new pads, refit the pin or clip, and remount the caliper. Torque the caliper bolts to spec.
- Pump the brake lever until firm, then top up the fluid to the correct level.
- Bed the pads in with 10-15 moderate stops from 30-40 mph, allowing cooling between stops. Avoid hard braking for the first 100 miles.
Common mistakes to avoid
- Fitting pads backwards or without the retaining clip.
- Forgetting to pump the lever — the first pull will go to the bar. Always pump before moving the bike.
- Getting grease or brake cleaner on the pads or disc — it causes glazing and poor braking.
FAQ
When should I replace the Honda XR650L front brake pads?
Check the friction material against the wear grooves or indicators — replace when nearly flush, or if braking feels weak or noisy.
Sintered vs organic pads — which is better?
Sintered last longer and bite harder, especially in wet; organic are gentler on discs and quieter. Match your riding.
Do I need to bleed the brakes after a pad change?
Not normally if you don’t open the system — just pump the lever and top up the fluid.
Related guides

Dan Heiman
Writer at Helmet Today, covering helmet reviews, fit and riding safety.