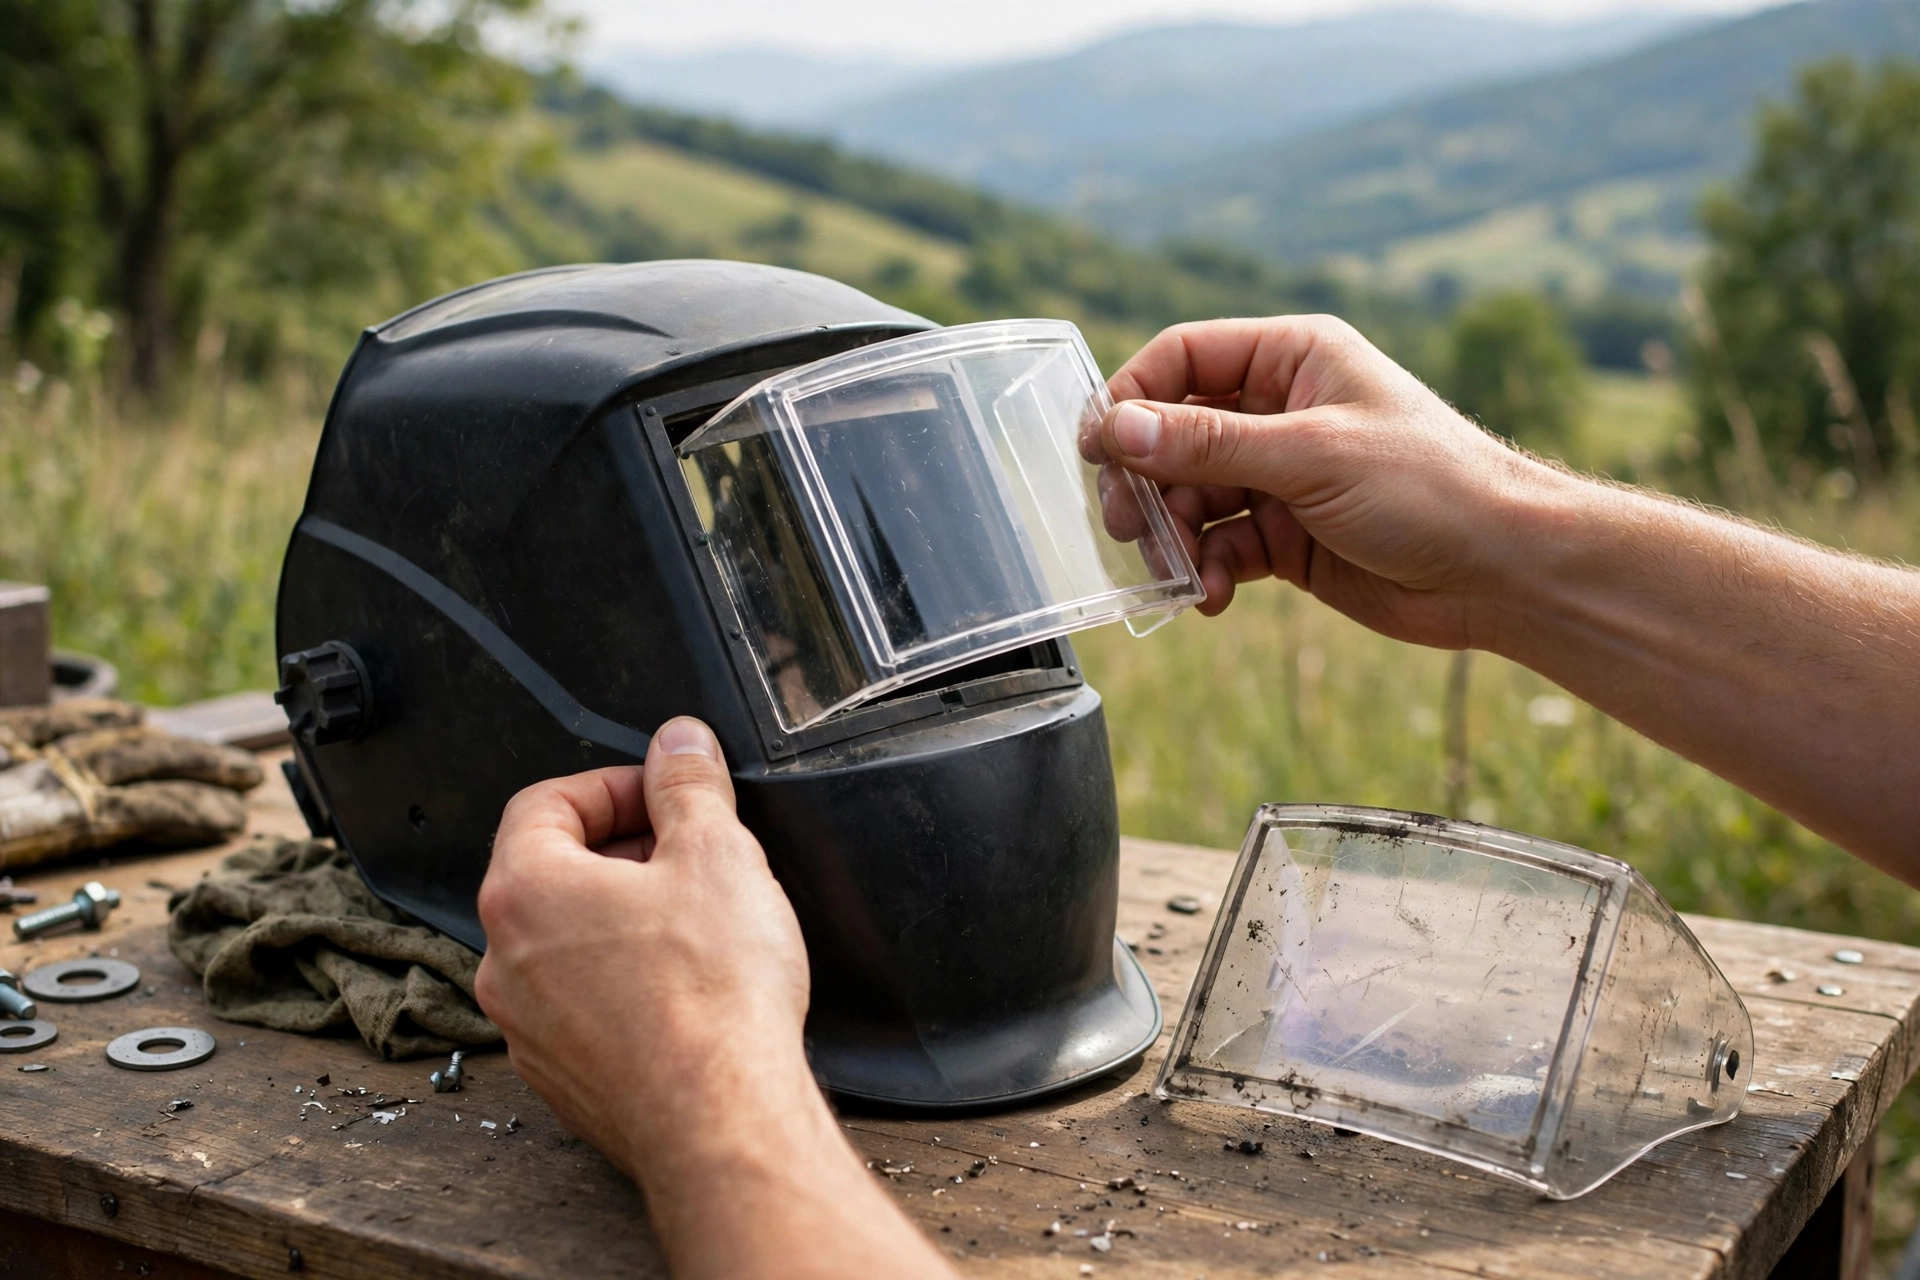
Replacing a welding helmet lens cover takes about two minutes: remove the retaining frame or clips, lift out the old cover, wipe the filter beneath it, drop in a fresh cover of the correct size, and snap everything back together. Fit a new one as soon as spatter pits and scratches cloud your view. The cover lens is cheap, sacrificial plastic — its whole job is to take the damage so the expensive filter behind it does not have to.
If your welds have been getting harder to see even though your shade and technique have not changed, a tired cover lens is the most likely culprit, and the cheapest fix in welding.
What Does the Cover Lens Actually Do?
The outer cover lens is a clear plate of plastic that sits in front of the welding filter, on the outside of the helmet where the arc’s spatter lands. Every spark and molten droplet that would otherwise pit and burn the filter hits the cover instead. A second, inner cover lens sits behind the filter to protect it from the inside against fumes, dust, and the occasional backsplash.
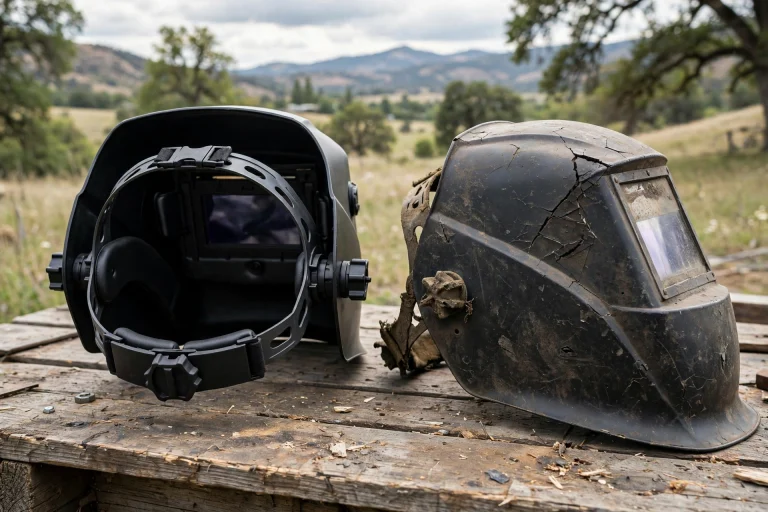
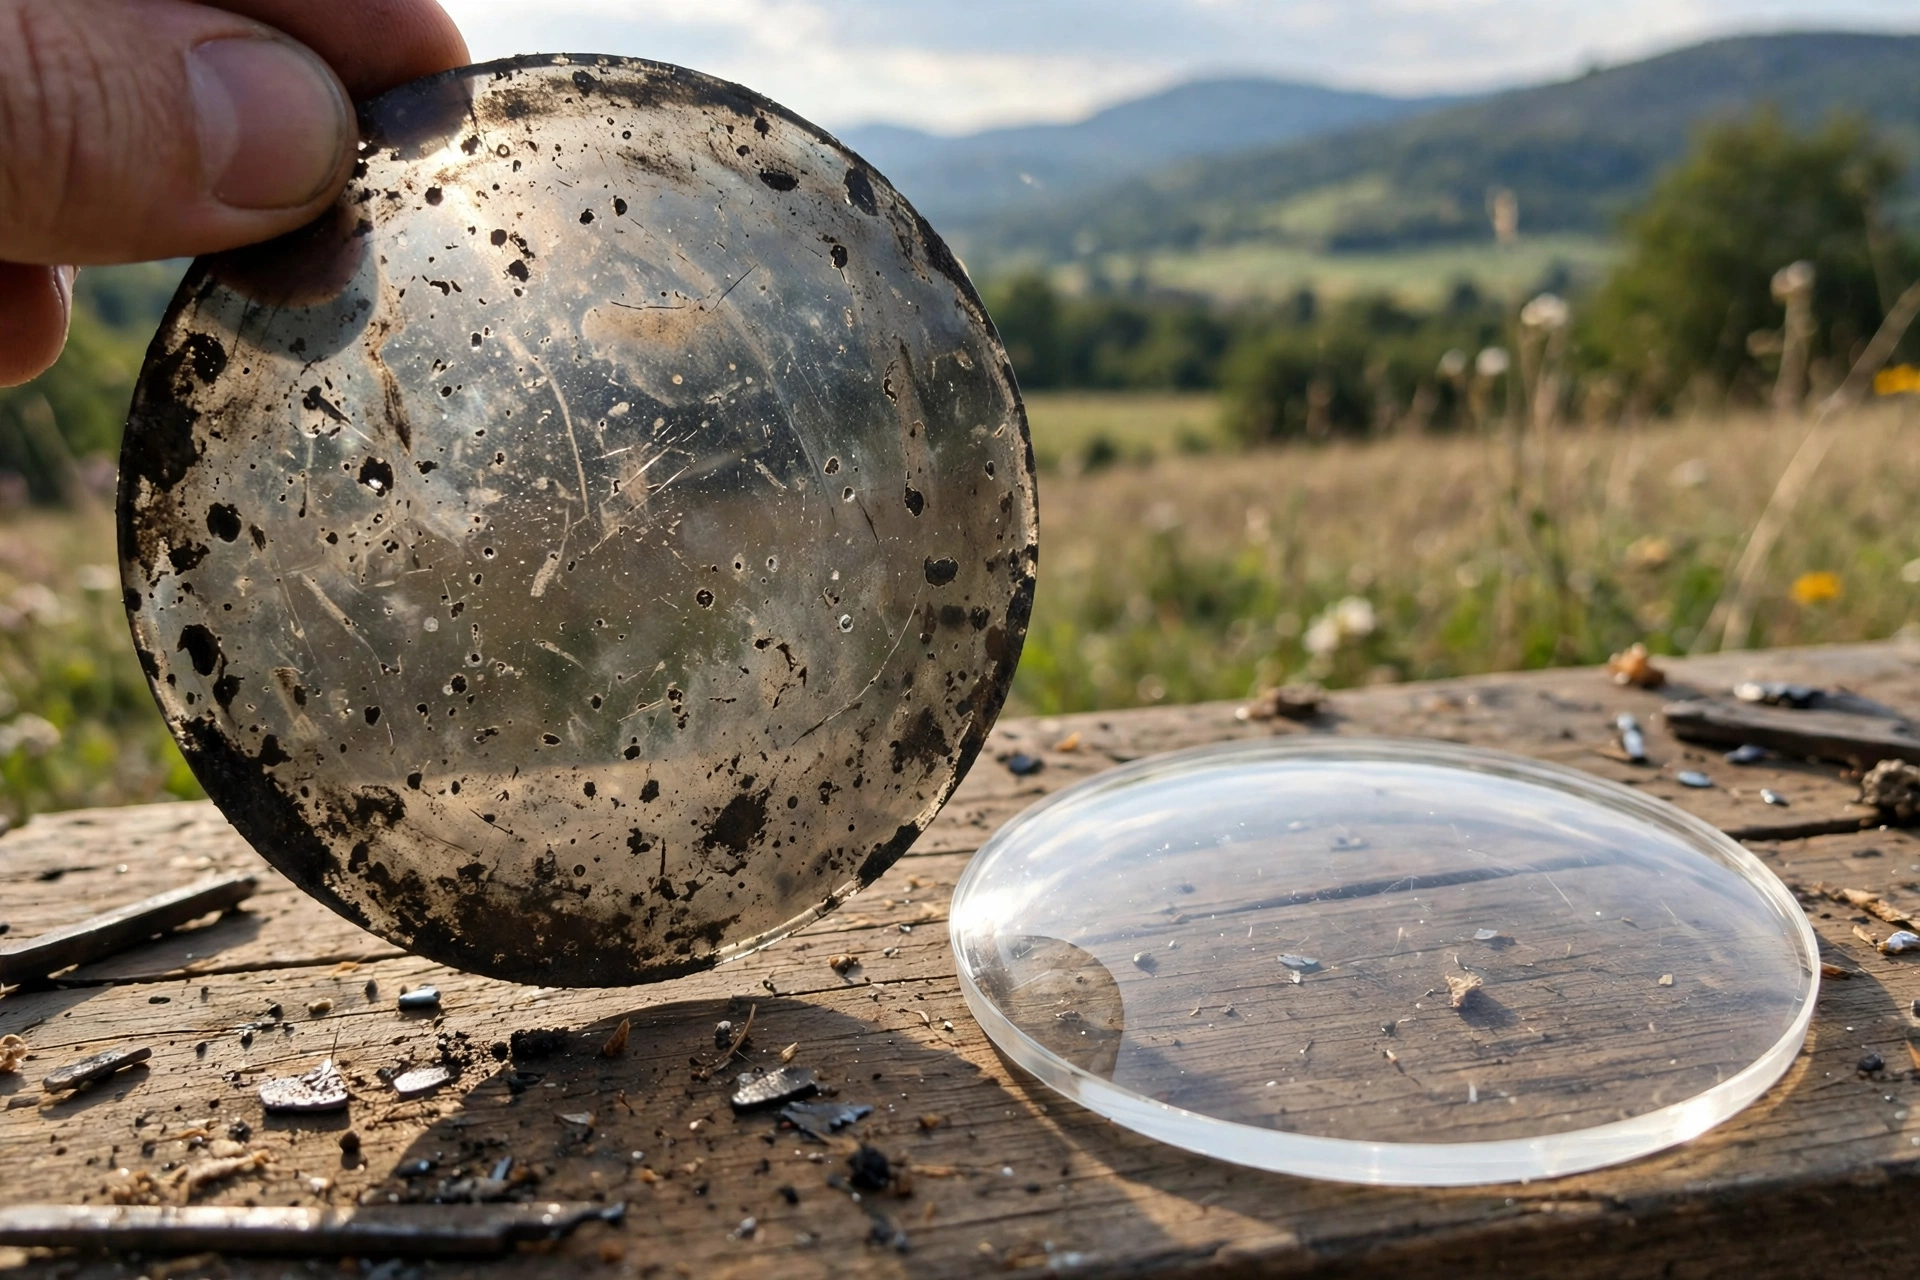
Because the cover is plastic and the spatter is molten metal, the damage is cumulative and permanent. Each pit is a tiny crater melted into the surface; scratches from cleaning and handling add up alongside them. None of it can be polished away — it can only be replaced away.
How Do You Know It Is Time to Replace the Cover?
The clearest sign is the view itself: the joint and puddle look hazy or milky, fine detail washes out, and you catch yourself lifting the helmet or leaning closer to see what you are doing. Hold the cover up to a light and the cause is obvious — a frosting of pits, burn spots, and scratches that no amount of wiping removes.
Replace it then, not eventually. Welding through a clouded cover means eye strain, headaches, and sloppy positioning, because you are guessing at a puddle you cannot properly see. It also tempts the worst habit in welding: flipping the helmet up to look at the work while the arc is still going. A fresh cover costs very little; there is no economy in suffering a ruined one.
How Do You Replace the Outer Cover Lens, Step by Step?
- Set the helmet on a clean bench, filter facing you. If your helmet uses a front retaining frame, release its tabs, screws, or clips — designs vary, so note how it comes apart the first time.
- Lift out the old cover lens. Pay attention to which way it faced and whether a gasket or spacer came out with it.
- Inspect the filter underneath. Wipe it gently with a soft, clean, dry cloth — never solvents, never anything abrasive, and never scrape at it. Spatter burned directly onto the filter itself means the cover was left too long.
- Drop in the new cover, flat and fully seated, with any gasket back in place. It should sit flush with no gaps at the edges where spatter could sneak through.
- Refit the retaining frame or clips, confirm everything is secure, and do a quick light check: the view should be crystal clear edge to edge.
The exact hardware differs between helmets — some covers slide in from the side, some are held by a wire spring, some by a snap frame — but the sequence is always the same: release, remove, clean, seat, secure.
Work clean while you do it. Wash your hands or put on clean gloves before handling the new cover and the filter, because fingerprints and oily smears on the inside of a fresh cover show up as permanent-looking smudges in your view that are miserable to remove later. Lay the parts out in order on a clean cloth as they come off the helmet, so the gasket, spacers, and retaining frame all go back exactly where they came from, with nothing left over on the bench.
What About the Inner Cover Lens?
The inner cover lives behind the filter, on your side of the helmet, and it ages more slowly because it is shielded from direct spatter. It still clouds over time from fumes, dust, sweat, and cleaning, so inspect it whenever you change the outer one. Replacement follows the same pattern from the inside: release the filter or its retainer as your helmet’s design requires, swap the cover, and reassemble.
While you are in there, check the filter’s seating and the headgear screws. A helmet opened up for a cover change is the perfect moment for the quick once-over everything else deserves.
What Mistakes Ruin Covers — and Filters?
The expensive one is welding with a cracked, holed, or missing cover — or no cover at all. Without that sacrificial layer, spatter burns straight into the filter, and a damaged filter is a replacement filter, not a repair. The second mistake is stretching a cover’s life by cleaning it aggressively: solvents, rough cloths, and scraping only add scratches to pits. Wipe covers with a soft cloth; replace them when wiping stops working.
Fit matters too. Covers are model-specific in shape and size in general terms, and a close-but-wrong cover leaves edge gaps that funnel spatter onto the filter. Buy covers made for your helmet model, and keep a small stack of spares in the toolbox so a mid-job swap is a two-minute pause instead of a ruined afternoon. Storing the helmet face-up, or in its bag, keeps bench grit off the cover between jobs.
The underlying principle is the same one that applies to any protective helmet, welding or otherwise: the cheap, replaceable layers get replaced on schedule so the protective core stays sound — a habit riders follow with visors and liners on helmets built around technologies like MIPS.
Frequently Asked Questions
Q: How often should I replace the cover lens?
A: Whenever the view clouds — there is no fixed schedule. Spatter-heavy processes like production MIG work can chew through a cover quickly, while occasional TIG work may take months to mark one. Inspect it at the start of every session and replace on condition.
Q: Can I clean a pitted cover instead of replacing it?
A: Dust and grime wipe off, but pits and burn spots are melted into the plastic and cannot be cleaned or polished out, in general terms. Once the view stays hazy after a gentle wipe, replacement is the only fix.
Q: Are welding cover lenses universal?
A: No. Shapes and dimensions vary by helmet model, and an ill-fitting cover leaves gaps that let spatter reach the filter. Buy covers made for your specific helmet and keep the model reference from the packaging for reorders.

Olivia
Writer at Helmet Today, covering helmet reviews, fit and riding safety.