Brazing and torch cutting need lighter shades than arc welding — in general terms around shade 3 to 6, chosen from the shade chart for your process and the thickness of the metal. Too dark and you cannot see the work; too light and your eyes take the strain, so the chart, not guesswork, should decide.
Confusion comes from the fact that a welding helmet looks the same whatever flame or arc is in front of it. But a gas torch is far less bright than an electric arc, and it punishes you differently: the risk is more about glare, comfort, and seeing the metal change colour than about sheer intensity. Here is how to pick the right shade and the right format of eye protection for torch work.
Why Do Torches Need Lighter Shades Than Arcs?
An electric arc concentrates enormous brightness into a tiny point. A brazing or cutting flame spreads its light over a much larger area and simply does not reach the same intensity, so it needs less darkening to be comfortable and safe to watch.
There is a practical side too. Brazing is judged by colour and flow — you watch the filler rod wet out and the joint reach the right heat, and cutting requires following a line and watching the kerf. A shade meant for arc welding hides all of that. In general terms, the lighter shade range exists precisely so torch workers can see the subtle changes that tell them the job is going well.
Which Shade Should You Pick for Brazing?
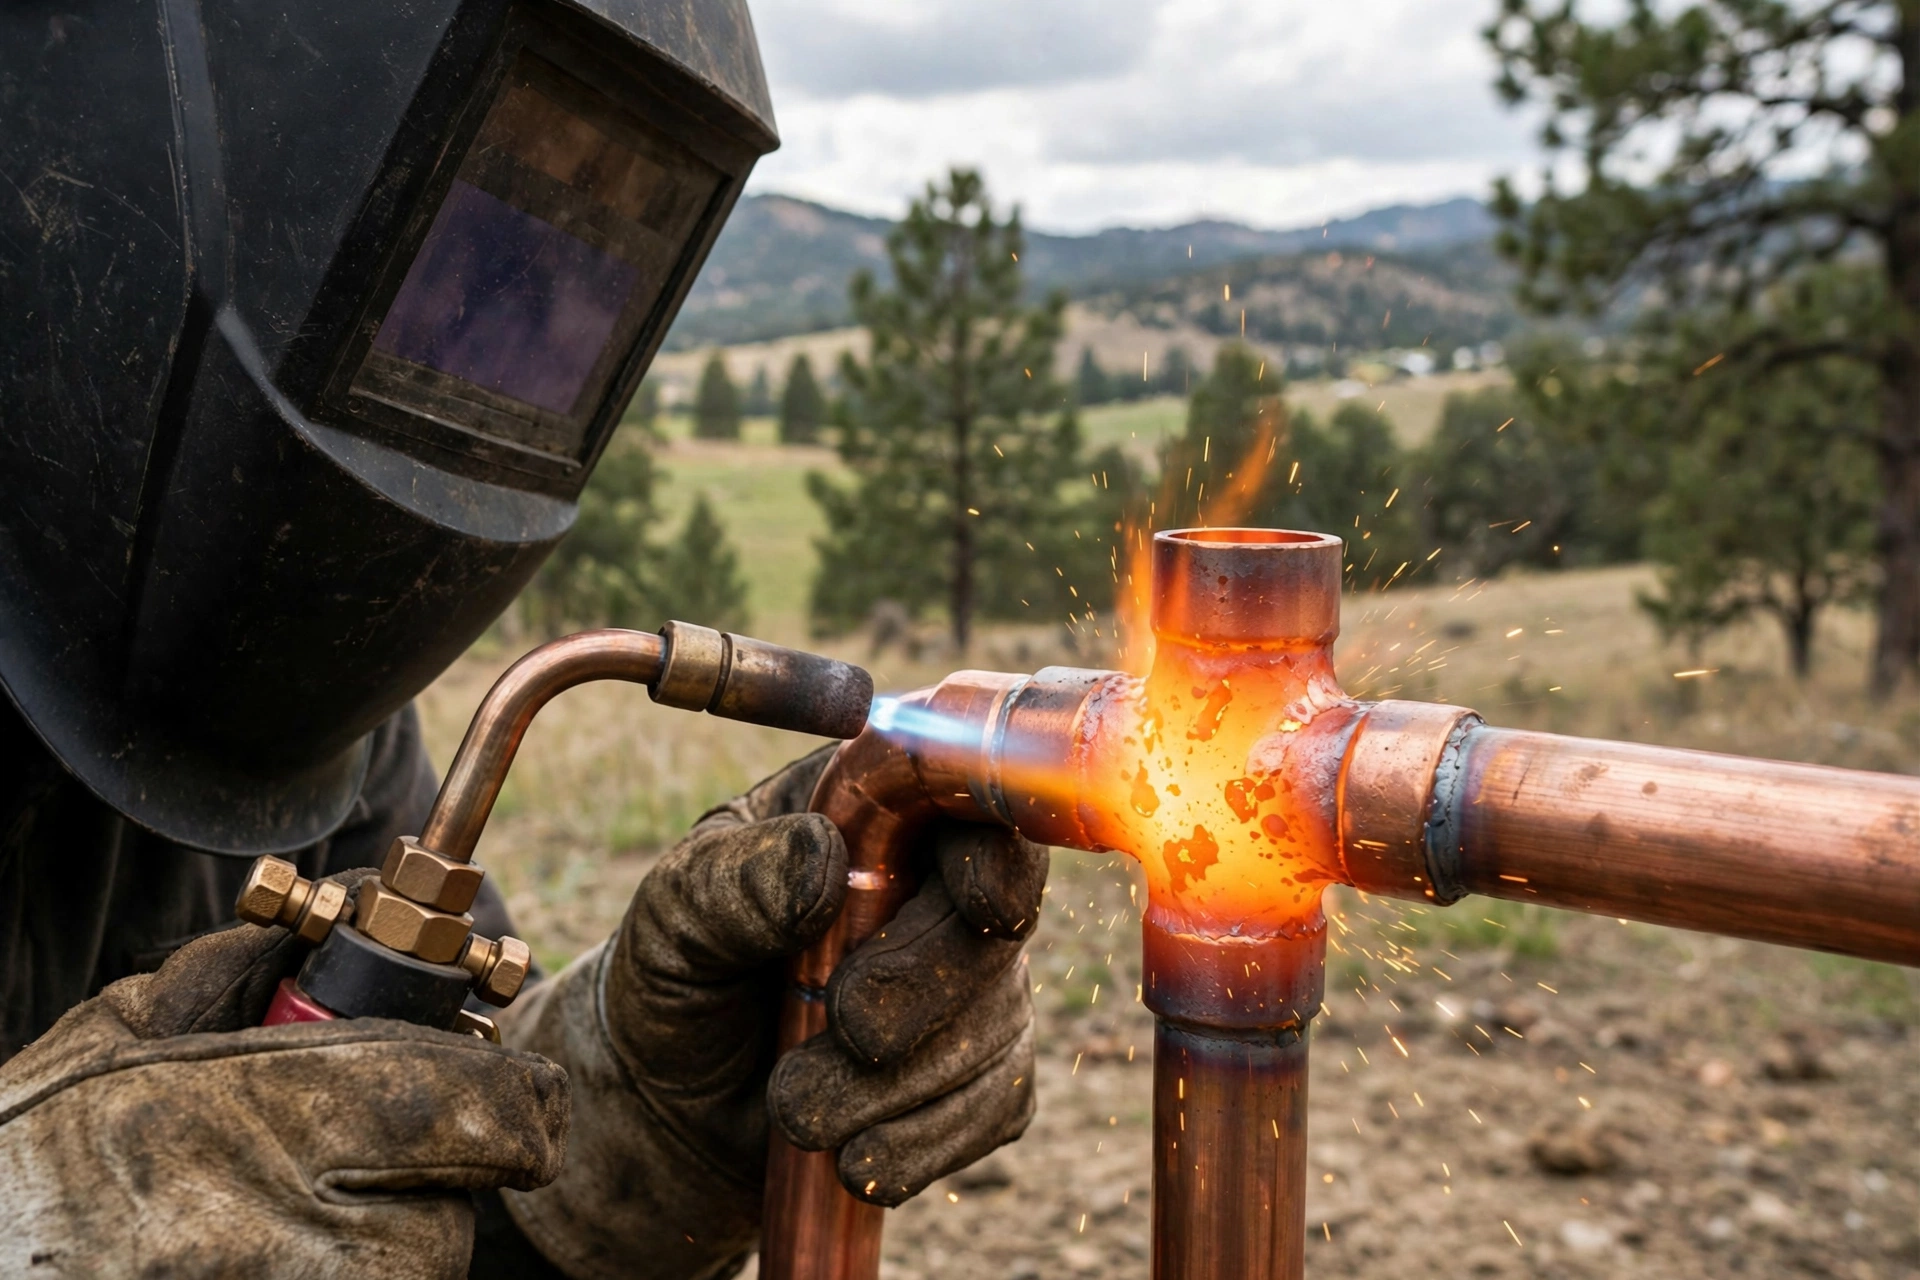
For brazing and torch soldering work, shades at the lighter end of the range — around shade 3 to 5 in general terms — are commonly used, with the exact choice driven by how bright the flame is and how long you will be looking at it. Light, short jobs sit at the low end; bigger torches and longer sessions call for the darker end.
Use the shade chart supplied with your helmet or published by the lens maker, and match it to the work in front of you rather than a rule of thumb from memory. If you find yourself squinting, leaning in, or getting headaches and tired eyes, treat that as a signal to reassess the shade — comfort over a full session is part of what the chart is trying to give you.
Working conditions shift the answer a little as well. Brazing outdoors in bright sunlight competes with a lot of ambient glare, and many workers find the darker end of the recommended range more comfortable there, while the same job in a dim workshop feels clearer a shade lighter. Treat the chart range as exactly that — a range — and pick within it according to the light around you, the size of the flame, and how your eyes feel after the first few minutes. The goal is a view where the joint, the filler rod, and the colour of the heated metal all stay readable without effort.
Which Shade Should You Pick for Torch Cutting?
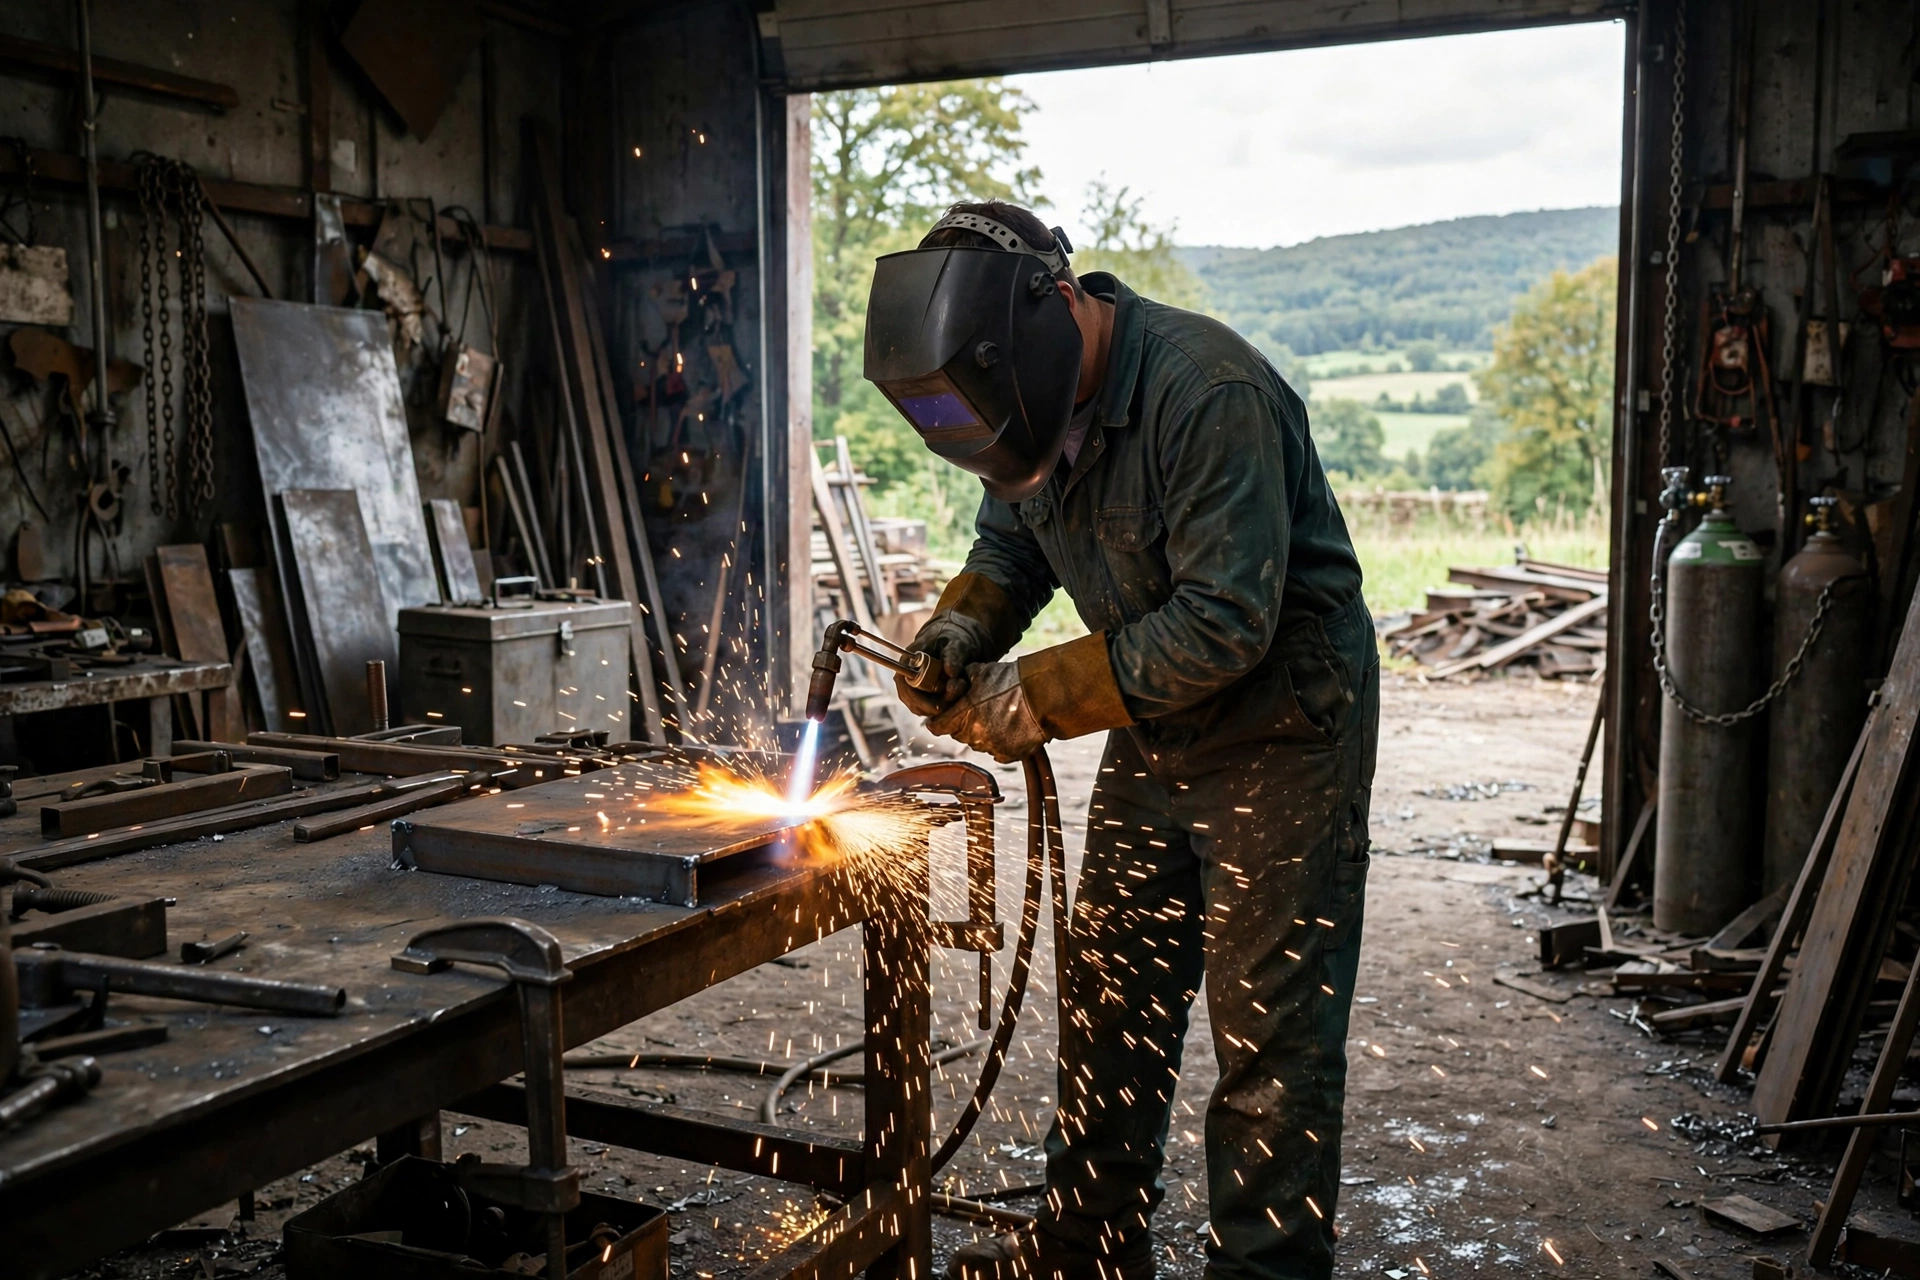
Cutting sits a step darker than brazing, and the deciding factor is material thickness. Thin sheet cut with a small tip produces a smaller, dimmer reaction; thick plate with a large cutting tip throws a much brighter stream of sparks and molten metal, and in general terms calls for shades toward the middle of the range, around shade 5 to 6.
Again, the chart for your process and thickness is the authority — charts exist because the right answer genuinely changes with the job. If you cut a range of thicknesses, a variable-shade auto-darkening helmet set correctly for each job, or a small set of fixed lenses, both beat one guessed shade used for everything.
Are Goggles or a Face Shield Enough for Torch Work?
Often, yes — and that is one of the real differences between torch work and arc welding. Shaded goggles and shaded face shields in the correct shade are a long-established, common choice for brazing and cutting, because the flame does not demand the full head coverage an arc does. Goggles also fit better in tight spots, and a face shield adds protection from cutting sparks.
A full helmet still has its place: for long cutting sessions it shades your whole face from glare and heat, and if you move between torch and arc work in the same session, one variable-shade helmet may be simpler than swapping gear. What is not optional is the shade itself — sunglasses and clear glasses are not a substitute for a properly shaded lens.
Does the Shade Number Change the UV Protection?
No — and this is the most misunderstood point in the whole topic. A proper welding filter blocks ultraviolet and infrared radiation by its construction, at every shade setting, even in its light state. The visible shade number only describes how much visible light gets through for comfort and visibility.
That is why a shade 3 brazing lens is not “less safe” than a shade 11 welding lens; each is the correct visible darkness for its process, with the invisible protection built in either way. It is the same principle found across protective headgear — the parts doing the real protecting are not always the parts you can see, a point made well in this overview of how MIPS liners protect inside a helmet. What you must avoid is unrated look-alike lenses, which offer the darkness without the guaranteed filtering.
Frequently Asked Questions
Q: Can I braze with my auto-darkening helmet set to its lightest shade?
A: Usually yes, if the helmet’s shade range goes low enough and it has a suitable setting for torch work — many go down to around shade 5, and some offer a cutting mode. Check the maker’s guidance and the shade chart for your process before relying on it.
Q: Why do my eyes ache after cutting even with a shaded lens?
A: The usual cause is a shade that is too light for the thickness you are cutting, or long sessions without breaks. Move up within the range the chart allows for your material thickness, and check the lens is a properly rated filter, not a tinted look-alike.
Q: Do I need a darker shade for thicker metal?
A: In general terms, yes. Thicker plate needs a bigger tip and produces a brighter cut, and shade charts step the recommended shade up with thickness. Match the chart to the plate in front of you rather than using one shade for all cutting.

Olivia
Writer at Helmet Today, covering helmet reviews, fit and riding safety.