Replacing welding helmet headgear is a simple job: remove the old assembly at its mounting points, fit the maker’s replacement headgear for your exact helmet model, and adjust it before you weld. Headgear is a wear part, not a lifetime part, and fresh headgear can make an old helmet feel new.
Most welders nurse dying headgear for months — tightening a ratchet that slips again by lunchtime, padding out a cracked strap with tape, putting up with a helmet that nods forward every time they look down. None of that is necessary. Headgear is cheap, model-specific, and designed to be swapped with basic hand tools, in general terms in well under half an hour.
What Are the Signs the Headgear Needs Replacing?
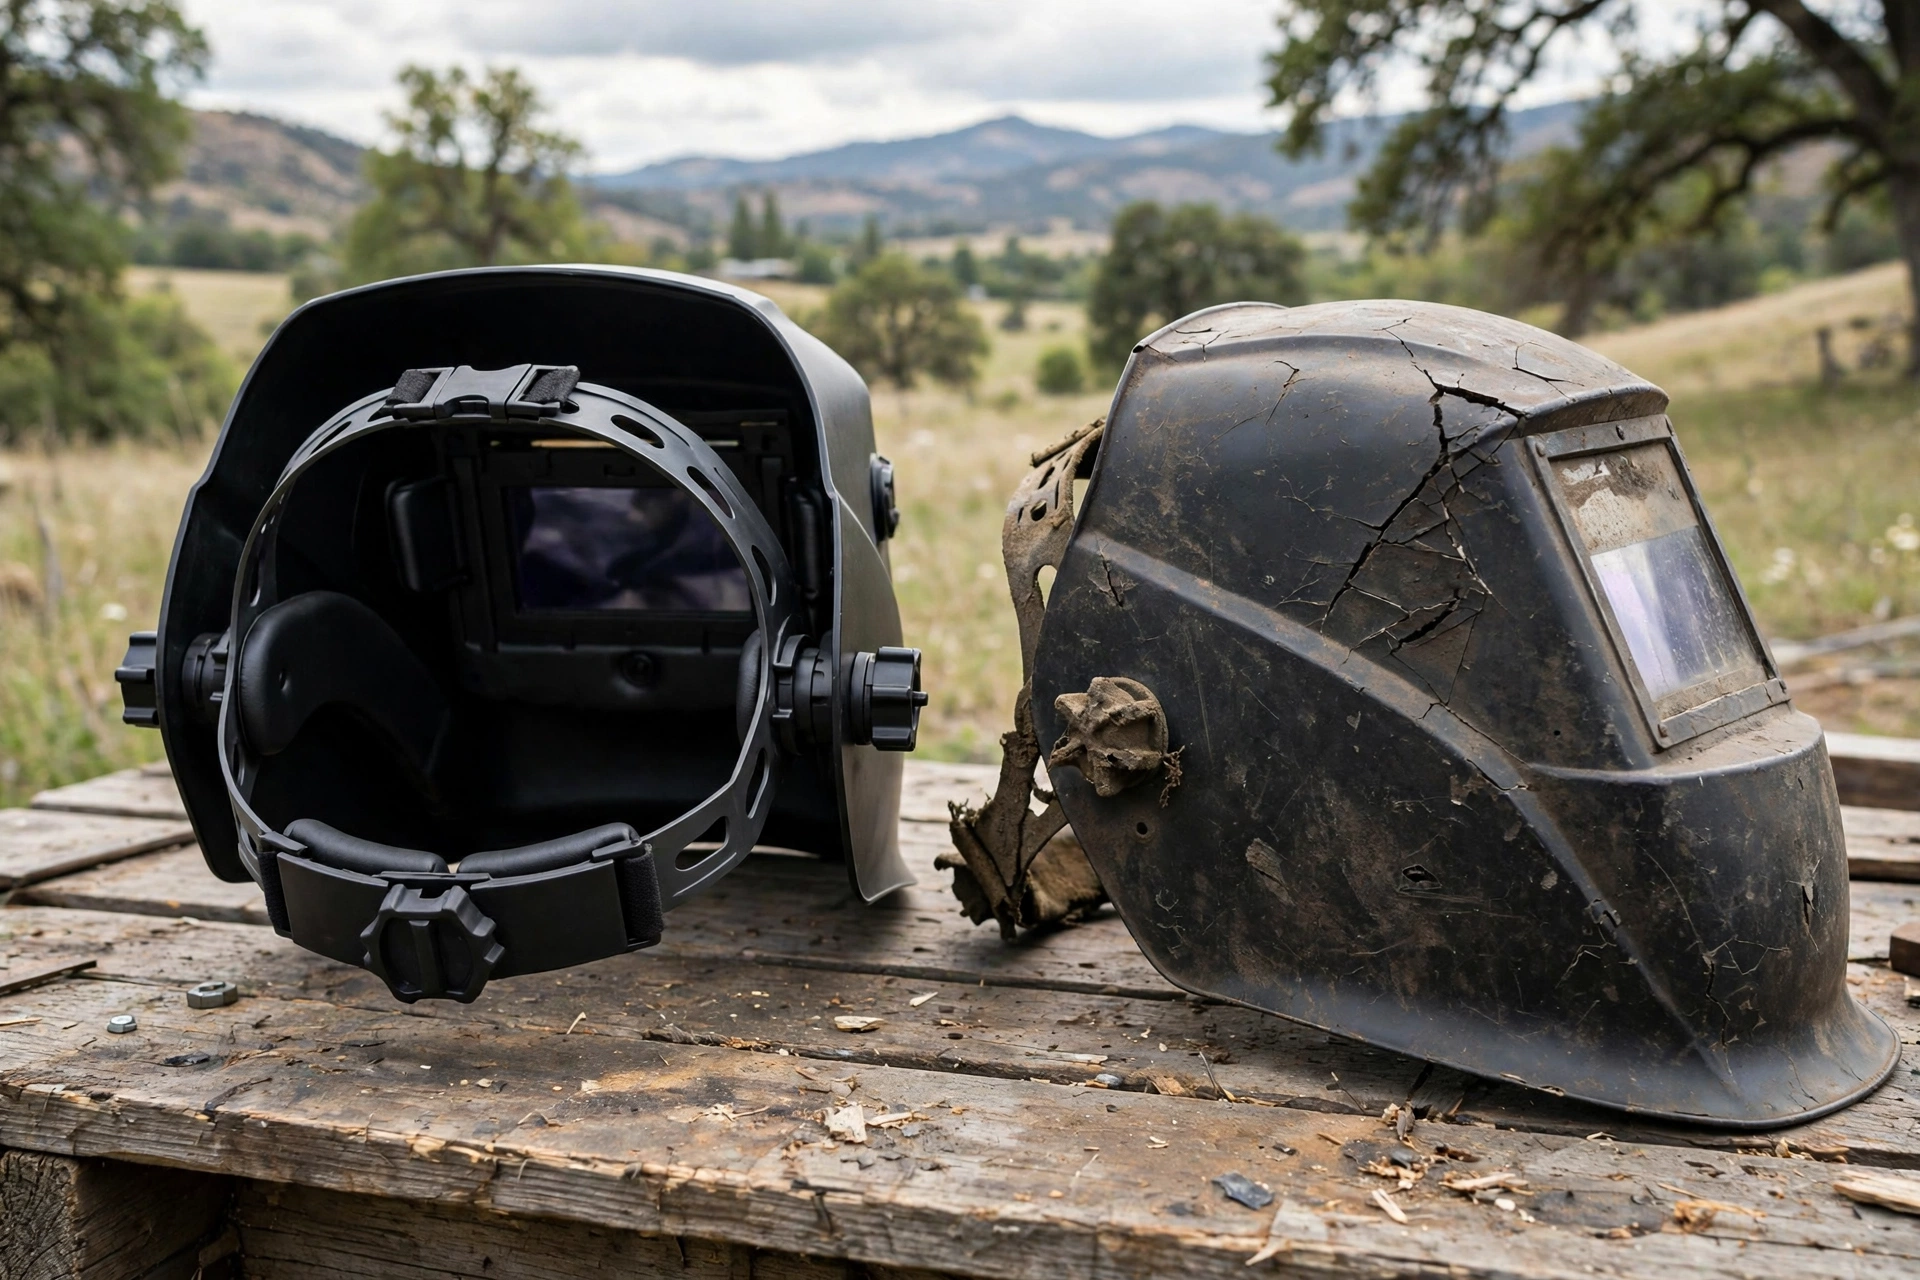
The clearest sign is a ratchet that will not hold. If you set the size, weld for ten minutes, and find the helmet loose again, the ratchet teeth or knob are worn. The same goes for the angle stop: if the helmet flops forward when you nod it down, or will not stay up when you lift it, the pivot hardware is spent.
Look at the straps themselves next. Cracks in the plastic bands, especially at the adjustment holes and bends, mean the material has fatigued and will eventually snap mid-job. And do not overlook the soft parts: a sweatband that is stiff, glazed, or permanently sour no longer cushions or absorbs anything, and it is replaceable on its own on many models. In general terms, if two or more of these are present, replace the whole assembly rather than one piece at a time.
Why Must You Use the Maker’s Part for Your Model?
Headgear looks universal and mostly is not. The mounting holes, pivot pins, and shell attachment points differ between brands and often between models from the same brand. A near-fit forced into place can tilt the filter, hold the lens at the wrong distance from your eyes, or pop loose when the helmet is knocked.
Order by the helmet’s exact model name, and keep the manual or a photo of the rating label if the printing has worn. The right part clicks and bolts together the way the original did, with no drilling, trimming, or improvised washers. If the maker no longer lists headgear for a very old helmet, that is useful information in itself — it may be time to retire the shell too.
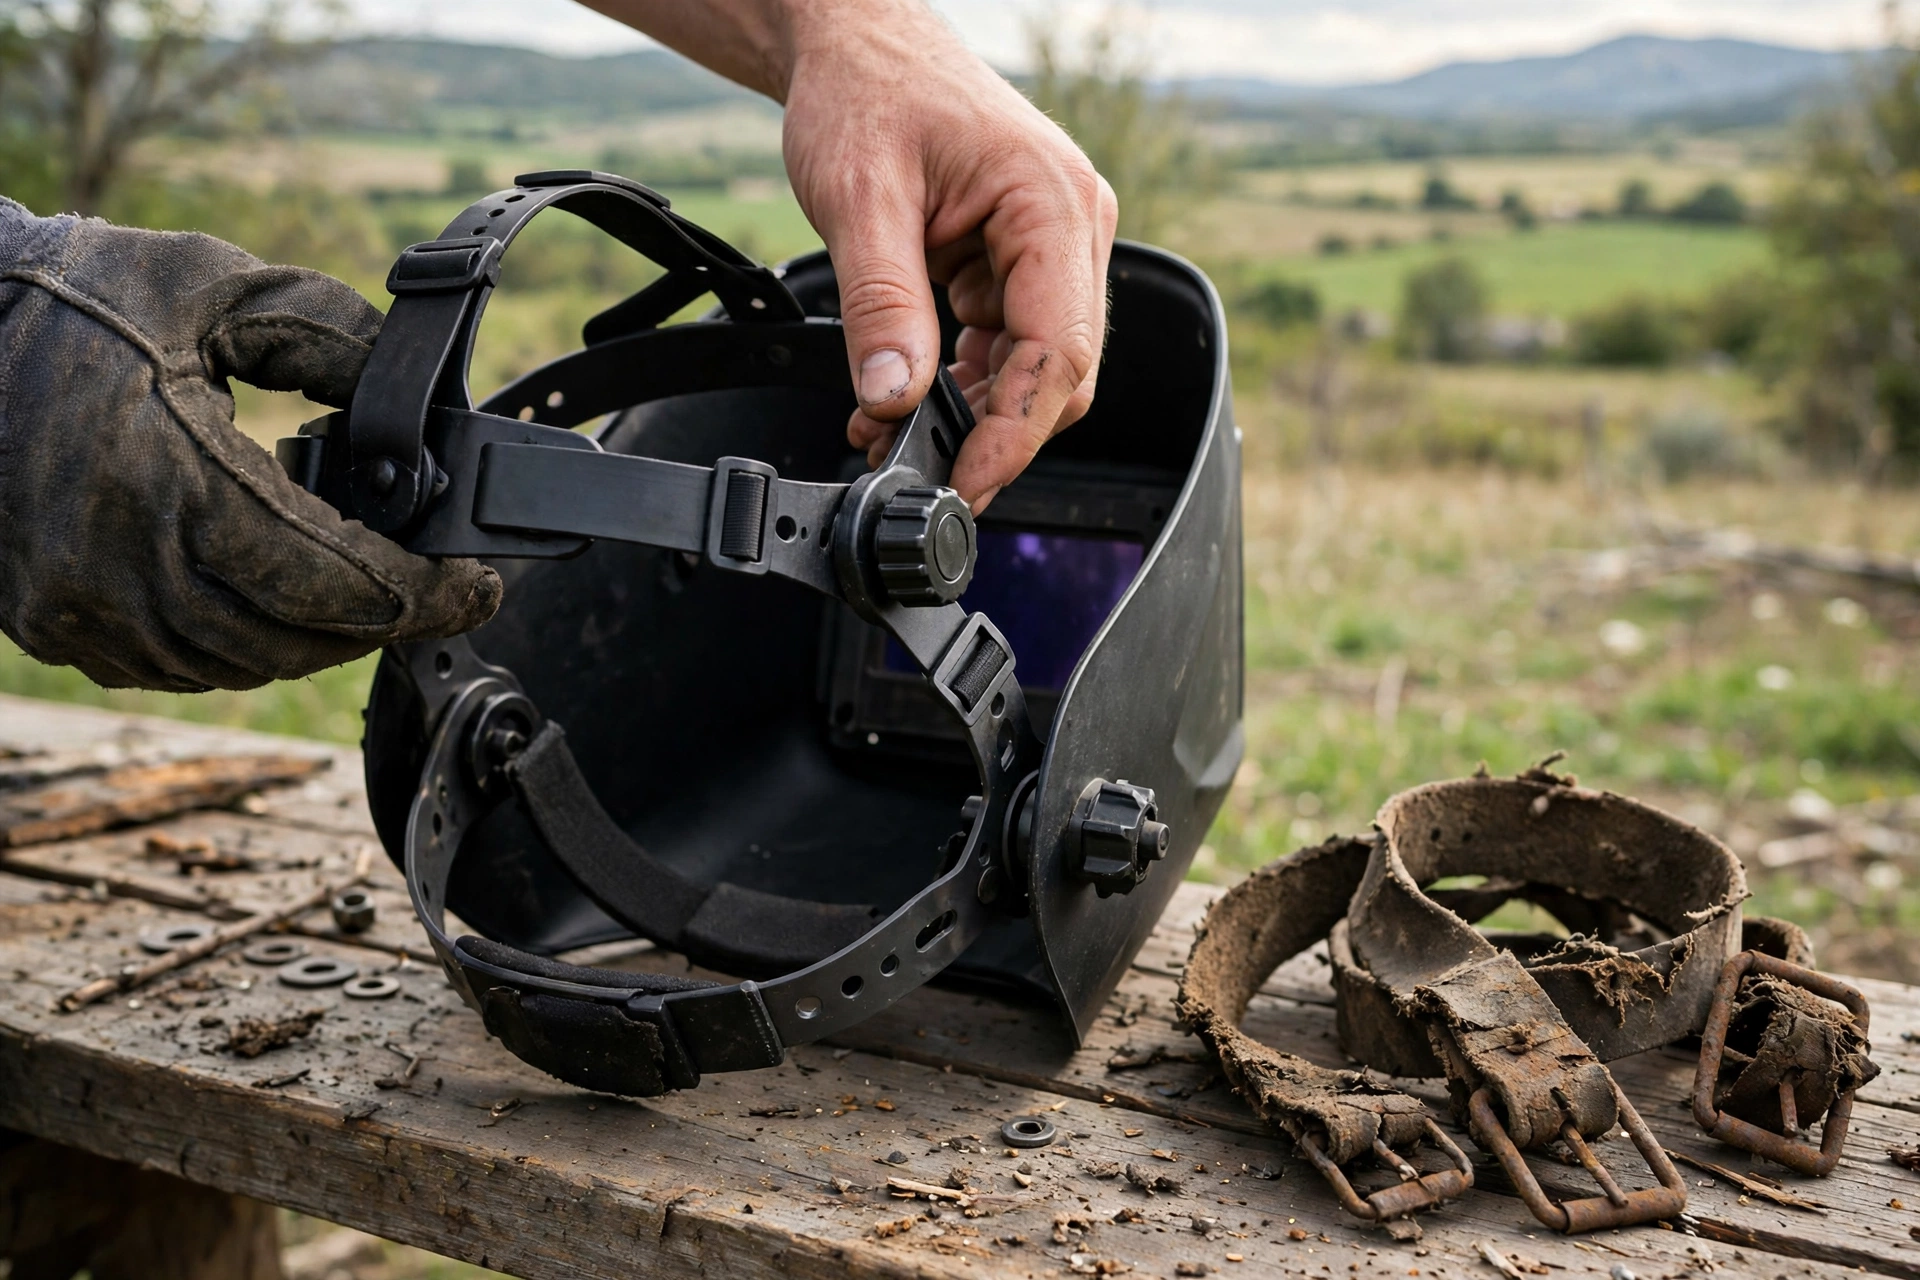
How Do You Remove the Old Headgear?
Start by taking the helmet to a clean bench and, if your model requires it, removing the filter cartridge so it is safely out of the way. Then work out how the headgear attaches: on most helmets it is held by knurled nuts or bolts through the shell at each side pivot, sometimes with a third fixing at the top.
Unscrew the side hardware by hand or with a basic screwdriver or small spanner — in general terms, no specialist tools are needed. Keep the screws, nuts, and any square locating washers in a tray, because the replacement kit may reuse some of the shell-side hardware. Note the order the parts come off, or take a phone photo before you start; that photo is the best reassembly guide there is.
How Do You Fit and Adjust the New Headgear?
Offer the new headgear up to the shell, align the pivots with the mounting holes, and refit the hardware loosely first. Make sure any locating washers sit in their slots so the headgear cannot rotate freely, then tighten both sides evenly. The helmet should flip up and down with firm, even resistance — not flopping, not grinding.
Then adjust it on your head in the normal order: set the top strap so the lens sits at eye level, set the ratchet so the helmet is snug without pressure points, and set the angle stop so it nods down to your working position and stays there. Fit fresh sweatbands if the kit includes them. Do all of this before your next weld, not during it — the first job with new headgear should feel boringly secure.
How Long Should Headgear Last?
It depends on hours and conditions, but treat it as a consumable on the same mental list as cover lenses. Daily professional use in a hot shop wears ratchets and sweatbands far faster than weekend hobby use, and ultraviolet, heat, and sweat all age the plastic straps over time.
You can also slow the wear down. Sweat is the main enemy of both straps and sweatbands, so wipe the headgear down at the end of a hot session and let it dry rather than sealing a damp helmet in a cabinet. Many sweatbands can be removed and washed or are cheap enough to replace on their own, and swapping a tired sweatband early restores a surprising amount of comfort and grip. Keep the helmet out of prolonged direct sunlight and away from solvents when you store it, since heat and chemicals age the plastic. None of this makes headgear permanent — but it stretches the interval between replacements and gives you warning signs in plain sight instead of a failure mid-weld.
The habit worth building is inspection: every time you change a cover lens, glance at the straps and give the ratchet a firm test twist. Protective gear across every trade follows the same rule — parts that hold the protection in place are protection themselves, which is exactly why helmet standards focus so much on retention and fit, as this explainer on MIPS and modern helmet design shows for riding helmets. Replace welding headgear at the first sign of slipping or cracking, and it will never fail you mid-weld.
Frequently Asked Questions
Q: Can I fit headgear from a different brand if it looks the same?
A: It is not a good idea. Mounting points and pivots differ between models, and a forced fit can tilt the filter or detach under a knock. Buy the headgear listed for your exact helmet model.
Q: Do I need special tools to change headgear?
A: In general terms, no. Most assemblies are held by hand-tightened knurled nuts or simple screws, so fingers and a basic screwdriver are enough. Keep the old hardware in a tray in case the new kit reuses any of it.
Q: The ratchet slips but the straps look fine. Can I replace just the ratchet?
A: Some makers sell individual parts, and if the rest of the assembly is genuinely sound, that can work. But if the straps are aged or cracked as well, a complete headgear kit is usually the better fix.

Olivia
Writer at Helmet Today, covering helmet reviews, fit and riding safety.