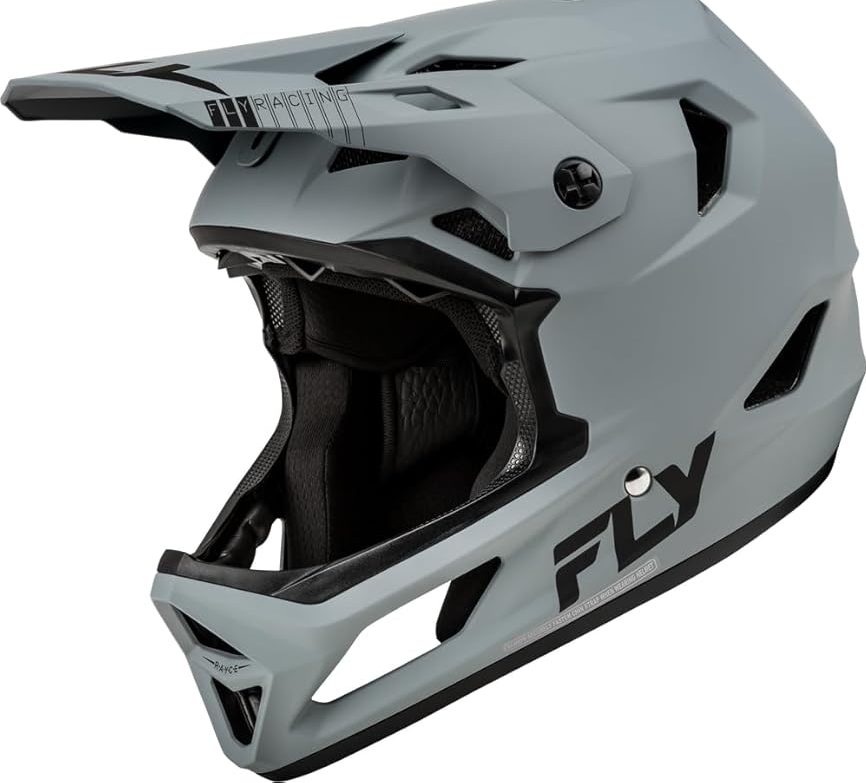

Learning how to draw a lacrosse helmet can be easier than it first looks. The trick is not to draw every small part at once. Start with the main shape, then add the cage, vents, straps, and other details.
I find that the biggest challenge is getting the helmet to look like a real lacrosse helmet instead of a basic bike or hockey helmet. In this guide, I’ll break the process into simple steps so you can build the drawing one part at a time.
What Makes a Lacrosse Helmet Look Different?
Before you start, it helps to know the main parts of a lacrosse helmet. A lacrosse helmet has a hard outer shell, a face cage, ear protection, vents, and a chin strap.
The face cage is one of the most useful details to draw. It gives the helmet its clear lacrosse look.
| Helmet part | What to look for |
|---|---|
| Outer shell | Rounded shape around the head |
| Face cage | Bars that cover the face |
| Ear area | Side protection near the ears |
A common mistake is to make the helmet too flat. Real helmets have a curved shell, so keep your lines soft and rounded.
How to Draw a Lacrosse Helmet Step by Step
The easiest method is to build the helmet from large shapes to small details. Do not worry about perfect lines at the start.
Start With the Main Helmet Shape
Begin with a large curved shape for the helmet shell. Think of it as a rounded half-oval that sits over the head.
Do not make the back perfectly round. The back should have a slight change in shape where the helmet covers the neck and rear of the head.
| Drawing stage | Main goal |
|---|---|
| First sketch | Get the size and shape right |
| Detail sketch | Add helmet parts |
| Final lines | Clean up the drawing |
Keep your first lines light. This makes it much easier to fix the shape later.
Add the Face Opening
Next, draw the opening where the face will be. This opening sits toward the front of the helmet.
The exact shape will depend on the angle you choose. A front view will show the opening clearly, while a side view will make it look narrower.
I recommend starting with a three-quarter view if you want the drawing to look more interesting. It lets you show both the front cage and part of the side shell.
Draw the Lacrosse Helmet Cage
Now comes the part that makes the drawing instantly recognizable.
Draw the main frame of the face cage first. Then add the smaller bars inside it. Try to keep the bars evenly spaced.
Do not draw each bar as a random straight line. The cage follows the curve of the face opening.
| Cage detail | Drawing tip |
|---|---|
| Main frame | Use a strong curved line |
| Vertical bars | Keep spacing even |
| Lower bars | Follow the face shape |
If the cage looks too stiff, curve the lines slightly. This small change can make the whole helmet look much more realistic.
How to Draw the Helmet From Different Angles
Once the basic shape feels right, try changing the viewing angle. This is a good way to make your drawing skills stronger.
Front View
A front view is a good starting point for beginners. You can see the cage, face opening, shell, and chin area clearly.
Start with a centered shape. Then keep the cage as even as possible on both sides.
The hardest part is symmetry. If one side of the cage is much larger than the other, the helmet can look tilted even when you did not intend it to.
Side View
A side view needs fewer cage details, but the shell shape becomes more important.
Draw the shell first. Then add the ear protection and the side of the cage. Pay attention to how far the cage extends from the front.
| View | Main challenge |
|---|---|
| Front | Symmetry |
| Side | Shell depth |
| Three-quarter | Shape and perspective |
A three-quarter view can be harder at first, but it gives you more room to show depth.
Add Vents, Ear Protection, and Straps
Once the main helmet shape works, add the smaller features.
Most lacrosse helmets have vents around the shell. You do not need to draw every vent. A few well-placed openings can suggest the pattern without making the drawing messy.
Then add the ear area. Keep it connected to the shell instead of making it look like a separate object.
Finally, draw the chin strap near the lower front of the helmet.
| Detail | Best approach |
|---|---|
| Vents | Use small repeated shapes |
| Ear protection | Follow the shell curve |
| Chin strap | Keep it thin and simple |
The goal is not to copy every tiny detail. The goal is to give the viewer enough clues to recognize the helmet.
How to Make a Lacrosse Helmet Drawing Look 3D
A flat drawing can look good, but a few simple tricks can add depth.
Use darker lines under the shell and around areas where parts overlap. Keep the top of the helmet lighter.
You can also use light shading inside the face opening. This helps the cage stand out.
Use Overlap to Show Depth
Overlap is one of the easiest ways to make a drawing look three-dimensional.
For example, the cage should appear in front of the face opening. The ear section should sit behind the side of the shell.
| Area | Add depth with |
|---|---|
| Shell | Curved shading |
| Cage | Overlapping bars |
| Face opening | Darker inner edge |
You do not need advanced art skills. Even simple shading can make a big difference.
Common Mistakes When Drawing a Lacrosse Helmet
Some mistakes are very easy to make. The good news is that most are also easy to fix.
One common issue is starting with the small details. When that happens, the vents and cage may look good, but the overall helmet shape can still be wrong.
Another mistake is making the cage bars too thick. The cage should look strong, but it should not hide the whole face opening.
| Mistake | Better approach |
|---|---|
| Drawing details first | Start with the shell |
| Uneven cage bars | Use light guide lines |
| Flat shell | Add curved edges |
| Too much detail | Keep only key features |
I also recommend avoiding heavy outlines too early. Light sketch lines give you more freedom to adjust the drawing.
How to Draw a Lacrosse Helmet With Simple Shapes
If you are new to drawing, break the helmet into basic shapes.
Start with an oval or curved dome for the shell. Add a smaller shape for the face opening. Then use thin curved lines for the cage.
This approach works well for kids, beginners, and anyone who wants a quick sketch rather than a detailed technical drawing.
A Simple Drawing Formula
Think of the process like building a small model.
Shell → face opening → cage → ear area → vents → chin strap → shading
That order keeps the drawing manageable.
| Step | Shape to think about |
|---|---|
| Shell | Half oval |
| Face opening | Curved opening |
| Cage | Curved lines |
| Vents | Small slots |
Once you are comfortable with this method, you can add more detail without losing the basic shape.
How to Color a Lacrosse Helmet
After finishing the pencil drawing, you can add color. Pick one main color for the shell and a darker shade for the inside.
Keep the cage a different tone so it stands apart from the shell.
If you use colored pencils or markers, start with light layers. It is much easier to make a color darker than to make it lighter.
You can also add small highlights on the top of the shell. This makes the helmet appear rounded instead of flat.
A Quick Way to Practice Lacrosse Helmet Drawing
Practice does not need to take a long time. Draw the same basic helmet three or four times.
Change the angle each time. Try a front view, side view, and three-quarter view.
After a few attempts, focus on one detail that gives you trouble. If the cage is difficult, practice drawing curved cage bars by themselves.
The key lesson is simple: get the big shape right before chasing small details.
Final Thoughts
The easiest way to learn how to draw a lacrosse helmet is to keep the process simple. Start with the shell, shape the face opening, build the cage, and then add the smaller parts.
Do not worry if your first drawing looks a little strange. Helmet shapes can be tricky because they combine curves, depth, and many small parts. With a few short practice sessions, the basic structure becomes much easier to understand.
If you are drawing for fun, focus on making the helmet easy to recognize. If you want a more realistic result, spend extra time on the cage, shell curves, and shading. Those details usually make the biggest difference.
Frequently Asked Questions
How do you draw a lacrosse helmet for beginners?
Start with a rounded shell. Add the face opening, then draw the cage with simple curved lines. Finish with vents, ear protection, and the chin strap.
What is the hardest part of drawing a lacrosse helmet?
The cage is often the hardest part. Keep the bars evenly spaced and follow the curve of the face opening for a cleaner look.
How do you make a lacrosse helmet drawing look realistic?
Use curved lines, overlap, and light shading. Add darker areas inside the shell and around parts that sit behind the cage.
Can you draw a lacrosse helmet with simple shapes?
Yes. Start with a half oval for the shell and a curved shape for the face opening. Add the cage with thin lines and build details from there.
How long does it take to draw a lacrosse helmet?
A simple sketch may take only a few minutes. A detailed drawing can take much longer, especially when you add shading, vents, and cage details.

Olivia
Writer at Helmet Today, covering helmet reviews, fit and riding safety.