To adjust welding helmet headgear for comfort, set four things in order: the ratchet knob for overall circumference, the top strap for height so your eyes sit level with the middle of the lens, the angle and depth stops so the shell sits close without touching your nose, and the distance from your face so the filter is far enough from your eyes for a clear, undistorted view. Get those four right and the helmet should feel balanced and secure — snug enough to stay put when you nod it down, never clamped so tight it leaves you with a headache by midday.
Headgear is the least glamorous part of a welding helmet and the part you interact with most. A premium filter in a badly adjusted harness feels worse by lunch than a basic filter in a harness that fits. This guide walks through each adjustment, the order to make them in, and the wear items that quietly ruin fit when they age.
What Are the Main Adjustments on Welding Helmet Headgear?
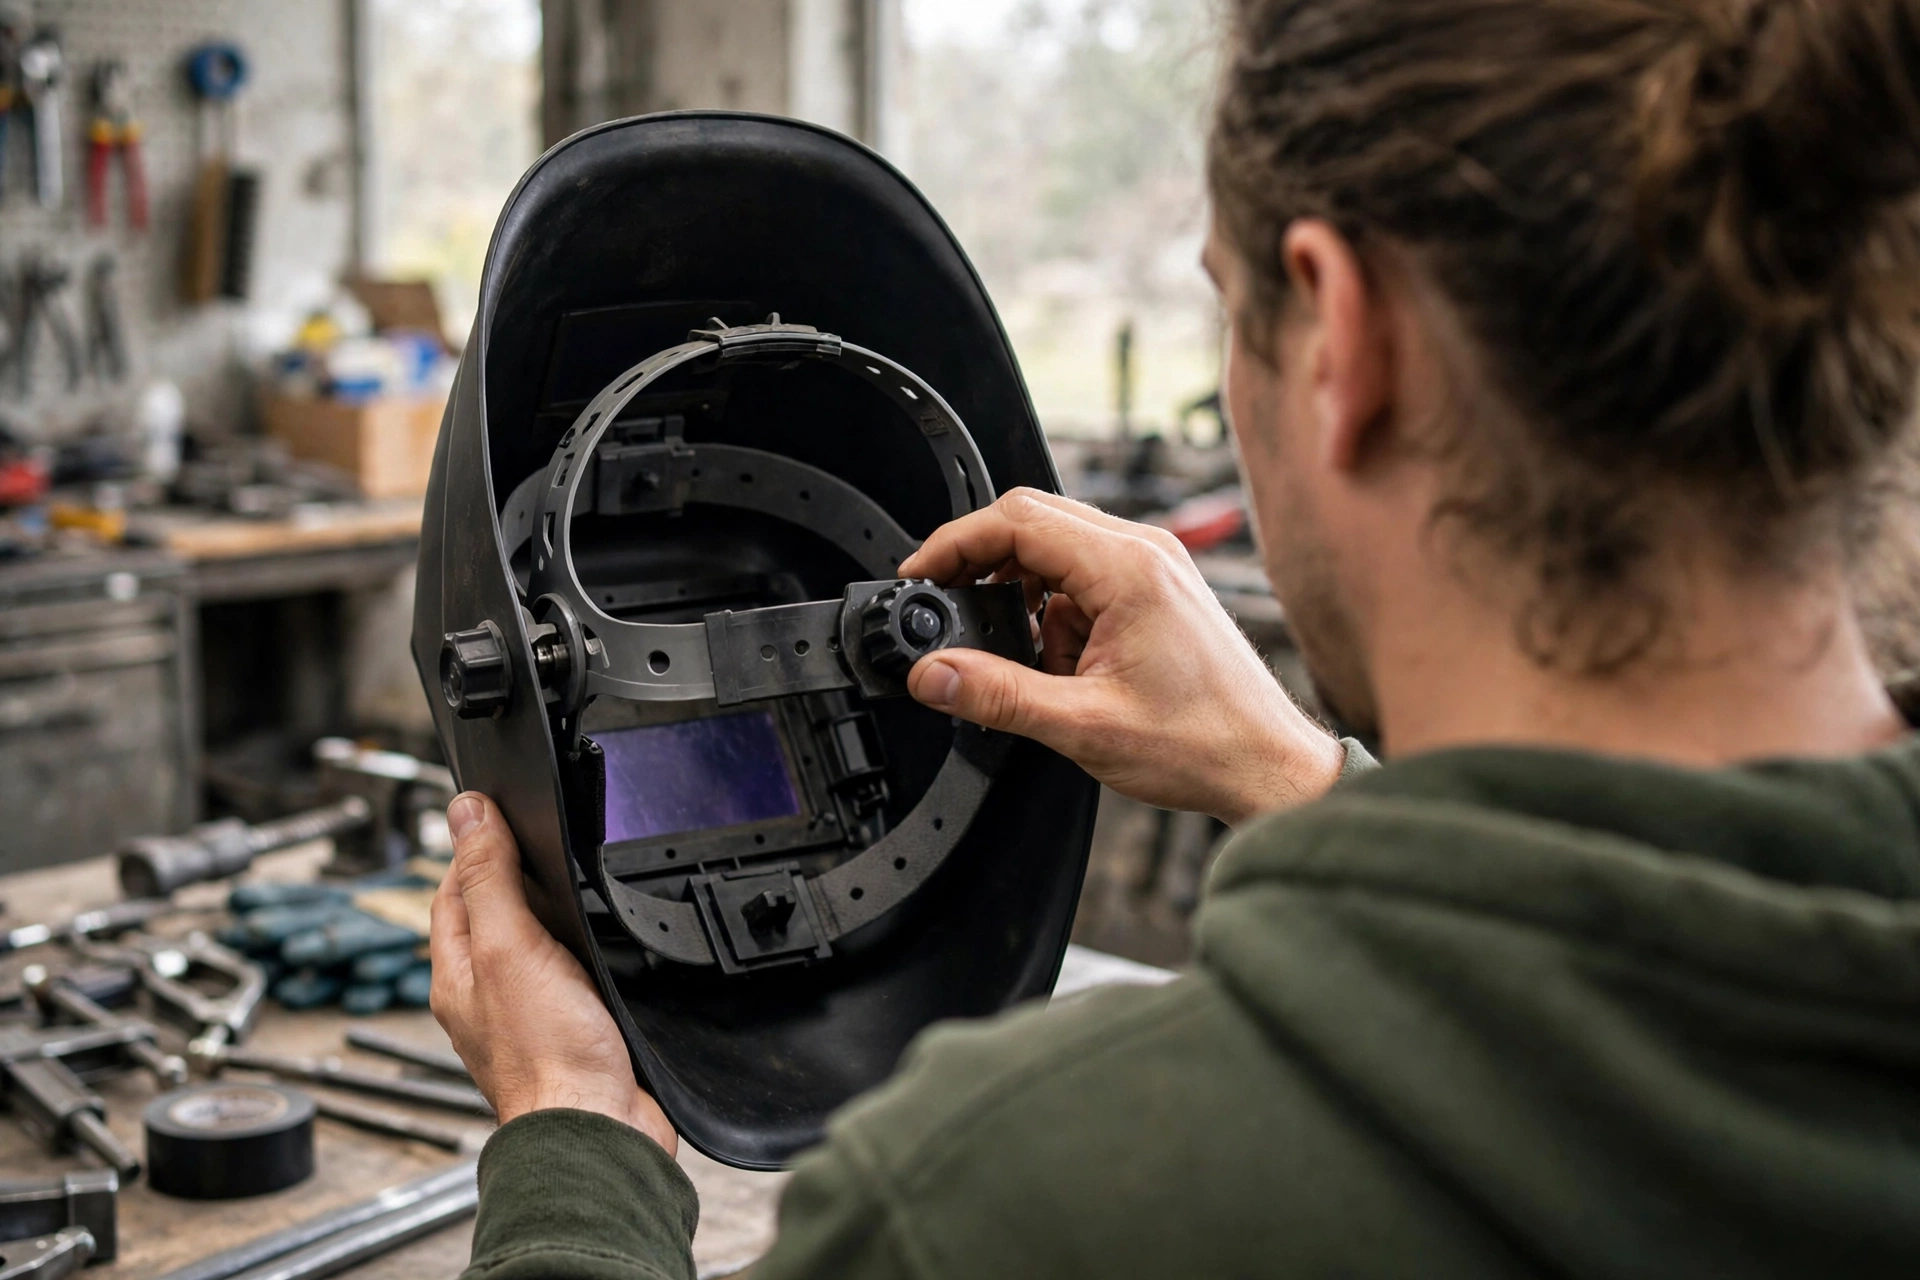
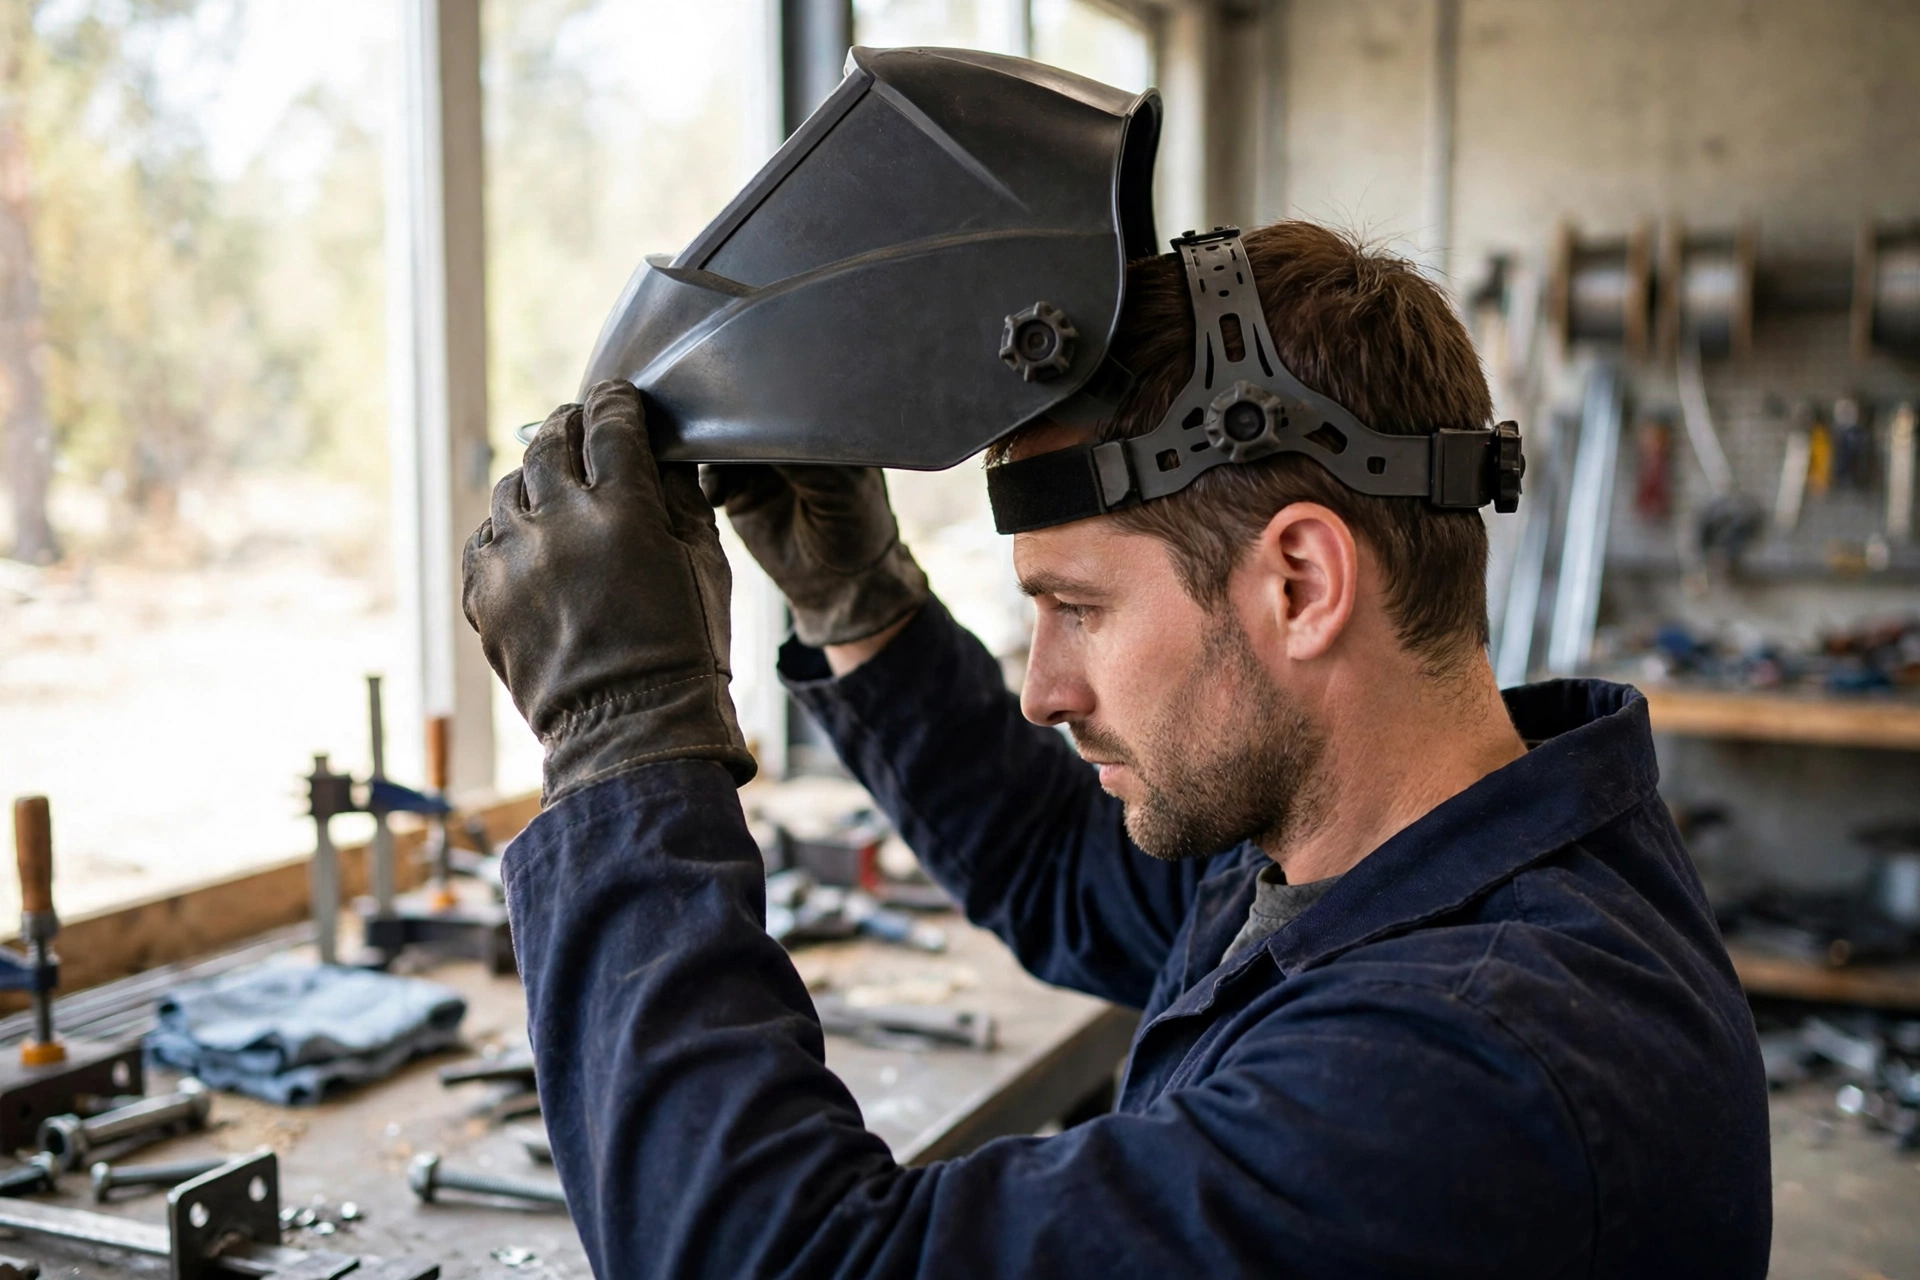
Most headgear offers the same set of controls, though the exact mechanisms vary by brand. The ratchet knob at the back sets the circumference of the headband. The top strap (or crown straps) sets how high the helmet rides on your head, which in turn decides where your eye line falls across the viewing window.
Angle stops on the side pivots limit how far the shell tilts when you nod it down, and depth (or distance) adjustment slides the whole helmet forward or back relative to your face. Some models add a second rear band or a padded occipital support that cradles the back of the skull and spreads the load.
Every one of these exists for a reason. Circumference alone does not make a helmet comfortable — a helmet can be perfectly tight and still sit too low over your eyes, hang too far from your face, or drop at the wrong angle. Work through all of them once, properly, and you will rarely touch them again except for fine-tuning.
How Do You Set the Headgear Step by Step?
Start with the top strap. Loosen everything, put the helmet on, and adjust the crown so the headband sits level around your head — roughly just above your ears — with your eyes looking through the center of the lens, not the top edge. If you are constantly tilting your head back to see the puddle, the helmet is riding too low; raise it on the top strap.
Next, the ratchet. Tighten the rear knob until the helmet is snug and stays in place when you shake your head gently, but stop before it feels like a clamp. You should be able to nod the helmet down and flip it up with a head movement, without it sliding down your forehead. Then set distance: slide the shell so the filter sits a comfortable distance from your face — close enough for a good view, far enough that the lens does not fog instantly from your breath and the shell clears your nose when it drops.
Finally, angle stops. Set them so that in the down position the shell sits level and covers your face fully, and in the up position it rests stably without creeping back down. Put on the respirator or glasses you normally weld with and re-check everything — added gear changes the fit more than people expect.
Why Does Eye Level Matter So Much?
An auto-darkening filter has a viewing window, and your view of the puddle is clearest through its center — especially on helmets where off-angle viewing can look lighter or uneven. If the headgear lets the helmet ride low, you spend the day looking through the upper part of the window with your chin raised, and if it rides high you crane down instead.
Eye level is set almost entirely by the top strap and the headband position, which is why it is the first adjustment to make. It also affects balance: a helmet whose mass sits correctly over your head’s pivot point nods down and flips up with far less neck effort than one hanging off the front of the band.
If you wear bifocals or a cheater lens inside the helmet, eye level matters even more, because the magnification zone has to line up with where you actually look at the work. Set the headgear with your usual eyewear in place.
How Tight Should Welding Helmet Headgear Be?
Snug, balanced, and boring. The helmet should not move when you shake your head, nod sharply, or bend over the workpiece — and it should not create pressure points. A single hot spot on the forehead or a band that pulses by the second hour means the load is concentrated where it should be spread.
Modern multi-point headgear exists precisely to spread that load: extra contact bands and a rear cradle turn one squeezing ring into several gentle supports. If your helmet has those features, use them — loosen the ratchet slightly and let the cradle and top straps carry more of the weight.
Overtightening is the most common mistake, usually made to stop a helmet slipping. Slipping is normally a balance or sweatband problem, not a tightness problem. Cranking the ratchet treats the symptom, adds a headache, and still lets a front-heavy helmet creep when you sweat.
When Should You Replace Headgear Parts?
Sweatbands and padding are wear items. A sweatband that has gone flat, stiff, or permanently grubby stops cushioning and stops gripping, and in general terms it should be washed regularly and replaced when it no longer springs back. Most makers sell replacement sweatbands and full headgear assemblies cheaply, because they expect them to wear out long before the filter does.
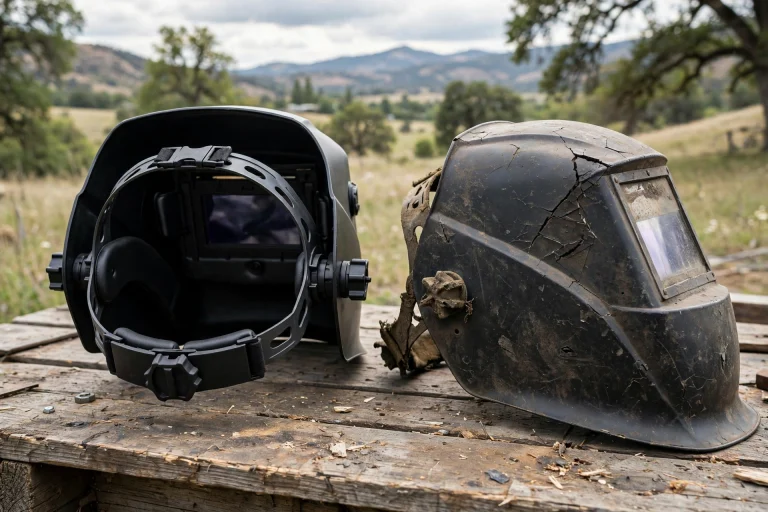
Also inspect the ratchet and pivot hardware. A ratchet that slips under load, cracked pivot points, or angle stops that no longer hold their setting will defeat every adjustment you make. If parts are available for your model, a headgear refresh can make a mid-life helmet feel new; if the shell mounts themselves are damaged, that is a helmet-level problem.
Keep the adjustments honest, too: re-check fit whenever you change what is under the helmet — a winter cap, a different respirator, a haircut that surprises you. Fit is a system, not a one-time setting.
The principle travels well beyond welding: protective headgear only works when it fits and stays where it was fitted. Cyclists follow the same logic with certified helmets, and our guide to how rotational-impact liners like MIPS work explains why a stable, correctly positioned helmet matters so much in a fall.
Frequently Asked Questions
Q: Why does my welding helmet keep sliding down my forehead?
A: Usually the top strap is set too loose or too long, letting the whole helmet settle forward, or the sweatband has gone flat and lost grip. Set the crown height first, wash or replace the sweatband, and only then add a touch of ratchet tension.
Q: My helmet gives me a headache after an hour. What should I change?
A: Back the ratchet off slightly and redistribute the load: raise or lower the top strap so the band sits level, and let any rear cradle carry its share. A headache almost always means one tight ring is doing all the work.
Q: Can I swap better headgear into an older helmet?
A: Often, yes — many makers offer upgraded multi-point headgear that mounts to the same shell pivots, and complete replacement headgear is a standard spare part. Check compatibility with your exact model before ordering.

Olivia
Writer at Helmet Today, covering helmet reviews, fit and riding safety.