
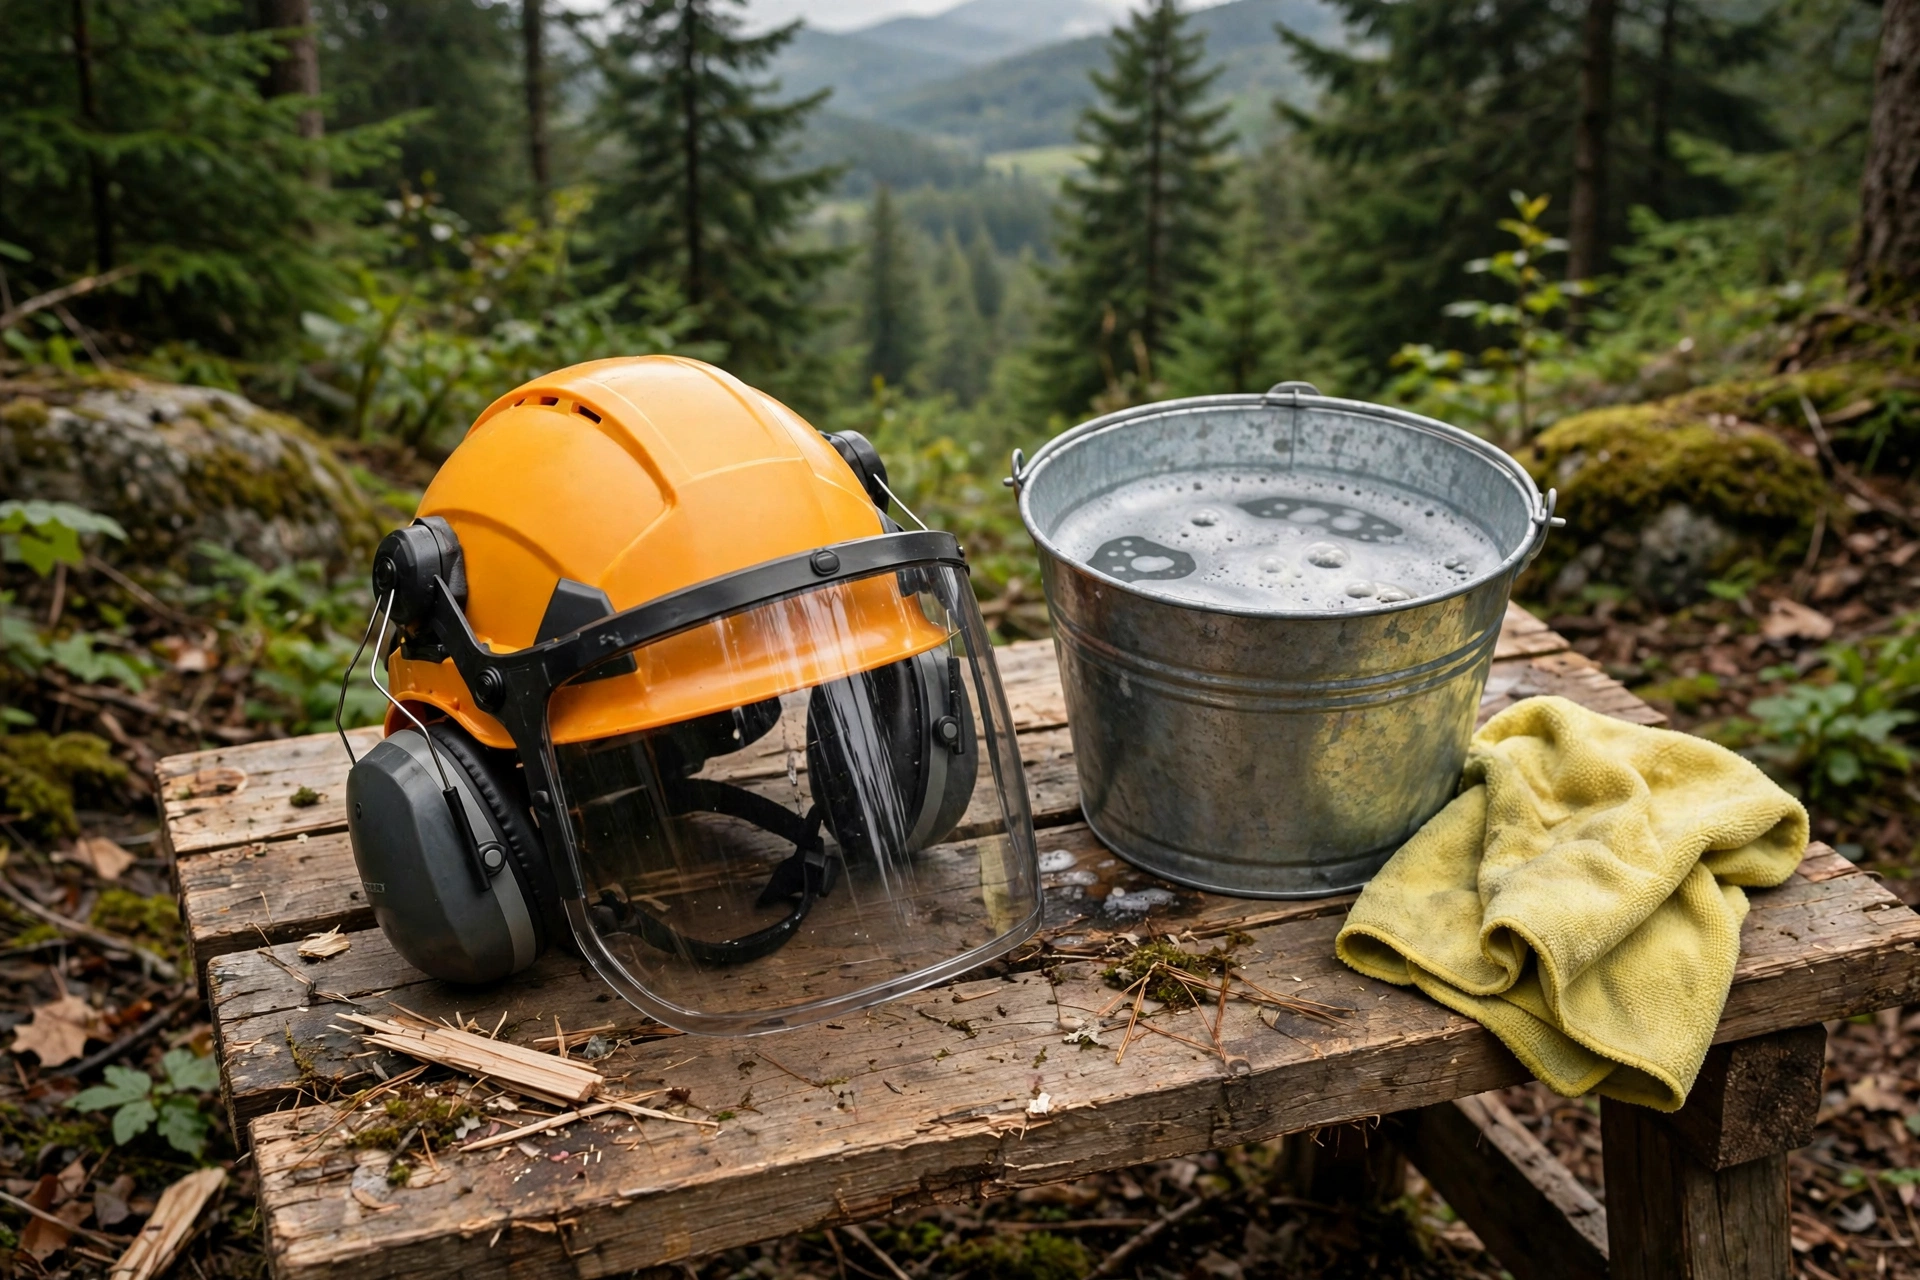
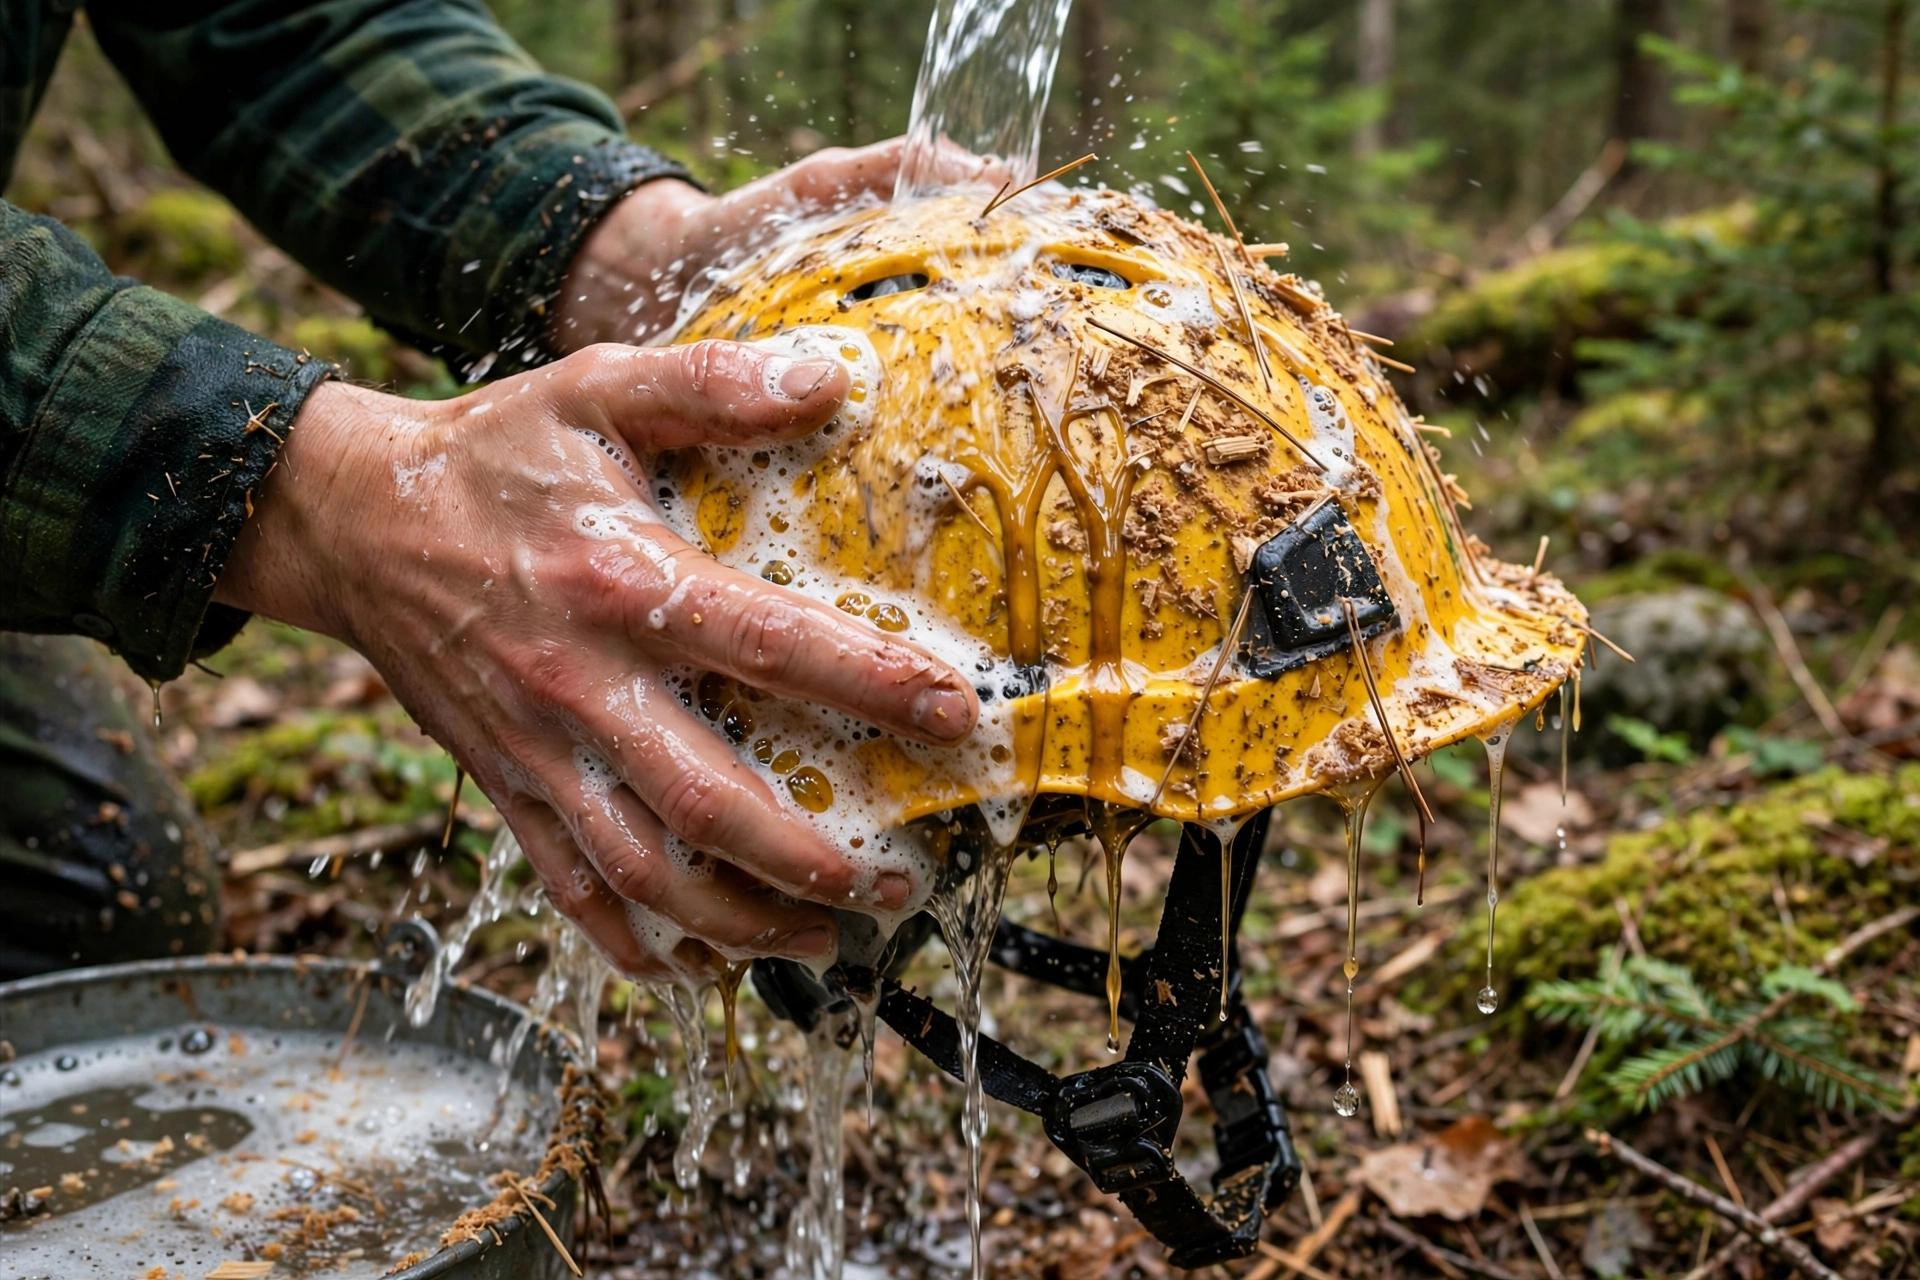
To clean a forestry helmet after sap and sawdust, brush off the loose debris first, then wash the shell with mild soap and lukewarm water, clean the visor and ear muff cushions separately, and let everything air dry before storing it. Sap is sticky and sawdust gets into every crevice, so a quick wipe is rarely enough; a proper clean keeps the visor clear, the ear muffs sealing well, and the suspension comfortable. In general terms, regular cleaning also makes damage easier to spot, since cracks and wear hide under layers of grime.
Work through the helmet in parts rather than dunking the whole thing in water. The shell, visor, muffs, and suspension each need slightly different care, and a few minutes spent on each part will keep the system working well for much longer.
How Do You Remove Sap and Sawdust From the Shell?
Start by brushing or shaking off loose sawdust, paying attention to the vents, the visor pivots, and the ear muff mounts, where dust collects. A soft brush or a blast of air works well for vents; avoid poking sharp tools into them, since that can damage the suspension clips inside. For sap, wipe the affected area with a cloth dampened with warm, soapy water and let it sit for a minute to soften before wiping again.
Stubborn sap may need a second pass or a small amount of a gentle solvent, but check the maker’s guidance first, since harsh chemicals can weaken the shell material or cloud a clear visor. In general terms, avoid strong solvents, abrasive pads, and boiling water, all of which can damage the helmet. If sap has hardened into a thick blob, soften it gradually with warm soapy water rather than scraping it off, which can scratch the shell.
Once the shell is clean, rinse with a damp cloth and dry it with a soft towel. Check the shell as you clean it, looking for cracks, dents, or deep scratches that may have been hidden under the grime. Cleaning time doubles as inspection time, and catching damage early is one of the best reasons to clean regularly, since a crack found at the wash station is far better than one discovered after another day of work.
How Do You Clean the Visor?
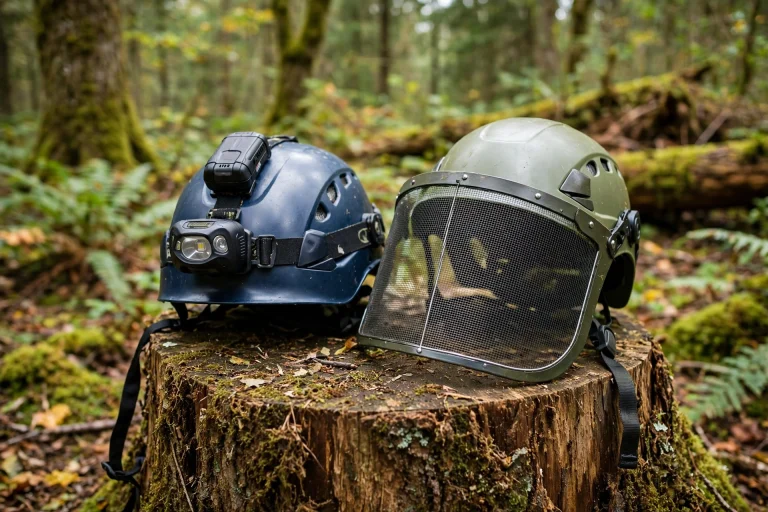
Mesh visors can be brushed clean with a soft brush and soapy water, then rinsed and left to dry. Pay attention to the edges and the pivot area, where sap and dust build up and can stiffen the flip mechanism. If the mesh is bent or torn, it should be replaced, since a damaged mesh lets debris through and can distort your view.
Clear visors need gentler handling. Rinse off loose dust first, since wiping a dusty visor dry can scratch it, then wash with mild soap and water using a soft cloth. Dry it with a clean, soft towel rather than a paper towel or work rag, which can leave fine scratches. If the visor is heavily scratched or clouded, replace it; a scratched visor blurs your view in bright light and at dusk, exactly when you need clarity most.
Clean the visor pivots too. A drop of grime in a pivot can make the visor stiff or floppy, so wipe the pivot area clean and check that the visor still locks in the up and down positions after cleaning.
How Do You Clean the Ear Muffs and Suspension?
Wipe the ear muff cups with a damp, soapy cloth, and clean the cushions gently, since they are softer than the shell and can tear if scrubbed hard. If the cushions are cracked, flattened, or no longer sit flat against your head, replace them; worn cushions break the hearing-protection seal, so cleaning alone will not restore their performance. Check the muff mounts for sawdust and sap as well, since buildup there can make the muffs stiff to raise and lower.
Clean the suspension and headband with soapy water and a cloth, and check the straps for fraying while you work. Sweat and sap can stiffen straps over time, and a stiff chin strap is harder to fasten snugly. Let the suspension dry fully before putting the helmet back together, since trapped moisture can lead to unpleasant smells and faster wear of the padding.
If your helmet has removable padding, take it out and wash it separately following the maker’s instructions. This is often the part that absorbs the most sweat and sap, and a fresh pad makes the helmet far more comfortable on the next shift, and it also cuts down the stale smell that builds up in well-used forestry kit, which makes the helmet noticeably pleasanter to put on. A quick read on how modern liners work, such as what MIPS for helmets means, can also help you understand why keeping the liner clean and undamaged matters.
How Should You Dry and Store the Helmet After Cleaning?
Let the helmet air dry at room temperature, away from direct heat and sunlight. Do not use a heater, a drying cabinet on high heat, or a hair dryer, since heat can warp the shell and age the ear cushions. Drying usually takes a few hours, so clean the helmet at the end of the day rather than right before a shift when possible.
Once dry, store the helmet in a cool, dry place, with the visor protected from scratches. A helmet bag or a shelf away from sharp tools works well. Avoid leaving a clean helmet in a hot vehicle cab or in direct sun, since heat and UV can age the materials even when the helmet looks clean. A helmet that is cleaned and stored properly will stay comfortable, clear-sighted, and protective for far longer than one that is tossed aside dirty after every job, and it will be pleasanter to put on at the start of the next shift.
Frequently Asked Questions
Q: Can you hose down a forestry helmet?
A: In general terms, a gentle rinse is fine for the shell, but avoid high-pressure water and do not soak the suspension or ear muff cushions, which should be wiped clean instead.
Q: What removes tree sap from a helmet shell?
A: Warm, soapy water softens most sap if left to sit for a minute. Avoid harsh solvents unless the maker approves them, since they can damage the shell material.
Q: How often should you clean a forestry helmet?
A: Brush off sawdust after each use and give the helmet a full wash whenever sap, dust, or sweat builds up. In general terms, a weekly deep clean suits regular users.

Olivia
Writer at Helmet Today, covering helmet reviews, fit and riding safety.