The most common beginner welding helmet mistakes are picking the wrong shade, striking an arc with the helmet still in grind mode, letting the cover lens cloud over, wearing the headgear too loose, glancing at the arc before the hood is down, and never testing the lens before welding. None of them require talent to fix — they are habits, and most take seconds once you know what to check.
Beginners naturally focus on the welder itself: settings, technique, bead shape. The helmet gets treated as a given. This guide walks through the six mistakes that cause most beginner flashes, eye strain and wobbly first welds.
Why Do Small Helmet Mistakes Matter So Much?
A welding helmet has one job — put the right darkness in front of your eyes at the right moment — but it can only do it in the configuration you leave it in. A wrong setting or a clouded lens does not announce itself politely; it announces itself as a flash, a headache, or a weld you could not see well enough to guide.
The good news is that helmet mistakes are systematic. They come from not knowing what the controls do, or from skipping a short pre-weld check. Once the checks become routine, the same mistakes basically stop happening.
There is also a comfort payoff. Several of these mistakes — loose headgear, fogged and dirty lenses — are why beginners find welding under a hood miserable and choppy. Fix them and the view steadies, the helmet stays put, and learning gets much easier.
What Shade Mistakes Do Beginners Make?
The classic error is treating shade as a comfort dial: turning it down to see the puddle better, or leaving it wherever the last job left it. Shade is protection matched to the process and amperage. In general terms, lighter work like low-amp TIG sits at the lower end of a helmet’s shade range, while stick and higher-amp MIG need darker settings, and the helmet maker’s shade chart for your process is the reference to follow.
Too light a shade leaves you squinting with tired, gritty-feeling eyes after a session. Too dark is not safer in any useful way either — you cannot see the joint, your welds wander, and you end up lifting the hood to check your work mid-pass, which creates its own risks.
Build the habit of checking the shade knob as part of setting up the machine. New process, new amperage, new shade — the two changes travel together.
Why Is Grind Mode a Trap for New Welders?
Grind mode holds the lens at its light shade so the helmet can double as a face shield while you grind. It is genuinely useful — and it is the single most common cause of a beginner’s first proper arc flash, because the helmet looks and feels exactly the same from inside whether it is in weld mode or grind mode.
The sequence happens to almost everyone once: grind a bevel, swap to the welder, nod the hood down, strike the arc — and get the full flash, because the lens never darkened. The lesson is not to avoid grind mode but to ritualize the switch-back. Many welders tap the mode control as part of picking up the torch, every time, no exceptions.
Helmets with an external grind button make this easier, since you can check and change the mode without lifting the hood. Whatever your helmet has, make “confirm weld mode” the last thing you do before every arc, the way you confirm the ground clamp is on.
How Do Fit and Dirty Lenses Cause Trouble?
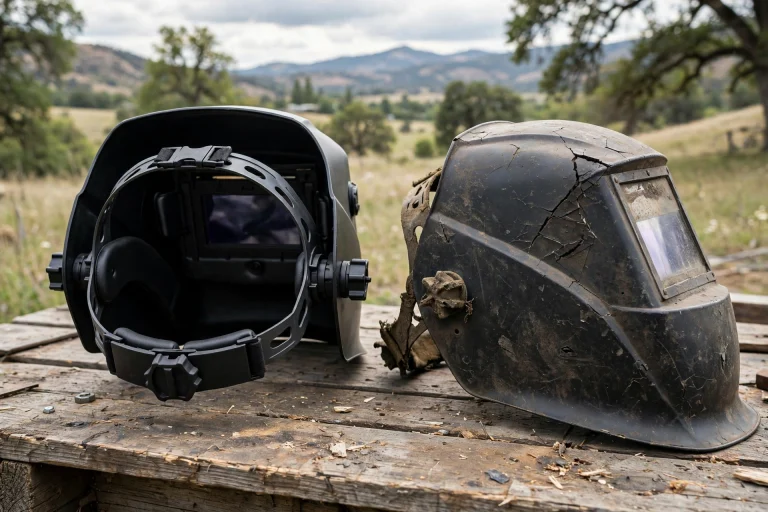
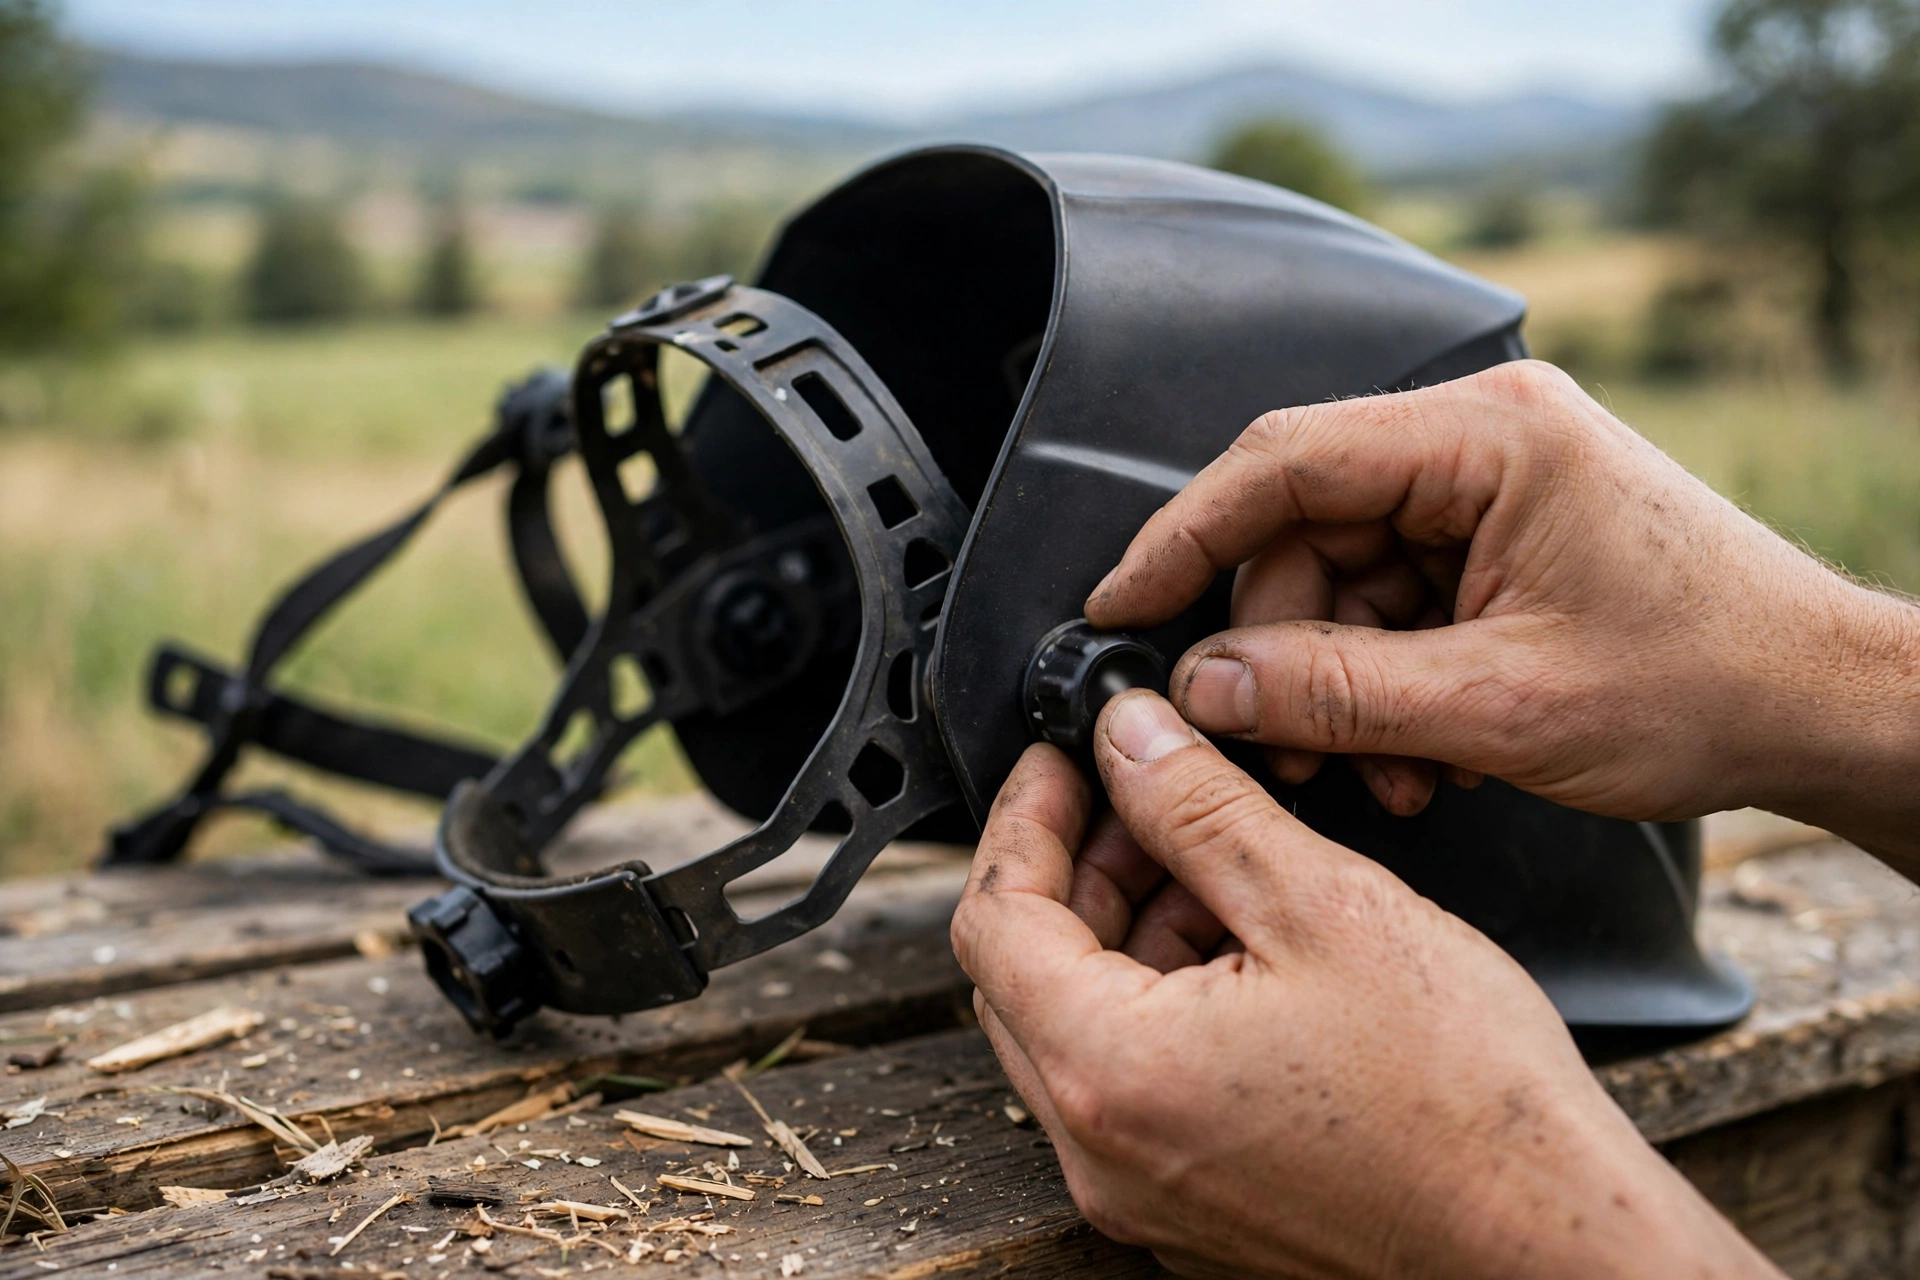
Loose headgear is the quiet saboteur. Beginners often leave the ratchet loose so the helmet feels comfortable, then fight it for the whole session: the hood slides when they nod it down, shifts when they move between positions, and ends up sitting crooked so part of the view is the filter edge instead of the weld. Snug the headgear until the helmet moves with your head, set the top strap so your eyes sit level with the middle of the lens, and adjust the tilt stops so it comes down to the same place every time.
The cover lens is the other slow failure. The clear plastic cover in front of the filter collects spatter pits and a fine haze. Because the change is gradual, beginners adapt to a worsening view and blame their technique. If the puddle looks foggy, clean the cover lens; if cleaning does not restore it, replace the cover — they are cheap wear parts, and a fresh one can make a struggling beginner feel suddenly competent.
Both mistakes share a theme: the helmet was blamed for what was really maintenance. A two-minute clean and adjust before a session prevents most of it.
What Pre-Weld Checks Should Become Habit?
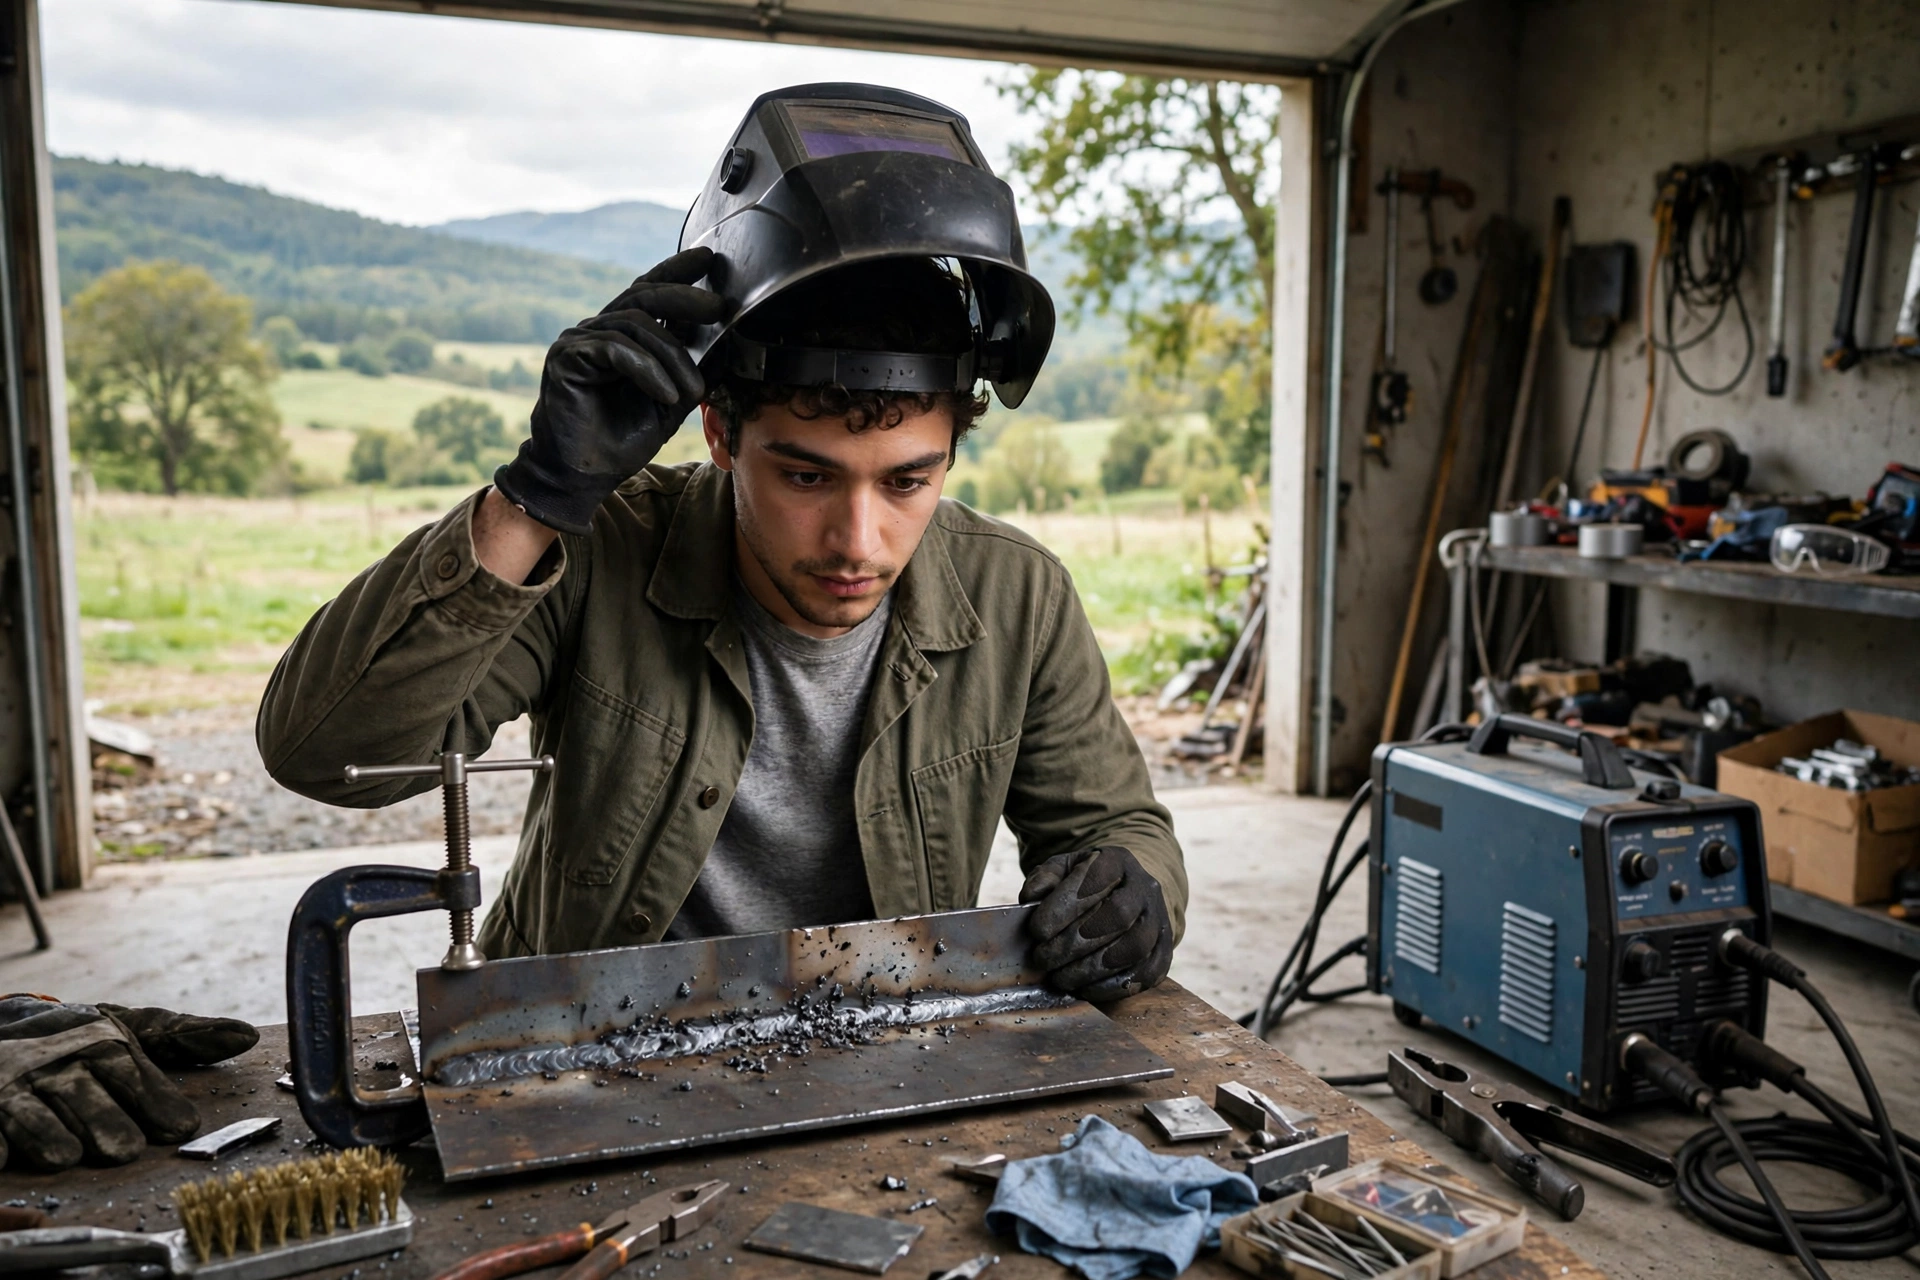
Three checks cover nearly every mistake on this list, and together they take under a minute. First, test the lens: trigger it with a bright light, a striker spark or the helmet’s self-test and watch it darken evenly, with no flicker or pale patches. A lens that fails the test is a lens you do not weld with that day.
Second, confirm the settings: weld mode, not grind mode, and the shade set for the process and amperage you are about to run. Third, confirm the fit: headgear snug, helmet nodding down squarely, cover lens clean enough that the joint is clearly visible with the lens in its light state.
Write the routine on a card taped near the welder if it helps. Within a few weeks it becomes automatic — and automatic is exactly what you want, because the day you are rushed or distracted is the day the checks earn their place.
These habits transfer across every kind of head protection: test it, set it, fit it, every time. Cyclists follow the same logic when they check fit and features like MIPS in a modern bike helmet before a ride — the equipment only protects when it is correctly prepared for the job in front of it.
Frequently Asked Questions
Q: I got flashed once as a beginner. Should I worry?
A: A single brief flash commonly causes temporary discomfort, but eye pain, a gritty feeling, light sensitivity or any vision change should be checked by a medical professional promptly. Do not keep welding that day, and fix the cause — usually grind mode or a failed lens test — before the next session.
Q: How dark should my shade be if I am just starting out?
A: Follow the shade chart supplied with your helmet for your process and amperage rather than copying a number from a video. In general terms, beginners on typical home MIG and stick work sit in the middle of most helmets’ shade ranges; the chart for your exact setup is the authority.
Q: My helmet keeps sliding down when I nod. What am I doing wrong?
A: Usually the headgear ratchet is too loose or the top strap is set too high, so the helmet balances instead of gripping. Tighten the ratchet until the hood moves with your head, lower the top strap so the weight sits properly, and check that the sweatband is not worn smooth — it is a replaceable part.

Olivia
Writer at Helmet Today, covering helmet reviews, fit and riding safety.