Most loose chin strap problems are adjustment problems, not broken parts — and those you can fix yourself in a few minutes. If the strap keeps sliding longer as you ride, the usual causes are a strap that has slipped through its adjustment slider, a ladder-lock buckle that is not threaded correctly, or pads and straps that have stretched with use. Work through the adjustment checks below first. But one rule comes before all of them: if the buckle itself is cracked, or the strap webbing is torn, cut, or badly frayed, no adjustment will make it safe — that part, or the whole helmet, needs replacing.
The chin strap is what keeps the helmet on your head in a crash, so treat a loose strap as a real safety fault, not a comfort annoyance — and do not ride again until the strap holds firm through every check in this guide.
Why Does a Chin Strap Keep Coming Loose?
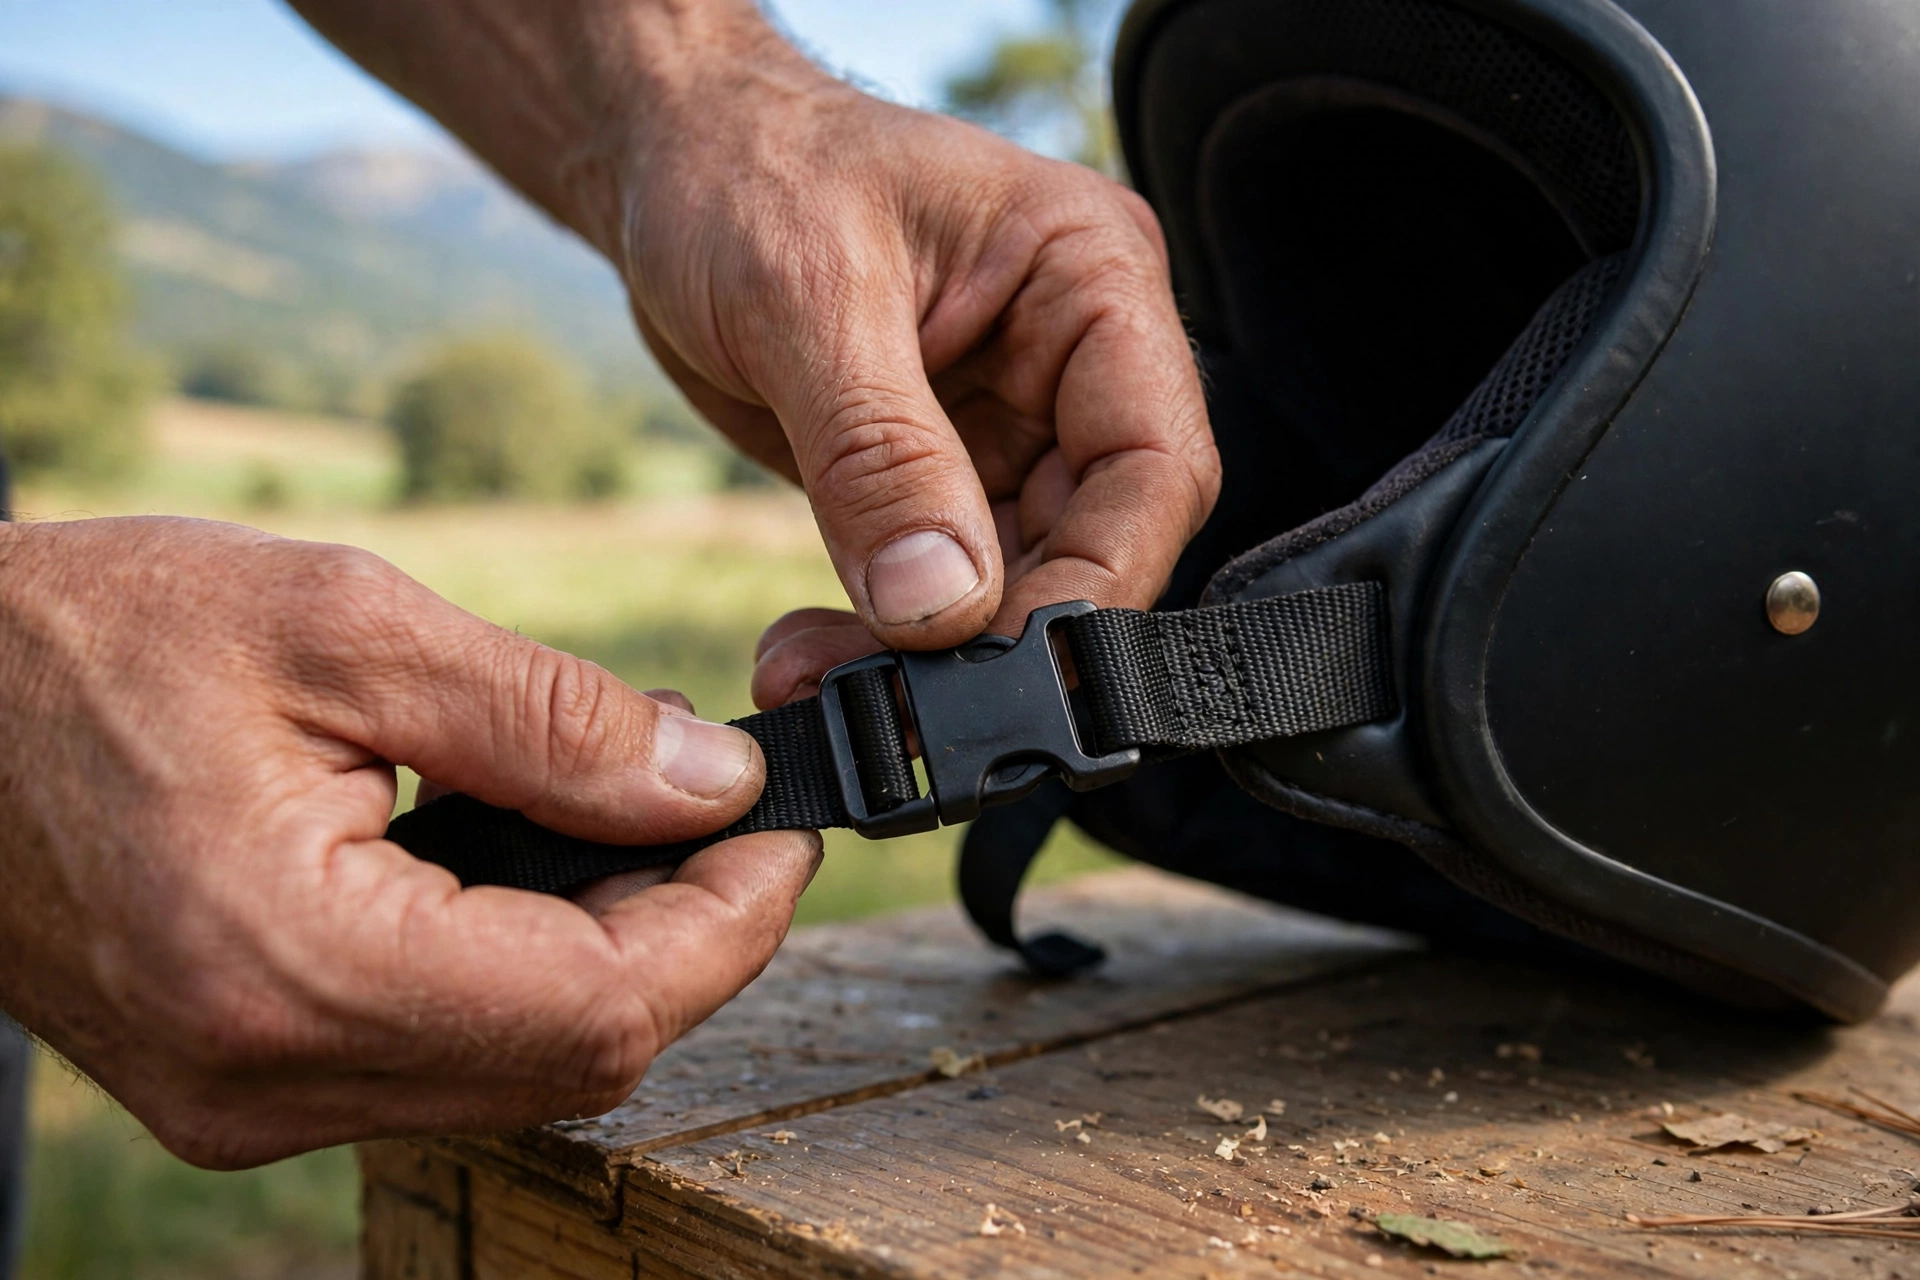
Understanding which part is failing saves you from fixing the wrong thing. On most helmets the strap is one piece of webbing anchored inside the shell, running down both sides of your face. Its length is set by a slider on one side, while the buckle — quick-release, micrometric ratchet, or double D-ring — joins the two ends under your chin.
The common causes are simple. The strap tail can creep through the slider a millimeter at a time, especially when the webbing is new or wet with sweat. The keeper clip that holds the loose end may have come off, letting the tail work itself free. On double D-ring helmets, the strap may not be threaded back through the second ring — the step that locks it. And on older helmets, the anchor points inside the shell can wear, a more serious problem covered below.
Before you start, put the helmet on, fasten up, and note exactly what moves. Pull down on the strap and try to roll the helmet forward. Does the buckle open, or does webbing slide through the adjuster? That tells you where to work.
How Do You Fix a Strap That Slips Through the Slider?
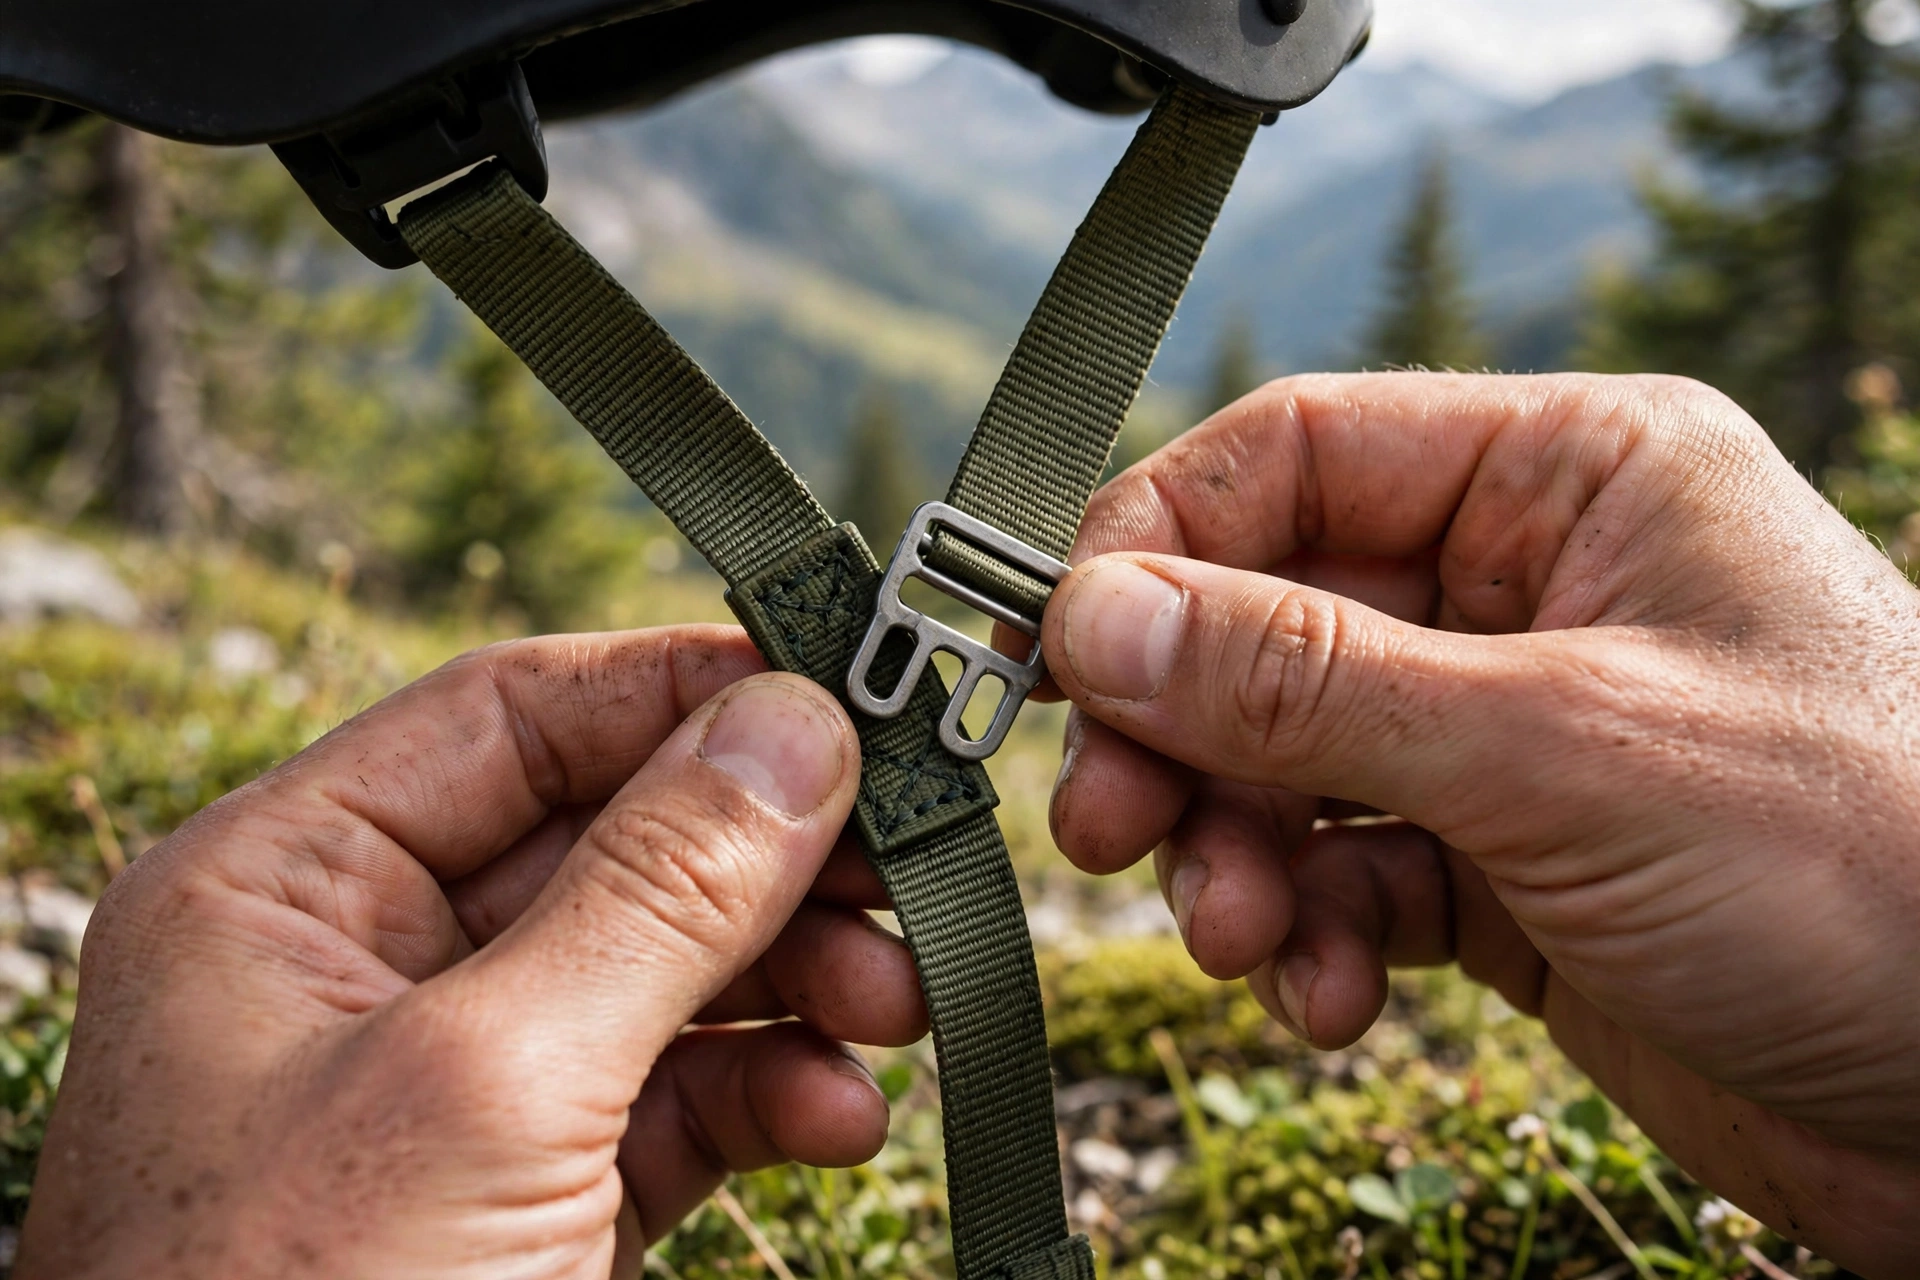
This is the most common fault and the easiest fix. The adjustment slider (sometimes called a tri-glide) holds the strap by friction, and friction fails when the strap is threaded wrongly, twisted, or worn shiny.
- Unfasten the buckle and lay the helmet upside down on a soft surface so you can see the strap path clearly.
- Check the webbing runs flat through the slider with no twists. A twisted strap narrows its contact area and slides easily. Straighten it fully.
- On a ladder-lock or tri-glide, confirm the strap passes over the center bar and back under, so it doubles back on itself. If it only passes through once, re-thread it so the tail doubles back — that doubling is what creates the grip.
- Pull the tail firmly to take up slack, then refit the rubber keeper or snap the retaining clip over the loose end so the tail cannot work free.
- Put the helmet on, fasten up, and repeat the pull test. The strap should not lengthen at all when you tug it hard.
If a correctly threaded strap still creeps, the webbing may be glazed from years of sweat and friction. Some manufacturers sell replacement strap assemblies, but on many helmets the straps are permanently anchored. A helmet whose retention system can no longer hold adjustment has reached the end of its service life.
How Do You Fix Each Buckle Type?
Double D-rings have no moving parts to fail, so looseness here is always threading. The correct method: pass the strap through both rings, then back through only the first ring, and pull snug. If you skip the pass back, the strap will slide all day. Add the snap or keeper on the loose end so it does not flap against your neck or work the strap loose.
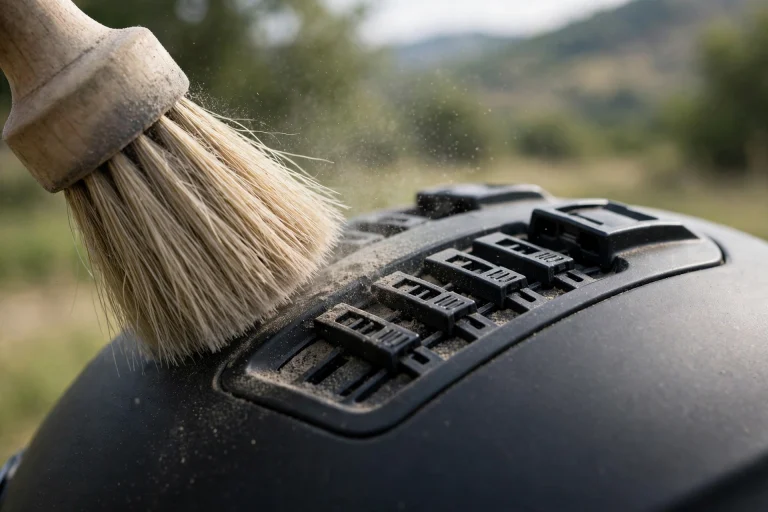
Quick-release buckles (the push-button type on many bicycle and some motorcycle helmets) hold by a spring tab clicking into a notched ladder strap. If yours releases too easily, inspect the notches and the tab: grit packed into the notches causes false engagement, so brush them clean with water, dry fully, and test. If the tab or receiver body is cracked, or the click no longer feels positive, the buckle has failed.
Micrometric ratchet buckles grip a toothed strap one click at a time. Slipping here usually means the teeth are worn or the release lever is not returning fully because of grit. Clean around the mechanism with a brush, work the lever a few times, and re-test. Worn teeth that skip under a firm pull are not repairable at home.
When Is a Loose Buckle Beyond a DIY Fix?
Be blunt with yourself here, because the answer decides whether the helmet is still a helmet. Replace the buckle assembly — if the manufacturer offers it as a spare part — or replace the helmet entirely if you find any of the following:
- Cracks anywhere in the buckle body, receiver, rings, or slider, even hairline cracks.
- Strap webbing that is torn, cut, melted, or frayed through a significant part of its width.
- Stitching at the strap anchor points that is broken, pulled out, or rotting.
- A buckle that opens under a firm two-handed pull, or a ratchet that skips teeth.
- Strap anchors inside the shell that feel loose or move when you tug the strap.
Never attempt a permanent repair on damaged retention parts with tape, glue, cable ties, or stitching of your own. Those fixes have never been crash-tested, they change how the strap behaves under load, and they fail at exactly the moment the system is loaded hardest. Certified helmets are also designed to work alongside systems like those described in our guide to MIPS and rotational protection — none of that engineering helps if the strap lets the helmet leave your head.
If the helmet is still under warranty, contact the manufacturer before buying anything — retention failures on a never-crashed helmet are sometimes covered, and several brands sell genuine replacement buckles and strap sets.
How Snug Should the Strap Be Once It Is Fixed?
A correctly adjusted strap lets you fit roughly one or two fingers between strap and chin — snug and firm, but not choking. The side straps should form a V meeting just below each earlobe; if those V sliders have drifted, the helmet can pitch forward even with a tight chin strap.
Finish with the roll-off test: with the strap fastened, try to roll the helmet forward off your head from the back edge, then backward from the front edge. A sound retention system stops both. Repeat the test every few weeks — ten seconds that catch a creeping slider before it matters.
Frequently Asked Questions
Q: Can I glue or tape a cracked helmet buckle to keep using it?
A: No. A cracked buckle is a failed safety part, and glue or tape has never been tested under crash loads. Replace the buckle with a genuine manufacturer spare if one exists for your model; if it does not, replace the helmet. Only adjustment and threading problems are safe DIY fixes.
Q: My strap only loosens while I am riding. What is the likely cause?
A: Vibration and sweat make a marginal adjustment creep. The most common causes are a strap that is not doubled back through its slider, a missing keeper clip on the loose end, or worn, polished webbing. Re-thread and straighten the strap first, refit the keeper, and re-test with a firm pull before riding.
Q: How often should I check my chin strap and buckle?
A: Do the quick pull and roll-off test every few weeks, and inspect the webbing, stitching, and buckle body closely a few times a year. Replace parts or the helmet at the first sign of cracks, fraying, or a buckle that no longer clicks and holds positively.

Olivia
Writer at Helmet Today, covering helmet reviews, fit and riding safety.