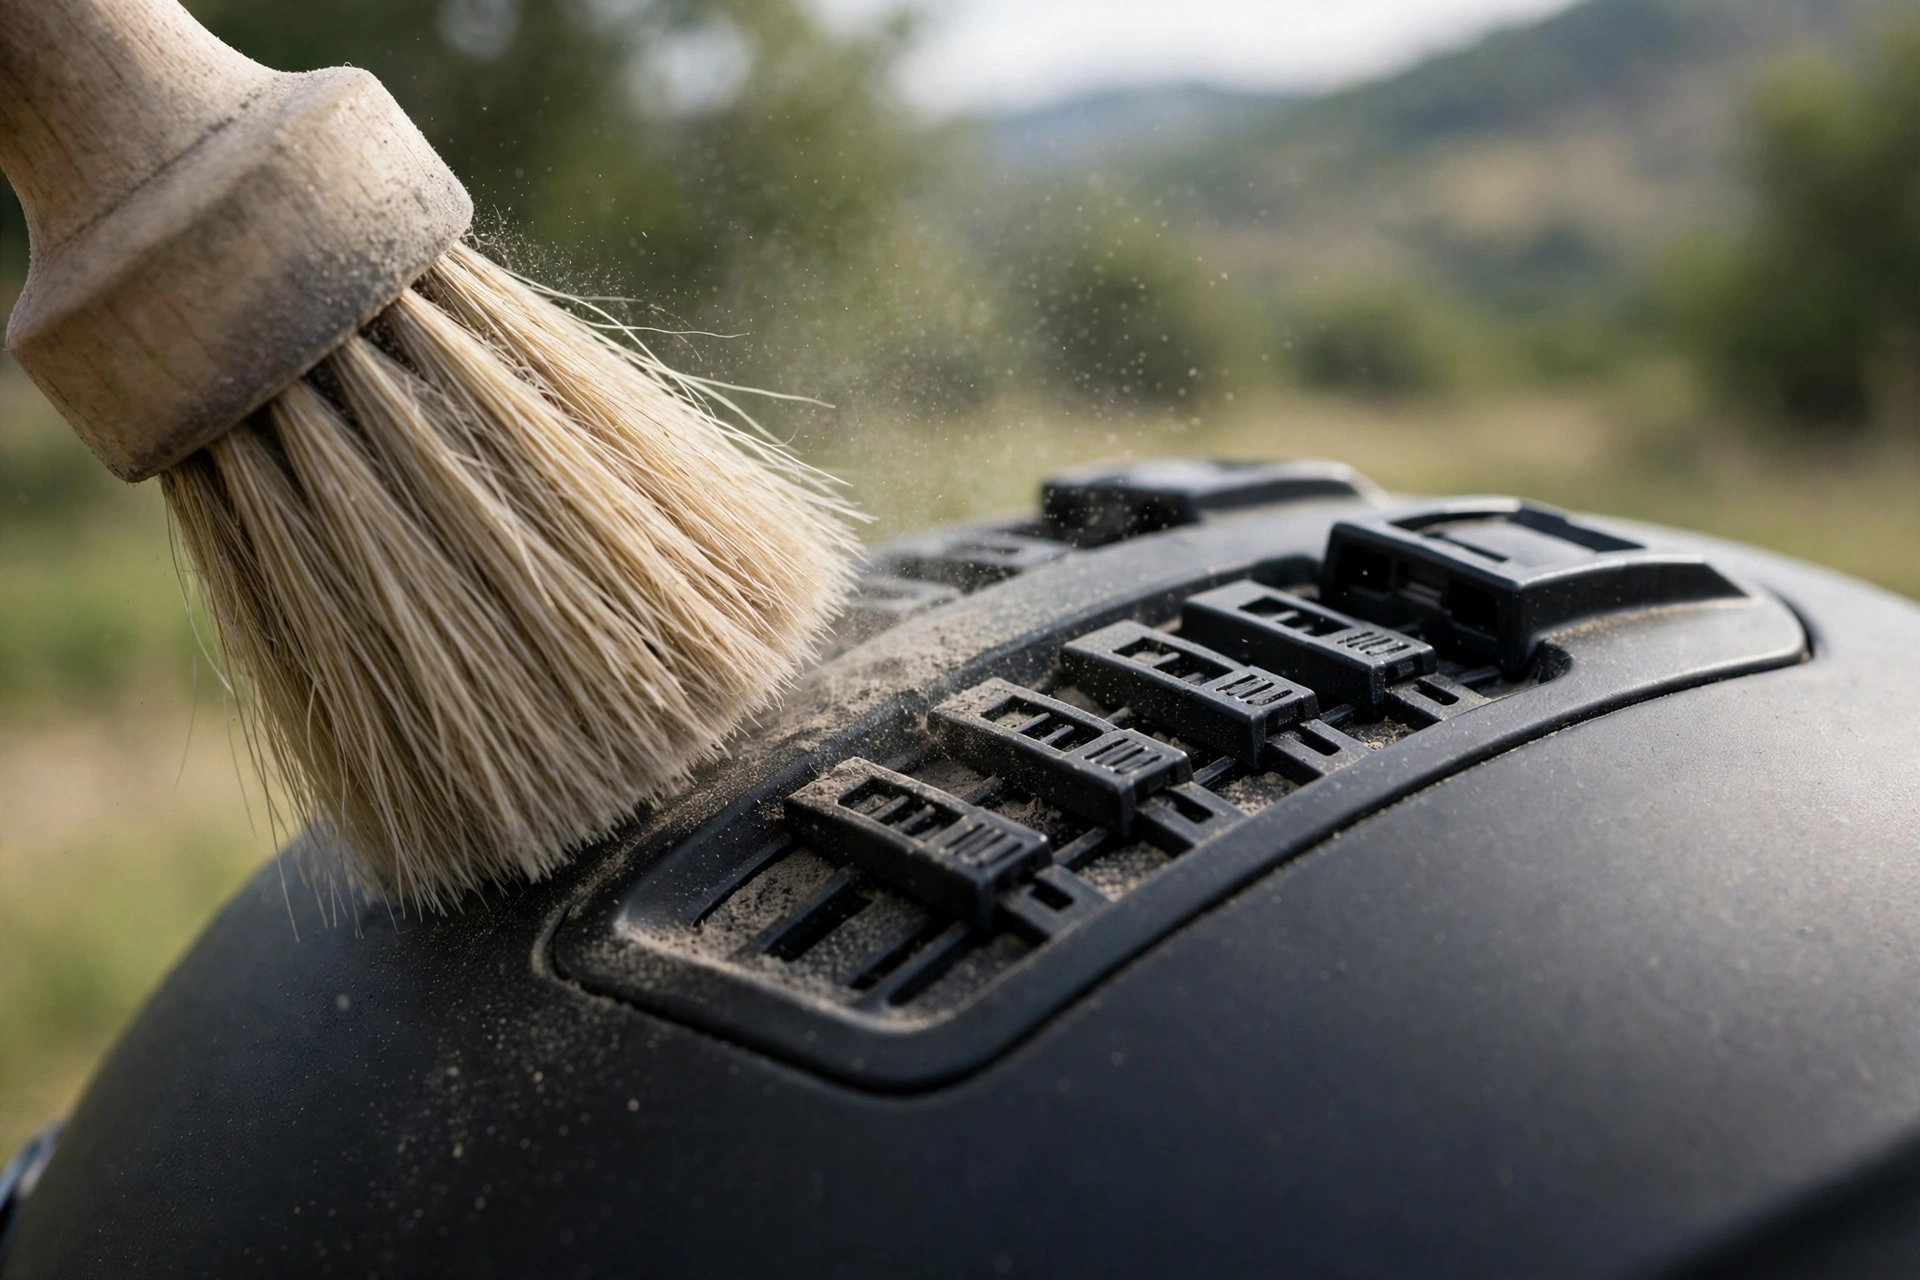
To clean helmet vents and sliders, brush the loose dust and grit out with a soft brush, wash around the openings with warm water and mild soap on a cloth or cotton swab, and rinse gently — never blast water or spray cleaner straight into the vents. Working the slider open and closed a few times while you clean frees the grit that makes it stick. Keep solvents and high-pressure water away from the openings, because whatever goes into a vent ends up against the EPS foam and vent doors inside.
Vents are easy to ignore because they sit on the outside of the helmet and seem purely mechanical. In reality the vent system is a set of channels cut through the foam, covered by small plastic doors that slide or pivot. Dust, road grit, dried bugs, and salt all work their way into those tracks, and one day the slider that used to click smoothly barely moves. A gentle clean, a couple of times a season, keeps the airflow system working the way it was designed to.
Why Do Helmet Vents and Sliders Get Stuck?
The sliding door of a vent runs in a shallow track, and anything gritty that lands in that track acts like sandpaper and a wedge at the same time. Dry dust is the everyday culprit, but the sticky combinations are worse: dust mixed with sweat mist or road spray turns into a paste that hardens in the mechanism. On motorcycle helmets, dried insect remains around the chin vent are a classic cause of a stuck slider.
Forcing a stuck slider is how parts break. The doors and their little tabs are light plastic, sized to open with fingertip pressure, and levering at them with a screwdriver can snap a tab or crack the door — damage that is usually not repairable, because vent parts are model-specific and often not sold separately. If a vent sticks, the answer is always to clean first and force never.
The vent channels themselves also collect debris — leaves, seeds, and grit lodge in the intake ports and reduce the airflow that keeps you cool, which is reason enough to clean them, quite apart from keeping the sliders moving.
What Tools Do You Need to Clean Vents Safely?
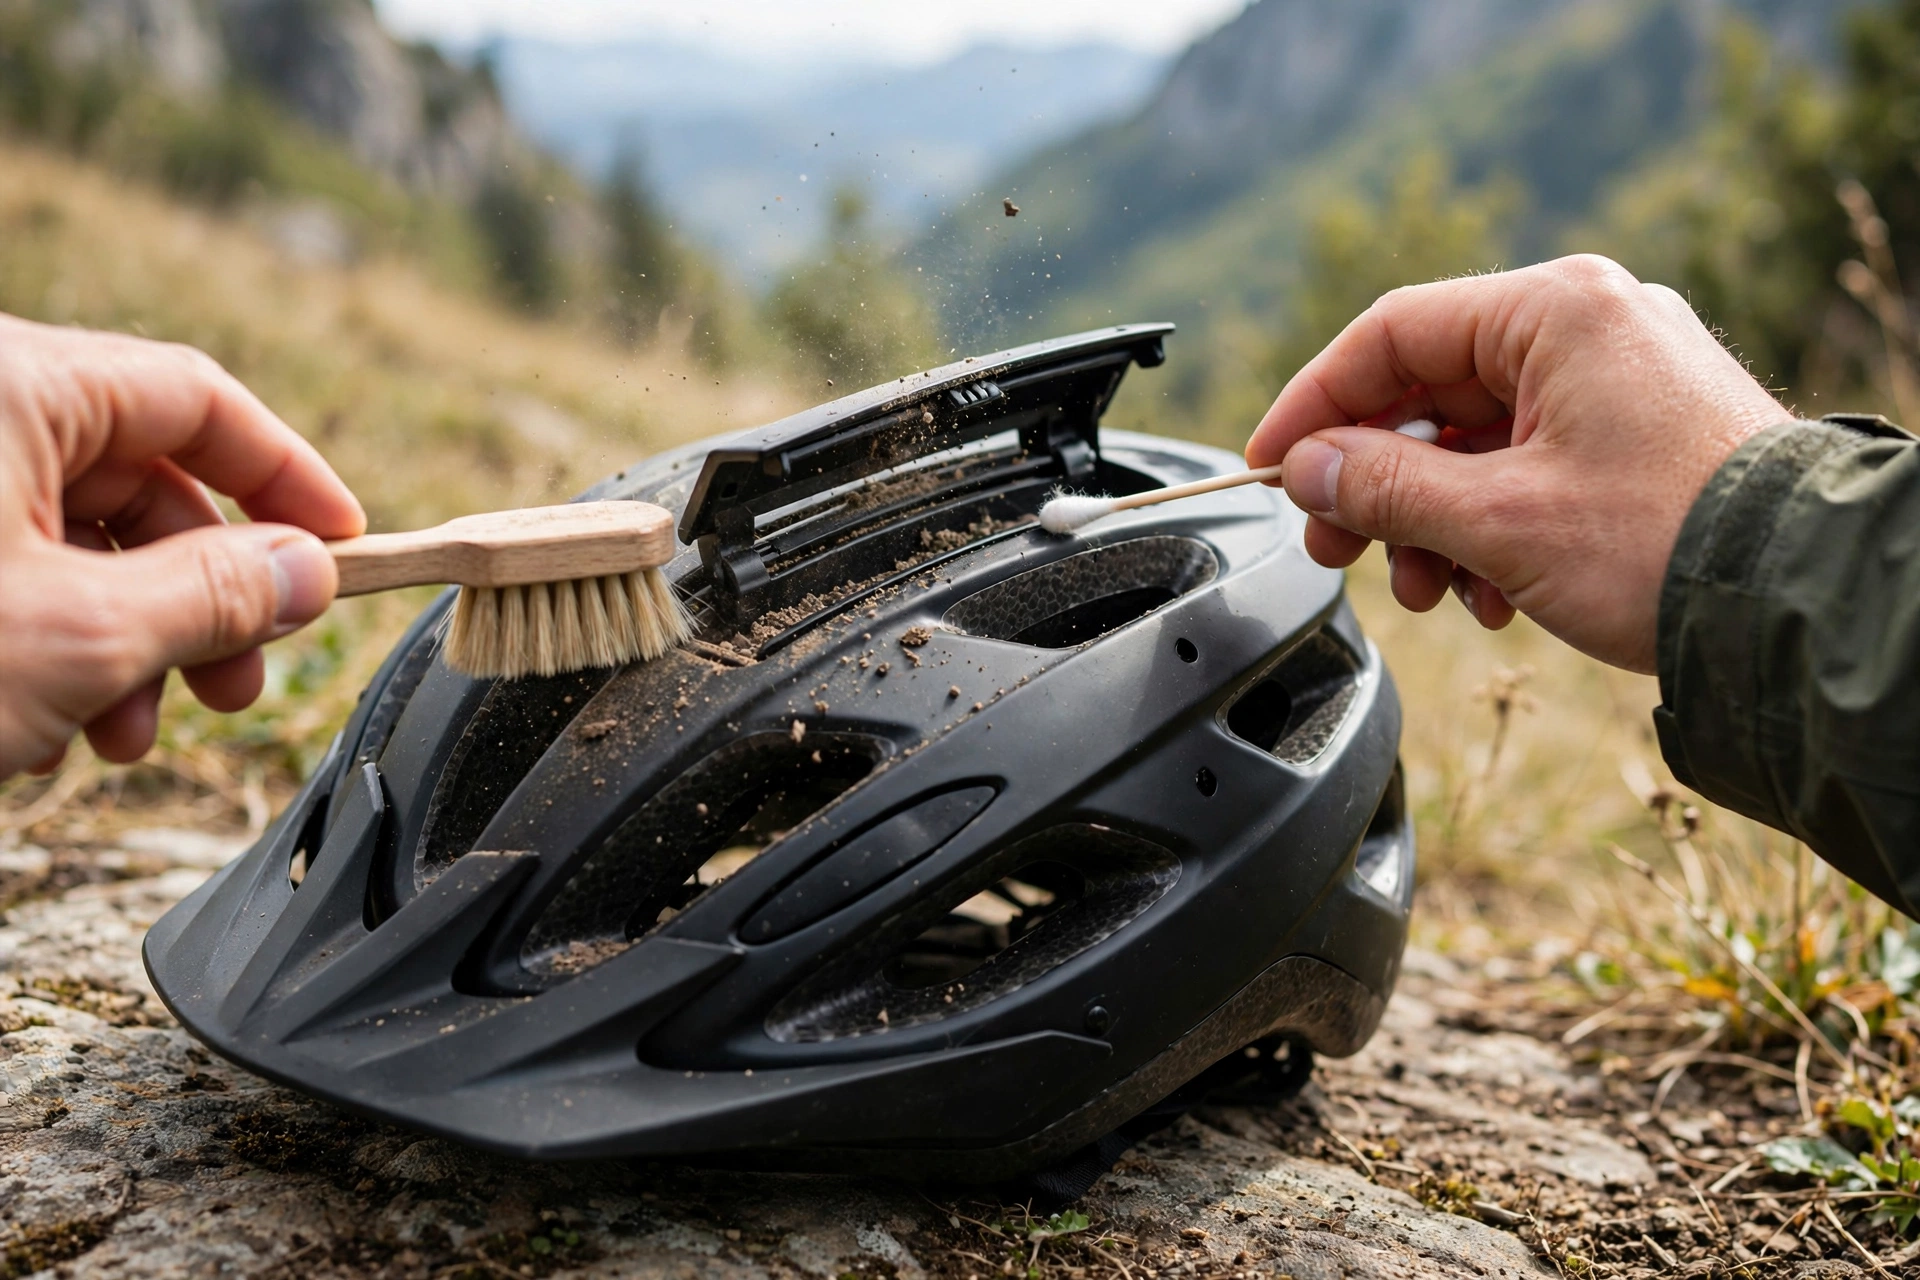
Everything you need is soft. A soft-bristled brush — an old soft toothbrush or a detailing brush is ideal — does most of the work, lifting dust out of tracks and mesh without scratching paint. Cotton swabs reach into corners and along slider rails that a brush cannot. A microfiber cloth, a bowl of warm water with a drop of mild soap, and a second cloth with clean water for rinsing complete the kit.
Canned compressed air can help blow loose, dry dust out of a vent channel, in short bursts from a little distance. Use it dry-only — damp grit just gets pushed deeper — and skip workshop air lines, which are far too powerful.
What not to use matters as much: no metal picks near the tracks, no scouring pads, no solvent sprays, and no household degreasers. The area you are cleaning borders the EPS liner and the adhesives holding trim in place, so everything that touches it should be something you would happily use on the inside of the helmet too.
How Do You Clean Vent Channels Step by Step?
Start dry. With the vent sliders open, brush all around each opening and along the tracks to lift out loose grit, tapping the helmet gently to shake debris free. Turn the helmet at different angles as you work — grit hides on the underside of vent lips. Blow out the channels with short bursts of canned air if you have it, again with the vents open so debris has a way out rather than being pushed in.
Next, the wet pass. Dip your cloth or a cotton swab in the warm soapy water, wring it well so it is damp rather than dripping, and wipe around the vent openings and along the slider tracks. While the track is damp, slide the door gently open and closed several times; the movement works softened grime out of the mechanism far better than scrubbing at a closed vent. Repeat with fresh swabs until one comes away mostly clean.
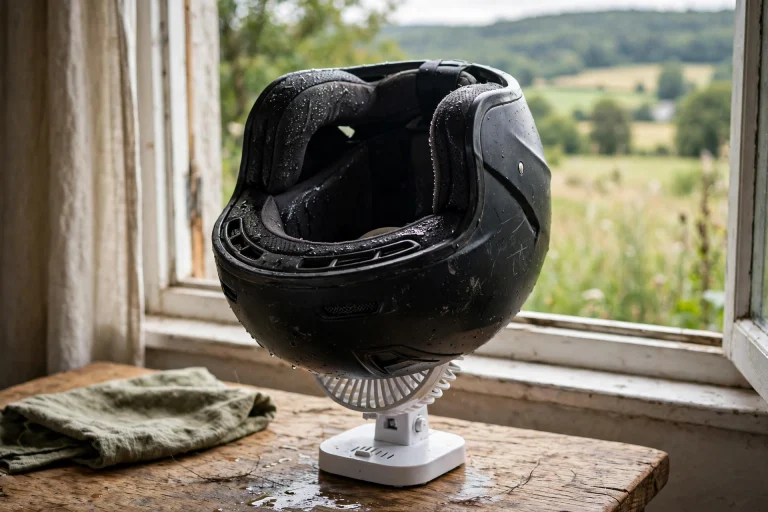
Rinse by wiping with the clean-water cloth — do not run the helmet under a tap or shower, because that drives water through the channels into the liner and pads. Then dry the helmet with the vents open, in moving air if possible, until the channels are fully dry before closing the sliders. A vent closed over a damp track will be stickier next time than it was before you started.
How Do You Free a Stuck Vent Slider?
Treat a stuck slider as a cleaning problem, not a strength test. Begin with the dry brush around every edge of the door you can reach, then apply a damp swab along the track and leave the moisture to soften the grime for a few minutes. Warm water is genuinely effective on the dried sweat-and-dust paste that causes most sticking.
Then try the gentlest possible movement: fingertip pressure, rocking the door a fraction at a time rather than pushing for the full travel at once. Often a slider that will not move a centimeter will move a millimeter, and millimeter by millimeter — with fresh damp swabs clearing what each movement exposes — it will free up completely. Patience here is the difference between a cleaned vent and a broken one.
If a slider stays stuck after a thorough clean, stop. The door may be cracked, a tab may be broken inside the track, or debris may be wedged where no cloth can reach. The practical choices are to live with the vent in its current position — many riders simply leave a vent permanently open or closed — or to contact the manufacturer about repair. Both beat a snapped slider. And note what sits just inside some of these shells: rotational liners such as MIPS live between the foam and your head, which is one more reason to keep tools and solvents out of the helmet’s openings.
What Should You Never Spray Into Helmet Vents?
Never spray lubricant, solvent cleaner, or degreaser into a vent. The inside of a vent channel is not a metal duct — it is a passage through EPS foam, often lined with thin plastic or fabric, and liquids sprayed in will soak into the foam and the liner materials. Solvents can degrade EPS invisibly, and oils and silicone lubricants migrate onto pads and straps and eventually onto your skin and hair.
That includes the well-meant shortcut of a drop of oil on a sticky slider track. It may free the slider today, but the oil collects dust faster than the bare track did, so the vent sticks worse within weeks — and the oil is now inside your helmet’s foam channels. Sliders are designed to run dry; a clean, dry track is the correct end state.
High-pressure water belongs on the never list too: a pressure washer, or even a hard hose jet aimed at the vents, can force water deep into channels and drive grit into the mechanism. Everything a vent needs is on the gentle list — a soft brush, cotton swabs, warm water, mild soap, and air. Clean that way a couple of times a season, and your vents will keep doing their quiet job.
Frequently Asked Questions
Q: Can I use compressed air to clean my helmet vents?
A: Canned air in short bursts is fine for blowing loose, dry dust out of open vents. Avoid high-pressure workshop air lines, and do not use air on damp or sticky grime — it tends to push that deeper into the channel instead of out.
Q: My vent slider is stuck. Should I use lubricant on it?
A: No. Oil and spray lubricants soak into the foam channels, attract more dust, and make the sticking worse over time. Clean the track with a soft brush and a damp cotton swab, then work the slider gently back and forth until it frees.
Q: How often should I clean my helmet vents?
A: Two or three times a season suits most riders, or whenever a slider starts to feel gritty. Daily commuters and riders in dusty or coastal areas may need to do it more often, since salt and grit build up faster.

Olivia
Writer at Helmet Today, covering helmet reviews, fit and riding safety.