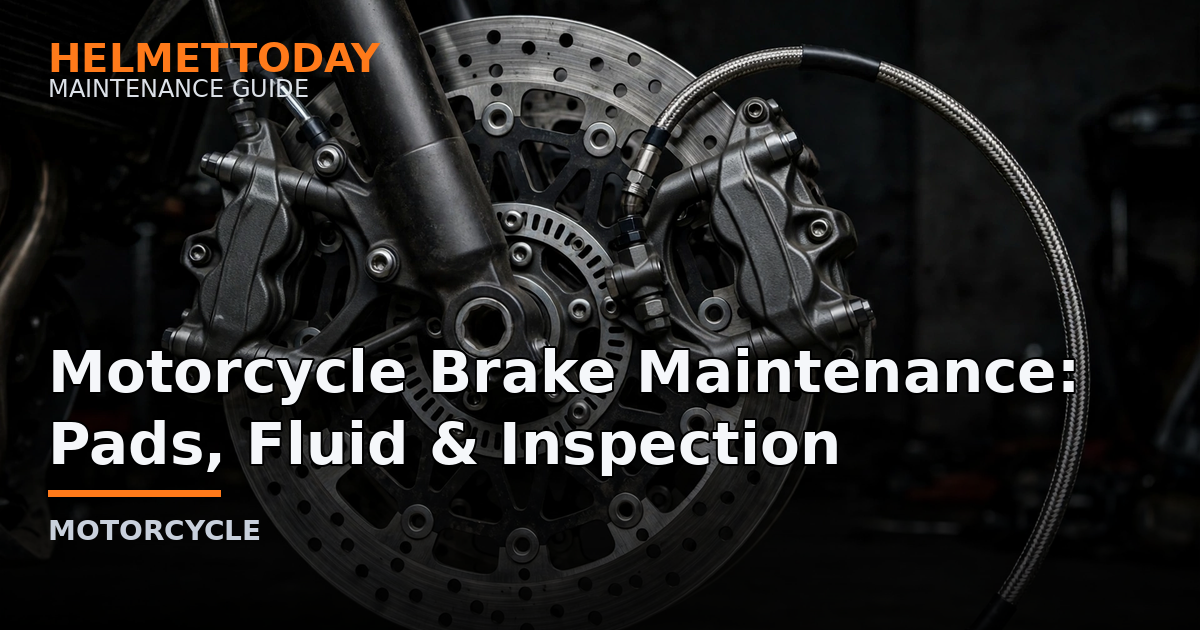
Brakes are the one system you never want to learn about the hard way. The good news: brake maintenance is simple, cheap, and well within DIY range. This guide covers pads, discs, fluid, and diagnosing the common problems.
Brake pads: inspection and replacement
Check pad thickness every service — replace when friction material is nearly down to the wear indicators. A pad swap is a 30-minute job: remove the caliper, note the hardware positions, push pistons back evenly, fit new pads with shims and clips, torque everything, and pump the lever until firm before riding.
Bedding in new pads
New pads need 10–15 moderate stops from 30–40 mph with cooling time between them. Skip hard braking for the first 100 miles. Proper bedding transfers an even friction layer to the disc — the difference between strong, quiet braking and glazed, weak pads.
Brake fluid: the forgotten service
Brake fluid absorbs moisture from the air, which lowers its boiling point and corrodes internals. Flush with fresh DOT 4 (or your manual’s spec) every 2 years regardless of mileage. If the fluid in the reservoir looks dark, it’s overdue.
Discs and lines
- Measure disc thickness against the minimum stamped on the carrier; replace discs in pairs on the same wheel.
- Rubber brake lines degrade internally — consider braided steel lines around the 4–5 year mark for better feel.
- Keep discs free of grease, chain lube, and fingerprints — contamination is the top cause of squeal.
Troubleshooting
- Spongy lever: air in the lines — bleed the system.
- Pulsing: warped or unevenly worn disc, or uneven pad deposits.
- Squeal: glazed pads, contamination, or missing shims — clean or replace.
- Weak braking after pad change: pads not bedded in yet, or air introduced — re-bleed.
FAQ
Sintered or organic pads?
Sintered bite harder and last longer, especially in wet weather. Organic are quieter and gentler on discs. Match your riding.
How do I know fluid needs changing?
Dark color in the reservoir, spongy feel, or simply 2 years elapsed — whichever comes first.
Related in-depth guides

Dan Heiman
Writer at Helmet Today, covering helmet reviews, fit and riding safety.