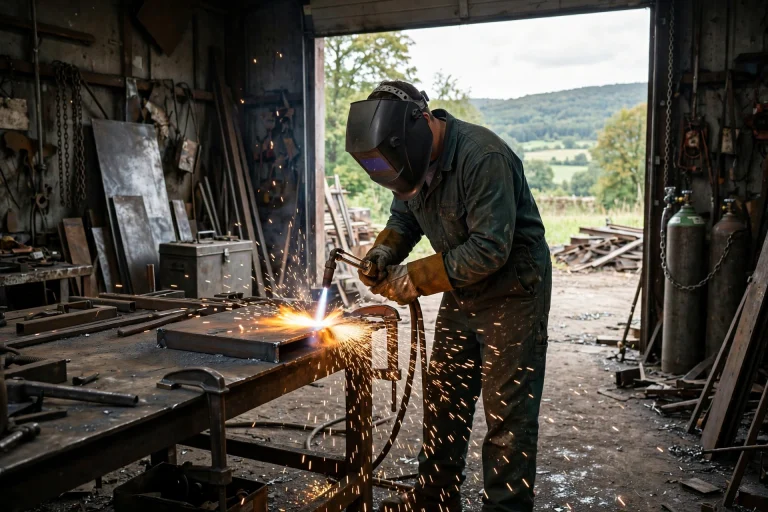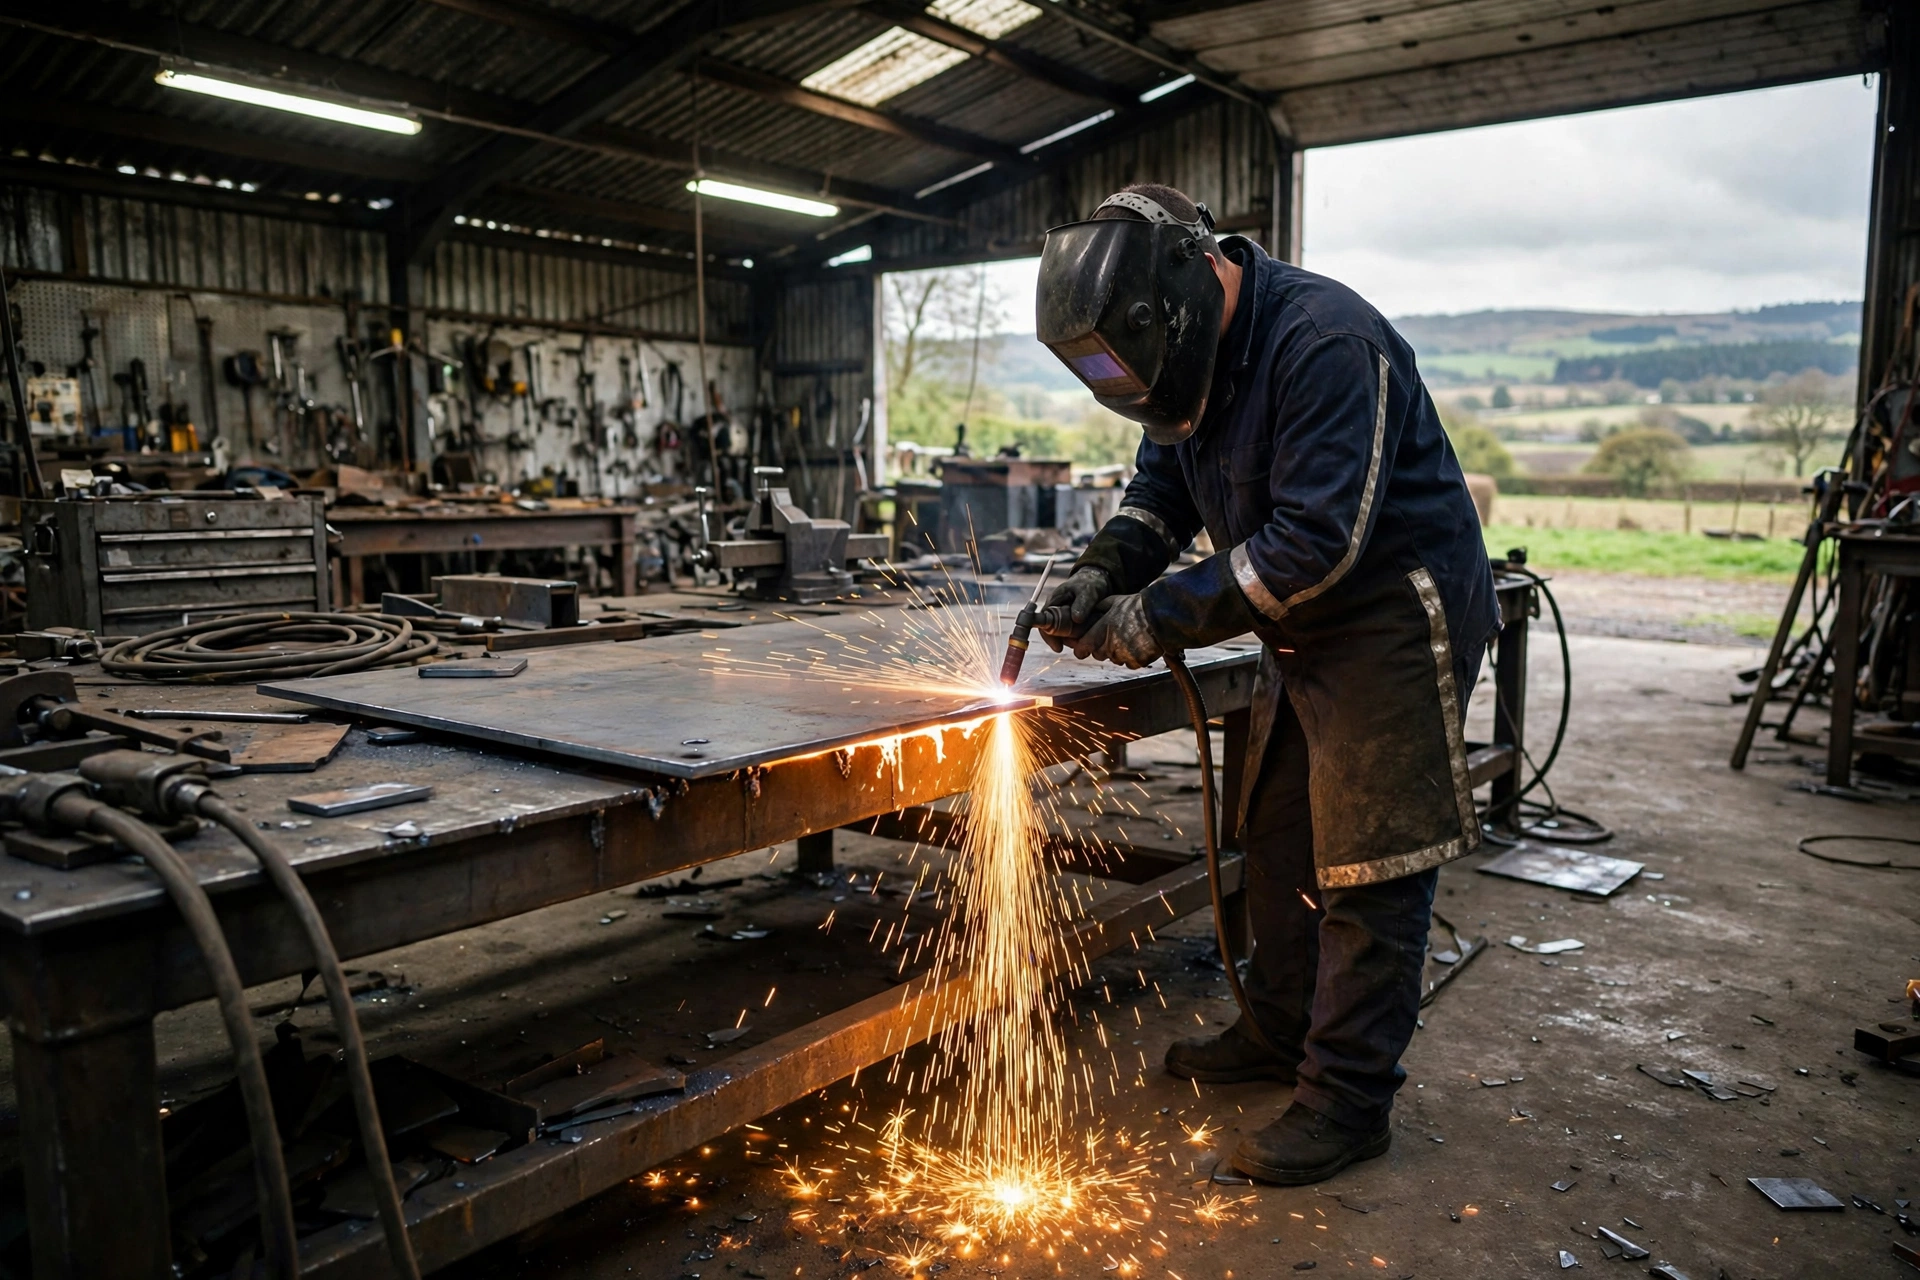
Plasma cutting normally uses a noticeably lighter shade than arc welding — in general terms, most cutting falls somewhere in the shade 4 to 8 neighborhood, with the exact number driven by your cutter’s amperage. Low-amp cutting on thin sheet sits at the light end; heavy cutting on thick plate needs the darker end. The deciding source is always the shade chart for your machine’s amperage, cross-checked with your helmet maker’s guide — never a guess based on what “looks about right.”
Welders moving from MIG or stick are often surprised how light a correct cutting shade feels — and how fast eye strain arrives when the shade is wrong in either direction. This guide explains why cutting shades run lighter and how amperage moves the target.
Why Does Plasma Cutting Use a Lighter Shade Than Welding?
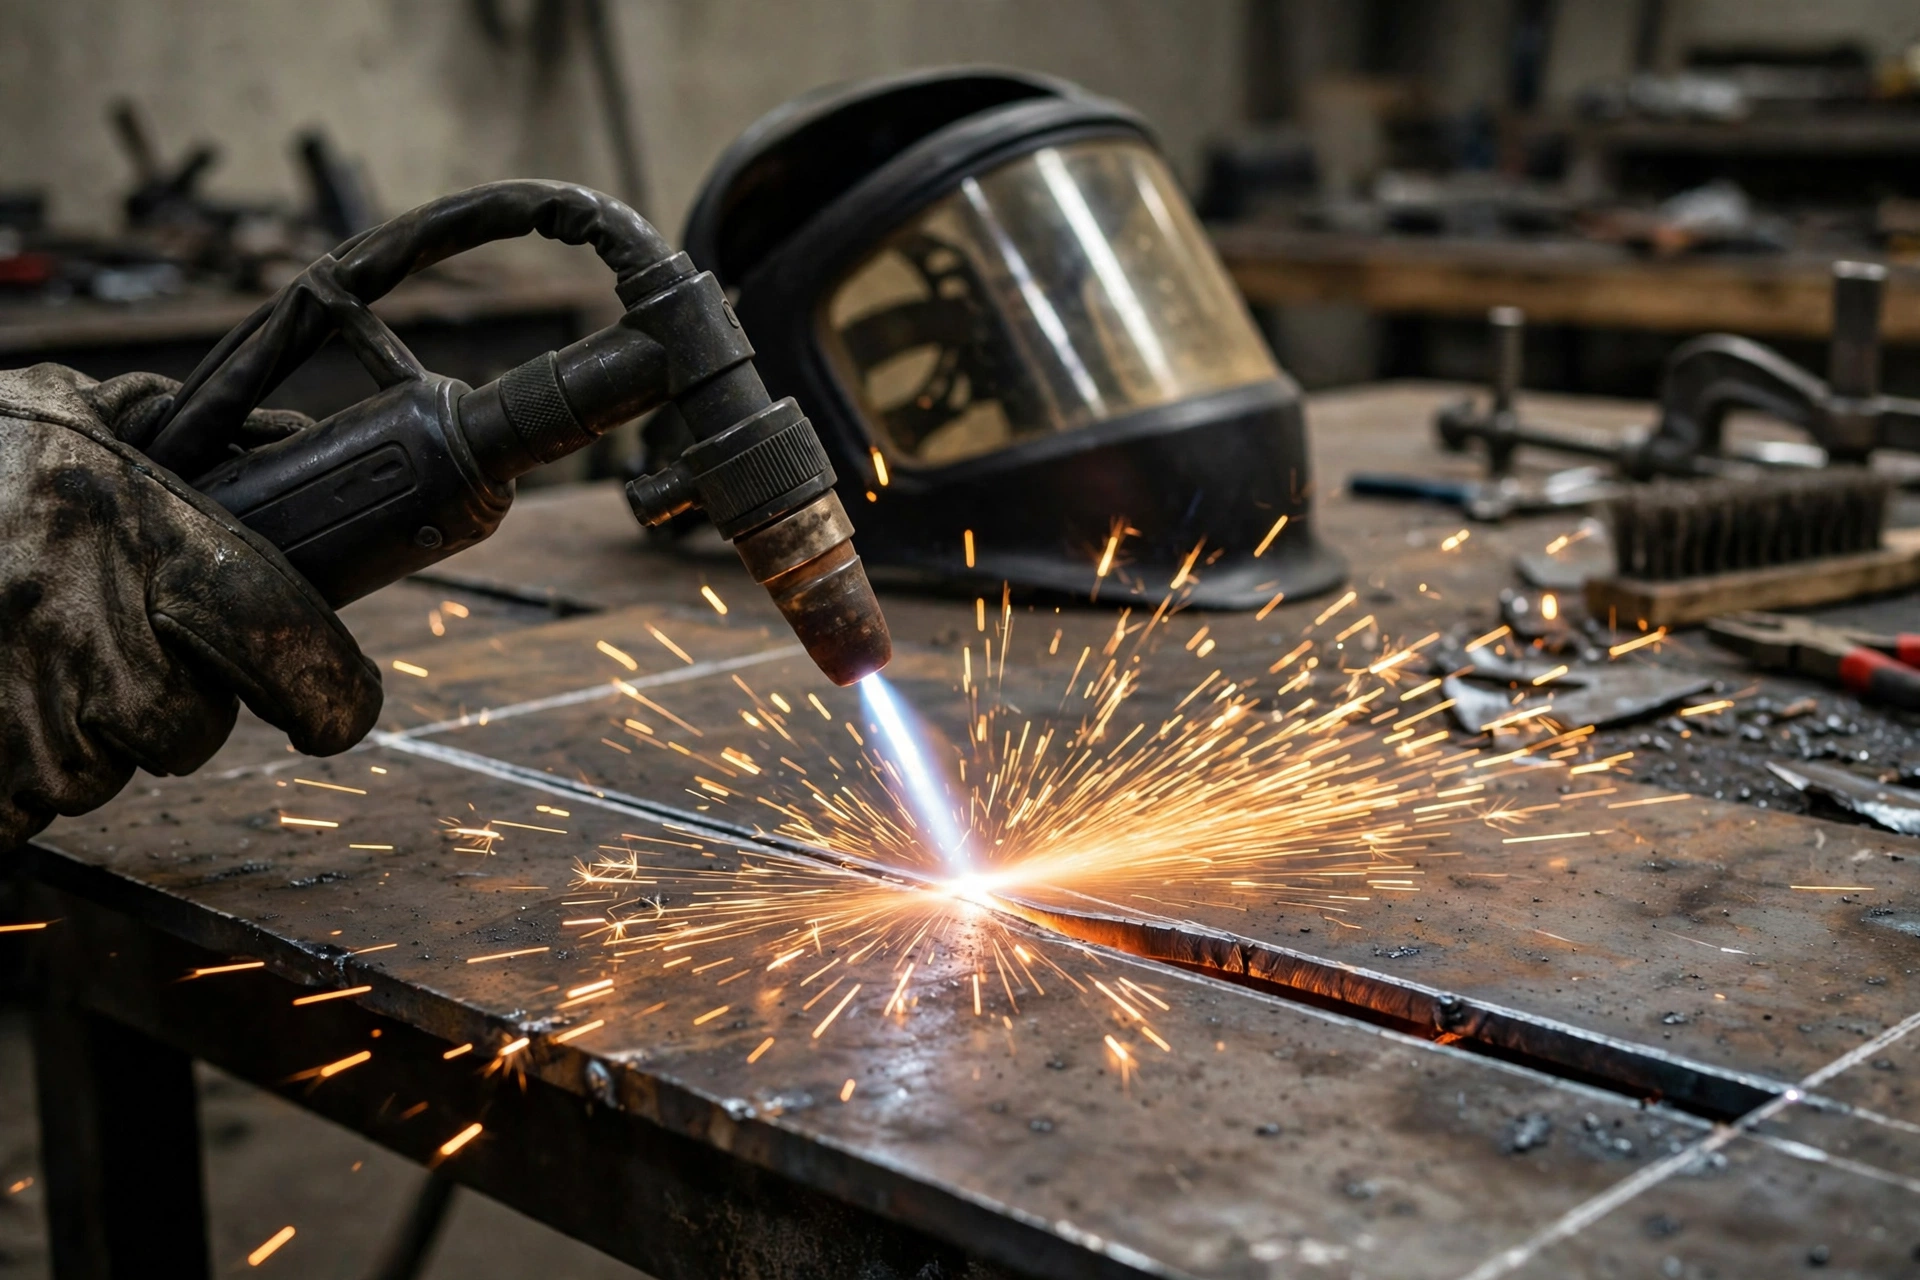
A plasma arc is intense, but the total light and energy reaching your eyes during cutting is generally less than a welding arc held close to your face for long periods. Cutting is also a moving process: the arc travels along the cut line, you watch the kerf and the spark stream as much as the arc itself, and much of your attention is on guiding the torch along a marked line.
That visibility requirement is the practical reason for the lighter shade. Through a shade meant for high-amp welding, a cut line, a straightedge and the edge of the plate nearly disappear. You end up cutting blind — lifting the helmet to check position, which is the most dangerous habit in the whole task. A correctly lighter shade keeps the workpiece readable while still filtering the harmful radiation.
Separate darkness from protection in your mind: the shade number describes how much visible light is blocked, while the ultraviolet and infrared filtering in a proper filter is there at any shade in general terms. A shade 5 filter is not “half as safe” as a shade 10 — just a different brightness, chosen because the process needs it.
How Does Amperage Change the Shade You Need?
Amperage is the chart’s main axis. A small inverter cutter trimming thin sheet at low output produces a modest arc, and the lighter end of the range — around shade 4 to 5 in general terms — is usually recommended for that kind of work. As amperage climbs for thicker material, the arc’s brightness and the volume of molten metal increase, and the recommended shade steps up with it.
At the heavy end — high-amp machines cutting thick plate — recommendations move toward shades 6 to 8 in general terms. Gouging, which is the most violent plasma process of all, sits at the top of the scale. Because machines, torches and materials vary, treat these numbers as the neighborhood to start from, then confirm against the chart supplied with your cutter or helmet.
Shade charts are published by helmet makers and safety bodies, organized by process and current. Keeping one taped inside your toolbox lid settles the question in seconds every time you change material thickness or swap machines.
Are You Still UV-Protected at a Light Shade?
Yes — this is the point most often misunderstood. A proper welding filter, whether in a helmet, a hand shield or shaded goggles made for the purpose, blocks the harmful ultraviolet and infrared radiation essentially completely regardless of its visible shade. The shade grades the visible brightness so you can see the work; the UV protection is a separate, constant property of the filter.
That is also why ordinary sunglasses or tinted safety glasses are never acceptable substitutes. They are not built to welding-filter standards, and in general terms they can leave eyes worse off than no tint at all by letting pupils open wider behind an unfiltered lens. If eyewear was not made and marked for cutting shade use, it does not belong on the job.
Your skin still needs its own protection. Cutting throws a wide spark stream and hot dross, so face coverage, gloves and flame-resistant clothing matter even at light shades. Eye shade is only one line in the safety setup.
Can You Use an Auto-Darkening Helmet for Plasma Cutting?
Yes, and many cutters prefer it. The key is the shade range: your helmet’s adjustable range needs to reach down into the light shades cutting requires. Many welding helmets adjust from shade 9 upward, which is too dark for most cutting — but a good number of models offer an extended range reaching down to shade 5 or so, and those handle cutting well. Check the stated range before assuming your welding helmet doubles as a cutting helmet.
Sensitivity matters more in cutting, too: at low amps the arc can be partly hidden from the sensors by the workpiece or torch body. Set sensitivity so the lens triggers reliably without flicker; if it behaves erratically at very low amps, switch to a fixed lighter shade or cutting goggles.
Some welders keep a dedicated setup for cutting — a lighter fixed-shade helmet or shaded goggles with a face shield — instead of re-tuning their main helmet. Either approach works; what matters is that the shade in front of your eyes matches the amperage on the machine.
What If the Shade Feels Too Dark or Too Light?
Too dark announces itself through behavior: you lean in closer, squint at the cut line, lose the edge of the plate, or want to lift the helmet mid-cut — all of which raise risk more than the arc does. Step down one shade at a time within the chart’s range until the line and kerf are clearly visible and the arc stays comfortable to look at.
Too light is just as real a problem, even though the UV is filtered: excessive brightness causes squinting, headaches and after-images, and tired eyes make sloppy cuts. If you finish a short cutting session with sore, strained eyes or a persistent bright spot in your vision, step up a shade — and if any vision effect does not fade quickly, treat it seriously and get your eyes checked.
The target is unglamorous: you should be able to watch a full cut comfortably, see the line the whole way, and walk away with eyes that feel like they did ordinary work. When in doubt between two chart-approved shades, start with the darker one and lighten only if the workpiece is genuinely hard to see.
Getting protection settings right for the task is a habit worth building across all your gear. It is the same judgment a rider uses when comparing how MIPS works in a bike or motorcycle helmet: the details differ, but matching certified protection to real conditions is the shared principle. Read the chart, trust the chart.
Frequently Asked Questions
Q: Can I plasma cut in my regular shade 10 welding helmet?
A: You can, but you probably will not see the cut line well enough to cut accurately, and the temptation to lift the helmet is the real hazard. A lighter shade in the chart range for your amperage — or an adjustable helmet that reaches down to it — is the better setup.
Q: What shade should a beginner start with?
A: Look up your cutter’s amperage on the shade chart that came with your machine or helmet and start at the recommendation. For light cutting on thin material that is usually in the shade 4 to 5 neighborhood in general terms. Adjust by one shade only if visibility or eye comfort demands it.
Q: Are cutting goggles enough, or do I need a helmet?
A: Correctly shaded goggles protect your eyes, but cutting throws sparks widely, so most people pair them with a face shield or use a helmet for face coverage. For anything beyond brief cuts, full face protection is the sensible default.

Olivia
Writer at Helmet Today, covering helmet reviews, fit and riding safety.