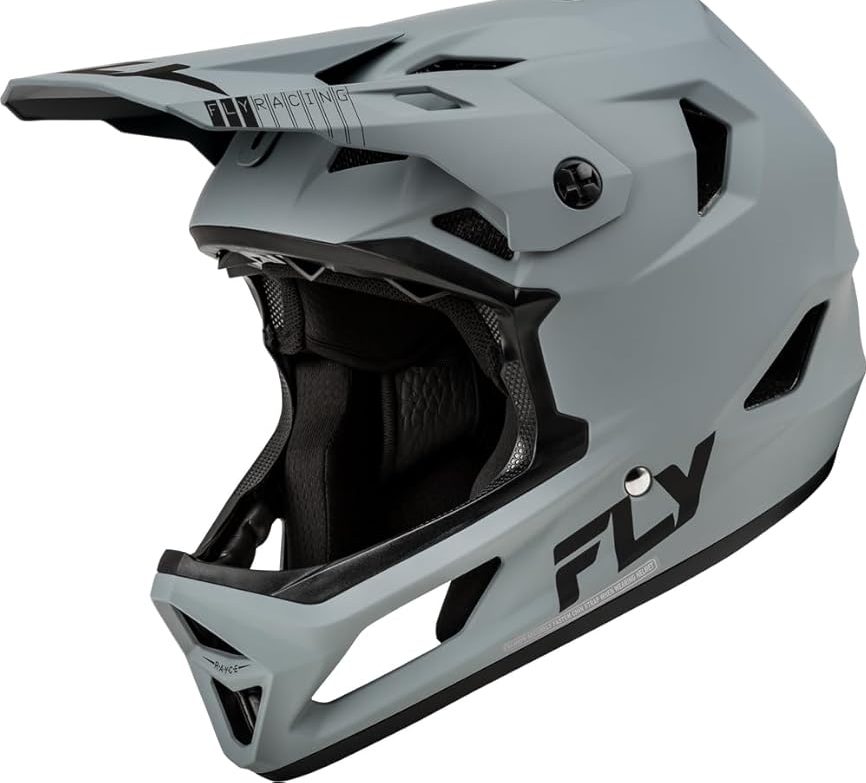

Getting a cycle helmet to fit well sounds easy until you put one on and notice it moves, feels tight, or sits in the wrong spot. I have found that most helmet problems come from a few small fit mistakes, not from the helmet itself.
Learning how to fit cycle helmet properly can make a big difference. In this guide, I’ll walk through the fit step by step, explain where the helmet should sit, and cover the small details that are easy to miss.
How to Fit Cycle Helmet the Right Way
The best cycle helmet fit should feel snug without feeling painful. It should sit level on your head and stay in place when you move.
Before adjusting the straps, put the helmet on your head in its normal riding position. Do not tilt it far back or pull it too low over your eyes.
| Fit Check | What You Want |
|---|---|
| Front | About 1–2 finger widths above your eyebrows |
| Side | Low and even on both sides |
| Movement | Little to no sliding when you shake your head |
A helmet that feels loose at first may become even less secure once you start riding. I prefer to make small adjustments rather than tightening everything at once.
Where Should a Cycle Helmet Sit?
The helmet should sit level from front to back. The front edge should sit just above your eyebrows.
I used to see people wear helmets tipped back because it felt more comfortable. That is one of the first things I would fix.
A helmet that sits too far back may leave too much of the forehead uncovered. A helmet that sits too low may block your view.
The sweet spot is simple: level, snug, and centered.
How to Fit Cycle Helmet Straps
Once the helmet sits correctly, adjust the straps. The straps should form a neat “V” around each ear.
The two straps should meet just below the ear. They should not rub against the ear or hang far away from it.
| Strap Problem | Better Fit |
|---|---|
| Strap touches the ear | Move the side adjuster |
| Strap hangs loose | Shorten the strap |
| V sits too low | Raise the side adjuster |
| V sits too high | Lower the side adjuster |
This part can take a little patience. I have found that rushing the strap adjustment often leads to fixing it again five minutes later.
How Tight Should Cycle Helmet Straps Be?
The chin strap should be snug but not painful. You should be able to fit about one or two fingers between the strap and your chin.
It should not hang loose under your jaw. A loose strap can let the helmet shift when you need it most.
| Chin Strap Test | Result |
|---|---|
| Two fingers fit easily | Usually a good starting point |
| Strap feels painful | Loosen it slightly |
| Strap hangs far below chin | Tighten it |
After adjusting it, open your mouth wide. You should feel the strap become slightly snug under your chin.
That quick test is useful because the strap should not feel like it is choking you during a ride.
How to Check a Cycle Helmet for Movement
A proper helmet fit should not depend only on the straps. The helmet shell itself should stay fairly stable.
Hold the helmet with both hands and gently move it from side to side. Your head should move with it rather than the helmet sliding around.
| Movement | Likely Cause |
|---|---|
| Slides side to side | Helmet may be too large |
| Moves front to back | Fit system needs adjustment |
| Lifts when you bend down | Straps or rear fit need work |
| Feels stable | Fit is likely close |
Do not make the straps extremely tight just to stop a large helmet from moving. If the shell is too big, adjustment may not solve the real problem.
Should a Cycle Helmet Feel Tight?
It should feel snug, not painfully tight.
Many cycling helmets use a rear dial or other fit system. Turn it slowly until the helmet feels secure.
I like to make one small turn at a time. Cranking the dial too far can create pressure points around your head.
If you feel pain after only a few minutes, the problem may be the helmet shape rather than the adjustment.
How to Know if Your Cycle Helmet Is Too Big
A helmet may be too big if you have to tighten the fit system all the way just to keep it from moving.
You may also notice large gaps around your head. Another clue is when the helmet shifts each time you look over your shoulder.
| Sign | What It May Mean |
|---|---|
| Large side gaps | Helmet may be too large |
| Heavy movement | Poor size or shape |
| Rear dial fully closed | Size may be too large |
| Helmet keeps sliding | Try another size or model |
A common mistake is buying a larger helmet because it feels more comfortable in the shop.
Comfort matters, but secure fit matters too. A helmet should not float around your head.
How to Know if Your Cycle Helmet Is Too Small
The opposite problem can be just as annoying.
A helmet may be too small if it creates strong pressure points, leaves deep marks, or cannot sit correctly over your head.
The fit system should not need to be fully loosened just to get the helmet on.
Watch for Pressure Points
Put the helmet on and leave it there for several minutes. Do not judge the fit in ten seconds.
A helmet can feel fine at first and then become uncomfortable after a longer ride.
| Pressure Area | Possible Problem |
|---|---|
| Forehead | Helmet may be too small or the wrong shape |
| Temples | Shell may not match your head shape |
| Back of head | Rear fit may be too tight |
| Top of head | Helmet may sit poorly |
This is one lesson I learned the hard way with helmets in general: a size number does not tell the whole story.
Two helmets with the same stated size can feel very different because their shapes are different.
How to Fit Cycle Helmet With a Ponytail
Long hair can make helmet fitting slightly harder.
If you have a ponytail, check where it sits before tightening the rear fit system. Some helmets have an opening designed to let a ponytail pass through.
Do not bunch your hair under the helmet if it changes how the shell sits.
| Hair Style | Fit Tip |
|---|---|
| Low ponytail | Use the helmet’s rear opening if available |
| Braid | Check for pressure at the back |
| Loose hair | Keep it clear of the straps |
| Thick bun | Try a helmet designed with more rear room |
The goal is still the same. Your hair should not push the helmet out of its correct position.
Common Mistakes When Fitting a Cycle Helmet
Most poor fits are easy to fix once you know what to look for.
I would pay special attention to these common mistakes because they can make an otherwise good helmet feel wrong.
| Mistake | Better Approach |
|---|---|
| Wearing helmet tilted back | Keep it level |
| Tightening chin strap first | Position shell first |
| Ignoring helmet movement | Test side-to-side stability |
| Choosing size by age alone | Use head measurement |
| Over-tightening the dial | Make small adjustments |
One mistake I see often is treating the chin strap as the main way to hold the helmet in place. It is not.
The helmet should already fit your head before you finish the strap adjustment.
Should You Measure Your Head Before Buying?
Yes. Measuring your head is a good starting point.
Wrap a soft tape around the widest part of your head. Keep the tape level and place it about 1–2 cm above your eyebrows.
Write down the measurement in centimeters. Then compare it with the helmet maker’s size chart.
| Head Measurement | What to Do |
|---|---|
| Within size range | Try that helmet size |
| At lower end | Check the fit carefully |
| At upper end | Try before buying |
| Outside range | Choose another size |
Do not assume that a “medium” from one brand will fit like a medium from another.
Size labels are not universal.
How to Do a Final Cycle Helmet Fit Test
Once everything feels right, do one final check before riding.
Put the helmet on exactly as you would during a normal ride. Adjust the rear system and straps. Then move your head in several directions.
Look down. Look up. Turn left and right. Open your mouth.
The helmet should stay in place without creating painful pressure.
| Final Test | Good Result |
|---|---|
| Look left and right | Helmet stays centered |
| Look down | Helmet does not slide |
| Open mouth | Chin strap becomes snug |
| Shake head gently | Helmet stays stable |
If you need to keep touching the helmet during the test, stop and adjust it again.
A well-fitted helmet should not need constant attention while you ride.
When Should You Replace a Cycle Helmet?
Fit is only one part of helmet safety. The helmet also needs to be in good condition.
If the helmet has been involved in a serious impact, replace it even if you cannot see damage. The inside may have absorbed energy that is not obvious from the outside.
You should also inspect it for cracks, broken parts, damaged straps, or a worn fit system.
Does an Old Cycle Helmet Still Fit?
It may still fit, but age and wear can affect the materials and parts that hold the helmet in place.
Follow the manufacturer’s replacement advice. Also replace the helmet after a significant crash.
| Condition | What I Would Do |
|---|---|
| Minor dirt | Clean it as directed |
| Broken strap | Replace helmet if parts cannot be safely repaired |
| Visible crack | Replace it |
| Major crash | Replace it |
| Very old helmet | Check maker’s replacement guidance |
A perfect fit cannot make a damaged helmet safe.
Final Thoughts on How to Fit Cycle Helmet
Learning how to fit cycle helmet properly is mostly about getting the small details right. Start with the correct size, place the helmet level, adjust the rear fit system, and then set the straps.
The best fit should feel secure without feeling painful. If the helmet moves too much, do not simply tighten everything until your head feels squeezed. Check the size and shape first.
I have found that a few extra minutes spent fitting a helmet are well worth it. Once you get the fit right, you should be able to forget about the helmet and focus on the road, trail, or bike path ahead.

Olivia
Writer at Helmet Today, covering helmet reviews, fit and riding safety.