
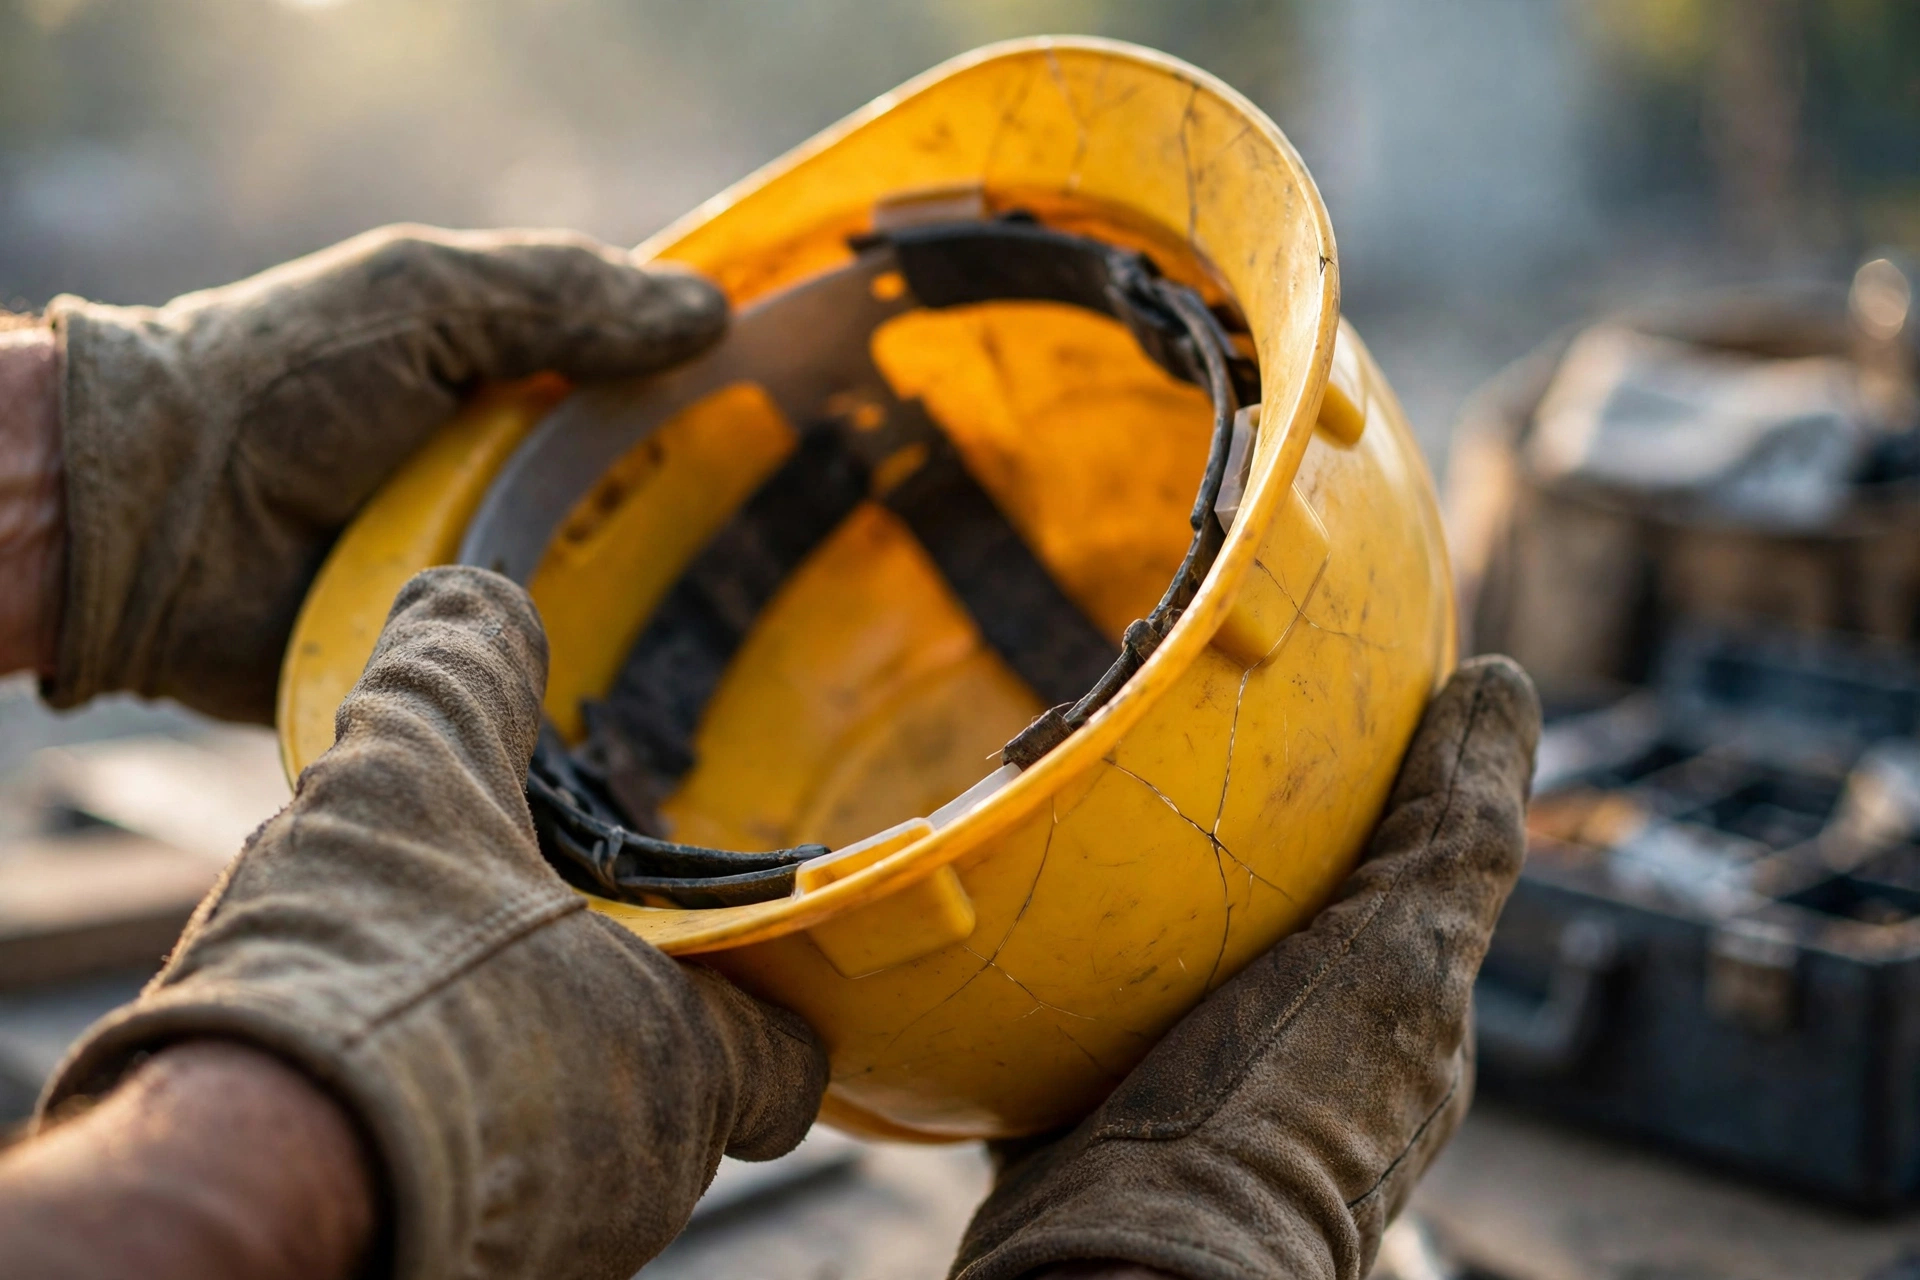
Inspect a hard hat before each shift with a one-minute routine: look over the shell for cracks, dents, and stiffness; squeeze it gently and listen; check the suspension straps, headband, and adjuster; and glance at the date marking inside the shell. If anything is cracked, brittle, frayed, or damaged, take the hat out of service and replace it — a hard hat is never repaired, glued, or painted back into use.
The inspection is quick because it is a habit, not an investigation. This guide walks through exactly what to check, in order, and what to do when a hat fails.
What Should You Check on the Shell?
Start with the outside, turning the hat slowly in good light. Look for cracks — fine hairlines count, especially around the brim edge, accessory slots, and any mounting holes. Check for dents, gouges, and deep scratches, and for any spot where the shell looks crushed, whitened, or deformed.
Then judge the surface itself. A healthy shell has a slight sheen and a little flex. In general terms, a shell that looks chalky, faded, rough, or that feels unusually stiff and brittle has been aged by sunlight and heat, and aged plastic cracks instead of flexing when it is struck.
Beware of anything hiding the surface. Thick sticker coverage, paint, and heavy grime all defeat this check — you cannot inspect what you cannot see. Clean the shell with mild soap and water when it gets dirty, both for hygiene and so the next inspection is a real one.
What Should You Check on the Suspension?
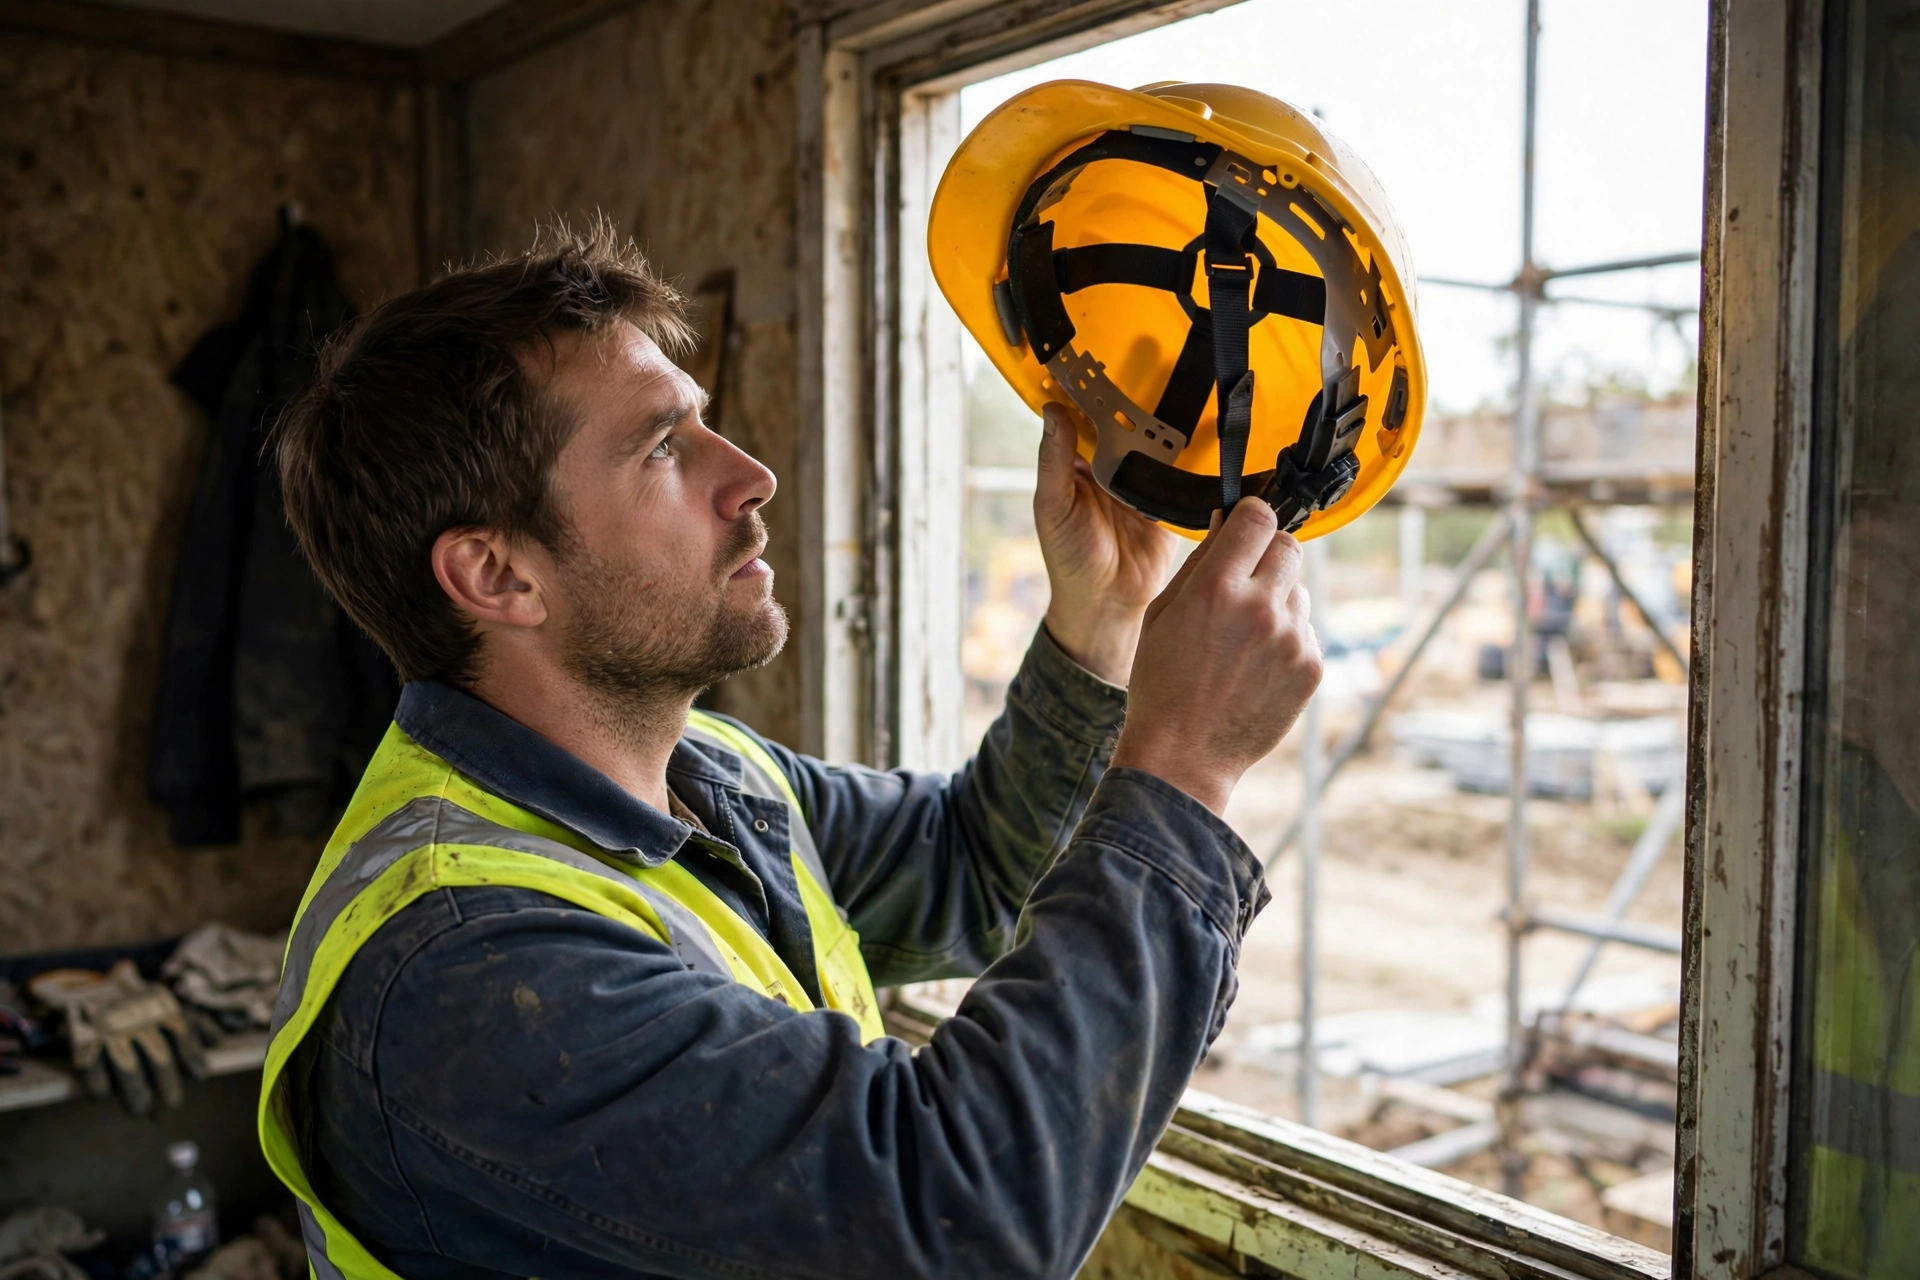
Turn the hat over and work through the suspension piece by piece. The straps should be intact, with no cuts, frays, pulled stitching, or shiny stretched sections. Straps that have gone stiff, brittle, or permanently elongated are no longer spreading load evenly.
Check the headband and its anchor points: the plastic should show no cracks, especially at the keyhole slots where the suspension clips into the shell, and every anchor should be fully seated. A suspension hanging from three of four points is a failed suspension.
Test the adjuster. Turn the ratchet or work the pin-lock through its range and confirm it holds the size you set under a firm tug — a ratchet that slips or a pin that will not stay seated will let the hat loosen at the worst moment. Finish with the sweatband: if it is cracked, compressed flat, or saturated beyond washing, replace it, because it is part of the fit.
How Do You Do the Squeeze and Flex Check?
Hold the shell with both hands, one on each side, and compress it gently inward — roughly an easy, controlled squeeze rather than a strength test. A sound shell flexes slightly and silently. Cracking, creaking, or crinkling sounds, or a section that feels dead and rigid while the rest flexes, are all reasons to retire the hat.
Flex the suspension straps the same way, one at a time: each should stretch a little and recover, with no tearing sounds and no visible whitening at the anchor points. You are feeling for the difference between living material and material that has gone brittle.
If you inspect the same hat daily, your hands learn its normal feel within a week, and change becomes obvious. That familiarity is the real value of doing this yourself, every shift, instead of relying on an annual formal inspection alone.
How Do Age and Impact History Factor Into Inspection?
Look inside the shell for the molded date marking — in general terms, hard hats carry a manufacture date stamp, and makers give service-life guidance that runs from that date and from first use. If your hat is beyond the maker’s guidance, or you simply do not know how old it is, that is a finding in itself: plan its replacement.
History matters as much as appearance. A hard hat that has taken a significant blow — struck by a falling object or involved in a fall — should be removed from service even if it looks perfect, because the protective parts may be spent in ways inspection cannot see. Like the crushable foam and rotational-impact systems like MIPS in sports helmets, a hard hat’s shell and suspension give up protection by absorbing energy, and that capacity does not reset.
Exposure counts too. A hat stored on a hot dashboard, near solvents, or in constant sun ages faster than its date alone suggests, so inspect stored and spare hats before they go back into service, not just the one you wear daily.
What Do You Do If the Hard Hat Fails Inspection?
Stop using it immediately — not after this one task, not for the rest of the shift. Take it out of circulation so nobody else picks it up: in general terms, sites have their own procedures, such as tagging the hat, handing it to a supervisor, or destroying failed hats so they cannot drift back into use.
Never attempt a repair. Glue does not restore a cracked shell, paint hides rather than fixes damage, and swapping in a suspension from a different model changes the tested combination. The only approved renewal is a maker’s replacement suspension made for your exact shell — everything else means a new hat.
Get the replacement before you enter the work zone, and treat the failed hat as useful information: if hats on your crew are failing young, storage, sunlight, or chemical exposure on site may be ageing them faster than expected, and that is worth raising with your safety lead.
Frequently Asked Questions
Q: How long should a pre-shift hard hat inspection take?
A: About a minute once it is a habit: shell look-over, squeeze test, suspension check, adjuster tug, date glance. A deeper clean-and-check once in a while takes longer and is worth scheduling.
Q: My hard hat has a small dent but no crack. Can I keep wearing it?
A: In general terms, no — a dent means the shell has already yielded in that spot, and makers’ guidance is to remove damaged hats from service. Let your safety lead make the final call, and expect the answer to be replacement.
Q: The shell is fine but the suspension is frayed. Can I just replace the suspension?
A: Yes — that is the one renewal makers design for. Fit the replacement suspension listed for your exact model, and check the shell’s age while you are at it; if the shell is also old or damaged, replace the whole hat.

Olivia
Writer at Helmet Today, covering helmet reviews, fit and riding safety.