
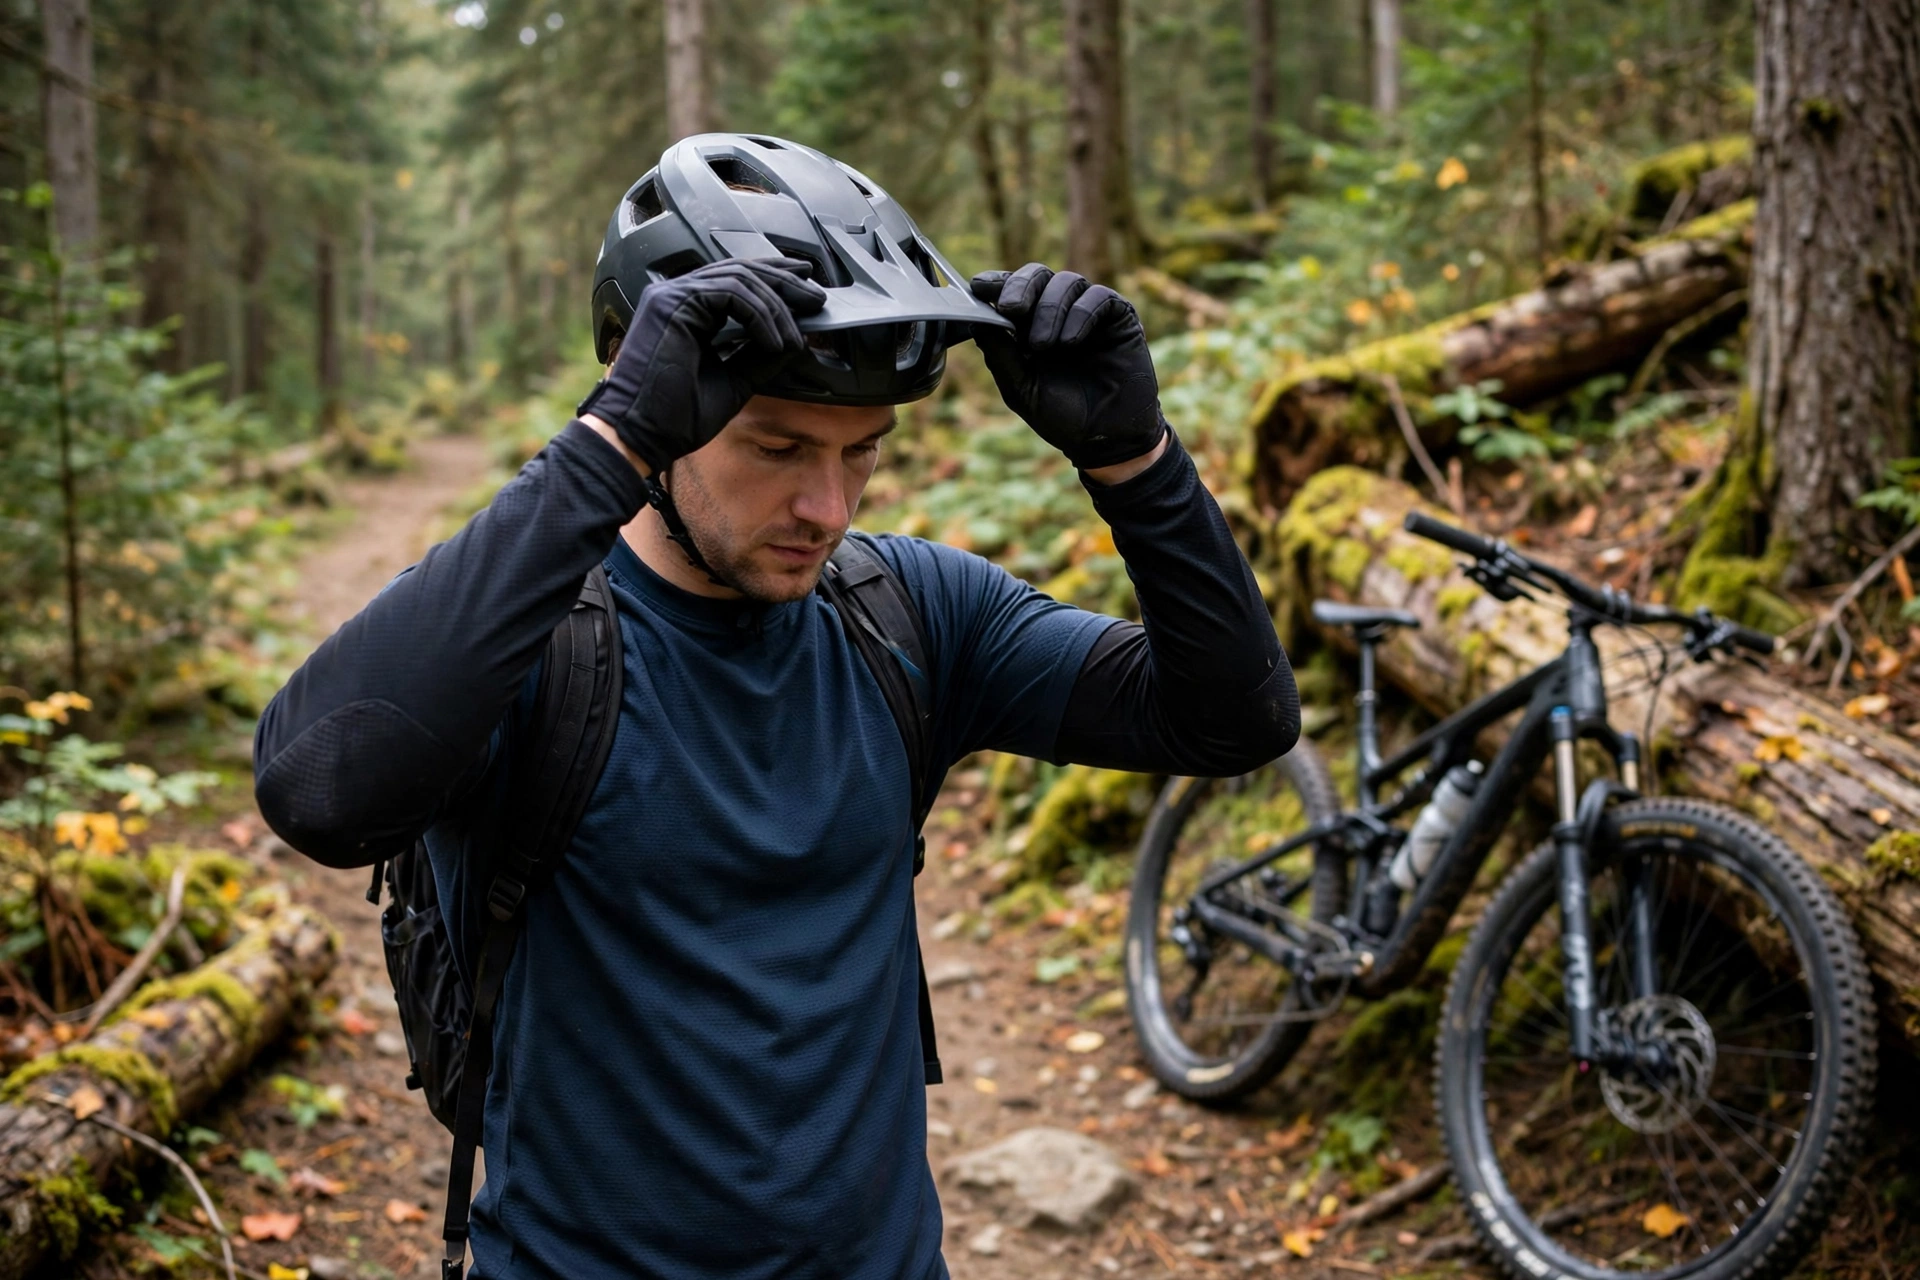
In general terms, to adjust an MTB helmet peak visor, loosen the visor screws or levers on each side, tilt the visor to the angle you want, then tighten them again so the visor stays put without wobbling. The peak — the small brim at the front of the helmet — shades your eyes from sun and spray, deflects branches, and helps keep mud off your goggles. A visor set too low blocks your view of the trail; one set too high lets sun and spray straight in. Getting the angle right takes a minute and makes a real difference on the trail.
Visor designs vary between helmets, but the principles are the same: the visor pivots on mounts at the sides of the helmet, and some system holds it at the angle you choose. This guide covers the common types and the adjustments that matter.
How Do MTB Helmet Visors Adjust?
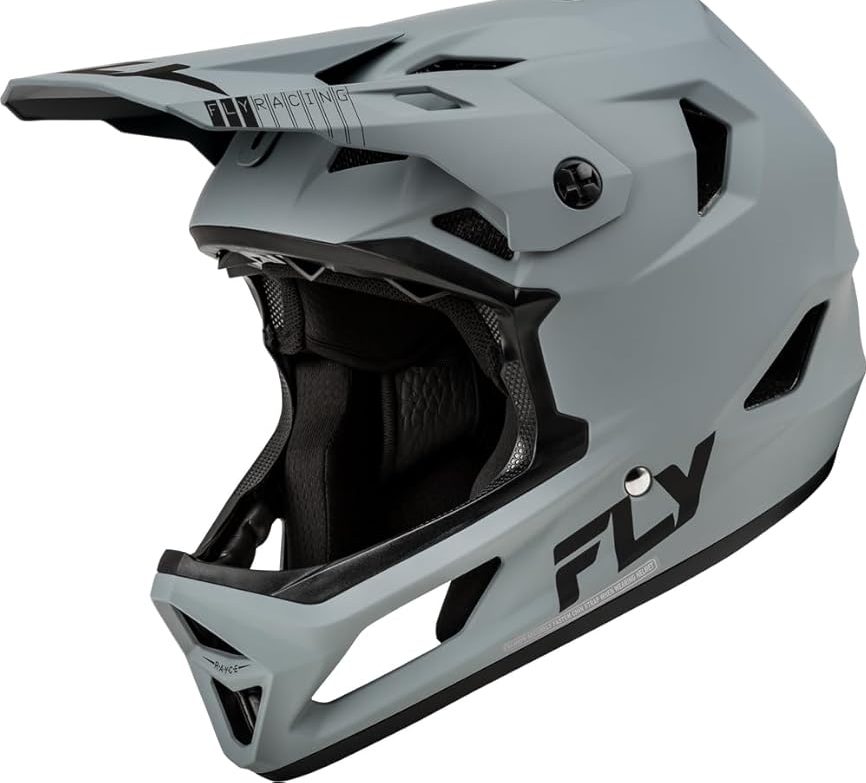
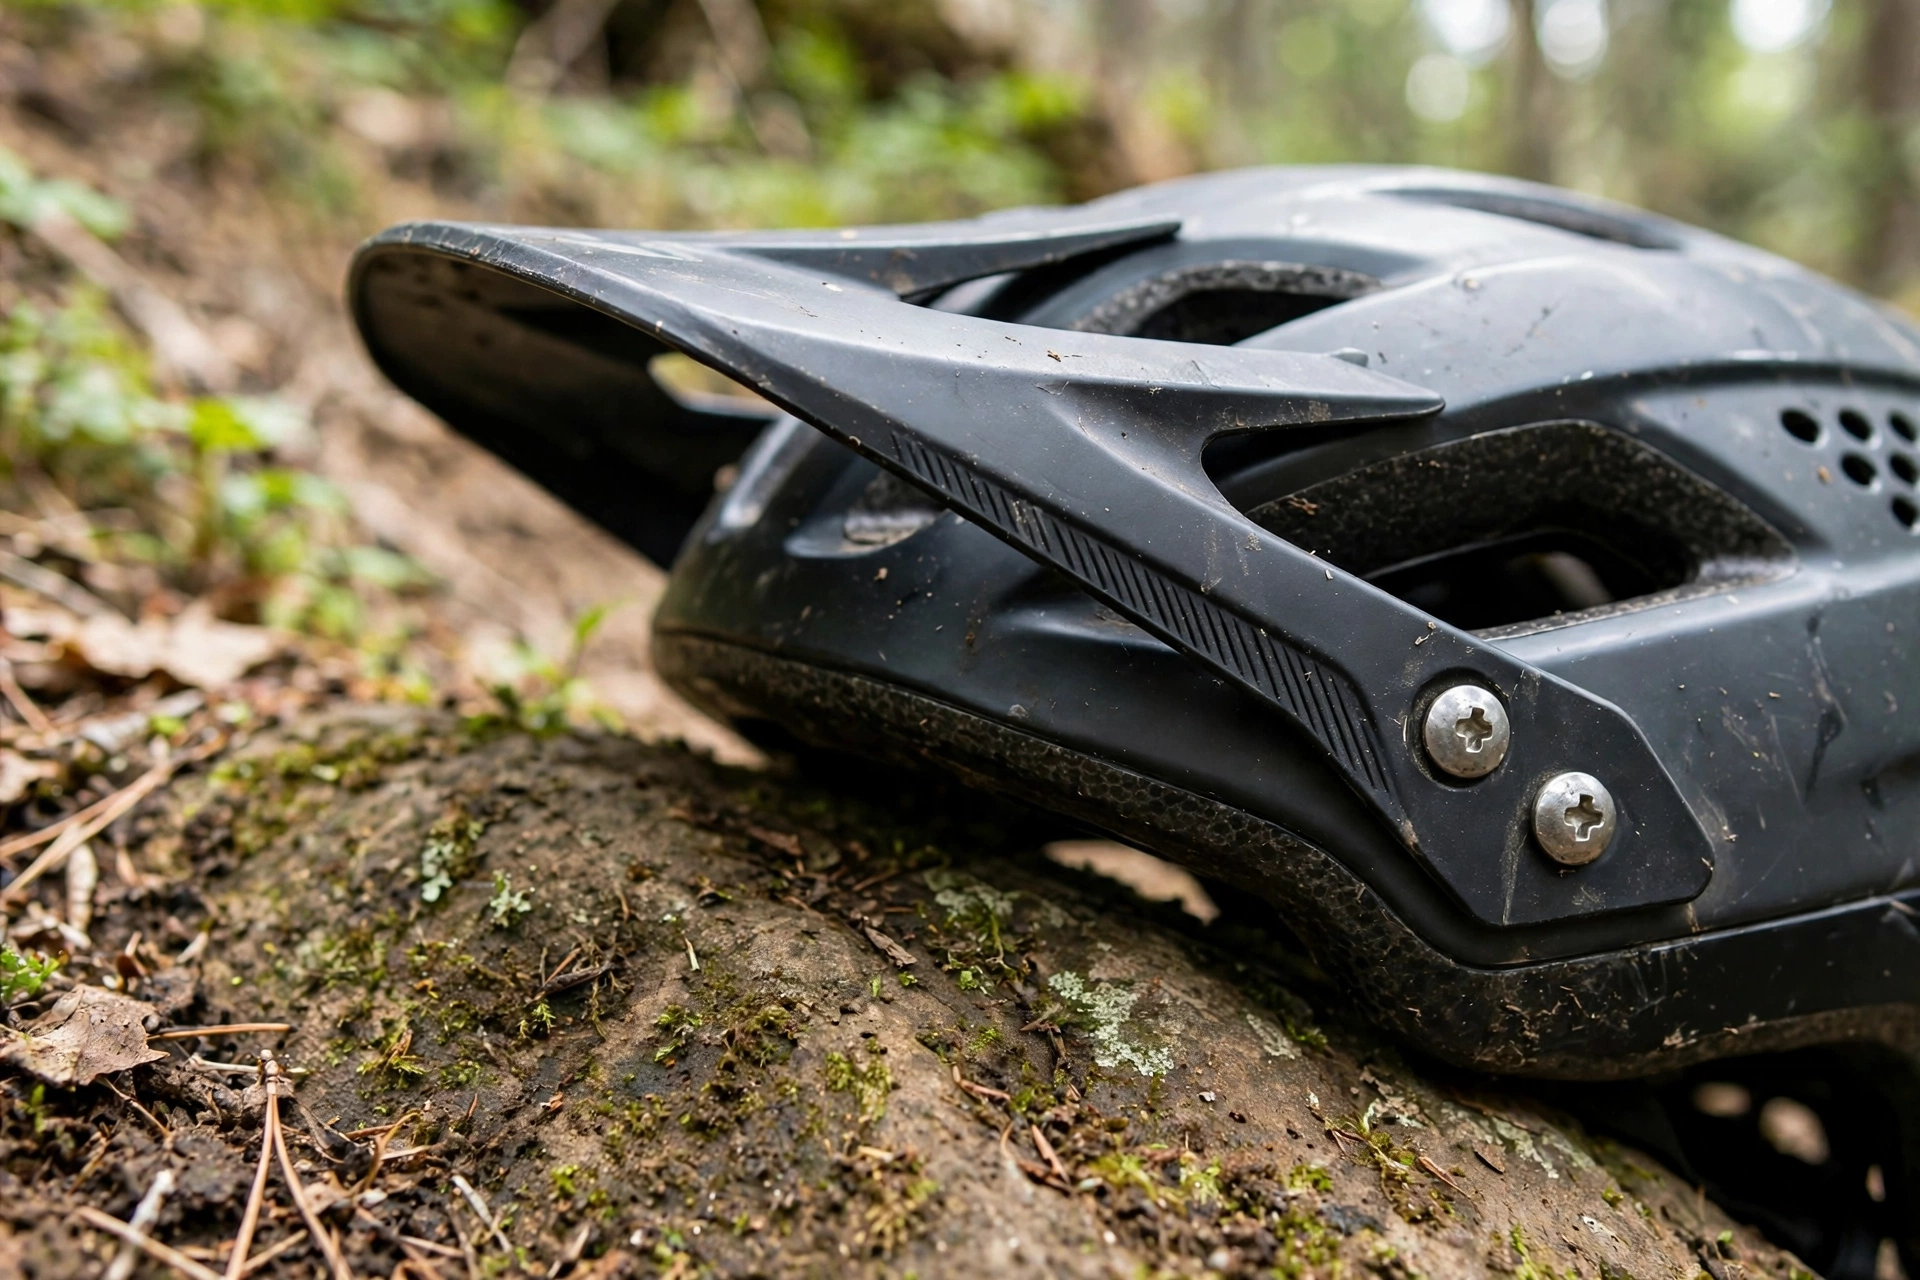
Most MTB helmet visors pivot on a screw, bolt, or lever on each side of the helmet, near the temples. On many helmets you simply loosen both sides a little, tilt the visor up or down, and retighten. Some helmets use a tool-free lever or a ratchet system that clicks through set positions — you push or pull the visor and it stays where you leave it.
Adjustable visors usually move through a range of angles, from nearly flat to steeply tilted. A few helmets have fixed visors that cannot be adjusted, or visors with only two or three set positions. Check your helmet’s design before forcing anything: if the visor does not move with gentle pressure, it may be fixed, or its screws may need loosening first.
Always adjust both sides evenly. Adjusting one side only twists the visor, which can crack the mounts or leave the visor sitting crooked. Loosen both sides, set the angle, then tighten both sides to the same degree.
What Angle Should the Visor Sit At?
The right angle depends on your riding position and the conditions. As a starting point, set the visor so it shades your eyes without cutting into your view of the trail ahead. On a climb, when you are more upright, a lower visor shades better; on a descent, when you are tucked forward, the same visor may block your view, so a slightly higher angle works better.
For sun, angle the visor down enough to block direct sunlight from above without hiding the trail. For rain and mud, a lower visor helps deflect spray away from your goggles or glasses, though it will not keep them fully clear on a properly muddy ride. For overgrown trails, a visor set slightly forward helps push branches up and away from your face.
The best approach is to set the visor, ride a short section, and adjust again. Small changes make a big difference: a few degrees can be the gap between shade and a blocked view. If your helmet has a tool-free system, you can even fine-tune it at the trailhead as the light changes.
Should the Visor Be Different for Goggles and Glasses?
Yes, slightly. With goggles, the visor should sit high enough that it does not press on the top of the goggle frame or push the goggles down your nose. Goggles and visors share the front of the helmet, and a visor set too low can break the goggle seal or fog the lens by trapping warm air.
With glasses, you have more freedom, because glasses sit lower and further forward. A lower visor works well with glasses, giving more sun shade without interfering with the frames. Some riders remove the visor entirely when riding with glasses on open trails, though that leaves the eyes more exposed to branches and sun.
Whatever you wear, check the combination before a long ride. Put the helmet on, fit your goggles or glasses, adjust the visor, then look up, down, and side to side. You should have a clear, unobstructed view in every direction, with the visor shading from above but never intruding into your line of sight.
What If the Visor Keeps Slipping or Wobbling?
A slipping visor usually means the screws or levers are not tight enough, or the mounts are worn. Tighten both sides evenly, but do not overtighten — stripped mounts are harder to fix than a loose visor. If the visor still slips, check the mounts for cracks or worn teeth, and check whether the visor itself is cracked around the mounting holes.
Many manufacturers sell replacement visors and mounting hardware, and swapping a worn visor is usually a simple job. If the helmet’s mounts themselves are damaged, that is more serious: the shell around the mounts may be compromised, and it is worth asking the manufacturer whether the helmet is still safe to use.
A visor that flexes or breaks away in a crash is actually by design on many helmets. Visors are meant to bend or snap off rather than transfer force to the helmet or snag on branches, so a visor that breaks in a fall has done its job. Replace it, check the helmet for other damage, and carry on.
When Should You Remove the Visor Entirely?
Some riders remove the visor for road sections, night riding, or racing where aerodynamics or an unobstructed view matter more than shade. Most visors unscrew or unclip easily, and the helmet works fine without one. Just keep the screws and the visor somewhere safe, because small mounting parts are easy to lose.
Removing the visor also helps if you wear a helmet-mounted light or camera, since the visor can get in the way of mounts or cast shadows. Any addition to a helmet deserves a thought about safety: mounts should be approved by the manufacturer, and the helmet’s other protection systems should stay intact. This guide to what MIPS means for helmets explains how one such system works, and why keeping it undamaged matters when you modify a helmet.
On balance, most trail riders are better off keeping the visor fitted and adjusting it to conditions. It weighs almost nothing, it protects your eyes, and a well-adjusted visor is one of the small comforts that makes a long ride more enjoyable.
Frequently Asked Questions
Q: How do I adjust a visor that has no visible screws?
A: Many tool-free visors adjust by pushing or pulling them through a ratchet or friction mount. Try gentle pressure first — if it clicks through positions, that is the adjustment. If it does not move, check the manufacturer’s instructions before forcing it.
Q: My visor blocks my view on descents — what should I do?
A: Tilt it up a few degrees so it clears your line of sight when you are tucked forward. Set it on a descent position and test it on a short section before a long run.
Q: Can I ride without a visor?
A: Yes — most visors unscrew or unclip, and the helmet works fine without one. You lose sun shade and branch deflection, but gain an unobstructed view, which some riders prefer.

Olivia
Writer at Helmet Today, covering helmet reviews, fit and riding safety.