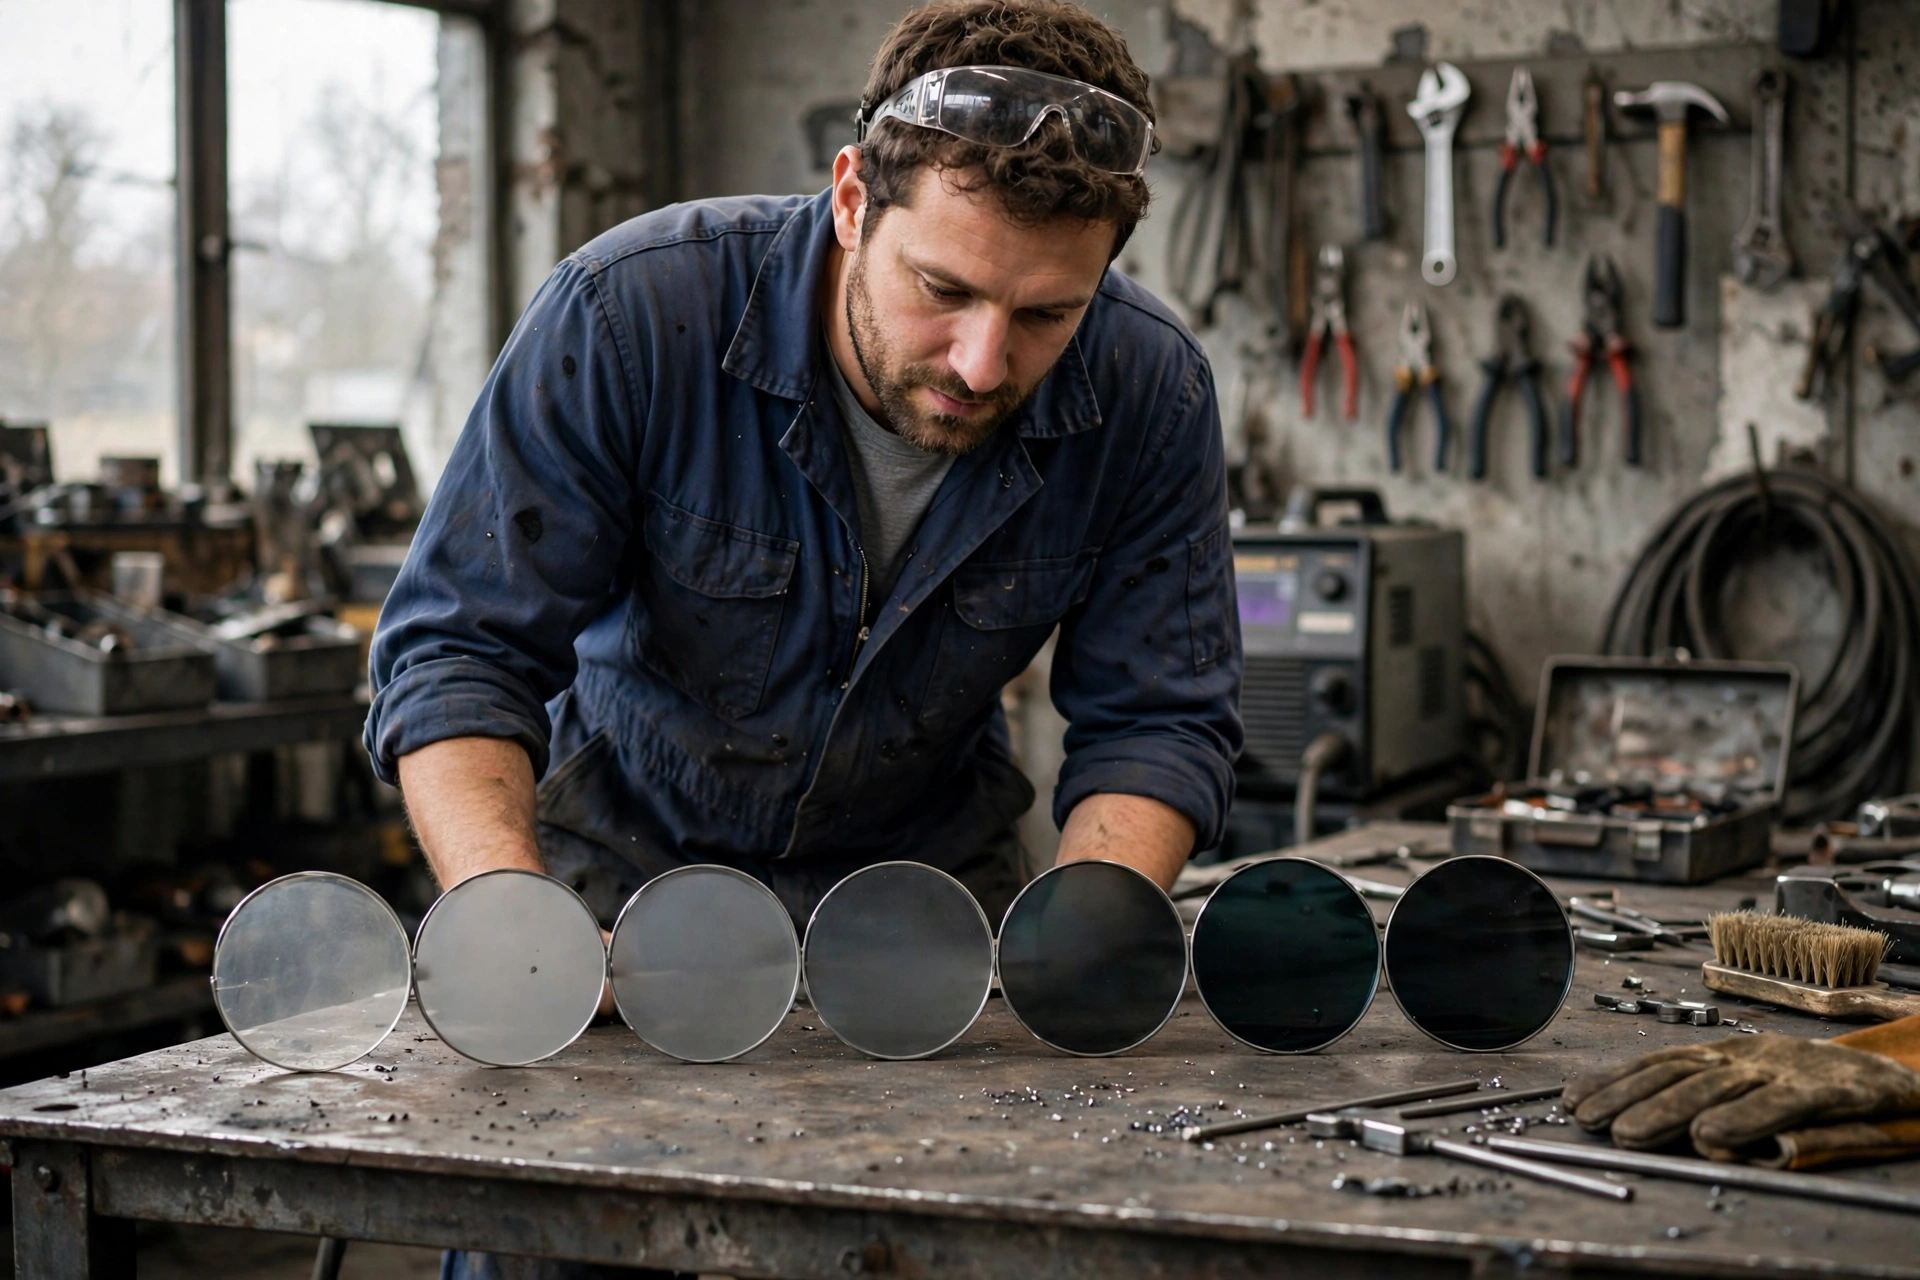
A welding helmet shade number tells you how dark the lens is: the higher the number, the more visible light the lens blocks. Shades in general terms run from around 4 for very light work up through 13 or 14 for the darkest protection, and choosing the right one is a balance — dark enough to protect your eyes from the arc, light enough that you can still see the weld puddle clearly.
Shade numbers confuse beginners because they are not a linear “amount of darkness” you can eyeball, and the right shade changes with the job. Grinding, cutting, brazing, and arc welding all produce very different brightness levels, and arc welding itself varies with amperage. Here is what the numbers mean and how welders match them to the work.
What Does the Shade Number Actually Measure?
The shade number describes how much visible light the lens lets through. Each step up the scale blocks substantially more light than the step before it, so the jump from shade 10 to shade 12 is bigger in practice than it sounds. A shade 5 lens might be right for torch cutting; a shade 12 lens is in the range used for brighter arc welding. Same scale, very different jobs.
Two things are worth separating: the shade number controls visible brightness and comfort, while eye protection from ultraviolet and infrared radiation is built into welding lenses separately. In general terms, a proper welding lens filters UV and IR whether it is in its light or dark state — your eyes are protected from the invisible hazards even before the lens darkens, which is one reason using a real welding helmet matters more than improvising with sunglasses or a dark piece of glass.
Which Shade Do You Need for Each Welding Process?
Helmet makers publish shade charts keyed to process and amperage, and you should follow the chart for your specific job. In general terms, the pattern in those charts looks like this: the lightest work — torch brazing, soldering, and grinding with proper eye protection — sits at the low end, around shades 3 to 5. Gas cutting and torch welding typically fall in the middle-low range, around shades 4 to 6 depending on material thickness.
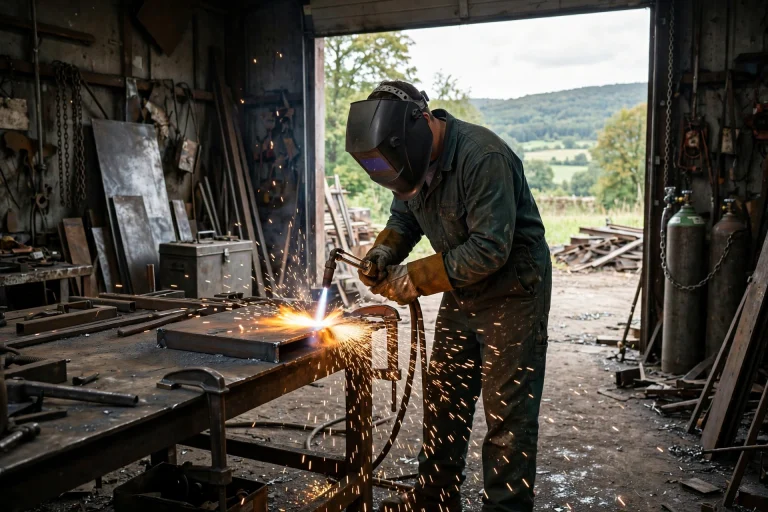
Arc processes are brighter and need darker shades. Stick (SMAW), MIG, and flux-cored welding at lower amperages commonly start around shade 10, rising to shade 11 or 12 as amperage climbs. TIG welding spans a wide band — low-amperage TIG around shades 9 to 11, higher amperage up toward 12 or 13. Carbon arc and plasma cutting at high power sit at the darkest end, around shades 12 to 14.
Treat those ranges as orientation, not instructions. Amperage, material, and your own eyes all shift the right answer, so use the manufacturer’s chart for your process and settings as the deciding reference.
What Happens If Your Shade Is Too Light or Too Dark?
Too light, and the arc overwhelms your eyes. The immediate effects are glare, discomfort, afterimages, and tired, watery eyes; repeated or severe exposure risks arc eye (a painful inflammation of the cornea) and long-term damage. If you are squinting, seeing spots after each weld, or getting headaches, your shade is likely too light for the amperage — go darker.
Too dark causes a different problem: you cannot see. Welders straining to see the puddle through an overly dark lens hold their head too close, drift off the joint line, and produce poor welds — and the temptation is to lift the helmet “just to check,” which exposes the eyes at the worst moments. The right shade is the darkest one through which you can still see the puddle and joint clearly. Experienced welders test by striking a brief arc and adjusting: comfortable view, no strain, no spots.
What Is the Difference Between Fixed and Variable Shade?
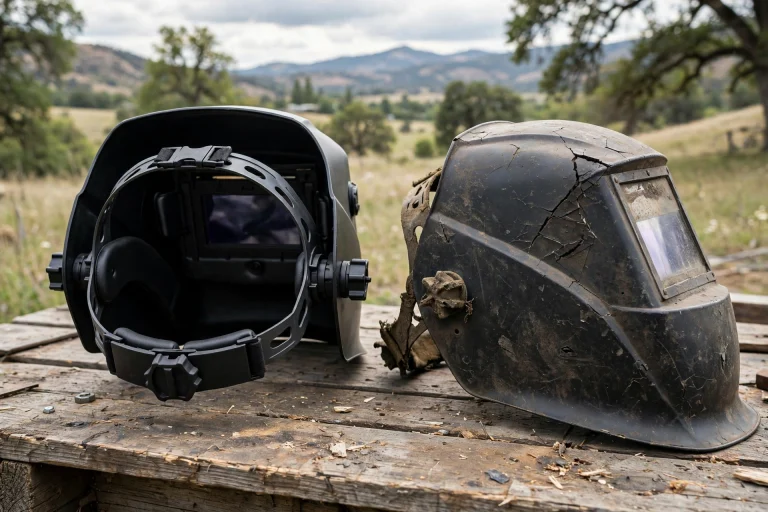
Traditional helmets have a fixed-shade lens — one number, all the time, usually a shade 10 or 11. They are simple, light, and reliable, and fine if you always do the same kind of welding at similar settings. The trade-off is flipping the helmet up and down to see your work between welds.
Auto-darkening helmets use sensors that detect the arc and switch the lens from a light state (often around shade 3 or 4) to a working shade almost instantly. Variable-shade models let you dial the dark state — commonly across a range like 9 to 13 — so one helmet covers TIG at low amps in the morning and stick welding in the afternoon. For anyone who switches processes or amperages regularly, that adjustability is the main reason auto-darkening helmets have become the workshop default.
How Do You Choose Your Starting Shade?
Start from the manufacturer’s chart for your process and amperage — not from what another welder happens to use, because their process, settings, and eyes differ from yours. If the chart gives a range, begin at the darker end; you can lighten a step if the puddle is genuinely hard to see, but you cannot un-expose eyes that got too much arc.
Personal factors count too. Welders vary in light sensitivity, and some people simply need one shade darker than the chart’s minimum for comfort. Lens quality matters as well: a clearer lens at the right shade is easier to work with than a murky lens at any shade. The goal is consistent — full protection with the clearest possible view of the puddle.
And a wider point that applies across all head protection, from welding helmets to riding helmets: certification and correct fit are the foundation everything else sits on — the same principle behind the fit and standards guidance in our explainer on how modern helmet safety standards work. For welding, that means a helmet meeting the applicable eye-protection standard, worn properly, every time the arc is struck.
Frequently Asked Questions
Q: What shade is best for a beginner learning MIG welding?
A: In general terms, shade 10 or 11 suits most lower-amperage MIG work, but the correct answer comes from the shade chart for your machine’s amperage. Start at the darker end of the recommended range and adjust only if you cannot see the puddle clearly.
Q: Can I use one shade for everything?
A: Not well. Processes differ too much in brightness — a shade dark enough for high-amperage stick welding makes grinding or brazing nearly invisible, and a light cutting shade leaves your eyes exposed to an arc. A variable-shade auto-darkening helmet is the practical way to cover many jobs with one helmet.
Q: Does a darker shade protect my eyes more from UV?
A: Not in the way most people assume. UV and IR filtering is built into welding lenses independently of the visible shade, so a shade 10 and shade 13 lens both block those rays when working properly. The shade number is about visible brightness, comfort, and being able to see the weld.

Olivia
Writer at Helmet Today, covering helmet reviews, fit and riding safety.