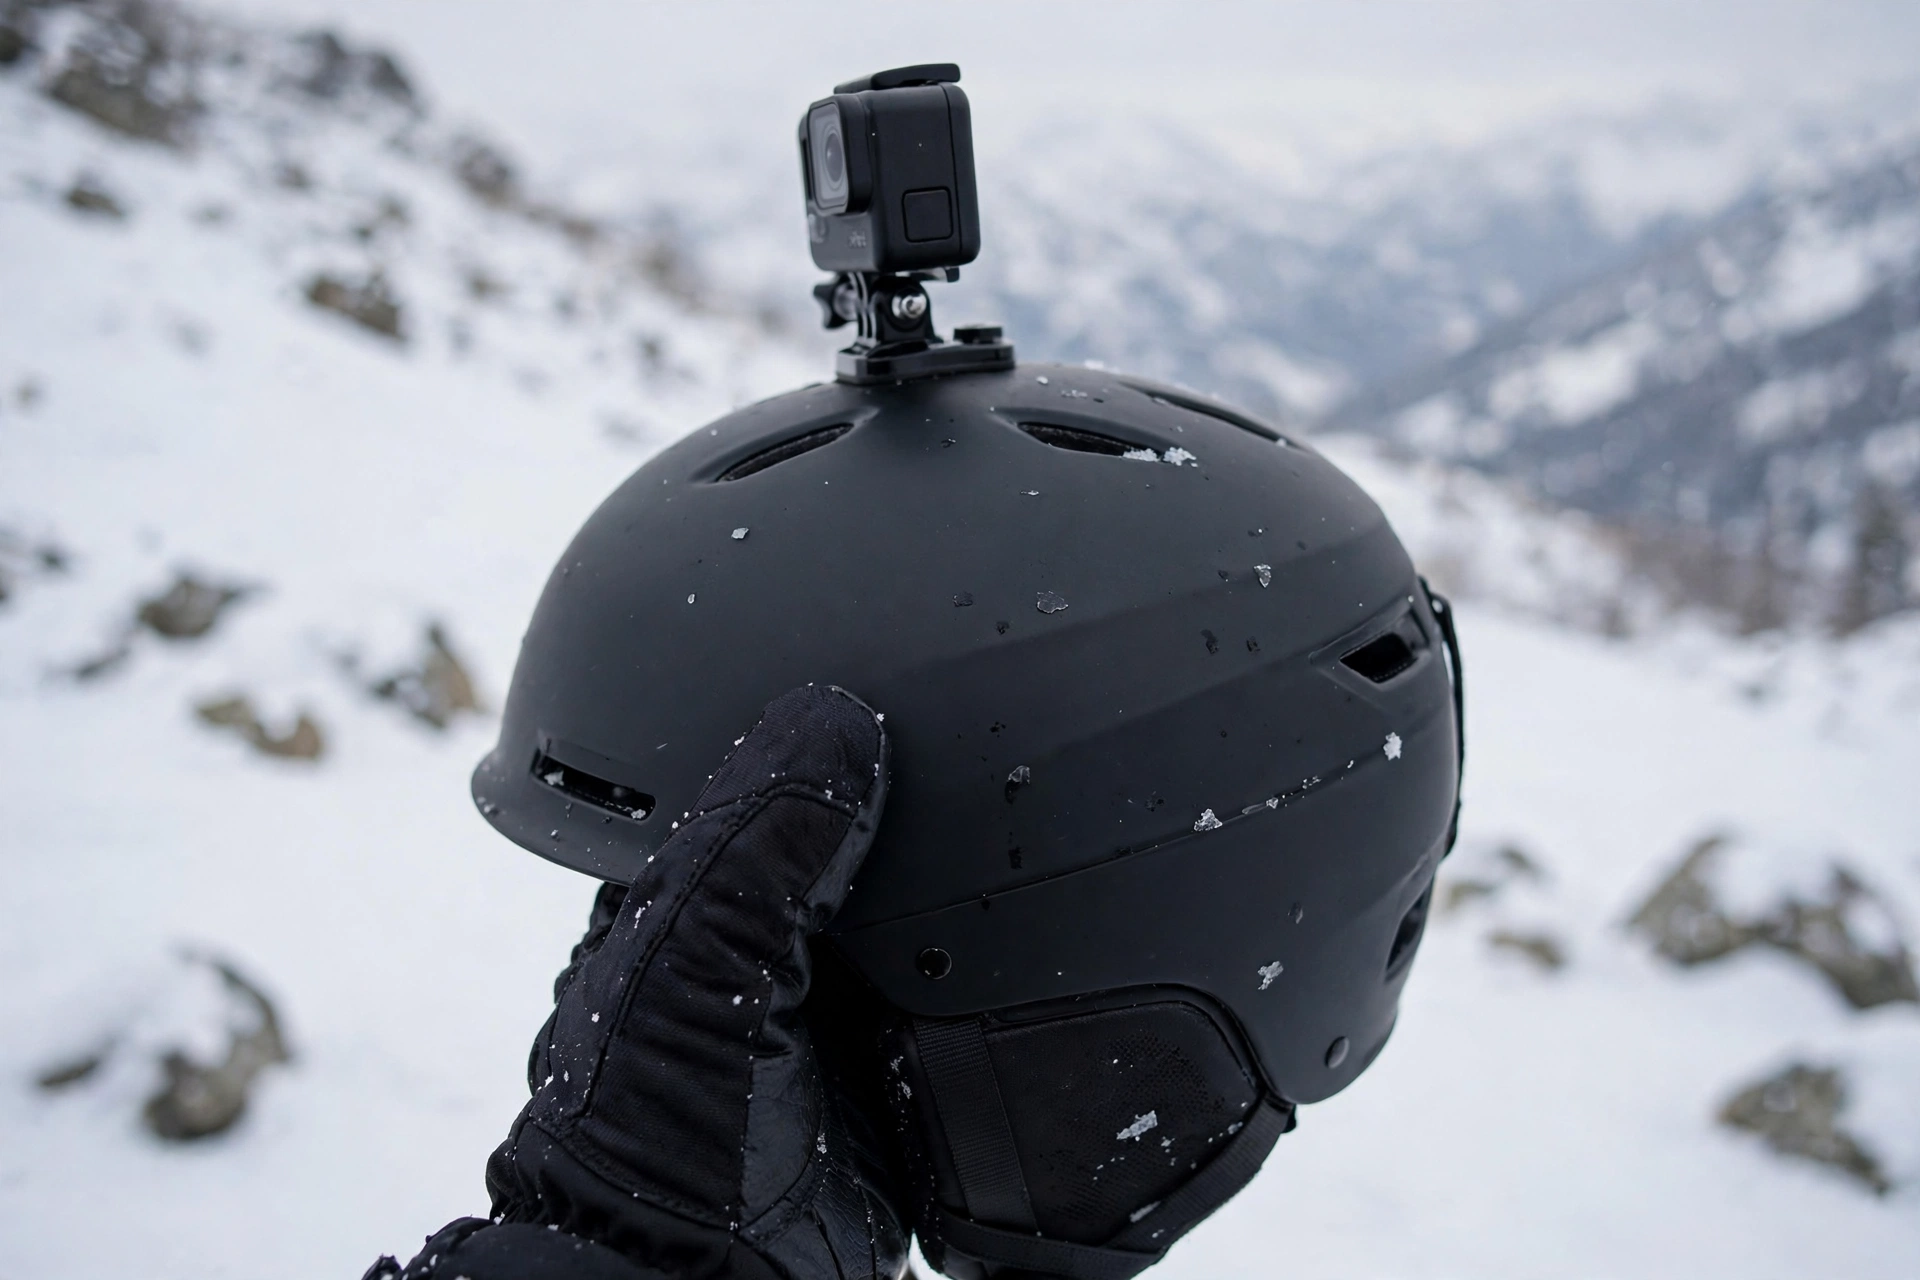
To attach a GoPro to a ski helmet safely, stick the camera maker’s curved adhesive mount — or the helmet maker’s own accessory mount — onto a smooth area on the top or front of the shell, let the adhesive cure for the time the instructions specify, clip the camera in, and back it up with a short tether. Never drill, screw, or cut into the shell to fit a mount.
Helmet footage is the classic ski edit: it shows your line, your speed, and your friends skiing ahead of you. But a helmet is protective equipment first and a camera platform second, and the two roles only mix safely if the mounting is done properly. This guide covers where to mount, how to fit the adhesive base, what resorts and helmet makers say about cameras, and how to keep the camera attached all day.
Where Is the Best Place to Mount a Camera on a Ski Helmet?
The top center of the helmet is the most popular spot. From there the camera sees roughly what you see, the footage stays level when you look around, and the camera is out of the way of your goggles and the goggle strap at the back. A front mount, just above the goggles, gives a slightly lower, more immersive angle and keeps the camera visible so you can check its screen and lens.
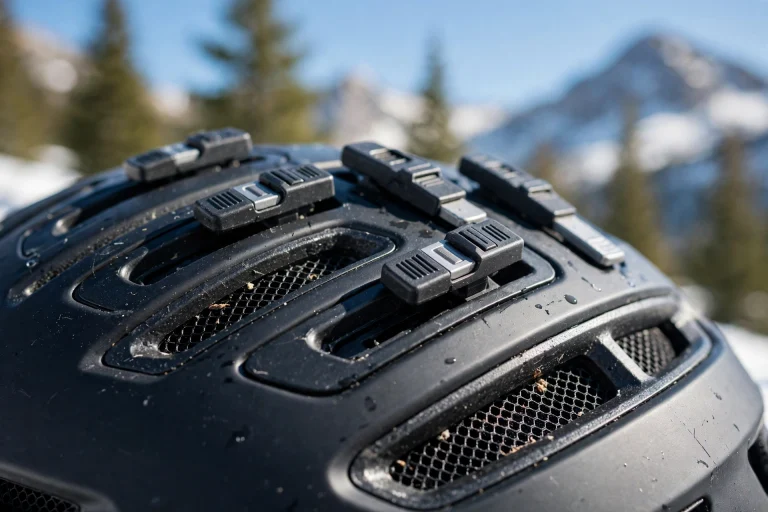
Whichever you choose, the mount needs a smooth, gently curved patch of shell. Avoid vents, sharp ridges, seams, and the edges of the shell, where adhesive bases cannot sit flat and where a mount could interfere with how the helmet is designed to work. Also think about the lift: a tall top mount can catch on chairlift headrests and the safety bar, so check the clearance with the camera fitted before your first ride up.
Side mounts exist too, but they unbalance the helmet slightly and are the first thing to hit the snow in a sideways fall. For most skiers, top or front center is the practical answer.
How Do You Fit a Curved Adhesive Mount Step by Step?
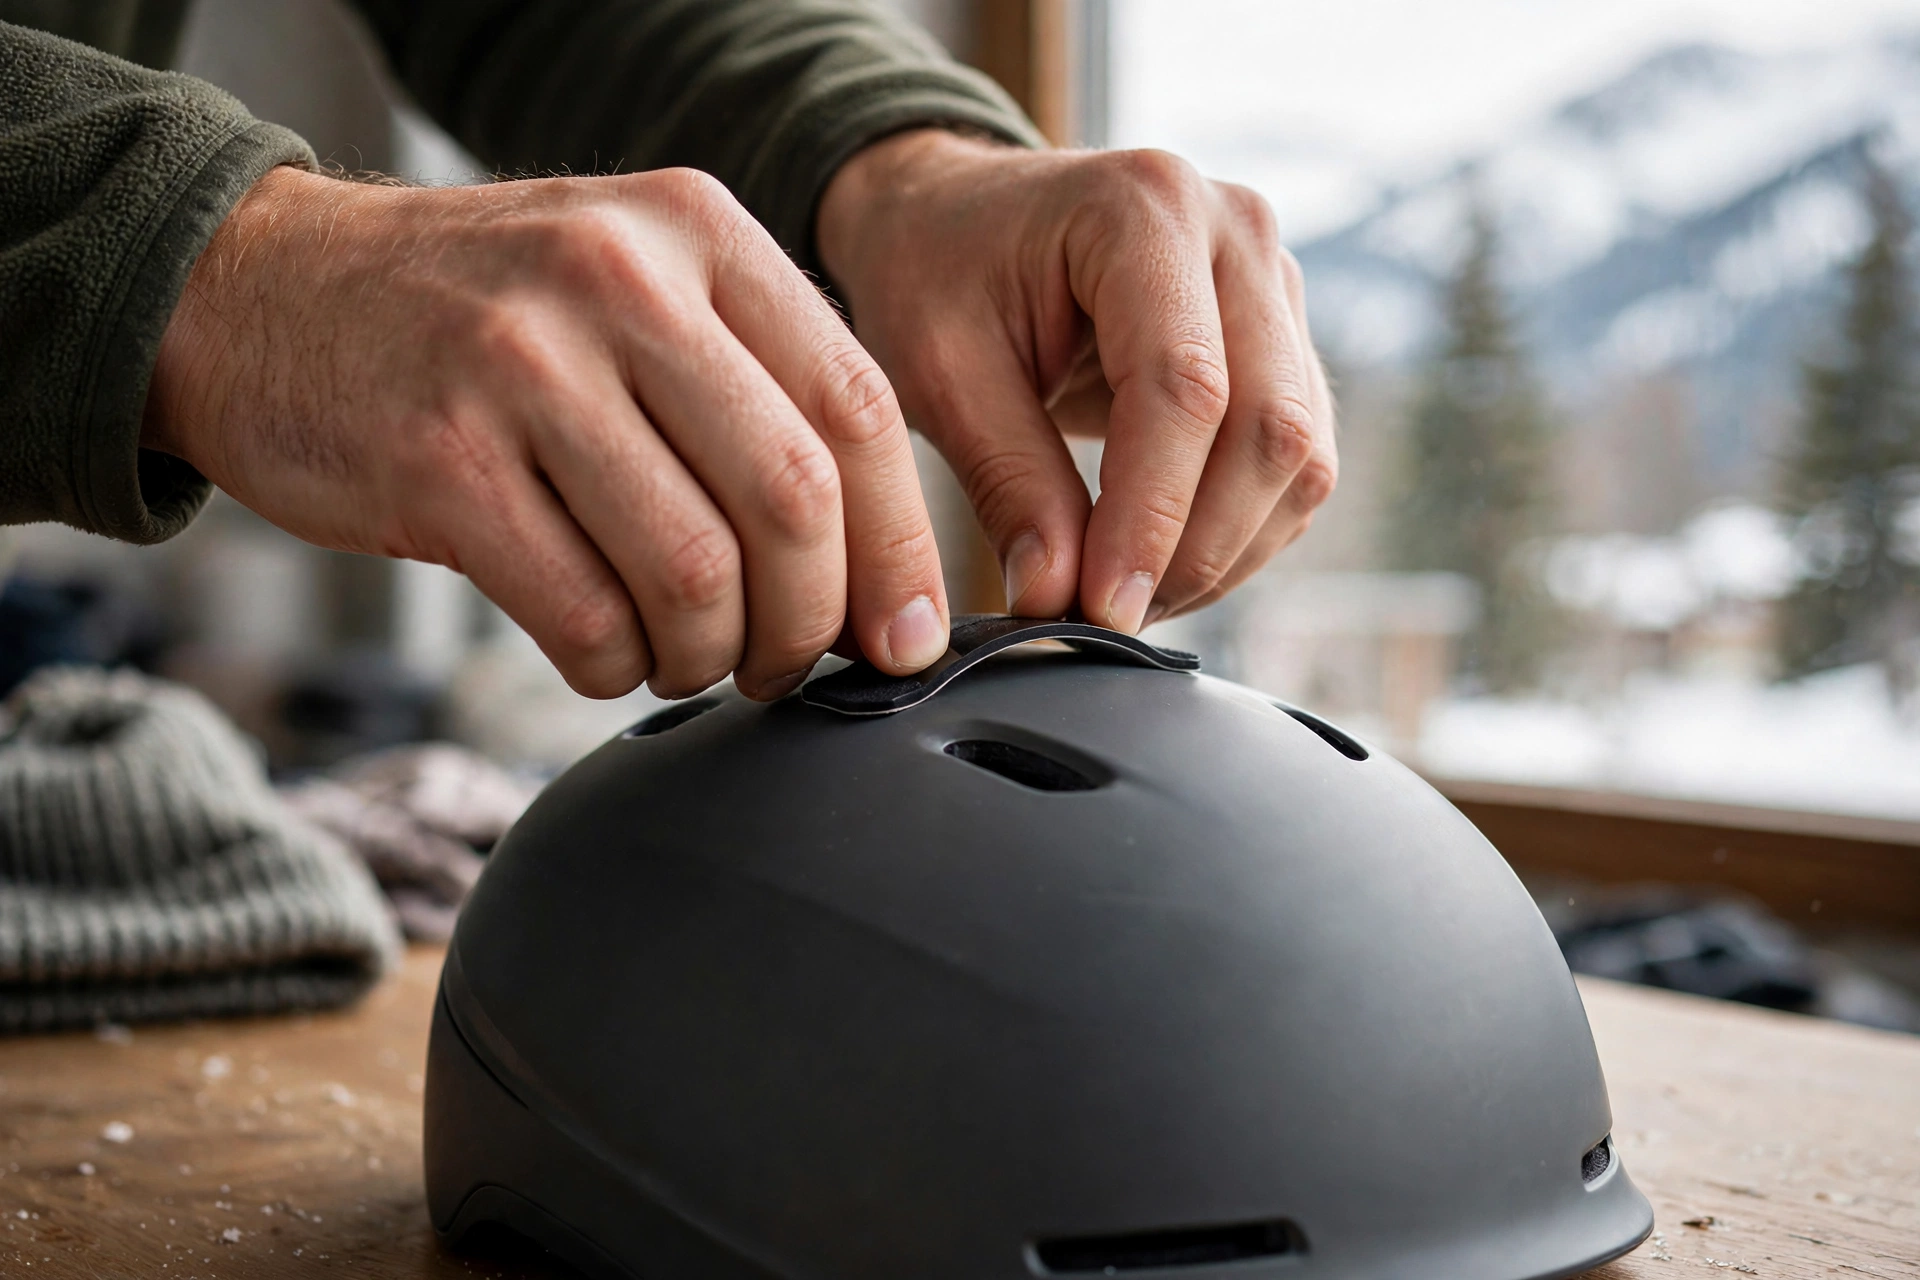
Start with the right base: use the curved adhesive mount, not the flat one meant for boards and dashboards, so its footprint matches the shell’s curve. Work indoors at room temperature — adhesives bond poorly in the cold, so fitting the mount in a freezing parking lot is asking for a lost camera.
Clean the chosen spot with the alcohol wipe from the mount kit or a little rubbing alcohol on a cloth, and let it dry fully. Peel the backing, position the mount carefully — you get one good attempt — and press it down firmly and evenly for at least a minute, working from the center outward so no edge lifts. Then walk away: adhesive mounts need a curing period, commonly a full day, before they reach full strength, so fit the mount the night before, not the morning of.
Before the first run, clip the camera in and give the whole assembly a firm wiggle test. There should be no rocking or peeling at any corner of the base. If an edge lifts, remove the mount, clean the shell, and start again with a fresh adhesive pad rather than trusting a half-bonded one.
Why Must You Never Drill or Screw Into the Helmet?
A helmet works as a single system: the shell spreads an impact and the foam liner crushes in a controlled way to absorb it, and on many modern helmets an inner low-friction liner — the technology described in our guide to what MIPS is and how it works — adds protection against angled hits. Drilling a hole breaks the shell’s structure, can crack the foam beneath, and creates a hard point exactly where the system is supposed to deform smoothly.
It also breaks the paperwork. In general terms, modifying a helmet with screws, bolts, or cut openings voids the maker’s warranty and takes the helmet outside the condition in which it was certified. The same caution applies to strong solvents and non-approved glues, which can attack helmet foams invisibly. Adhesive mounts supplied for helmet use are the approved route precisely because they sit on the surface and peel away without altering the structure.
If you want a camera but do not want anything stuck to your helmet at all, a chest harness or a pole mount films perfectly well and leaves the helmet completely untouched.
What Do Resorts and Helmet Makers Say About Helmet Cameras?
Policies vary, so it pays to check before a trip. In general terms, some resorts and many organized events and race programs restrict or discourage helmet-mounted cameras and other rigid attachments, and some helmet makers warn that accessories not approved for the helmet can affect its performance or its warranty. Rental and lesson operations may have their own rules for their helmets — never stick a mount on a rental helmet.
Read your helmet’s manual as well. Several brands sell or approve their own mounts designed for specific models, which removes the guesswork. If the manual says to use no attachments other than approved ones, that instruction is part of using the helmet as certified.
None of this is meant to put you off filming. It simply means the mount choice is part of the safety choice: approved mount, correct base, cured adhesive, and a tether.
How Do You Keep the Camera Attached and the Footage Steady?
Always add a tether: a short leash from the camera or its housing to the mount base or a helmet strap. Adhesive bonds age, cold weakens them, and a fall or a tree branch can knock a camera clean off — the tether turns a lost camera into a dangling inconvenience. Check the mount before the first run of every day and after any knock or fall.
For steadier footage, mount the camera as close to the shell as the bracket allows, keep the housing snug, and remember that your head is the stabilizer: smooth head movements film far better than quick glances. Cold drains camera batteries quickly, so keep spares warm in an inside pocket and swap at lunch. Wipe the lens at every lift — a single snow spot can ruin an hour of footage.
At the end of the season, inspect the adhesive pad. If the base rocks at all, replace the pad rather than re-gluing over the old one, and store the helmet with the camera removed so nothing heavy hangs off the mount for months.
Frequently Asked Questions
Q: Can I use the flat adhesive mount on a ski helmet?
A: No. Flat bases are made for flat surfaces and will only touch a curved shell at a few points, so the bond is weak. Use the curved adhesive mount designed for helmets, or the helmet maker’s own mount.
Q: Will removing an adhesive mount damage my helmet?
A: Maker-supplied adhesive pads are designed to come off cleanly with gentle warming and slow peeling, in line with the mount instructions. Avoid solvents against the shell, since some chemicals can harm the foam underneath.
Q: Is a chest mount safer than a helmet mount?
A: It removes the helmet question entirely and gives a stable view of your skis and hands, though it shows less of where you are looking. Many skiers use both: the helmet for follow-cam runs and the chest mount for everyday footage.

Olivia
Writer at Helmet Today, covering helmet reviews, fit and riding safety.