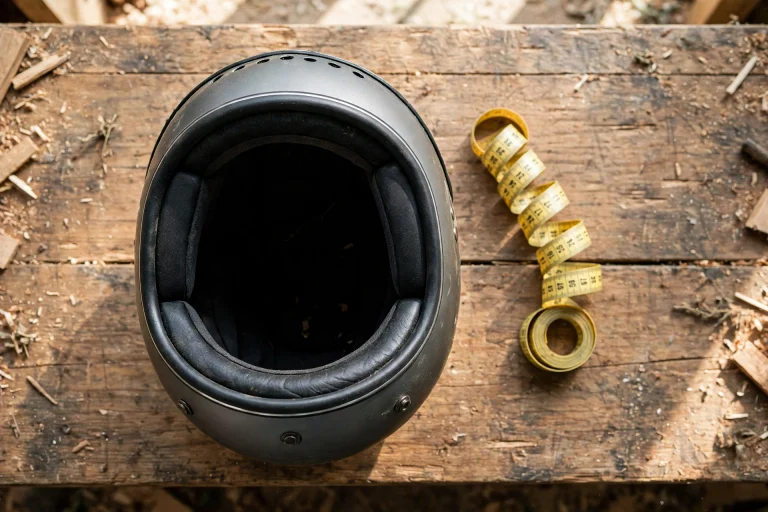
To choose a hard hat for construction work, first check that it carries the ANSI/ISEA Z89.1 label, then pick the Type and Class that match your jobsite hazards — Type I for top-of-head impact, Type II if side impacts are a risk, and an electrical class rated for the voltages you may encounter. Fit and suspension adjustment complete the checklist.
A hard hat is not a generic piece of plastic. It is certified protective equipment, and the wrong Type or Class can leave you unprotected against the exact hazard your site presents. This guide walks through the standard, the Types, the Classes, fit and suspension, and when to replace one — plus one important warning about what a hard hat cannot do.
What Does the ANSI/ISEA Z89.1 Standard Actually Mean?
Nearly every legitimate hard hat sold for US construction work is certified to ANSI/ISEA Z89.1, the standard for industrial head protection. In general terms, it sets test requirements for impact absorption, penetration resistance, and — for models that claim it — electrical insulation. The certification is printed inside the hat, along with the Type, Class, and date of manufacture.
Before you buy anything, learn to read that inside label. If a hat has no legible label, or uses vague language like “safety style” without naming the standard, it is not certified protective equipment — put it back. And note that many employers specify hard hat requirements in their safety plans; those rules override personal preference.
What Is the Difference Between Type I and Type II Hard Hats?
The Type describes where the hat protects against impacts. A Type I hard hat is tested for impacts to the top of the head — the classic falling-object scenario, a tool dropped from scaffolding above you. Most traditional dome-style hard hats are Type I.
A Type II hard hat is tested for impacts from the side and off-center as well as the top — falls against steel, swinging loads, bumps in tight spaces. Type II hats usually add an internal foam liner around the sides, making them look and feel more like a helmet than a shell on a suspension. In general terms they cost more and run warmer, but for work at height, in confined spaces, or around lateral hazards, that extra coverage is the point.
Ask a simple question to decide: is anything likely to hit my head from anywhere but directly above? If you work around moving machinery, at height, or in demolition, Type II is the safer match. For general ground-level work under falling-object risk, Type I remains the common choice — provided your site’s plan agrees.
Which Electrical Class Do You Need — E, G, or C?
The Class describes electrical insulation, and it is where the letters on the label matter most. In general terms under Z89.1:
- Class E (Electrical) offers the highest level of electrical insulation, tested in general terms at the highest voltage of the three classes. This is the class for electrical workers and anyone near high-voltage conductors.
- Class G (General) provides a lower level of electrical insulation — tested at a reduced voltage compared with Class E — and is the common all-purpose choice for general construction.
- Class C (Conductive) offers no electrical protection at all. These hats are often vented and made for comfort in hot work where no electrical hazard exists.
The practical rule: if there is any chance of contacting electrical conductors — overhead lines, live panels, temporary site power — Class C is disqualified, full stop, and Class E is the conservative buy. If you are unsure which class a task needs, ask your site’s safety officer rather than guessing. And never drill a hard hat or add metallic accessories: vents and holes can compromise its tested insulation.
How Should a Hard Hat Fit and Adjust?
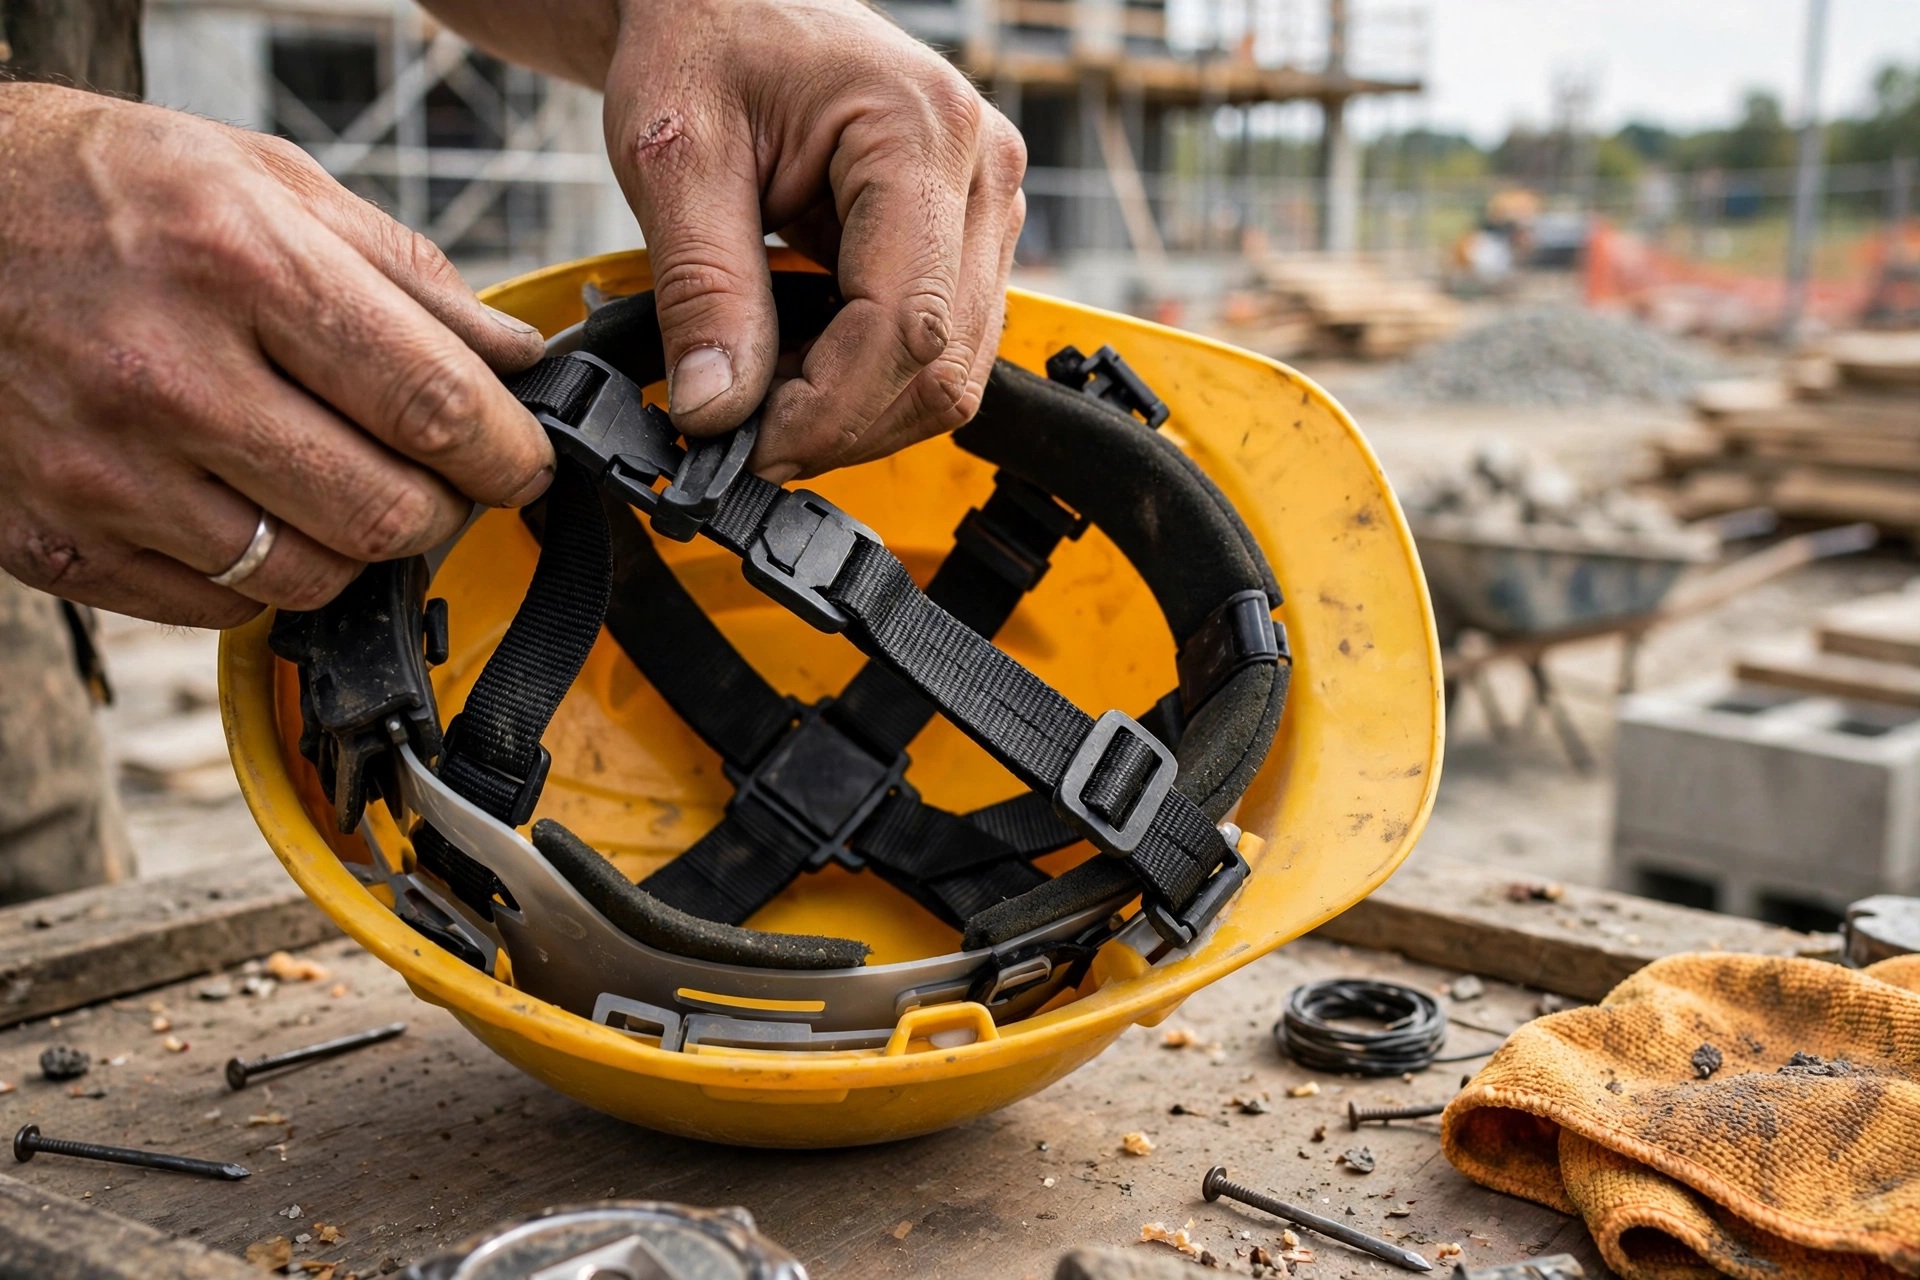
A hard hat does not fit like a cap. It rests on an internal suspension — webbing straps and a headband — that holds the shell away from your skull so the suspension, not your head, takes the first of an impact. That air gap is part of the protection, which is why you should never wear one jammed down over a thick knit hat; a thin liner made for hard hats is the limit.
Adjust the headband with the ratchet or pin-lock until the hat is snug and level — front brim roughly straight, not tilted back — and set the suspension height, if adjustable, so the shell keeps its intended clearance. It should not wobble when you shake your head or press painfully at the forehead.
Match the brim to your work: a full brim sheds rain and sun outdoors; a cap-style brim gives better upward visibility; a short-brim style fits confined spaces and pairs more easily with face protection. Add a chinstrap for work at height or in wind — a hat that blows off protects nobody.
Can You Use a Hard Hat Instead of a Bike or Motorcycle Helmet?
No — and this is the most important misconception to clear up. A hard hat is certified to an industrial standard for workplace hazards: falling objects, bumps, and electrical contact. A motorcycle helmet is certified to DOT or ECE standards for high-energy crashes at road speed, and a bicycle helmet to CPSC for cycling impacts. These are entirely different tests, and none of the three substitutes for another.
Features riders rely on — foam designed to crush once in a crash, retention built for tumbling impacts, technologies like the rotational liners covered in our explainer on what MIPS is and how it works — are simply not what a hard hat is built or tested to provide. A hard hat on a motorcycle or bike offers far less protection than its sturdy look suggests. The reverse holds too: a bike helmet on site does not meet the hard hat requirement. Match the certification to the hazard, every time.
When Should You Replace a Hard Hat?
Replace a hard hat immediately after any significant impact — a falling object strike, a fall, visible cracking, or deep dents — even if the shell looks mostly fine. The suspension webbing does much of the work, and worn, frayed, or stretched webbing is itself a replacement trigger in many manufacturers’ guidance.
Age and environment matter too. UV sunlight, heat, and chemicals degrade the shell over time — chalking, fading, or stiffness when you gently flex the brim are signs it is aging out. In general terms, manufacturers suggest replacing the suspension roughly yearly and the shell after a few years of service, sooner in harsh conditions; check your model’s guidance and track the manufacture date inside the hat.
Store the hat out of direct sun and away from solvents, clean it with mild soap and water only, and never paint it — paint solvents can attack the shell unseen. Inspect it weekly and replace on schedule.
Frequently Asked Questions
Q: What is the best hard hat for general construction work?
A: For most general construction, a Type I, Class G hard hat with a ratchet suspension and a legible ANSI/ISEA Z89.1 label is the standard all-purpose choice. Upgrade to Type II if side impacts are a realistic hazard, and to Class E near electrical conductors — and always follow your site’s safety plan.
Q: Does the color of a hard hat mean anything?
A: Colors are conventions, not part of the standard — many sites use them to identify roles (supervisors, visitors, new workers), but the meaning varies by site. What matters for protection is the Type, Class, and certification printed inside.
Q: Can I put stickers on my hard hat?
A: Many employers allow a few inspection or training stickers, but stickers can hide shell cracks during inspection, and some adhesives can affect shell materials. Keep them minimal, follow your site’s rules, and never let a sticker cover the certification label or a damaged area.

Olivia
Writer at Helmet Today, covering helmet reviews, fit and riding safety.