
To check a football helmet for cracks before the season, wash the shell clean, then inspect it slowly inside and out under bright light — paying closest attention to the areas around the facemask mounts, ear holes, crown, and chin — feeling for hairline cracks, stress whitening, and any flex or creak that was not there before; if you find a crack, the helmet does not get played in until a professional verdict retires or clears it. A cracked shell is not a cosmetic problem.
This guide gives the full pre-season inspection: where cracks hide, what else to check while you are there, and what to do with a helmet that fails.
Why Check for Cracks Before the Season Starts?
The shell is the helmet’s structure. It spreads impact force over the liner and holds every other component in its designed place, and it does that only while it is intact. A crack is a break in that structure: force concentrates at the crack instead of spreading, and the shell can fail further exactly when it is loaded hardest.
The pre-season check matters because damage accumulates invisibly. Last season’s hardest hits, a year of being thrown in bags and dropped on concrete, storage in a hot or freezing space — the helmet you hang up in November is not inspected by anyone over the winter. The start of the season is the one moment every helmet is in someone’s hands with time to look properly.
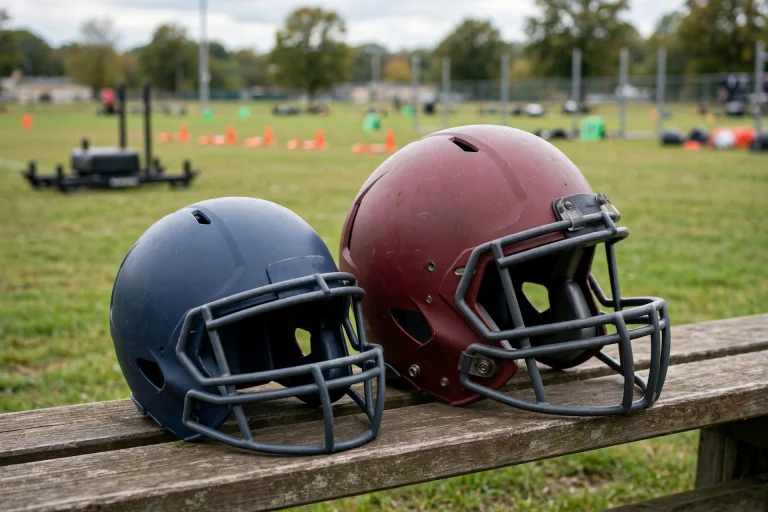
Programmes with formal inspection and reconditioning cycles have this built in. If your helmet is your own, this check is how you give it the same protection.
Where Do Cracks Usually Appear on a Football Helmet?
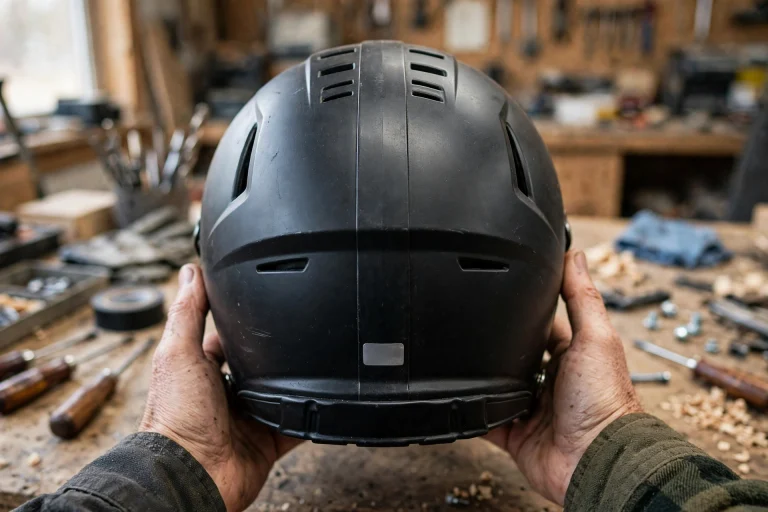
Cracks start where stress concentrates: around holes and attachment points. Look first and longest at the facemask mounting points, the ear holes, the chin strap and snap hardware areas, and any point where something bolts through the shell — each hole is a place a crack can begin and run from.
The crown and the front and back edges take their share of impacts and deserve the same slow look, including the shell edges where the liner meets them. Also check inside the shell with the padding moved aside where the design allows: some cracks are visible on one side before the other.
- Attachment points: facemask mounts, hardware holes, snap posts
- Openings: ear holes and their surrounding shell
- High-impact zones: crown, front bumper area, rear edge
- Edges: shell rim where liner and shell meet, inside and out
Stress whitening — a pale, cloudy patch or line in the shell’s colour — is a warning sign even without an open crack: it indicates the plastic has been stressed, and it marks exactly where to look and feel most carefully.
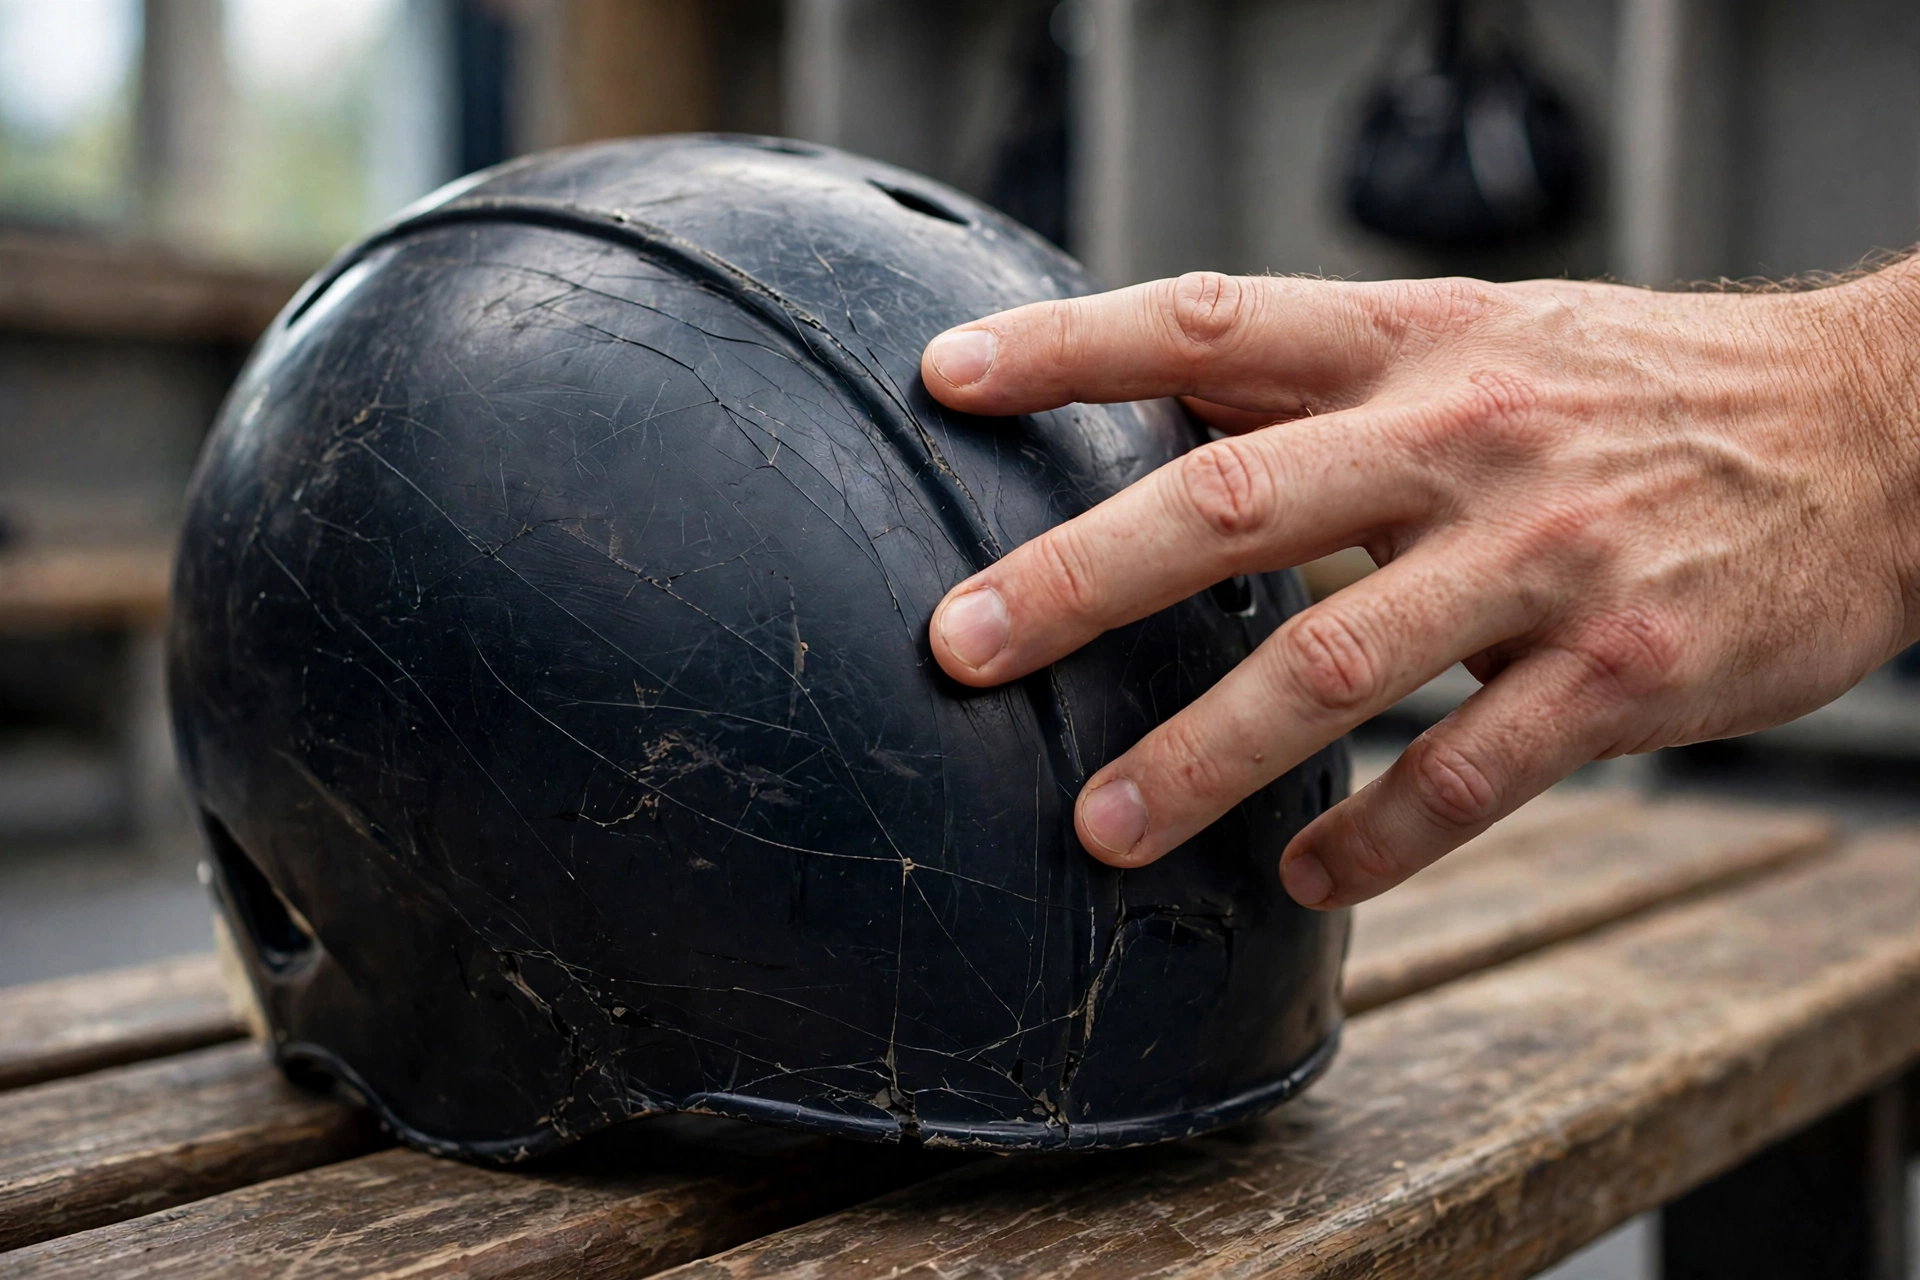
How Do You Inspect a Helmet Shell Step by Step?
Clean it first: dirt, tape residue, and scuffs hide hairlines. Wash the shell with warm water and mild soap, dry it, and then work in good light — a bright lamp you can angle across the surface is better than flat room light, because raking light throws tiny cracks into shadow.
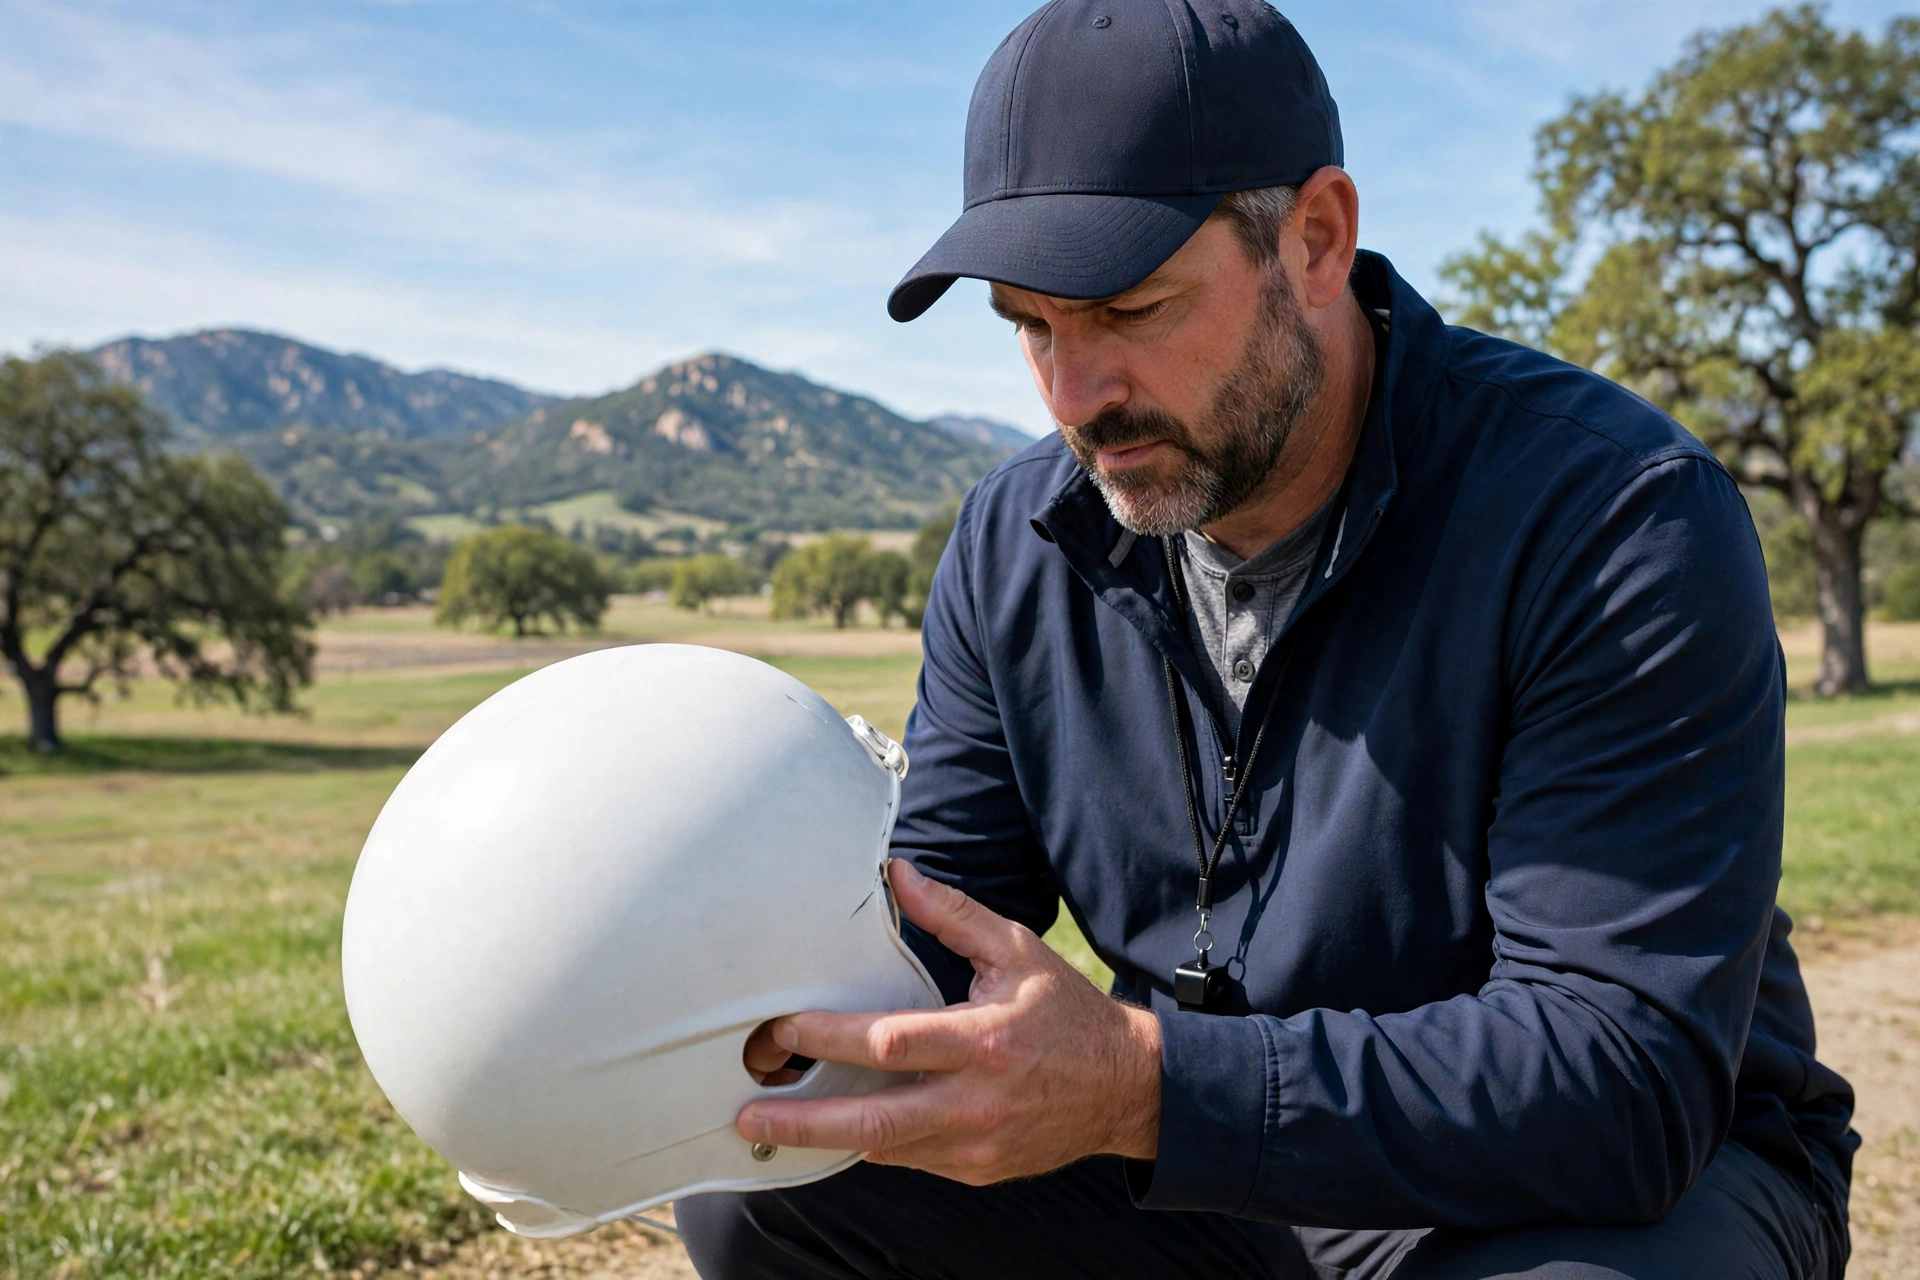
Work in a pattern so nothing is skipped: front, both sides, crown, back, then inside. Look, then feel — run fingertips slowly over the surface, because a hairline crack you cannot see can often be felt as a catch or a ridge. Flex nothing forcibly; a gentle handling pressure while you listen for creaks is enough, and any area that feels soft, moves, or sounds different from the rest gets marked for a professional opinion.
Write down what you find, even in a personal helmet: which area, what it looks like, a phone photo with a coin beside it for scale. If you send the helmet to a reconditioner or the maker, that record is exactly what they will want to hear about.
What Other Damage Should You Check at the Same Time?
A cracked shell ends the discussion, but the rest of the helmet deserves the same visit. Check the facemask for bent bars, cracked coating with rust beneath, and loose or corroded hardware — and tighten or replace hardware with the maker’s parts, never random bolts.
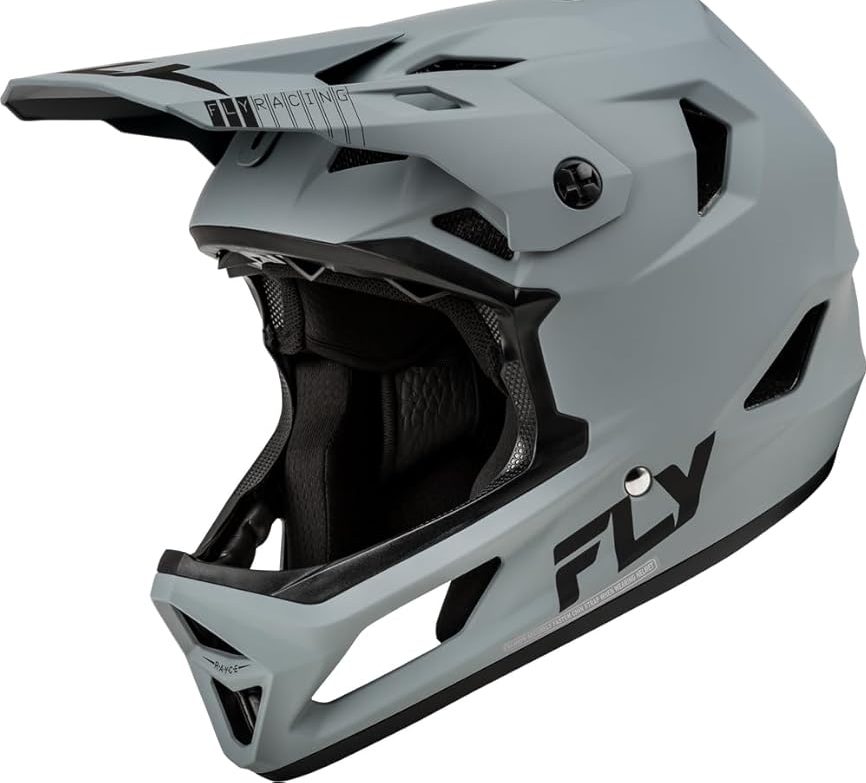
Check the liner and padding: foam that is cracked, crumbly, permanently compressed, or coming away from the shell has lost its ability to absorb impact, and jaw pads and chin straps wear out on their own schedule of fraying, stiffness, and failed buckles. The helmet protects as a system designed to spread force and manage angled, rotational impacts, as this guide to what MIPS is for helmets explains — every worn component weakens that system somewhere.
Check the identification and dates inside the helmet too: the maker’s labels, size, and any certification or reconditioning records your programme keeps. A helmet beyond the service life its maker sets should be retired whatever its surface looks like.
What Should You Do If You Find a Crack?
Stop using the helmet. That is the whole first step: no games, no practice, no “one last session” — a cracked helmet that fails in a hit can make the injury worse than the hit alone would have. Mark it or tag it so nobody else picks it up by mistake.
Then get a professional verdict. An authorised reconditioner or the maker can confirm whether the shell is structurally compromised; in general terms, a genuinely cracked shell cannot be repaired back into certified service, and the outcome is retirement. Do not attempt home repairs — glue, filler, or tape over a crack hides the symptom while the structure stays broken, and it can also void the helmet’s standing entirely.
If the helmet is retired, replace it with a correctly fitted, certified helmet and run the same fit routine as always. Build this inspection into the calendar — before every season, and again after any single very heavy impact during it — and cracks stop being surprises.
Frequently Asked Questions
Q: Is a small surface scratch the same as a crack?
A: No — shells pick up cosmetic scratches and scuffs constantly, and those alone do not retire a helmet. A crack goes into the structure: it can be felt as a ridge or catch, may show stress whitening around it, and tends to start at holes and edges. If you cannot tell which you are looking at, treat it as a crack and get a professional to judge it.
Q: Can a cracked football helmet be repaired?
A: In general terms, a cracked shell cannot be repaired back into service — the shell’s strength is its structure, and no glue or filler restores it. Reconditioners replace padding and hardware, not broken shells. A confirmed crack means retirement, and home repairs should never be attempted on protective equipment.
Q: How often should a helmet be inspected during the season?
A: Give it a quick visual check regularly — weekly is a sensible habit in a programme — and a full slow inspection after any unusually heavy impact, drop onto concrete, or any change in how it feels or sounds. Combined with the pre-season check and the reconditioning cycle, that catches most problems before they matter.

Olivia
Writer at Helmet Today, covering helmet reviews, fit and riding safety.