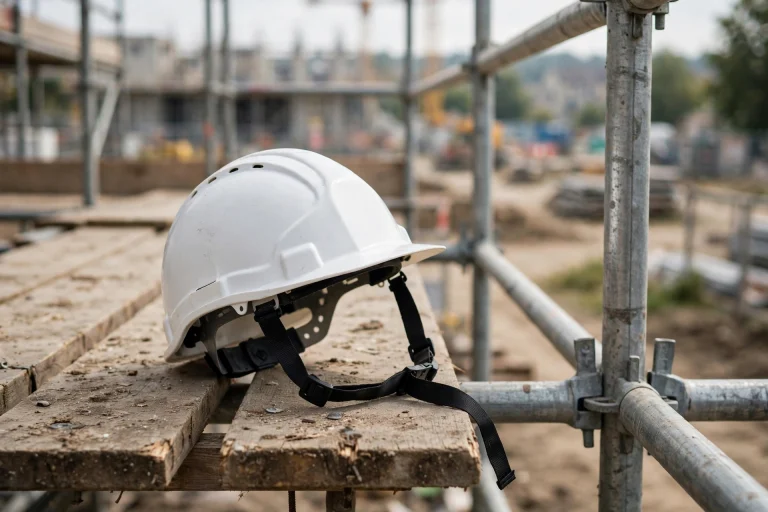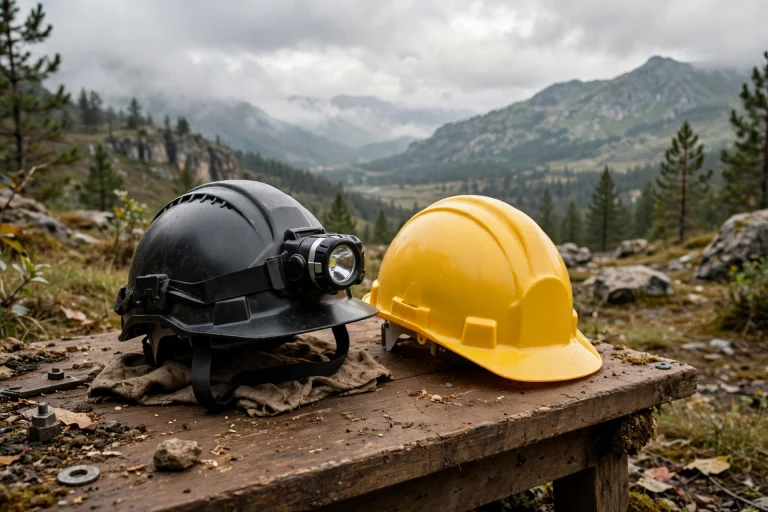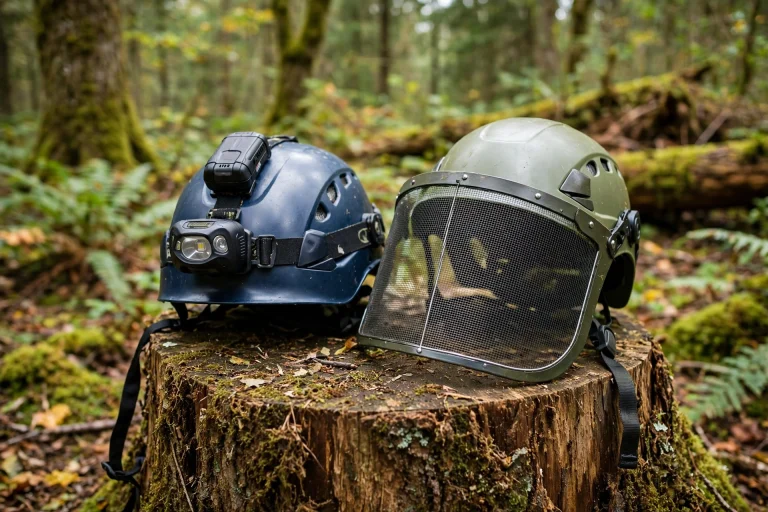

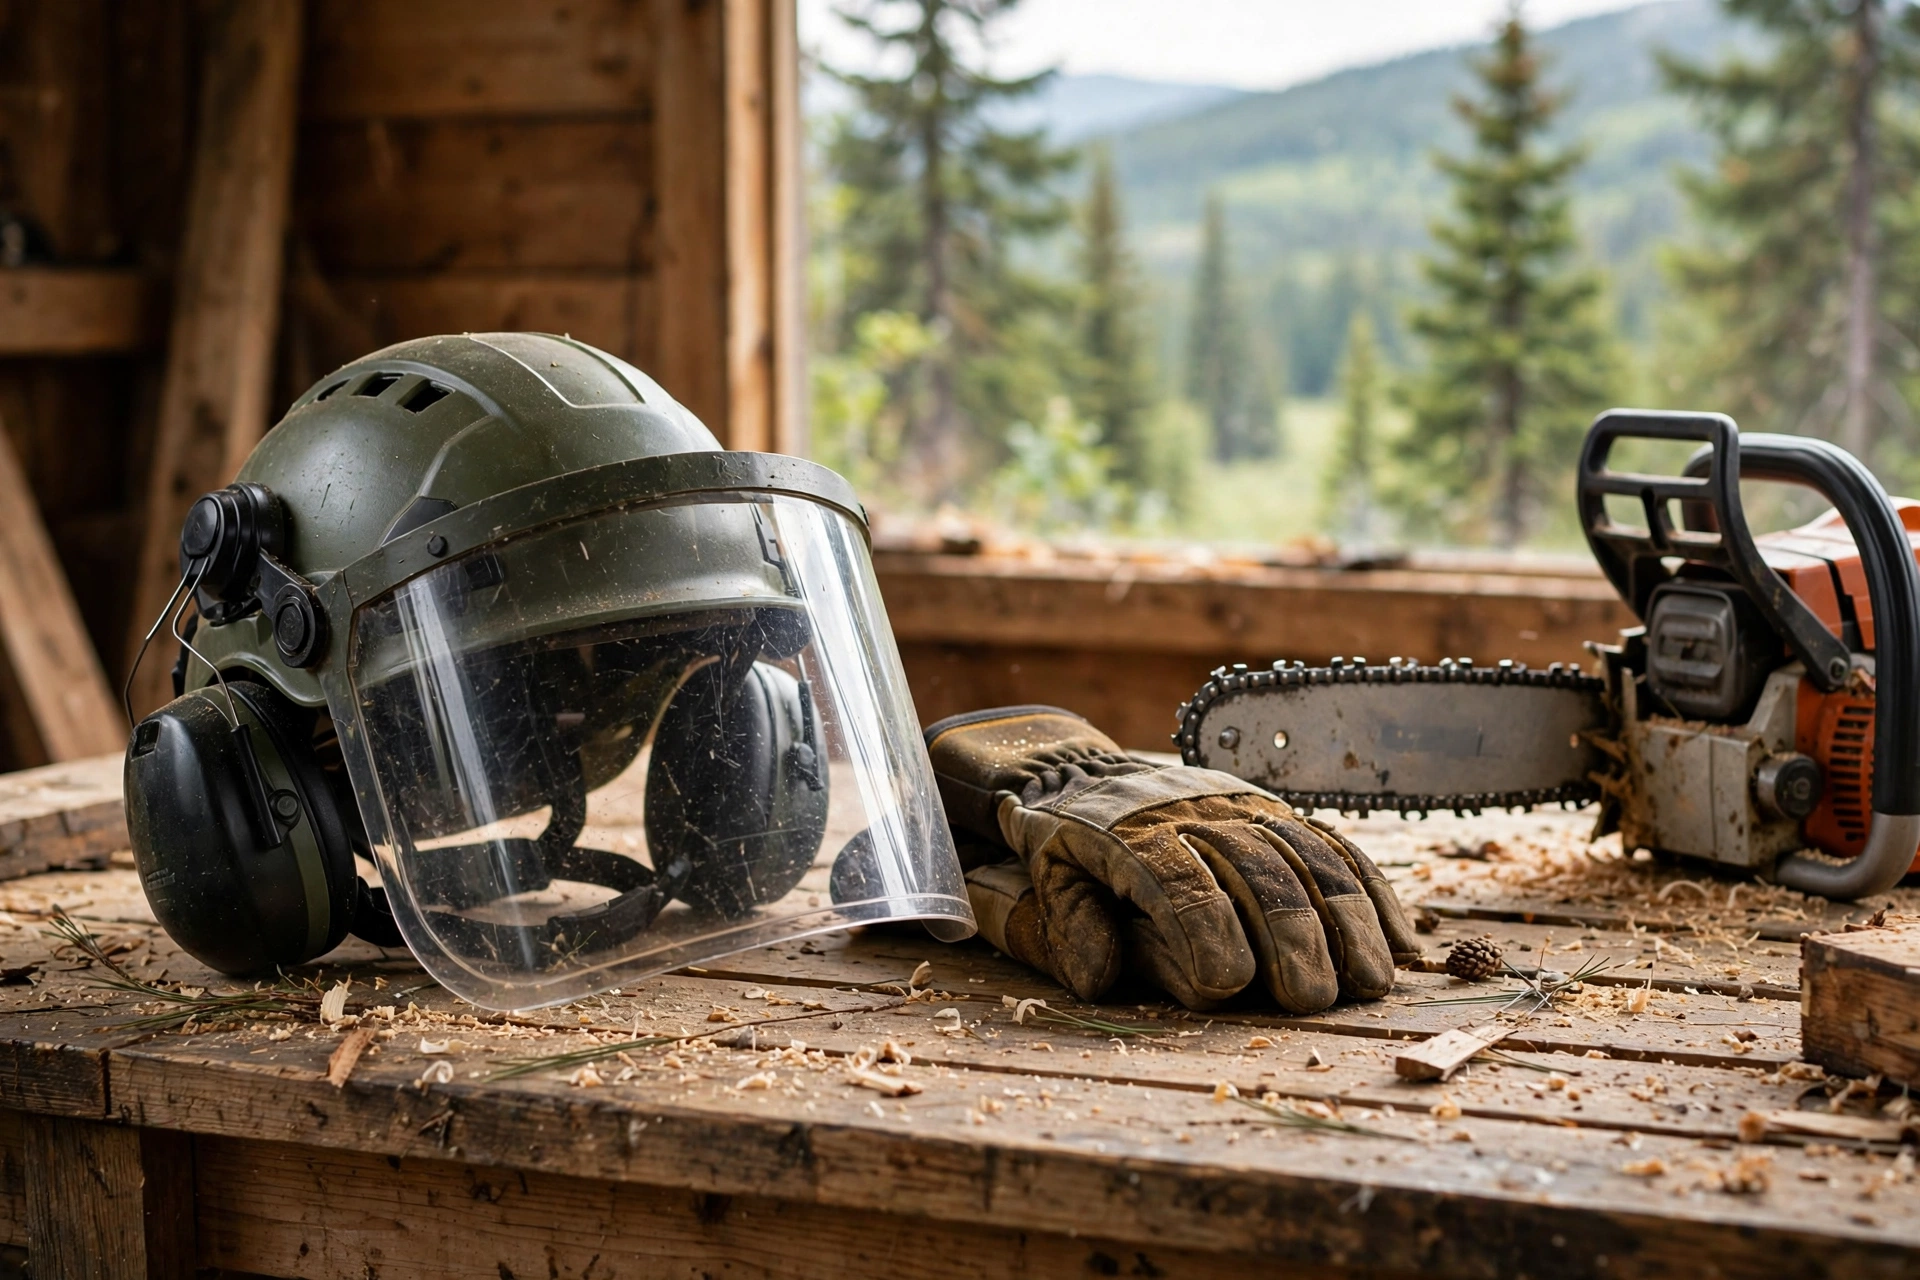
To fit a forestry helmet for chainsaw work, start with the shell sitting level on your head, then adjust the suspension so the helmet feels snug without pressure points, fasten the chin strap firmly under your chin, and set the visor and ear muffs so they seal and sit correctly. A well-fitted helmet stays put when you look up into a canopy, bend to cut low, or move quickly around a work site. In general terms, fit is not about comfort alone; a helmet that slides, tips, or lifts in use cannot protect you properly, so it is worth taking a few minutes to get it right before you start the saw.
Chainsaw work adds demands that ordinary hard hat use does not. You need a clear view through the visor, a good seal from the ear muffs, and a helmet that will not shift when you change cutting positions. The steps below walk through the fitting process in order, from choosing the right size to the final checks you should repeat each time you put the helmet on.
How Do You Find the Right Helmet Size?
Measure around your head just above the eyebrows and ears, where the helmet’s headband will sit. Compare that measurement with the maker’s size range, since sizes vary between brands and a “one size fits most” helmet still has limits. If you fall between sizes, try both, because head shape matters as much as circumference; a round head and a longer head can feel very different in the same shell.
When you try the helmet on, it should sit level, not tilted back or forward, with the front edge just above your eyebrows. The suspension should grip evenly around your head without pinching at one spot. If the helmet rocks or slides forward when you shake your head gently, it is too loose or the suspension needs tightening.
Remember that you will wear the helmet for hours, often in heat. A fit that feels fine for a minute in a shop can become uncomfortable after a long shift, so take your time during the fitting and move your head through the positions you use when cutting: looking up, looking down, and turning side to side.
How Do You Adjust the Suspension and Headband?
Most forestry helmets use a ratchet or pin-adjust headband inside the shell. Turn the ratchet or move the pins until the band sits snugly around your head, then check that the helmet still sits level. The band should grip firmly enough that the helmet does not slide, but not so tightly that it gives you a headache. Make small adjustments and recheck, since a small change in the band can shift how the whole helmet sits.
Check the height adjustment too, if your helmet offers it. This sets how deep the shell sits on your head and affects both comfort and how much of your forehead and the sides of your head are covered. In general terms, the shell should cover the top of your head well without sitting so low that it presses on your ears or interferes with the ear muffs.
Once the band feels right, put the helmet through a movement test. Nod, shake your head gently, and look up and down. The helmet should move with your head, not lag behind it or slide over your eyes. If it shifts, tighten the band slightly or recheck the height setting before moving on.
How Should the Chin Strap Be Fitted?
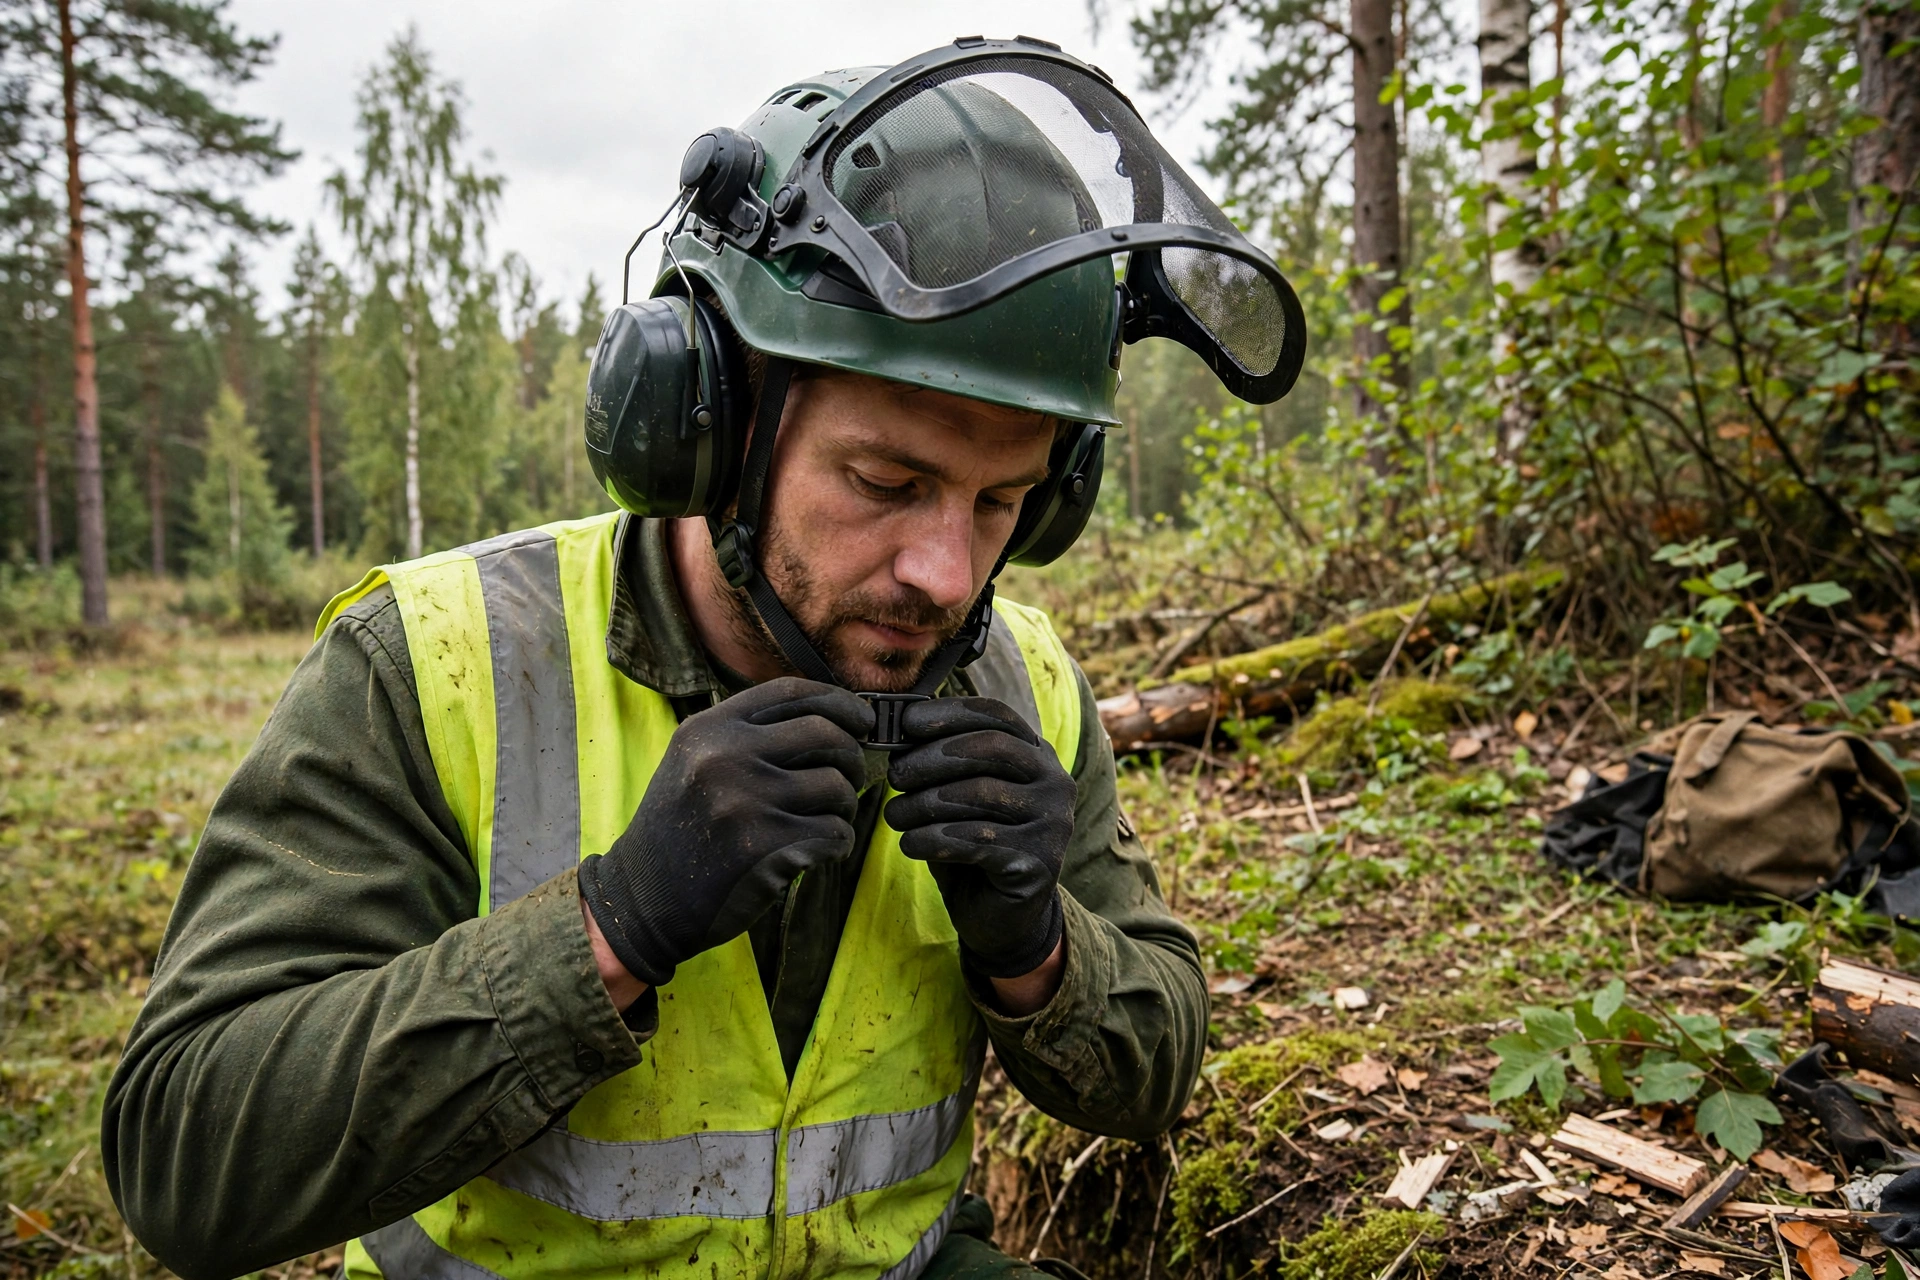
The chin strap is what keeps a forestry helmet on your head when you look up or bend over, so it deserves as much attention as the headband. Fasten it snugly under your chin, with enough tension that you can fit about two fingers between the strap and your chin, but not so loose that the helmet can tip off. The strap should sit flat and centred, not twisted or riding up onto your jaw.
Test the strap by looking up sharply, as you would when checking a branch overhead. If the helmet tips back or the strap slips, tighten it or reposition the attachment points. Some helmets use a four-point strap system that holds the shell more evenly; if yours does, make sure all the straps are adjusted evenly rather than pulling from one side only.
Keep the strap clean and check it for fraying or worn buckles during your regular inspections. A strap that is stretched, cut, or hard to fasten should be replaced, since it is a key part of keeping the helmet in place during real work.
How Do You Set the Visor and Ear Muffs?
Lower the visor and check that it gives a clear, undistorted view and covers your face without pressing on your nose or glasses. Mesh visors should sit far enough from your face that sawdust does not blow back through the mesh onto your eyes, while clear visors should not fog the moment you start working. Flip the visor up and down a few times to confirm it locks in both positions.
Lower the ear muffs and check the seal. The cups should sit flat against the sides of your head, with no gaps caused by the helmet’s suspension straps or by hair tucked underneath. If you wear a beanie or balaclava in cold weather, test the fit with it on, since extra layers under the muffs can break the seal and reduce hearing protection.
Finally, check that the visor and muffs work together without clashing. On a well-designed system they share mounting points but move independently, so you can raise the visor while keeping the muffs down. If raising one drags the other out of position, adjust the mounts or consider a different combination. Understanding how helmet liners manage impact can also help you judge overall quality; a good explainer is what MIPS for helmets means and how it relates to rotational forces.
What Final Checks Should You Do Before Cutting?
Do a last head-to-toe check before you start the saw. Helmet level, headband snug, chin strap fastened, visor down, muffs sealed. Shake your head once more and confirm nothing has shifted. Check that the visor is clean, since a dusty or sappy visor can blur your view at the worst moment, and confirm the ear muffs have not been knocked out of position while you picked up your saw.
Repeat this quick check after breaks and whenever you take the helmet off during the day. Straps loosen, sweat changes how the band grips, and a helmet knocked about in a truck can shift out of adjustment. A thirty-second refit after a break is a small habit that keeps the protection working all day, and it is far easier than discovering a loose helmet halfway through a cut.
Frequently Asked Questions
Q: Should a forestry helmet feel tight?
A: It should feel snug and secure, not tight. If it causes pain or leaves deep marks after a short time, adjust the headband or try a different size or shape.
Q: Can you wear a beanie under a forestry helmet?
A: In general terms, a thin liner is fine if the helmet still sits level and the ear muffs still seal. Thick hats can lift the helmet and break the muff seal, so test the fit with the liner on.
Q: How often should you refit your forestry helmet?
A: Fit it carefully when new, then recheck the headband and chin strap each time you put it on and after any break, since straps and fit can shift during the day.

Olivia
Writer at Helmet Today, covering helmet reviews, fit and riding safety.