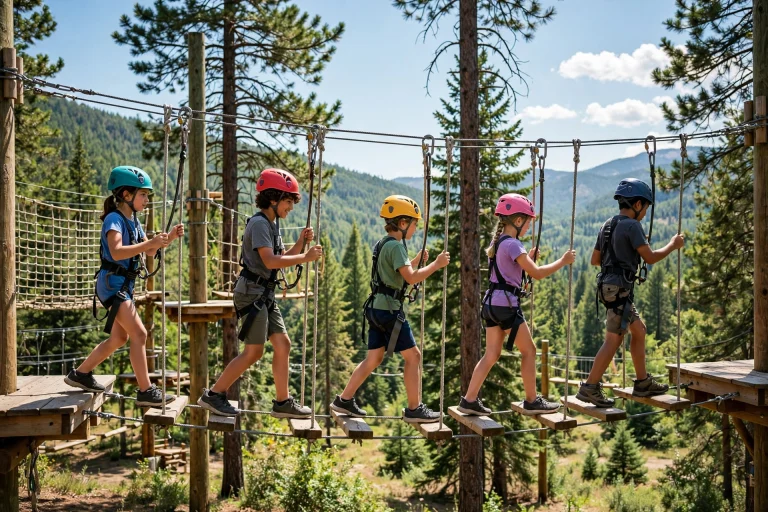

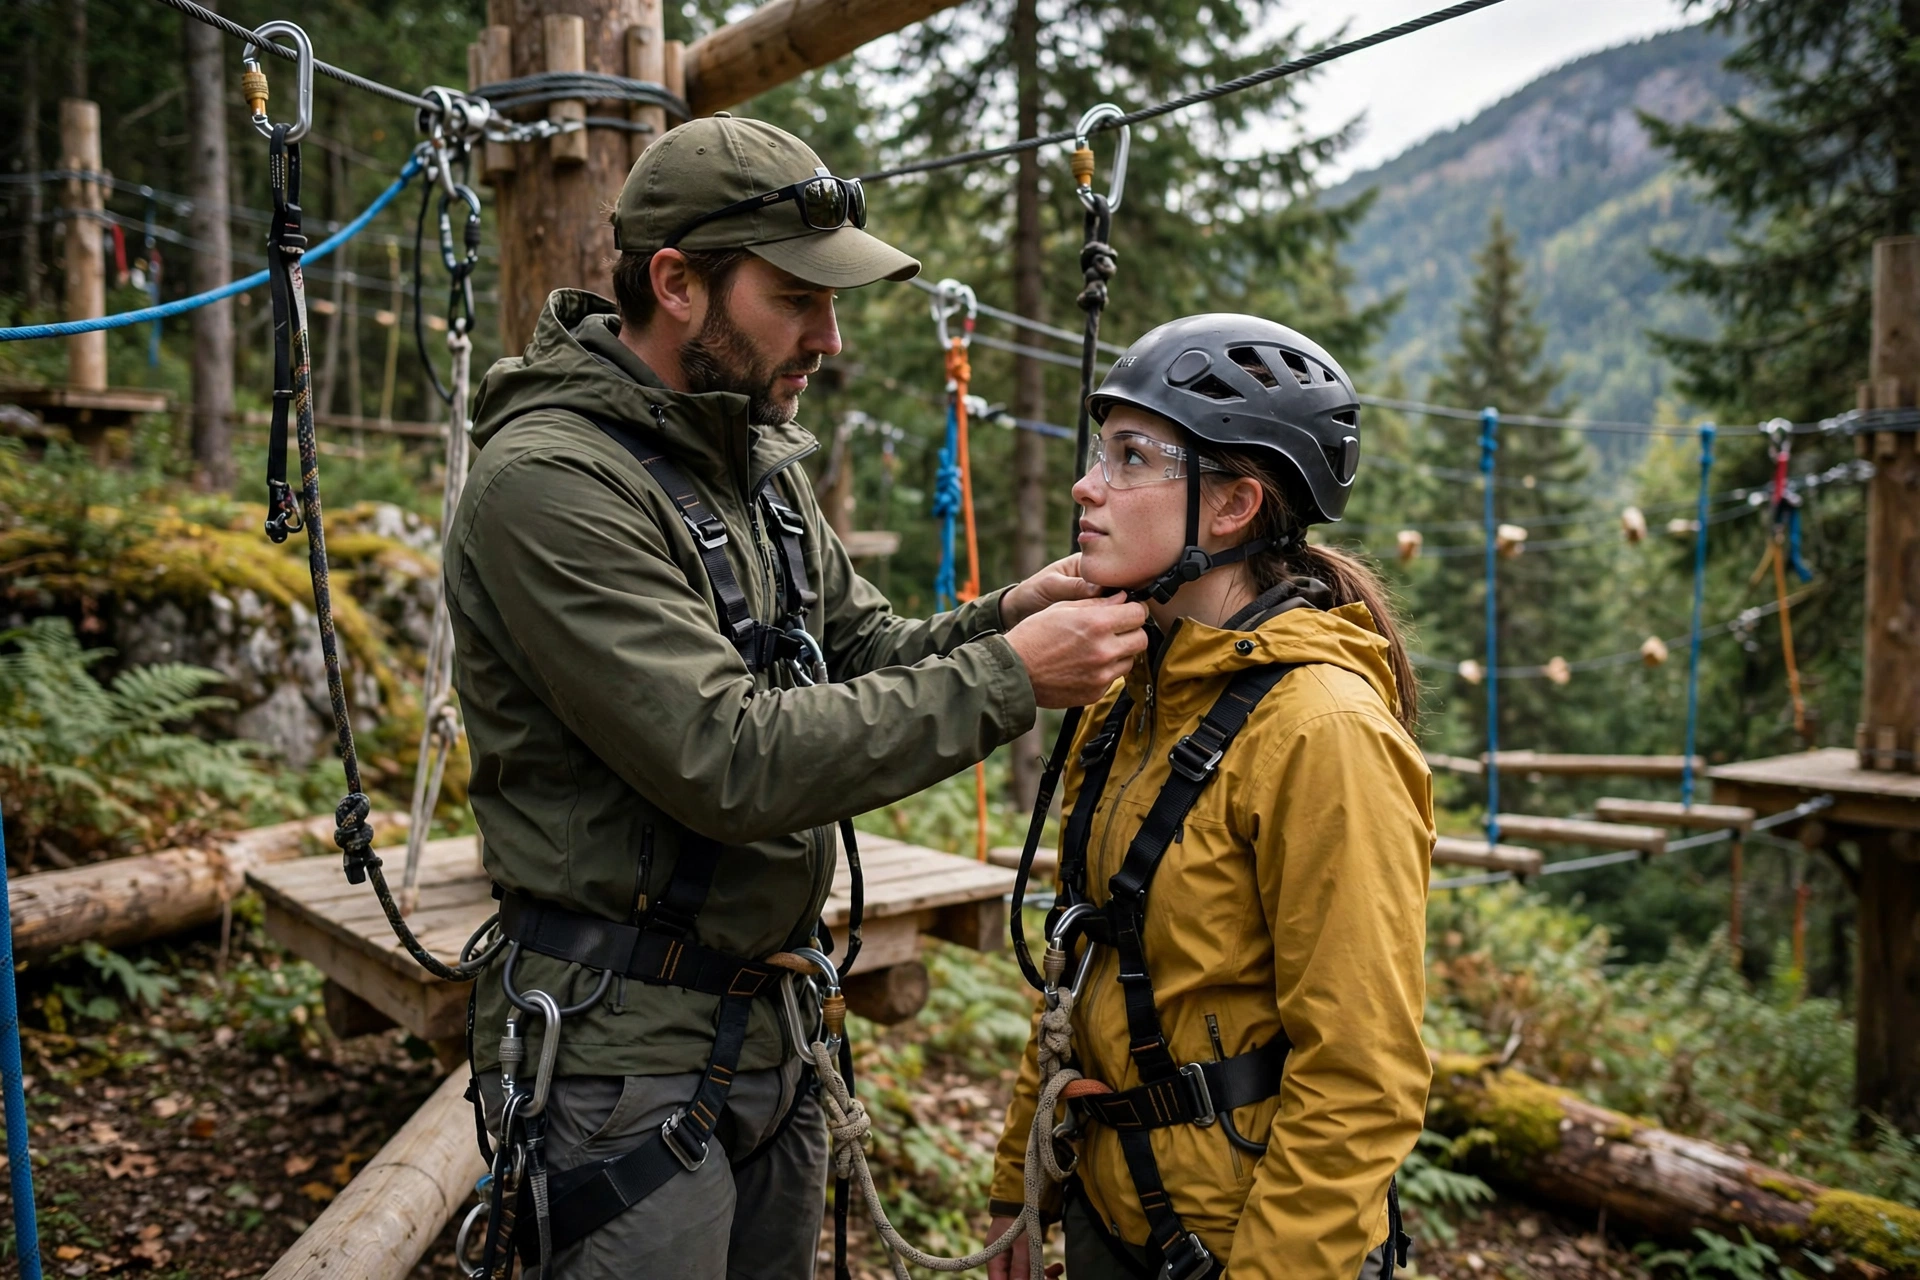
To fit a helmet for a ropes course, set it level on your head covering your forehead, tighten the fit system until it does not rock, and fasten the chin strap snugly — then shake your head hard: if the helmet stays put, it fits. A ropes course helmet that slides, tips, or lifts is not protecting the part of your head it needs to protect.
This guide walks through fitting step by step, the mistakes to avoid, and how to check the fit during the course.
How Do You Fit a Ropes Course Helmet Step by Step?
Start with the right size. Most ropes course helmets come in sizes or with an adjustable fit system that covers a range. Put the helmet on with the fit system loosened, settle it level on your head — not tipped forward over your eyes or pushed back off your forehead — and then tighten gradually until it feels snug all round.
Next, adjust the chin strap. It should sit snugly under your chin, with about two fingers of slack, and the buckle should click positively. The strap keeps the helmet in place when you duck, climb, and swing, so a loose strap undoes much of the fitting work you just did.
Finally, do the shake test: shake your head side to side and up and down, vigorously. The helmet should move with your head, not independently of it. If it rocks, slides, or lifts, tighten the fit system or try another size. A helmet that passes the shake test on the ground is a helmet you can trust on the course.
How Should the Helmet Sit on Your Head?
Level, covering the forehead, with the front edge sitting just above the eyebrows. This is the position that protects the forehead and the top of the head while leaving your vision clear. A helmet tipped forward blocks your view of the next element; a helmet pushed back leaves your forehead exposed to the very knocks the helmet is there for.
Side coverage matters on a ropes course, where elements come at you from every angle. The helmet should cover the sides of your head down to about the tops of your ears, not sit high like a cap. If you can feel the sides of your head exposed when you press the helmet, the size or style is wrong.
Check the fit with everything you will wear on the course: a hood, a cap, or tied-back hair all change how the helmet sits. Fit the helmet over what you will actually wear, not over bare hair, and re-check after the first element or two, when straps settle.
What Are the Common Fitting Mistakes on Ropes Courses?
The most common mistake is wearing the helmet too loose. A loose helmet feels comfortable on the ground, but it slides the first time you duck under a beam or swing on an element, and a helmet that has slid over your eyes is worse than useless — it blocks your vision while protecting the wrong area.
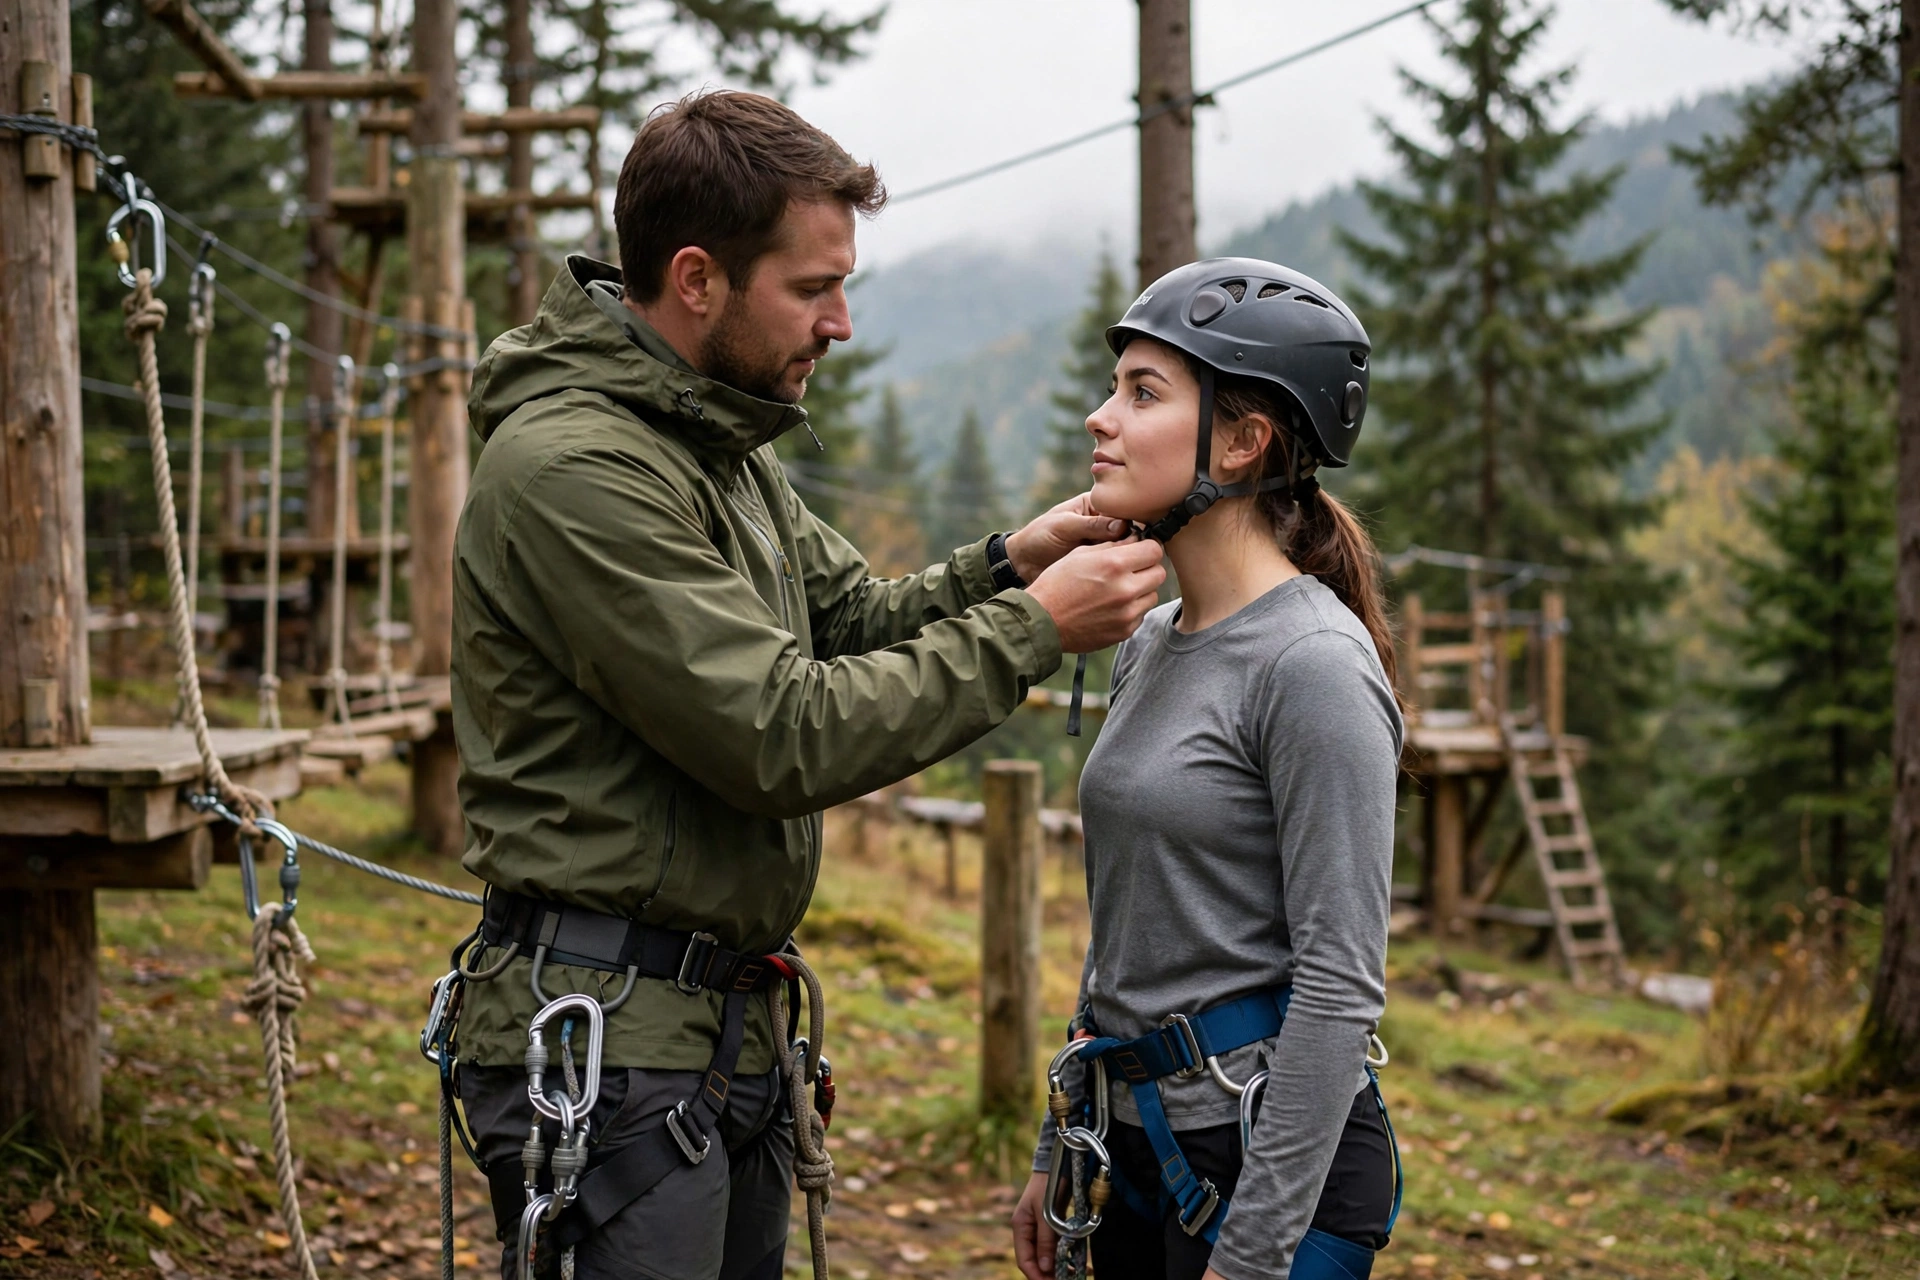
The second mistake is a loose or unfastened chin strap. Some people fasten the strap loosely for comfort, or forget it entirely in the excitement of starting. On a ropes course, the chin strap is what keeps the helmet on during movement, so it should be fastened and snug before every element, not just at the start.
The third mistake is fitting over bulky headwear. A thick beanie or a hood bunched under the helmet lifts it off the head and makes the fit system useless. If you need warmth, choose a thin liner that fits under the helmet without changing its position, and fit the helmet over it.
How Do You Fit a Helmet for a Child on a Ropes Course?
Use a child-sized helmet or a helmet whose fit system adjusts small enough for the child — an adult helmet tightened down is not the same as a properly sized child’s helmet. The helmet should sit level, cover the forehead, and pass the shake test just as an adult’s would.
Let staff fit the helmet if they offer to. Ropes course staff fit helmets all day, they know the sizes, and they will spot a poor fit faster than a parent who fits one occasionally. If the child says the helmet is uncomfortable, take that seriously and ask staff to adjust it before the course starts.
Explain the fit to the child in simple terms: the helmet stays on, the strap stays fastened, and if it feels loose or slips, they should tell an instructor straight away. Children who understand the check are more likely to report a problem early, when it is easy to fix.
How Do You Check Helmet Fit During the Course?
Re-check after the first few elements, when straps and padding settle and sweat changes the fit. A quick shake of the head and a tug on the chin strap takes seconds and catches most fit problems before they matter.
Re-check after any knock, too. If the helmet takes a bump against a beam or platform, stop, check that it is still level and snug, and re-adjust if it has shifted. A helmet that has moved in a knock has done its job once; make sure it is back in position before it needs to do it again.
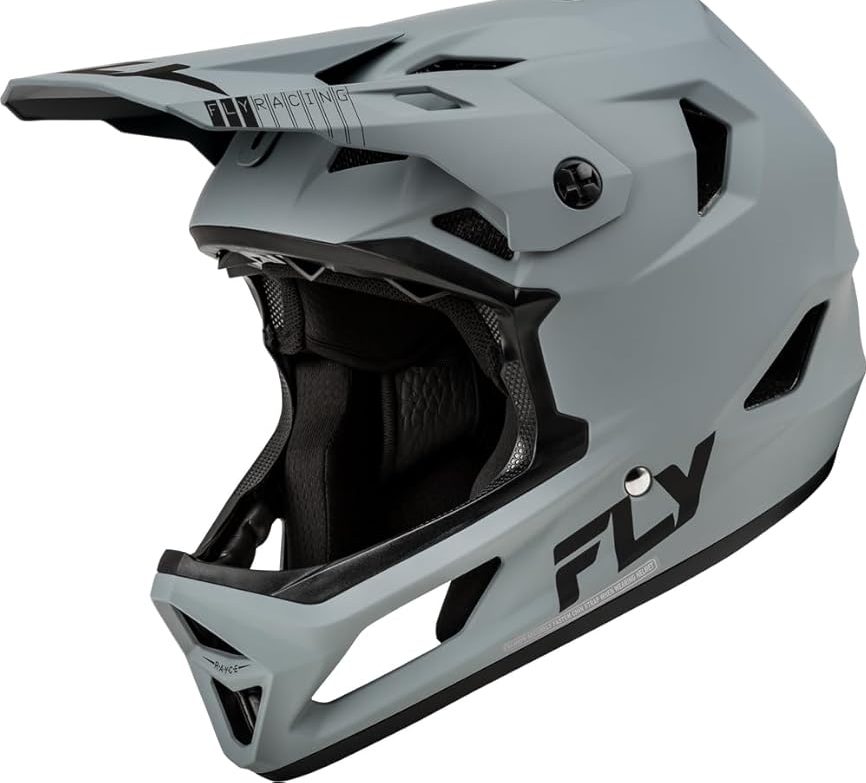
If the helmet will not stay fitted — it keeps sliding, the fit system slips, or the strap will not hold — tell an instructor and swap the helmet. A helmet that cannot be made to fit is not a helmet to persevere with. And remember that fit is only one part of protection: modern helmet designs such as rotational-impact liners like MIPS are designed to reduce twisting forces in angled impacts, which is exactly the kind of knock a ropes course delivers.
Frequently Asked Questions
Q: How tight should a ropes course helmet be?
A: Snug enough that it does not rock or slide when you shake your head, with the chin strap fastened to about two fingers of slack. It should feel secure without giving you a headache.
Q: Should the helmet cover my forehead on a ropes course?
A: Yes. The front edge should sit just above your eyebrows, covering the forehead while leaving your vision clear. A helmet pushed back off the forehead leaves the most commonly struck area exposed.
Q: What if my helmet keeps slipping during the course?
A: Stop, re-tighten the fit system and chin strap, and re-check with the shake test. If it still slips, tell an instructor and swap to a different size or helmet.

Olivia
Writer at Helmet Today, covering helmet reviews, fit and riding safety.