
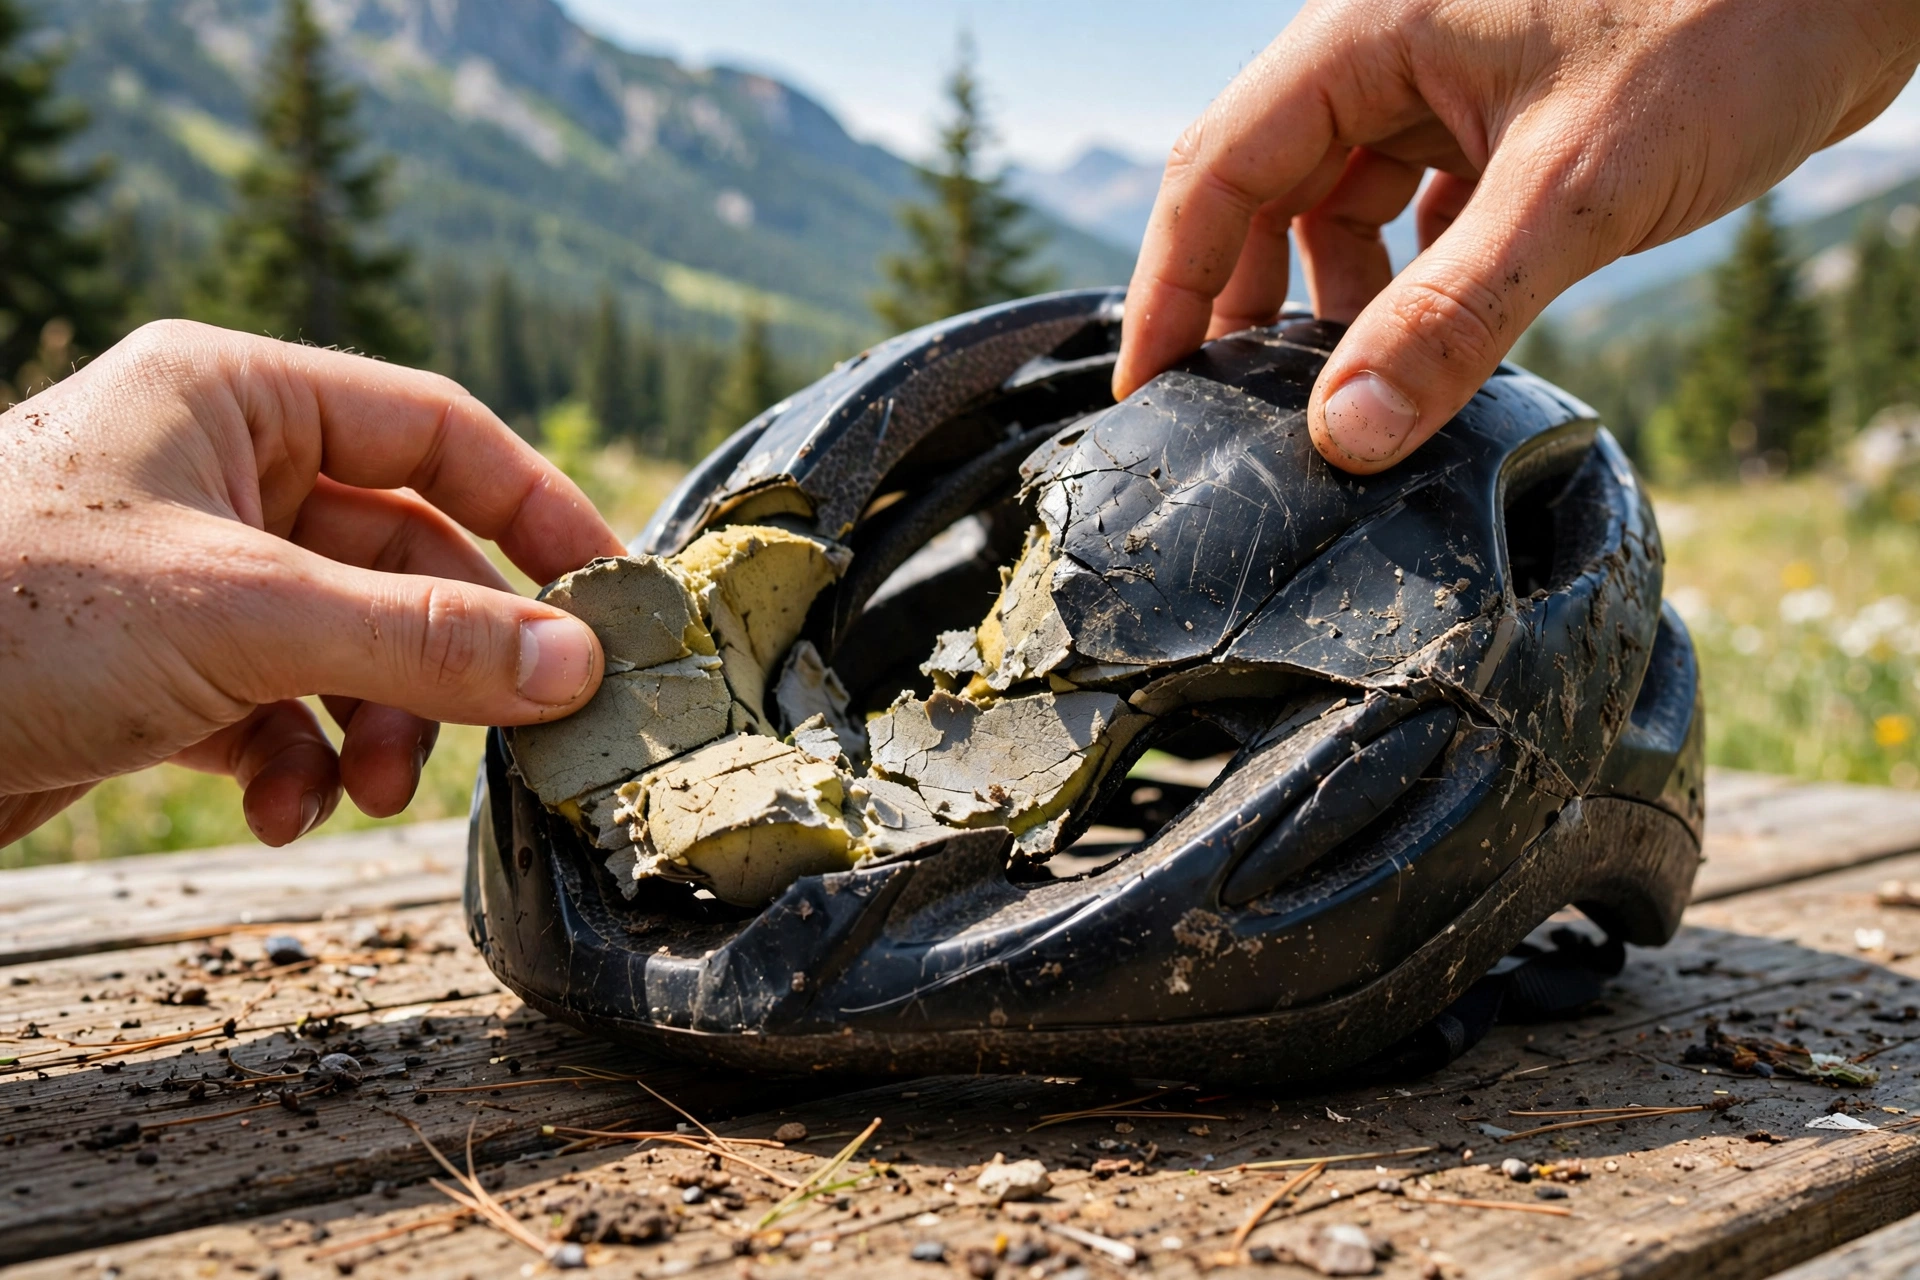
A helmet crash inspection checklist covers the shell, the foam liner, the straps, and the buckle — and in general terms, any sign of damage to the shell or foam means the helmet should be replaced, not repaired. A helmet can look fine after a crash while its foam is crushed inside, so the inspection has to be thorough and honest. This guide walks through the check step by step, so you know what to look for and when to retire a helmet.
Inspect a helmet after any crash, even a slow one, and after any hard drop onto a hard surface. The few minutes the check takes are worth it: a helmet you trust is a helmet that will protect you, and a helmet you cannot trust should not be worn.
How Do You Inspect the Shell?
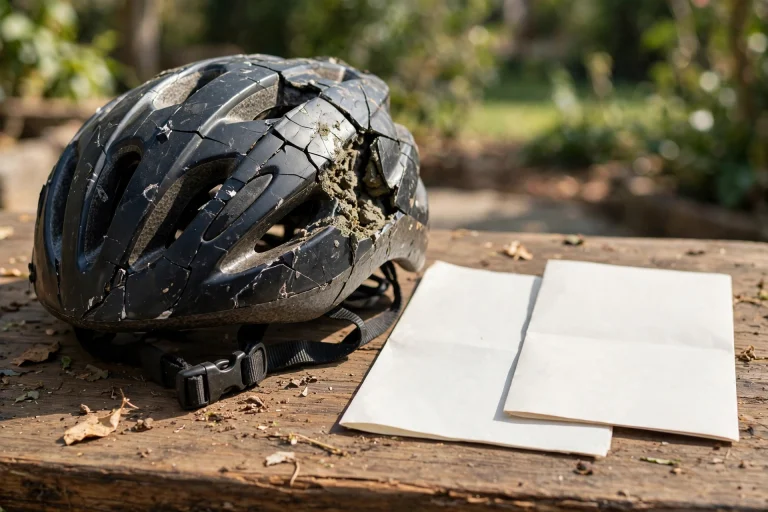
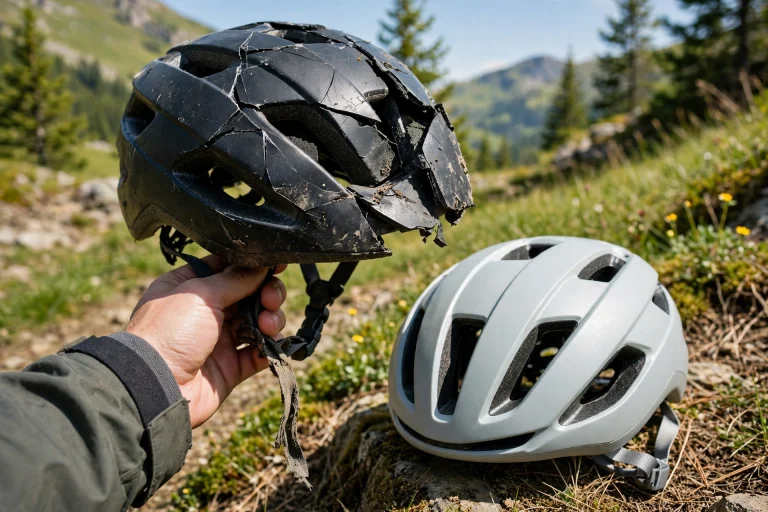
Start with a visual check of the whole shell in good light. Look for cracks, however small, and for dents or areas where the shell has deformed. Pay attention to the edges and the vents, where cracks often start. A crack in the shell means the helmet is finished — no repair can restore it.
Look for deep scratches that cut through the shell’s outer layer, and for scuffs that expose the material underneath. Surface scuffs from normal use are cosmetic, but a scratch deep enough to feel with a fingernail may have weakened the shell. If you are unsure whether a mark is cosmetic or structural, treat it as structural and retire the helmet.
Check whether the shell has separated from the foam liner anywhere. Press gently around the edges and feel for gaps or movement between the shell and the liner. Separation means the helmet’s structure has been compromised, and it should be replaced.
How Do You Check the Foam Liner?
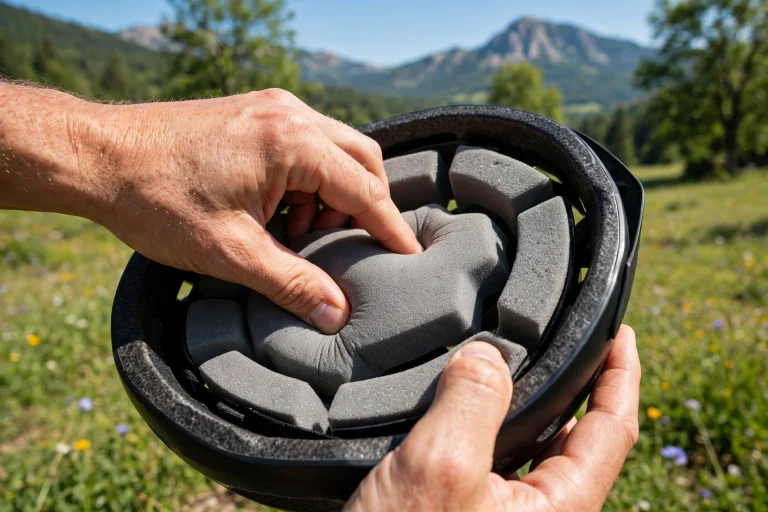
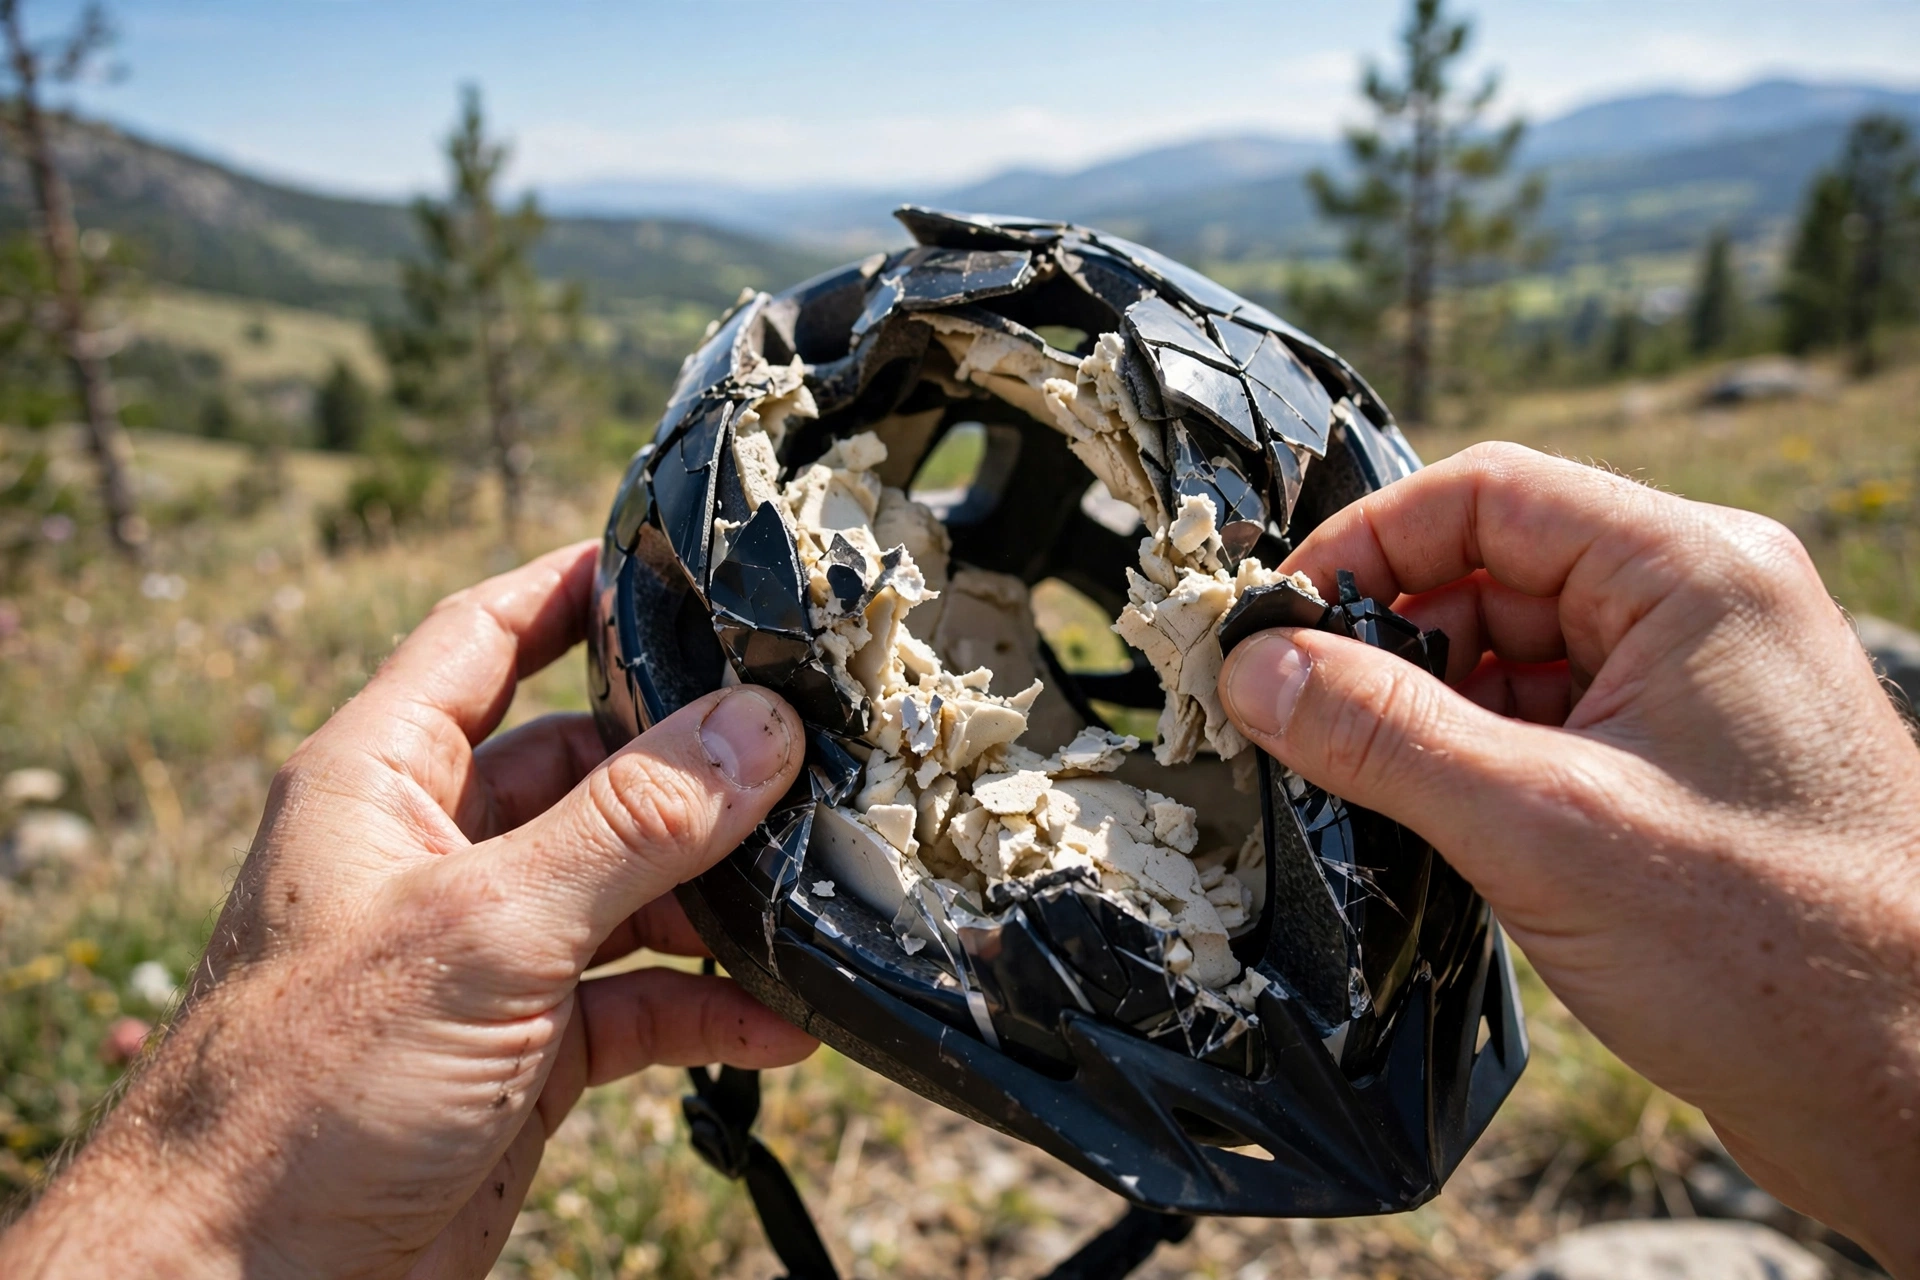
The foam liner is the part that absorbs impact, and it is also the hardest part to inspect, because the damage is often invisible. Remove the pads and look at the liner in good light. Look for cracks, dents, or compression marks — a dent that does not spring back is a sign the foam has crushed.
Press the liner gently all over with your fingertips. It should feel firm and even throughout. Soft spots, crumbling edges, or areas that feel different from the rest suggest the foam has been damaged or has aged badly. Pay special attention to the area where the impact happened, if you know where that was.
Remember that the foam’s job is to crush once. A helmet that has absorbed a hard impact may look almost normal from the outside, while the foam inside has done its job and cannot do it again. That is why the rule is simple: a helmet in a crash is a helmet to replace, even when the inspection finds nothing obvious.
What About Straps, Buckles, and Pads?
Check the straps for fraying, cuts, or stretching. Pull each strap firmly and make sure it does not slip through the adjuster. A strap that has been stretched in a crash may look fine but no longer hold the helmet securely, so test it rather than just looking at it.
Test the buckle by fastening and releasing it several times. It should click shut firmly and release smoothly. A buckle that sticks, feels loose, or has a visible crack should be replaced — or, if the buckle cannot be replaced, the helmet should be retired.
Check the pads for tearing, thinning, or loss of shape. Worn pads can be replaced, and they are not on their own a reason to retire a helmet. But pads that are soaked, smelly, or coming apart are a sign the helmet has had heavy use, and they are worth replacing before the helmet goes back into service.
What Else Should You Check After a Crash?
Check the visor and any attached accessories. A cracked visor can be replaced, but a visor mounting that is broken may mean the shell is damaged too. Check that vents and covers are still firmly attached, and that nothing rattles when you shake the helmet gently.
Check the fit. Put the helmet on and see whether it still sits level and snug. A helmet that has loosened, rocks from side to side, or slides forward after a crash has lost its fit and should not be worn. Fit is part of protection, not just comfort.
Finally, check the certification label inside the helmet. If the label is damaged or missing, that is another reason to replace the helmet — you can no longer prove which standard it meets. If you want to understand what the liner and shell are doing when they absorb an impact, reading about what MIPS is for helmets can help you see why the inspection matters.
What Should You Do with a Helmet That Fails the Check?
Retire it. Cut the straps off and damage the foam liner so nobody can pick the helmet up and wear it by mistake. Then dispose of it through a maker take-back scheme, a retailer collection, or your local waste service. A helmet that fails inspection should never be sold or given away.
Before you throw it away, salvage any parts that can be reused. Pads, visors, and buckles in good condition can be kept as spares for another helmet of the same model. That is a better use of them than landfill, and it may keep a second helmet in use for longer.
When you buy the replacement, check whether the maker offers a crash replacement scheme — some sell a new helmet at a reduced price after a crash. And take a moment to think about what happened: if the crash exposed a gap in your riding, your kit, or your route, that lesson is worth more than the helmet you lost.
Frequently Asked Questions
Q: Can a helmet pass inspection after a crash and still be safe?
A: In general terms, no. A helmet that has been in a crash should be replaced even if the inspection finds no damage, because the foam inside may have crushed invisibly. The inspection can confirm damage; it cannot prove the helmet is safe.
Q: What if I only dropped my helmet, not crashed in it?
A: A hard drop onto concrete can damage the foam in the same way as a low-speed crash. Inspect it carefully, and if the drop was from height onto a hard surface, replace the helmet to be safe.
Q: How often should I inspect my helmet?
A: A quick check every few months is enough for most riders, plus a full inspection after any crash or hard drop. Look at the shell, feel the foam, and test the strap and buckle each time.

Olivia
Writer at Helmet Today, covering helmet reviews, fit and riding safety.