To deep clean motorcycle helmet pads, remove the crown liner and cheek pads, hand-wash them in lukewarm water with mild soap, rinse until the water runs clear, and air-dry them completely before refitting. That one routine — done slowly, with no harsh chemicals and no heat — removes the built-up sweat, salt, and skin oil that ordinary wipe-downs never reach. Allow a full day for the job: most of that time is drying, and refitting damp pads is the single biggest mistake riders make.
A deep clean is different from a quick freshen-up. Over months, sweat saturates the foam inside the fabric covers, and the salt left behind stiffens the material and feeds odor-causing bacteria. That is why a helmet can smell fine after a spray and stale again by the second ride. Getting the pads fully out, fully washed, and fully dry is the only fix that lasts.
How Do You Remove Helmet Pads Without Breaking Anything?
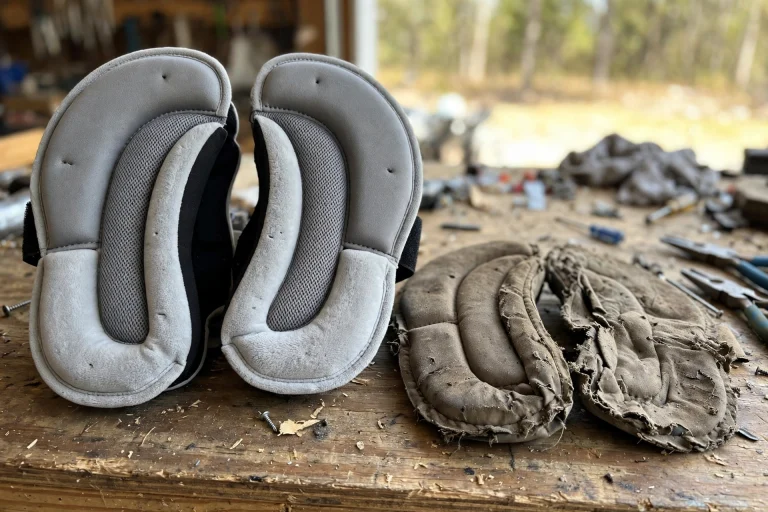
Nearly all modern full-face and modular helmets are designed for this. Cheek pads usually pull away from snap buttons or slide out from plastic tabs at the shell edge, and the crown liner unclips from snaps or a frame around the inside. Emergency-release cheek pads — common on many current helmets — have pull tabs and come out especially easily, since they are designed to be removed by first responders.
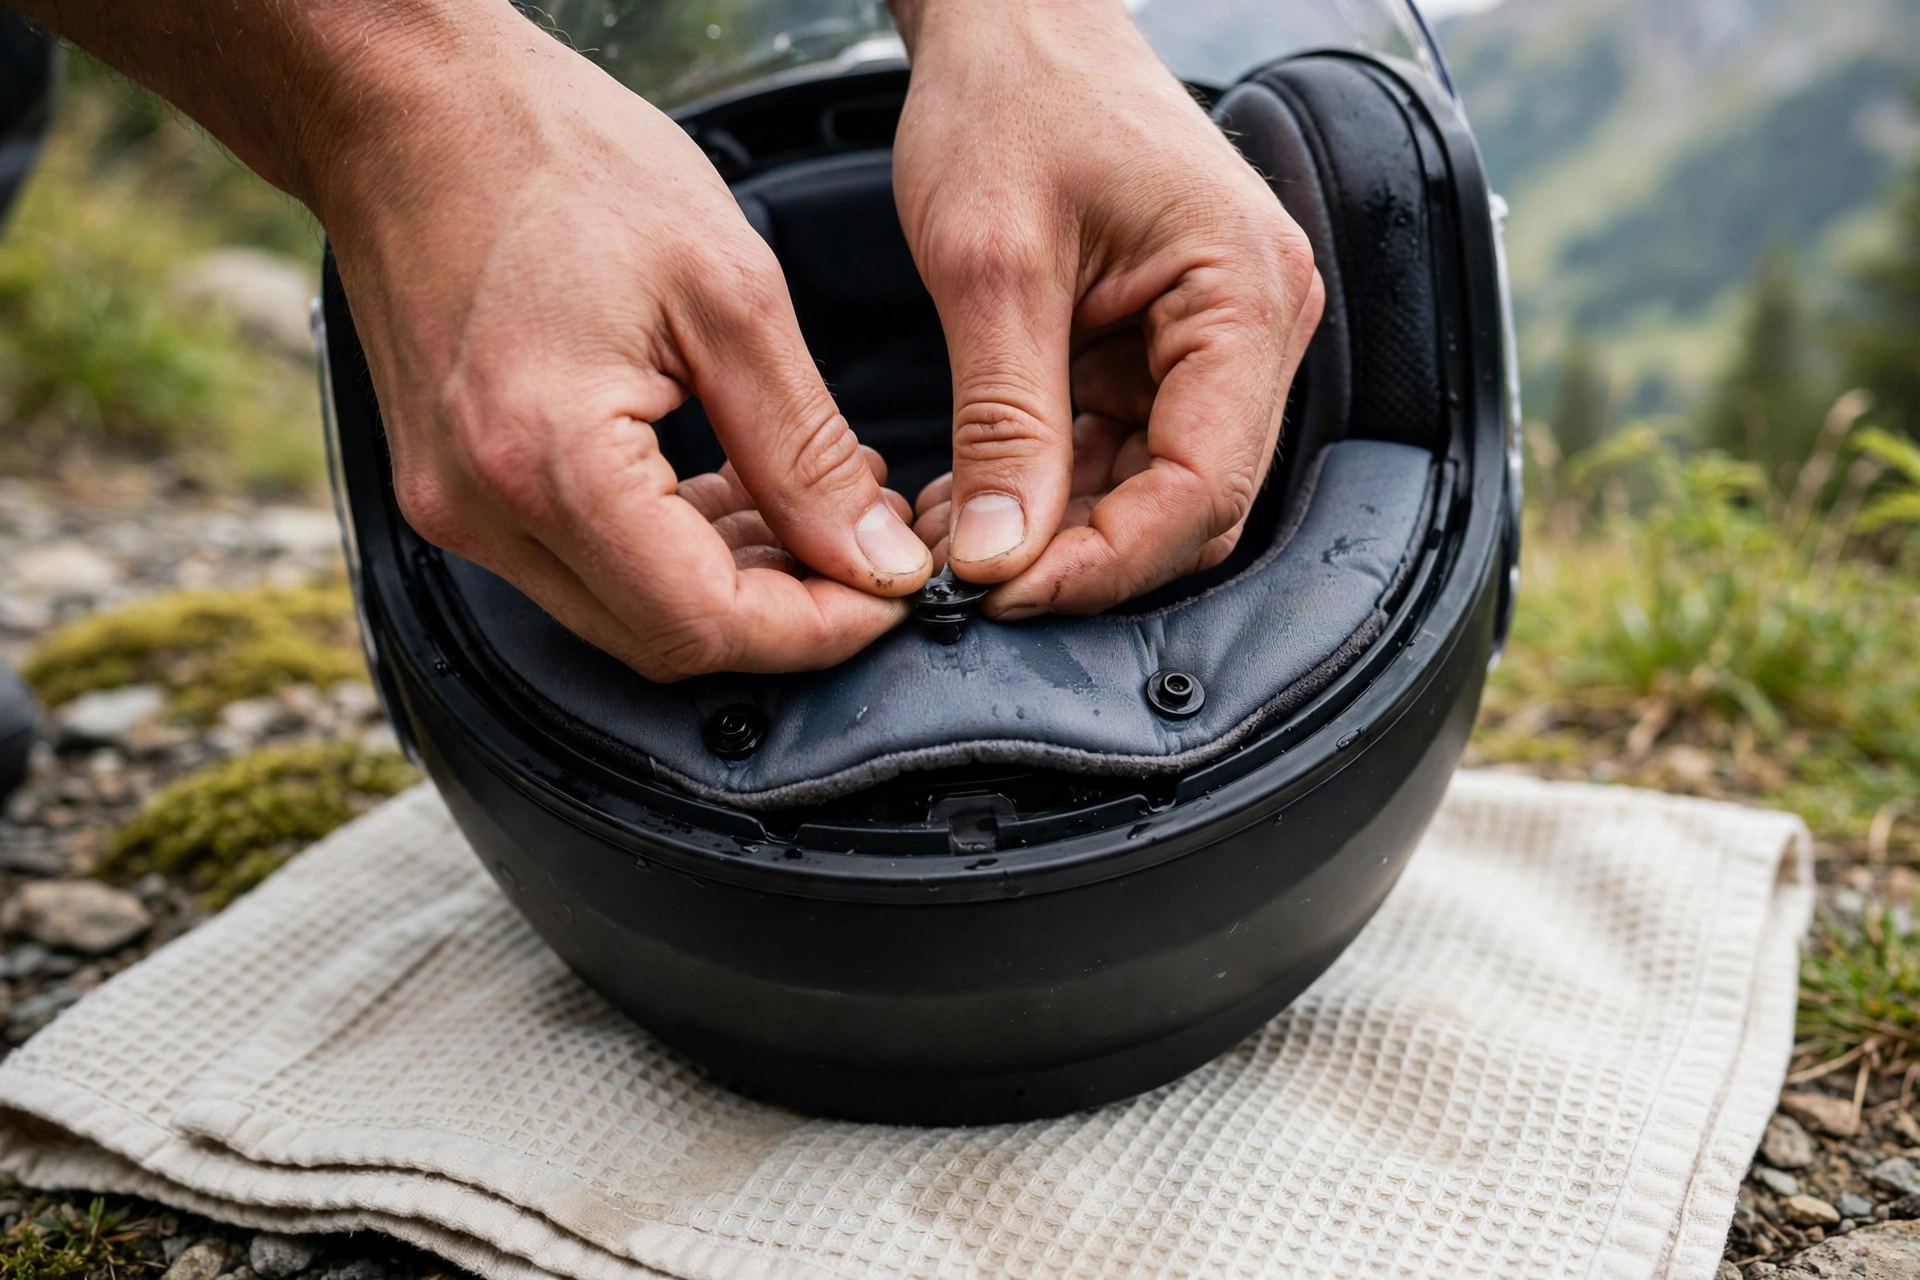
Work gently. Lay the helmet on a soft towel, open the visor, and remove one cheek pad at a time, easing each snap free rather than yanking. If something resists, look before you pull: some pads hook behind the chin strap or under a trim piece. A quick phone photo of each side before removal makes refitting far easier.
Two exceptions: some budget and older helmets have fixed liners that do not come out — clean those in place with a damp cloth as described later, and never tear padding free. And if a communication system is fitted, remove the units and speaker pads first, keeping electronics away from the wash basin.
What Is the Right Way to Wash the Pads?
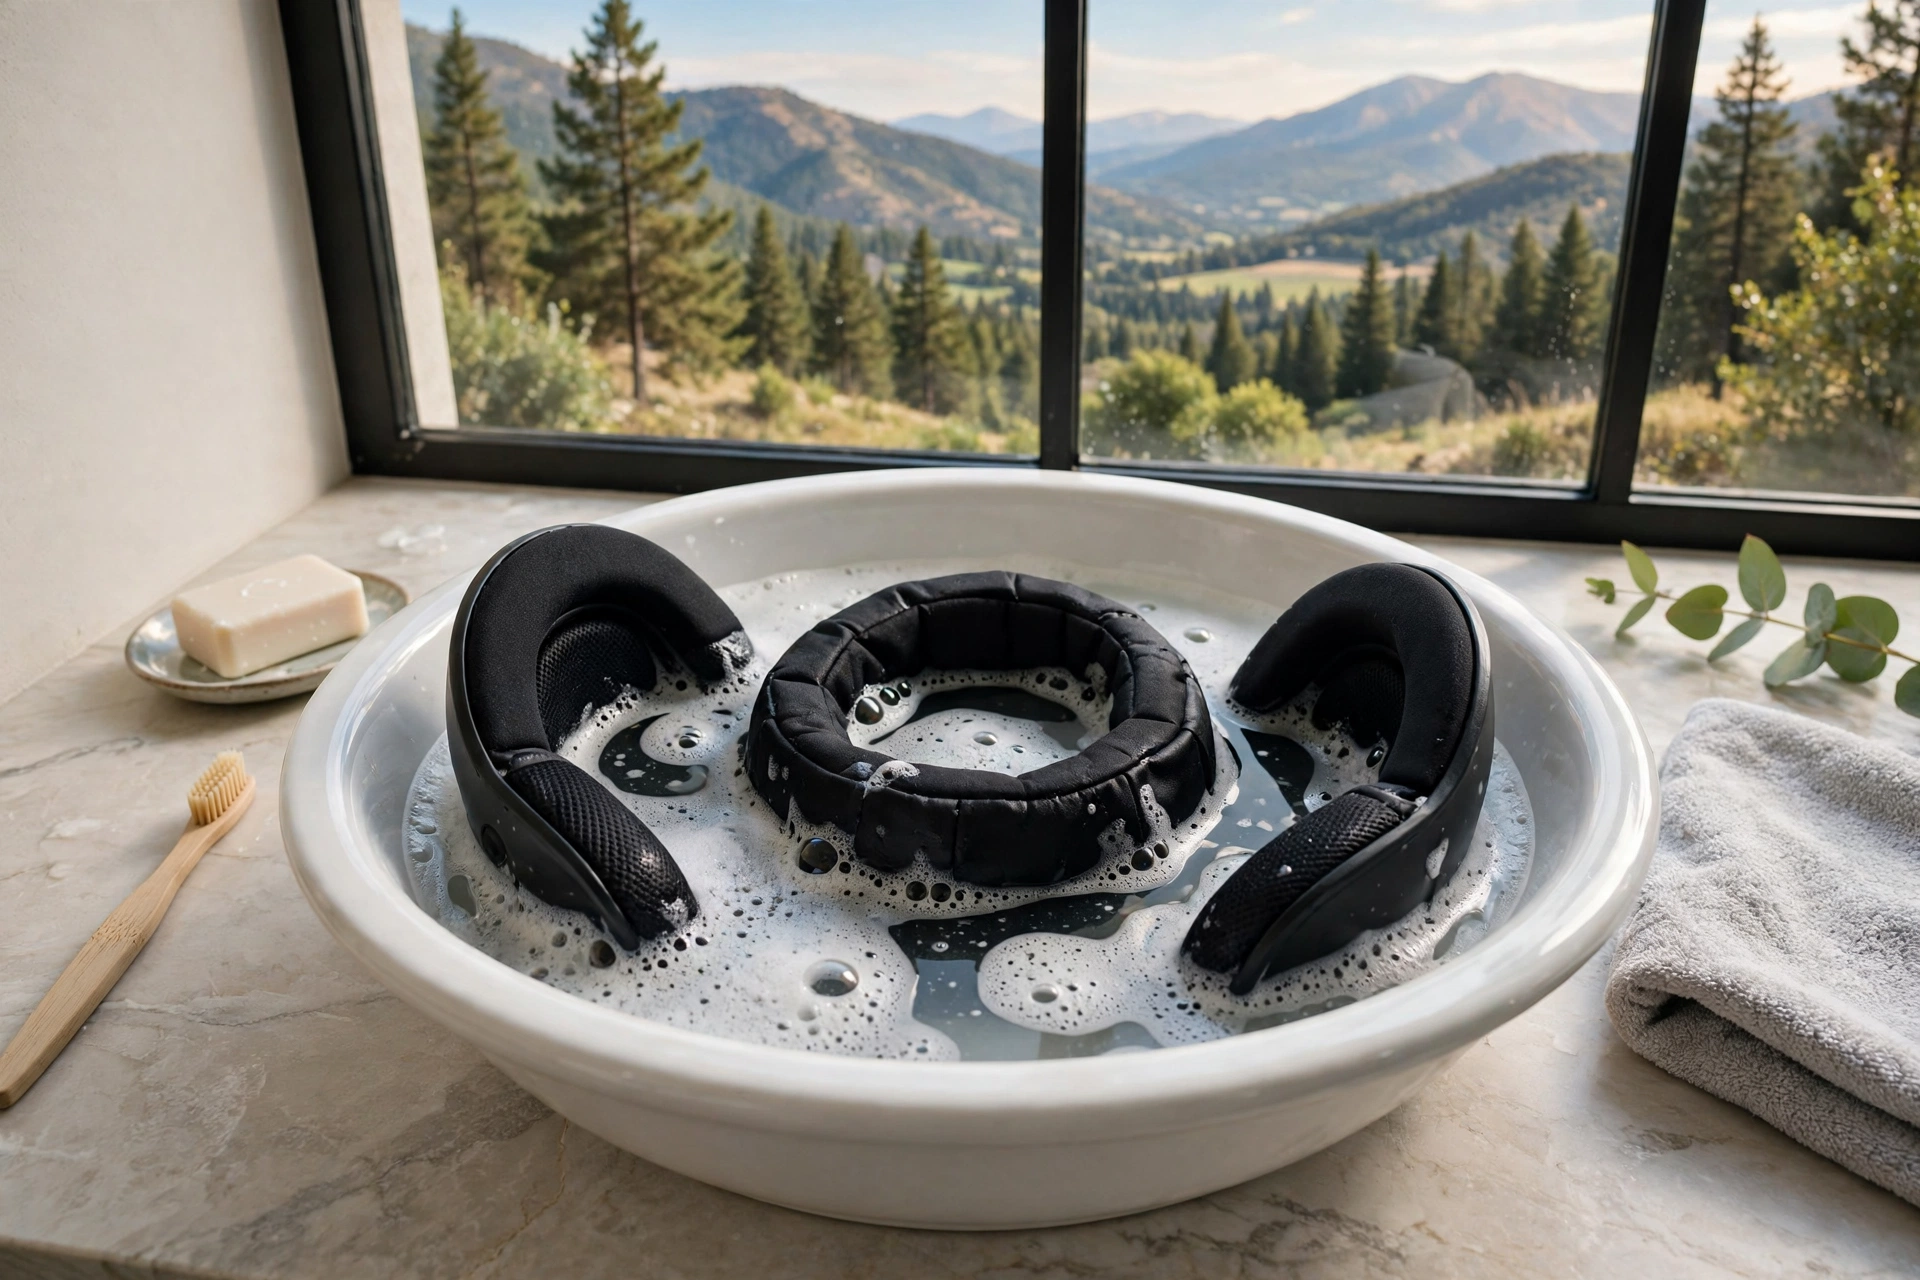
Fill a basin with lukewarm water — never hot, which can damage foam and fabric — and add a small amount of mild soap, gentle laundry detergent, baby shampoo, or a dedicated helmet pad cleaner. Submerge the pads and let them soak for twenty to thirty minutes. The water often turns grey or brown the first time you do this, which is simply months of sweat and road grime leaving the foam.
Then work each pad by hand: squeeze it rhythmically so soapy water pumps in and out of the foam. This squeezing action is what does the real cleaning, deep in the material. Avoid scrubbing with brushes, twisting, or wringing, all of which can split the fabric cover or separate it from the foam. Pay extra attention to the chin strap pads and the forehead band, which carry the most sweat.
Rinse by emptying the basin and repeating the squeeze routine in clean water until no suds and no discoloration come out — usually two or three changes of water. Soap residue left in the pads makes them feel stiff, dulls the fabric, and can irritate your forehead and cheeks on a long ride, so this step is worth the patience.
How Do You Dry and Refit the Pads Correctly?
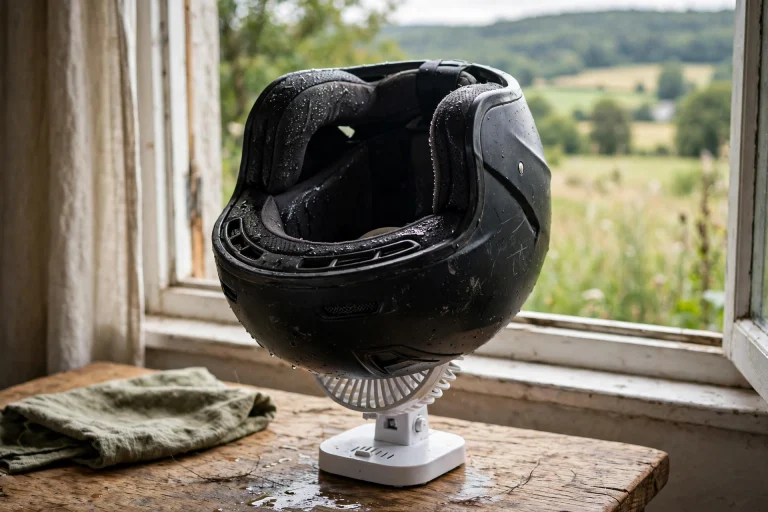
Press each pad flat between two dry towels to draw out most of the water — press, do not wring. Then lay the pads somewhere with good airflow at room temperature and leave them until they are completely dry all the way through, which typically takes twelve to twenty-four hours depending on thickness and humidity. A fan pointed at them helps; a radiator, hair dryer, or direct sun does not, because heat can shrink fabric, warp foam, and weaken the materials.
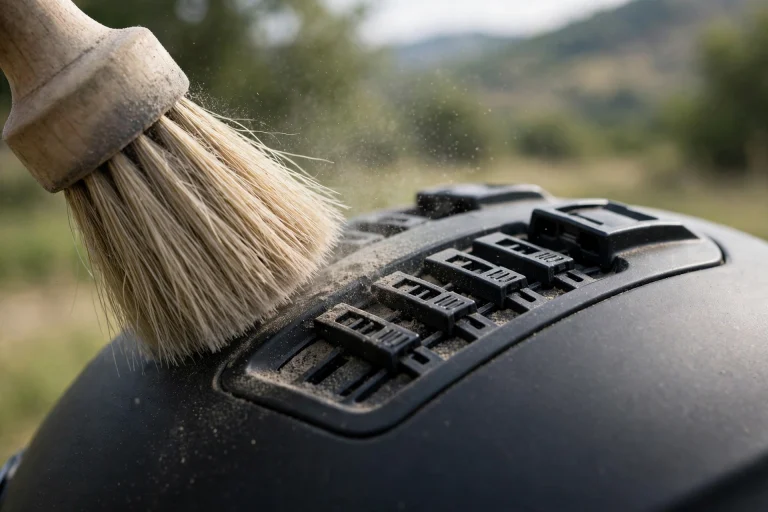
While the pads dry, wipe the inside of the empty shell with a cloth dampened with the same mild solution, then again with a clean damp cloth, to clean the fixed neck roll and non-removable sections. Keep water minimal and away from the EPS foam liner itself — never pour water into the shell or spray cleaners onto the foam, since solvents and detergents can degrade EPS invisibly.
Refit in reverse order, using your photos. Work the cheek pads back onto their snaps or tabs, route the chin strap through its slots if required, and make sure every snap clicks home — a half-attached pad shifts while riding. Reinstall the crown liner, press the edges flat, and try the helmet on: it should feel snug and even, as it did when new. Reseat any pad that slides or bunches now, not on the road.
What If Your Helmet Liner Does Not Come Out?
For fixed-liner helmets, a deep clean is still possible, just slower. Dampen a soft cloth with the mild soap solution and wipe every interior surface methodically, working the cloth into the forehead band and cheek areas. Follow with two passes of a cloth dampened in clean water to remove soap. Then stand the helmet with its opening facing a fan and let it dry for a full day — drying takes much longer with the liner in place, and sealing the helmet in a bag before it is dry guarantees a mildew smell.
You can also use a foaming helmet-interior cleaner made for fixed liners. The same chemical rule applies: helmet-specific or genuinely mild products only, nothing with solvents, bleach, or strong degreasers. Harsh chemistry is a poor trade — you would clean the padding by risking the foam whose job, along with systems such as MIPS and other rotational protection layers, is to manage impact energy in a crash.
If a fixed liner is both filthy and compressed after years of use, honest assessment matters: a helmet whose padding no longer holds it snugly on your head is not protecting you as designed, whatever you wash. At that point, a new helmet is the real answer.
How Often Should You Deep Clean, and When Should Pads Be Replaced?
In general terms, deep clean the pads every one to three months if you ride daily, and at least at the start and middle of the season if you ride occasionally. Riders in hot climates, or anyone whose helmet lives on their head for hours a day, should lean toward the frequent end. Quick habits between deep cleans — airing the helmet after every ride and wearing a washable liner cap — keep the interval longer.
Replace the pads, rather than wash them again, when they stay compressed and the helmet feels loose even with fresh pads fully seated, when the fabric tears or separates from the foam, when snaps or tabs break, or when a stale smell survives a proper soak and wash. Most manufacturers sell exact replacement liner and cheek pad sets for current models; match the model name and size precisely, since thicker pads from the same range are often how sizes are tuned.
Frequently Asked Questions
Q: Can I machine-wash my motorcycle helmet pads?
A: Hand-washing is strongly recommended. Machine agitation can tear the fabric cover, bend plastic backing plates, and break snap fasteners. If the manufacturer explicitly allows it, use a mesh laundry bag on a gentle cycle with mild detergent and air-dry — but the basin method is safer and just as effective.
Q: What soap is safe for helmet pads?
A: Mild soap, gentle shampoo, or a cleaner sold specifically for helmet liners, diluted in lukewarm water. Never use solvents, bleach, strong degreasers, or harsh detergents, and keep all cleaning products off the EPS foam liner, which they can degrade without any visible sign.
Q: My pads still smell after a deep clean. What now?
A: First, confirm they dried completely — trapped moisture recreates the smell fast. If a full soak, wash, rinse, and complete dry does not fix it, the padding itself is exhausted and bacteria have colonized deep in the foam. A replacement pad set from the manufacturer is the proper cure.

Olivia
Writer at Helmet Today, covering helmet reviews, fit and riding safety.