
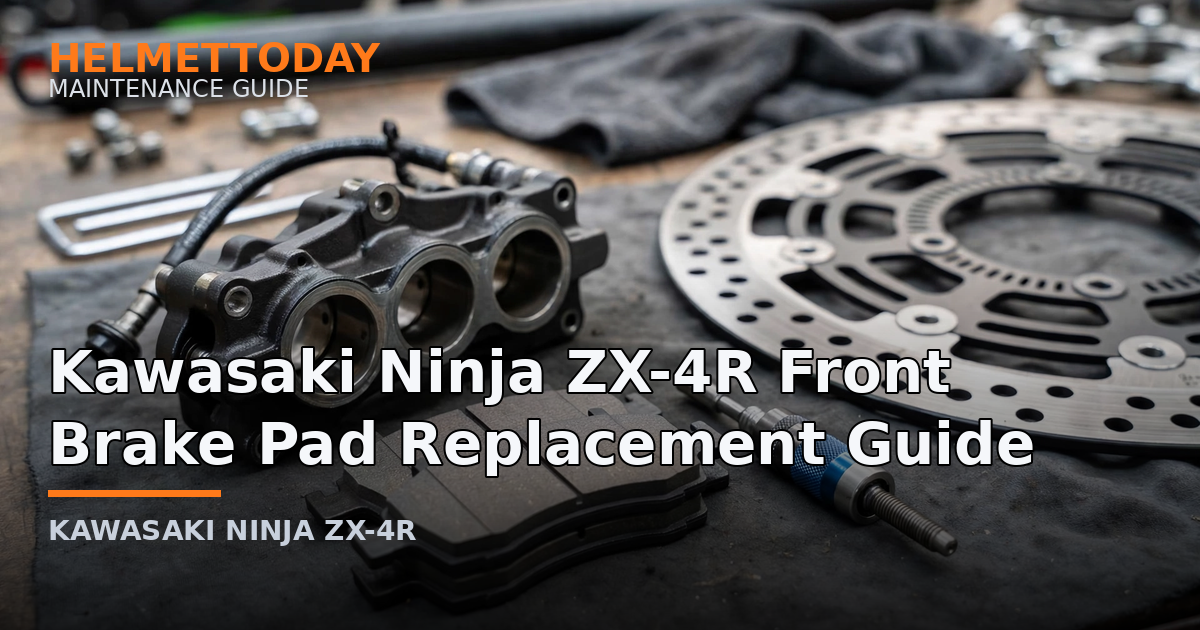
Brake pads are a wear item — check them every service and replace before they hit the wear indicators. On the Kawasaki Ninja ZX-4R, a front pad swap is a straightforward 30-minute job with basic tools.
Use pads matching the OEM compound type, and have fresh DOT 4 brake fluid on hand to top up the reservoir after pushing the pistons back.
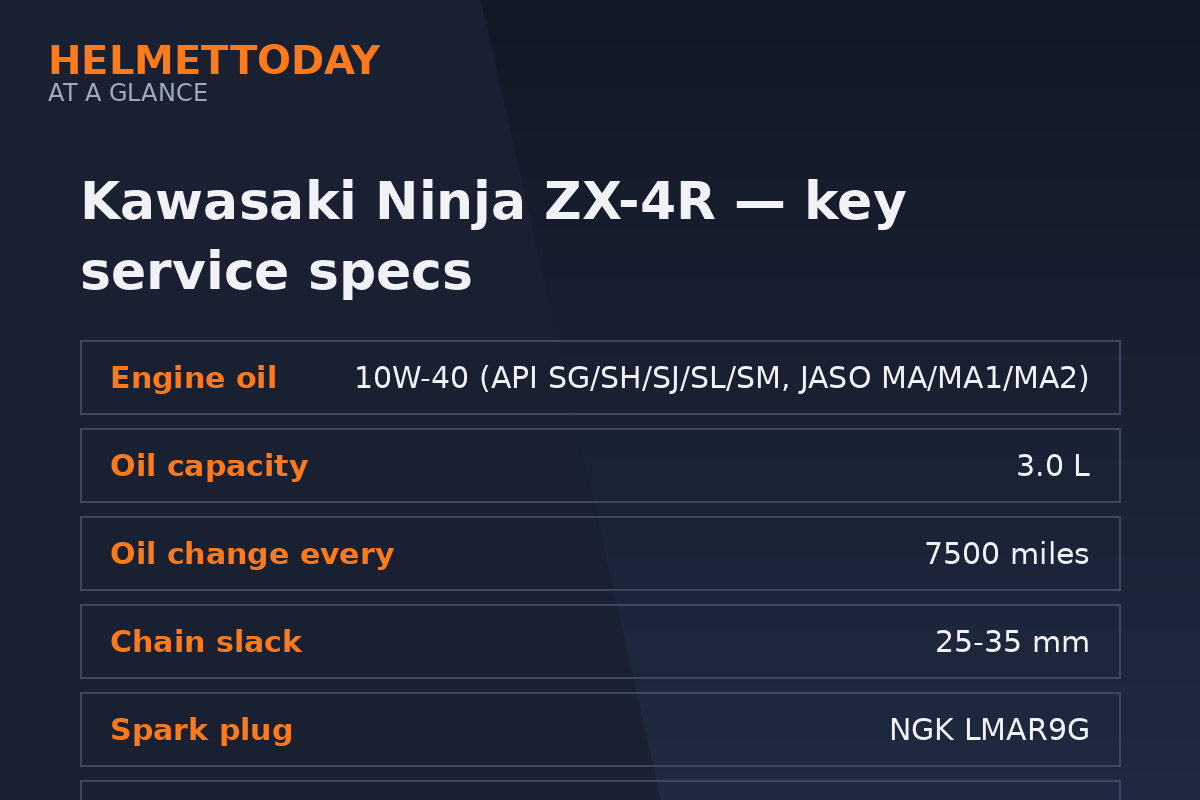
Kawasaki Ninja ZX-4R quick service specs
| Item | Specification |
|---|---|
| Engine oil | 10W-40 (API SG/SH/SJ/SL/SM, JASO MA/MA1/MA2) |
| Oil capacity | 3.0 liters |
| Oil change interval | 7500 miles |
| Chain slack | 25-35 mm |
| Spark plug | NGK LMAR9G |
| Tire pressure (F/R) | 32 PSI front / 36 PSI rear |
| Battery | 12V 8.6Ah (YTZ10S) |
How to replace the front brake pads, step by step
- Support the bike upright. Remove the caliper mounting bolts and slide the caliper off the disc — don’t let it hang by the brake hose.
- Note the position of pad pins, clips, and shims, then remove the old pads.
- Push the caliper pistons back into their bores evenly. Watch the master-cylinder reservoir — remove excess fluid so it doesn’t overflow.
- Clean the caliper, pins, and pad contact points. Lightly grease sliding pins with brake-specific grease (never on pad or disc surfaces).
- Fit the new pads with all shims and clips in their original positions.
- Remount the caliper, torque bolts to spec, and pump the lever until it’s firm before riding.
- Bed the pads in with 10-15 moderate stops from 30-40 mph, allowing cooling between stops. Avoid hard braking for the first 100 miles.
Common mistakes to avoid
- Riding before pumping the lever — the first pull goes to the bar with no brakes.
- Getting grease on the pads or disc — contaminated pads squeal and lose bite.
- Forgetting to check fluid level — pushing pistons back can overflow the reservoir onto paint.
FAQ
How do I know the brake pads need replacing?
Check the friction material against the wear grooves or indicator. If it’s at or below the minimum mark — or you hear metal-on-metal — replace them now.
Can I replace just one side?
Replace pads as a pair per caliper — uneven pads pull the bike to one side under braking.
Do I need to bleed the brakes after a pad change?
Not if you didn’t open the system. Top up the fluid, pump the lever firm, and check for leaks.
Related guides

Dan Heiman
Writer at Helmet Today, covering helmet reviews, fit and riding safety.