
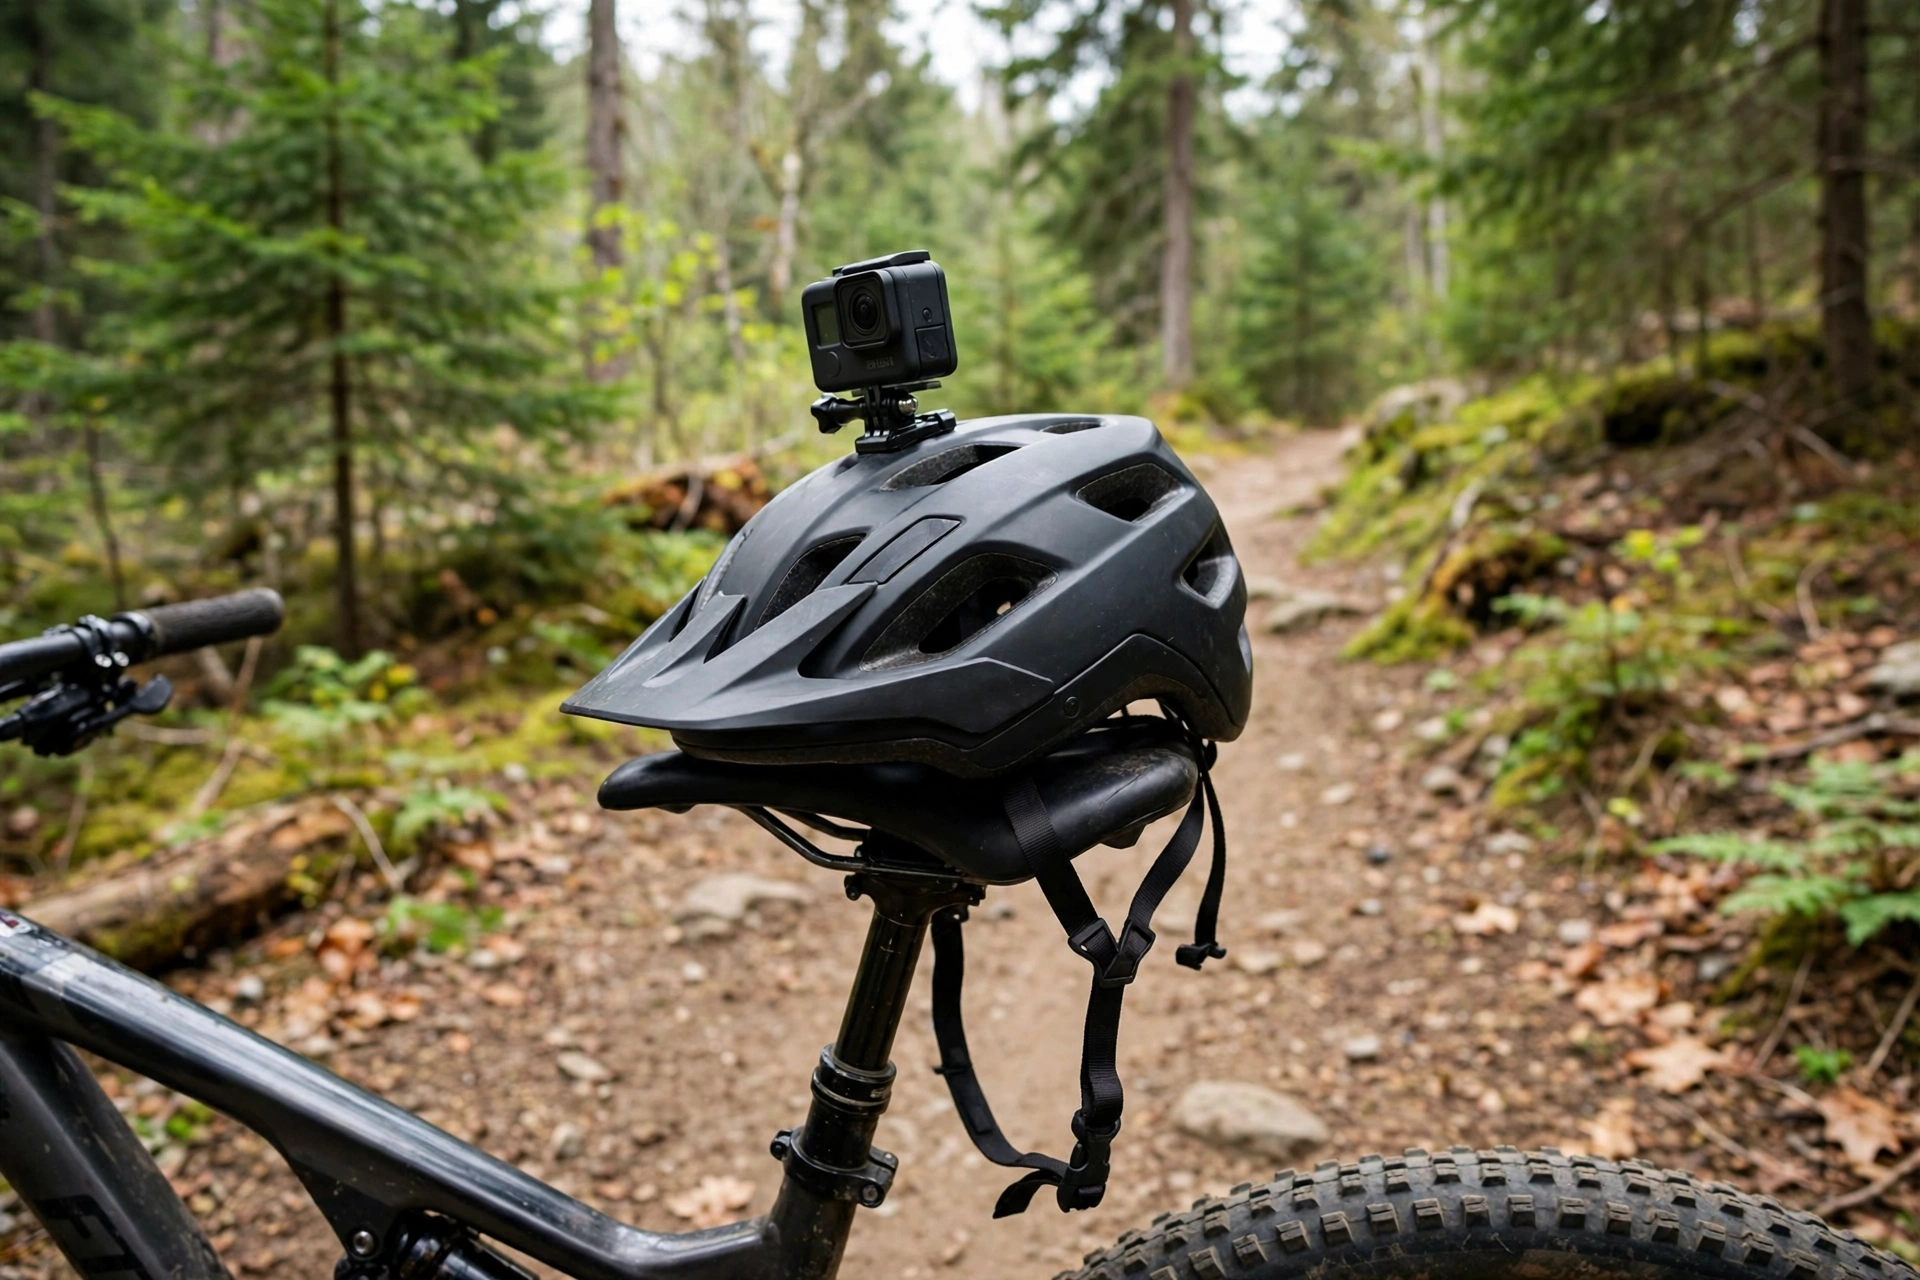
In general terms, the safest place for an MTB helmet camera mount is on the top or side of the helmet using the manufacturer’s approved adhesive mount, positioned where it does not weaken the shell, block vents, or create a snag point. Helmet cameras capture great riding footage, but a badly placed mount can change how a helmet behaves in a crash, obstruct your vision, or rip off and become a hazard. A few placement rules keep the footage good and the helmet safe.
Camera mounting also raises a question many riders skip: does adding a mount affect the helmet’s protection? The honest answer is that any modification can, which is why manufacturers approve specific mounts and positions — and why drilling holes or using oversized bolts is never a good idea.
Where Is the Safest Place to Mount a Camera?
The top of the helmet is the most common and usually the safest position. A top mount gives a clear, centred view over the trail, keeps the camera away from your face, and sits on the strongest, flattest part of the shell. Use the adhesive mount supplied with the camera or approved by the helmet manufacturer, and follow the curing time before riding.
The side of the helmet is the next option, giving a lower, more dynamic angle. Side mounts work well on helmets with flat side panels, but check that the mount does not cover vents or sit over the fit system. A side-mounted camera also adds weight to one side, which some riders notice on long rides.
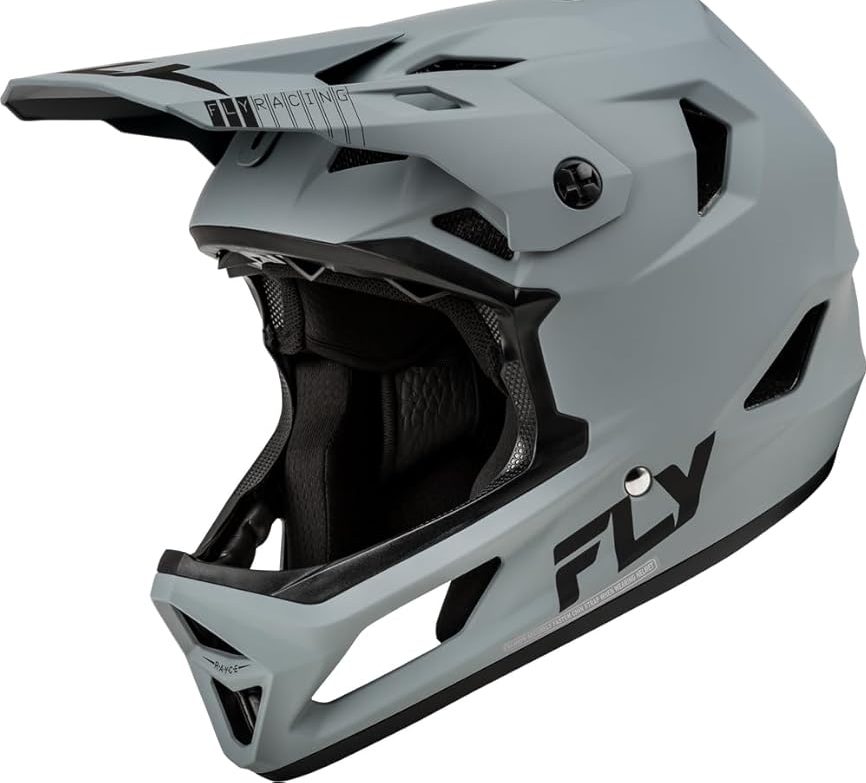
Chin-bar mounts are popular on full-face helmets because they give a stable, low angle close to the rider’s view. They are also the position most likely to interfere with the chin bar’s job in a crash, so only use a chin mount the manufacturer approves for your helmet, and never drill or bolt through the chin bar.
What Mounts Should You Avoid?
Avoid any mount that requires drilling, cutting, or screwing into the shell. Holes weaken the shell and can create stress points that change how it absorbs an impact. The same applies to large, rigid metal brackets bolted through vents: they can concentrate force on one spot in a crash instead of spreading it.
Avoid mounts that block vents or cover large areas of the shell with rigid plates, because they can affect both ventilation and impact behaviour. Avoid adhesive mounts on visors or on curved surfaces where the pad cannot sit flat — a poorly bonded mount can peel off mid-ride and send the camera bouncing down the trail.
Also avoid mounting anything that sticks out far from the helmet or has sharp edges. A long extension arm or a metal bracket increases the chance of snagging on branches, and in a crash a protruding mount can catch the ground and twist the helmet. Keep the setup low-profile and close to the shell.
How Do You Fit an Adhesive Mount Properly?
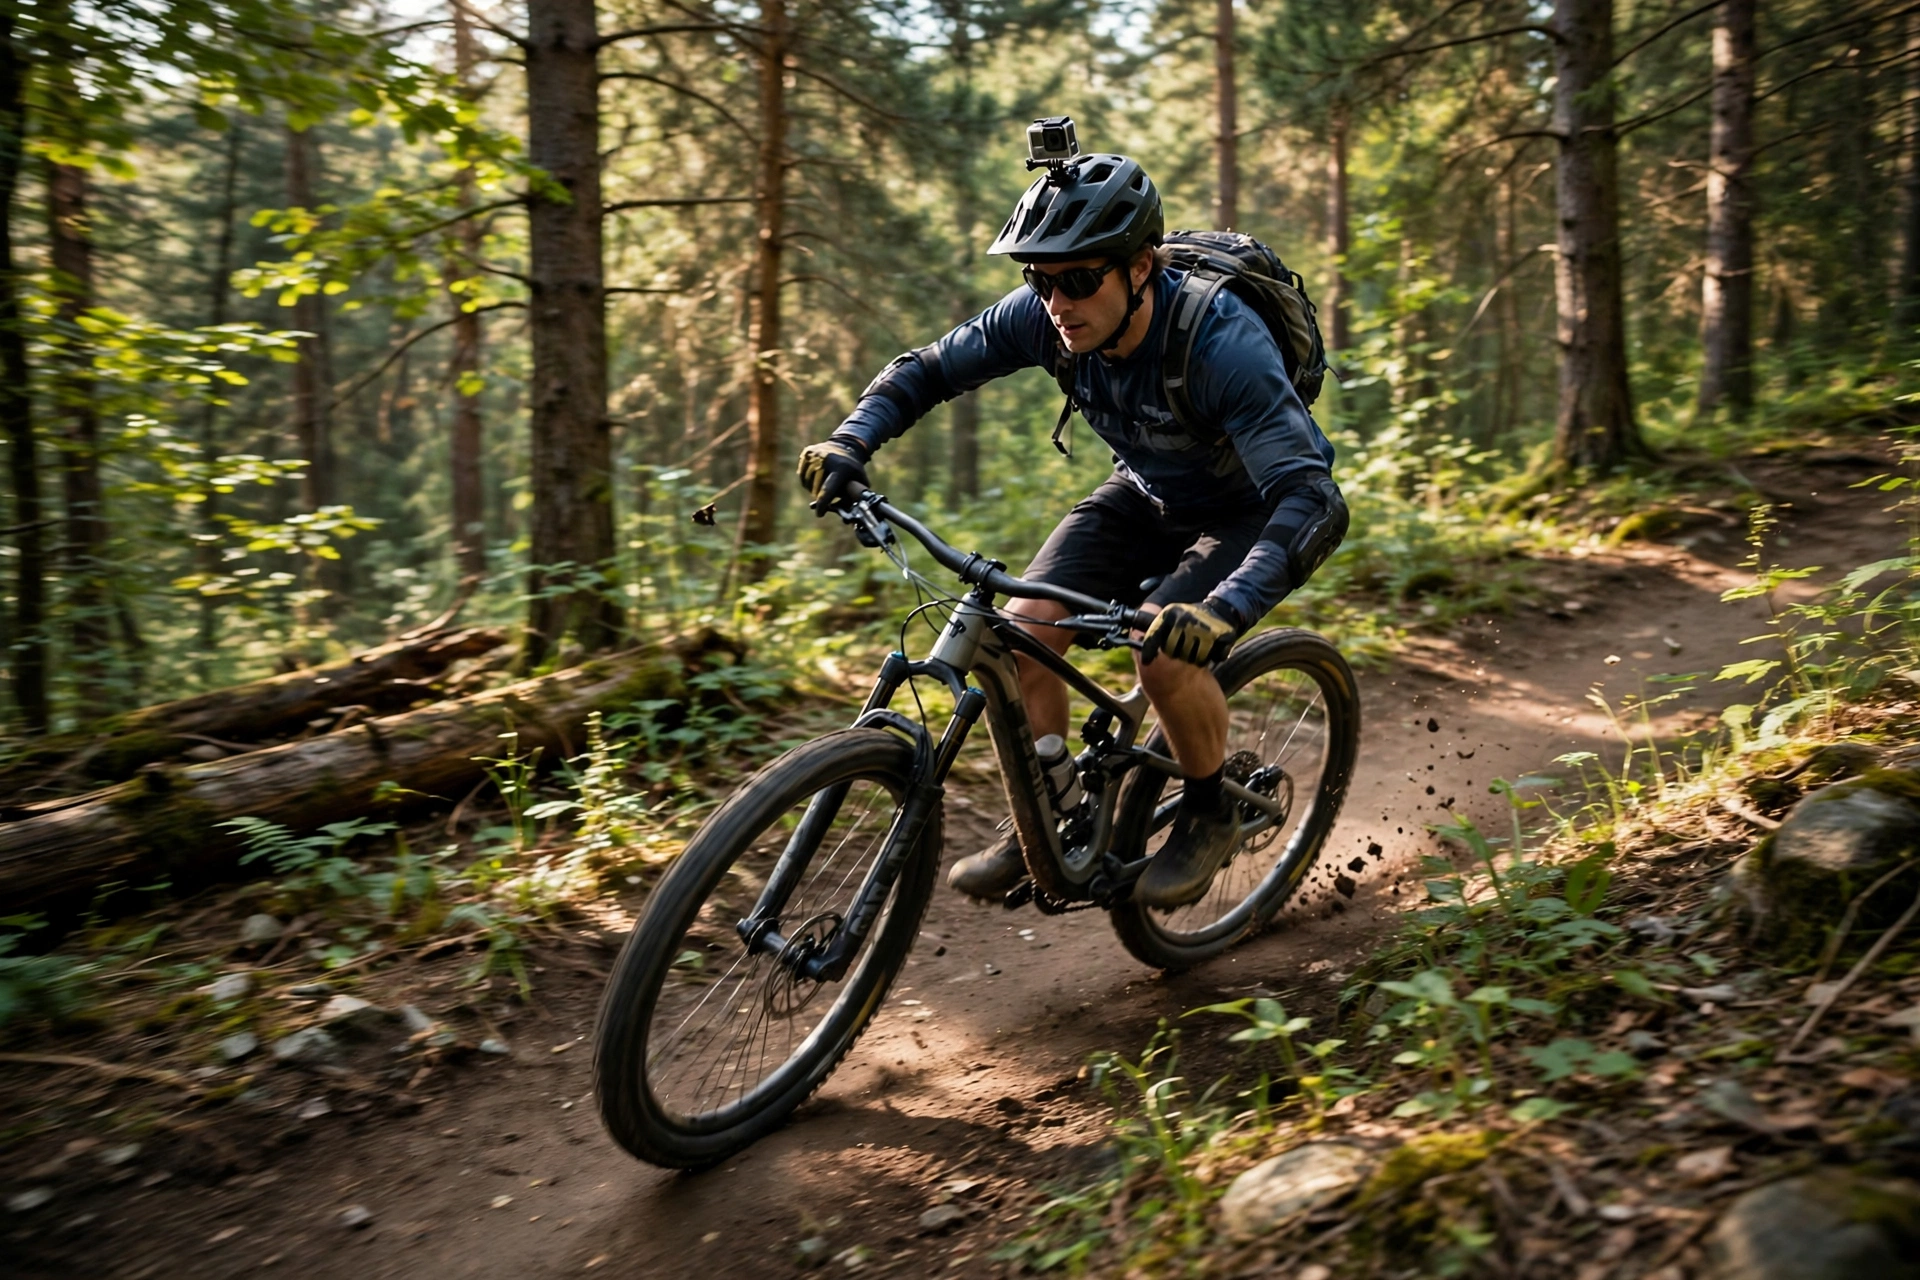
Clean the mounting area first with a soft cloth and mild soap, then dry it fully. Grease, mud, and dust all weaken the adhesive bond. Choose a flat area of shell, press the mount on firmly, and leave it to cure for the time the adhesive maker recommends — usually several hours — before attaching the camera or riding.
Use a tether as well. A thin safety leash between the camera and the helmet means that even if the mount fails, the camera stays attached instead of flying off. This is cheap insurance on rough trails, where vibration and knocks test every bond.
Check the mount regularly, especially after crashes, muddy rides, or long periods in heat. Adhesive weakens over time, and a mount that feels loose should be replaced before it fails. When you remove an old mount, peel it gently and clean off residue with mild soap — never scrape the shell with a blade.
Does a Camera Mount Affect Helmet Safety?
In general terms, a small, manufacturer-approved adhesive mount on the top or side of the helmet has a minimal effect on protection, because it does not alter the shell or foam. That is why helmet and camera makers approve these mounts: they are designed to break away or stay put without changing how the helmet absorbs an impact.
Larger or improvised mounts are a different story. Anything bolted through the shell, any rigid bracket that spans vents, and any mount that adds significant leverage can change impact behaviour in ways that have not been tested. If a mount is not approved for your helmet, the safest assumption is that it has not been tested with it.
Rotational protection systems add another consideration. A mount that restricts the helmet’s internal movement, or that is fixed rigidly across a moving layer, could interfere with that system. This guide to what MIPS means for helmets explains how one such system works — and it is a good reminder to keep mounts on the outside of the shell, where they belong, rather than interfering with the inside.
How Should You Position the Camera Angle?
Set the angle before you ride, not on the trail. Point the camera slightly downward so it captures the trail ahead rather than the sky, and check the framing with a short test clip. A camera angled too high films treetops; one angled too low films your front wheel.
Consider vibration as well. A mount on a flexible part of the helmet, or an arm that extends far from the shell, will shake more on rough trails. Keep the camera close to the helmet, use the camera’s stabilisation if it has it, and accept that some vibration is part of mountain biking footage.
Finally, check your own vision with the camera fitted. The camera and mount should never block your view of the trail, your goggles, or your peripheral vision. If you find yourself tilting your head to see around the camera, move the mount.
Frequently Asked Questions
Q: Is it safe to stick a camera mount on my MTB helmet?
A: In general terms, yes, if you use a small adhesive mount approved by the helmet or camera maker, on the top or side of the shell, and never drill or bolt into the helmet.
Q: Where should I not mount a camera?
A: Avoid the visor, curved surfaces where the adhesive cannot sit flat, and any position that blocks vents, your vision, or the fit system. Never drill holes in the shell.
Q: Should I use a tether with a helmet camera?
A: Yes — a thin safety leash between camera and helmet keeps the camera attached if the mount fails, which is cheap insurance on rough trails.

Olivia
Writer at Helmet Today, covering helmet reviews, fit and riding safety.