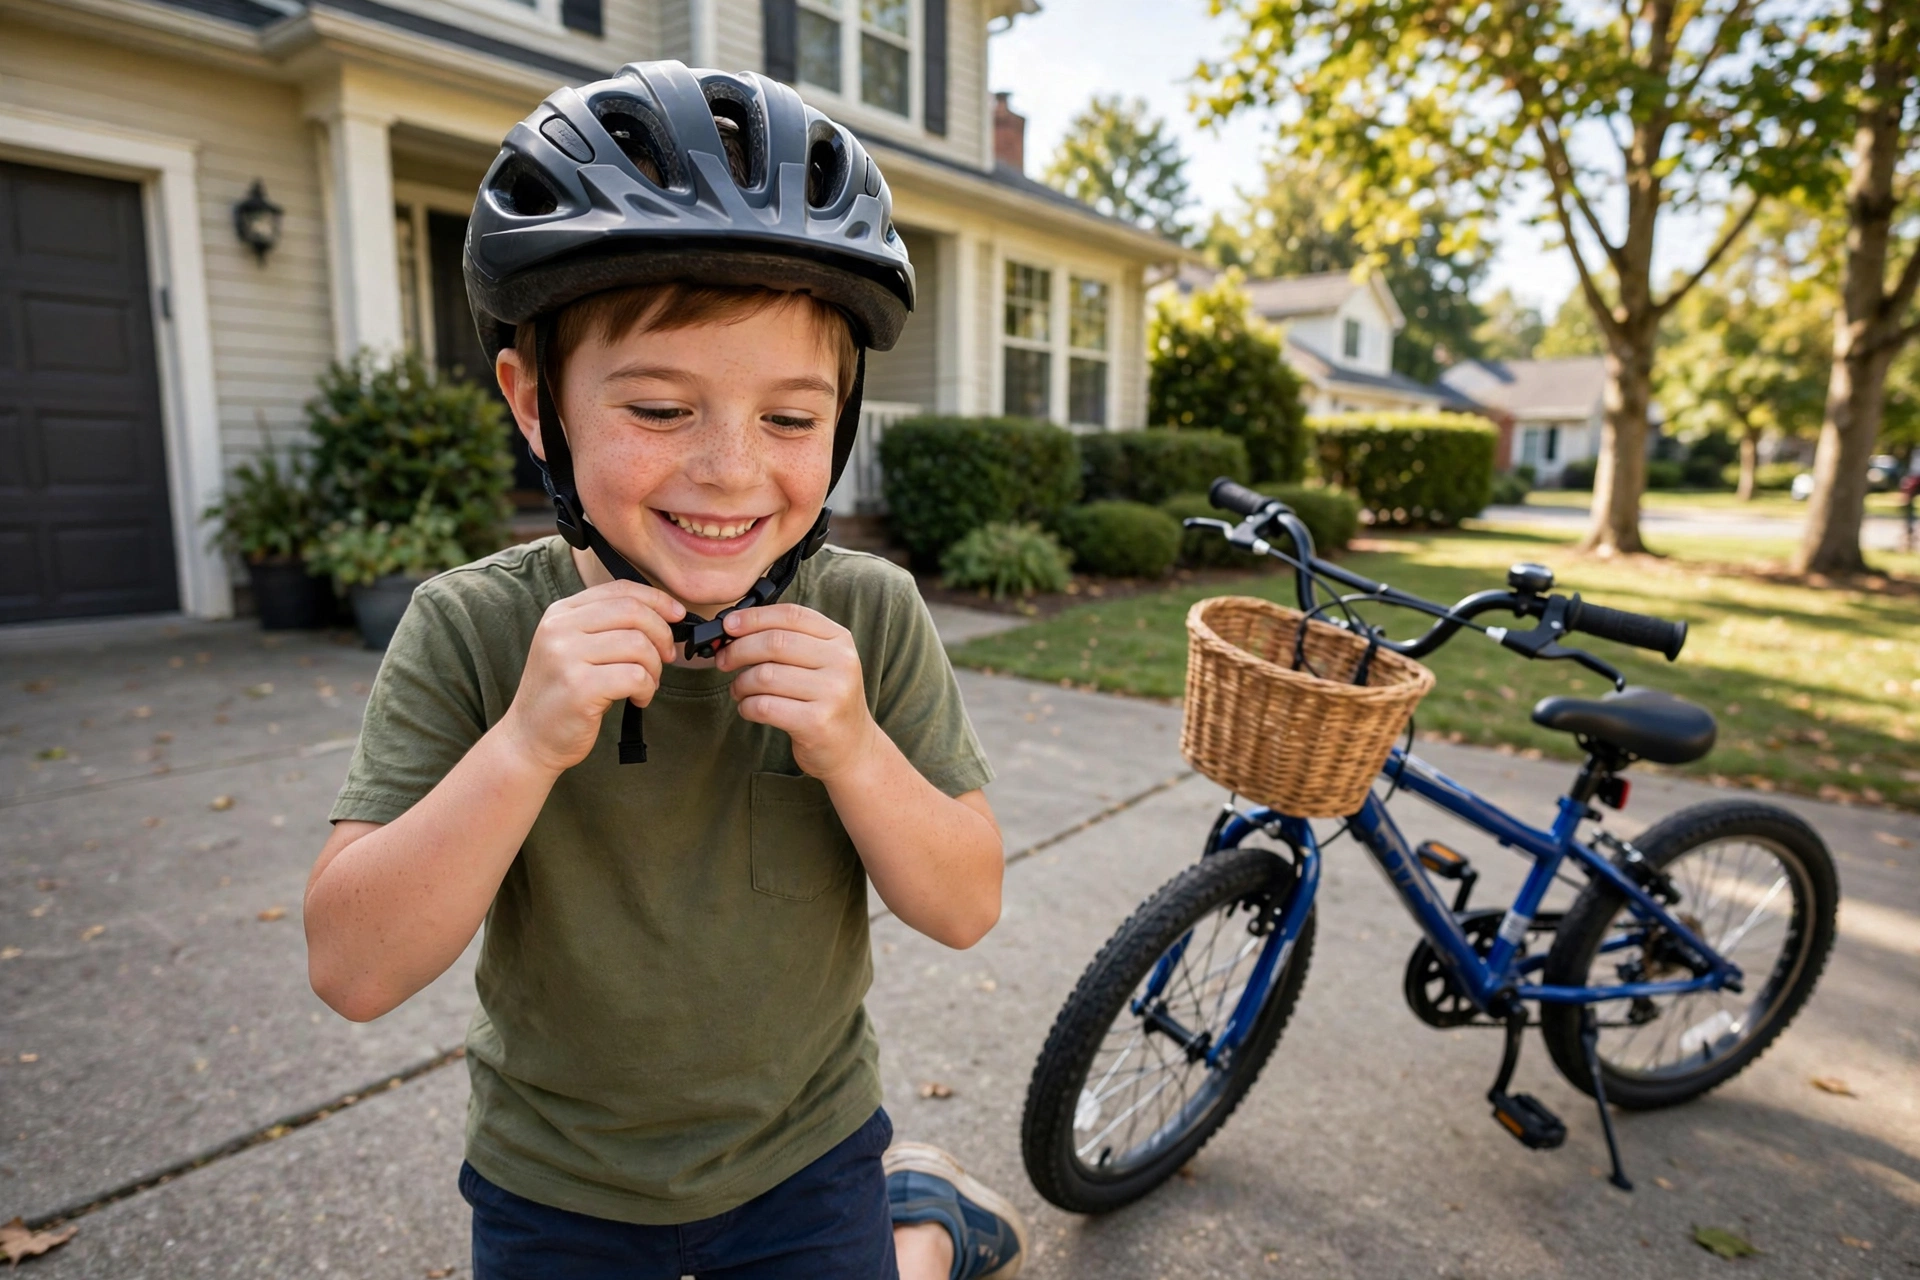
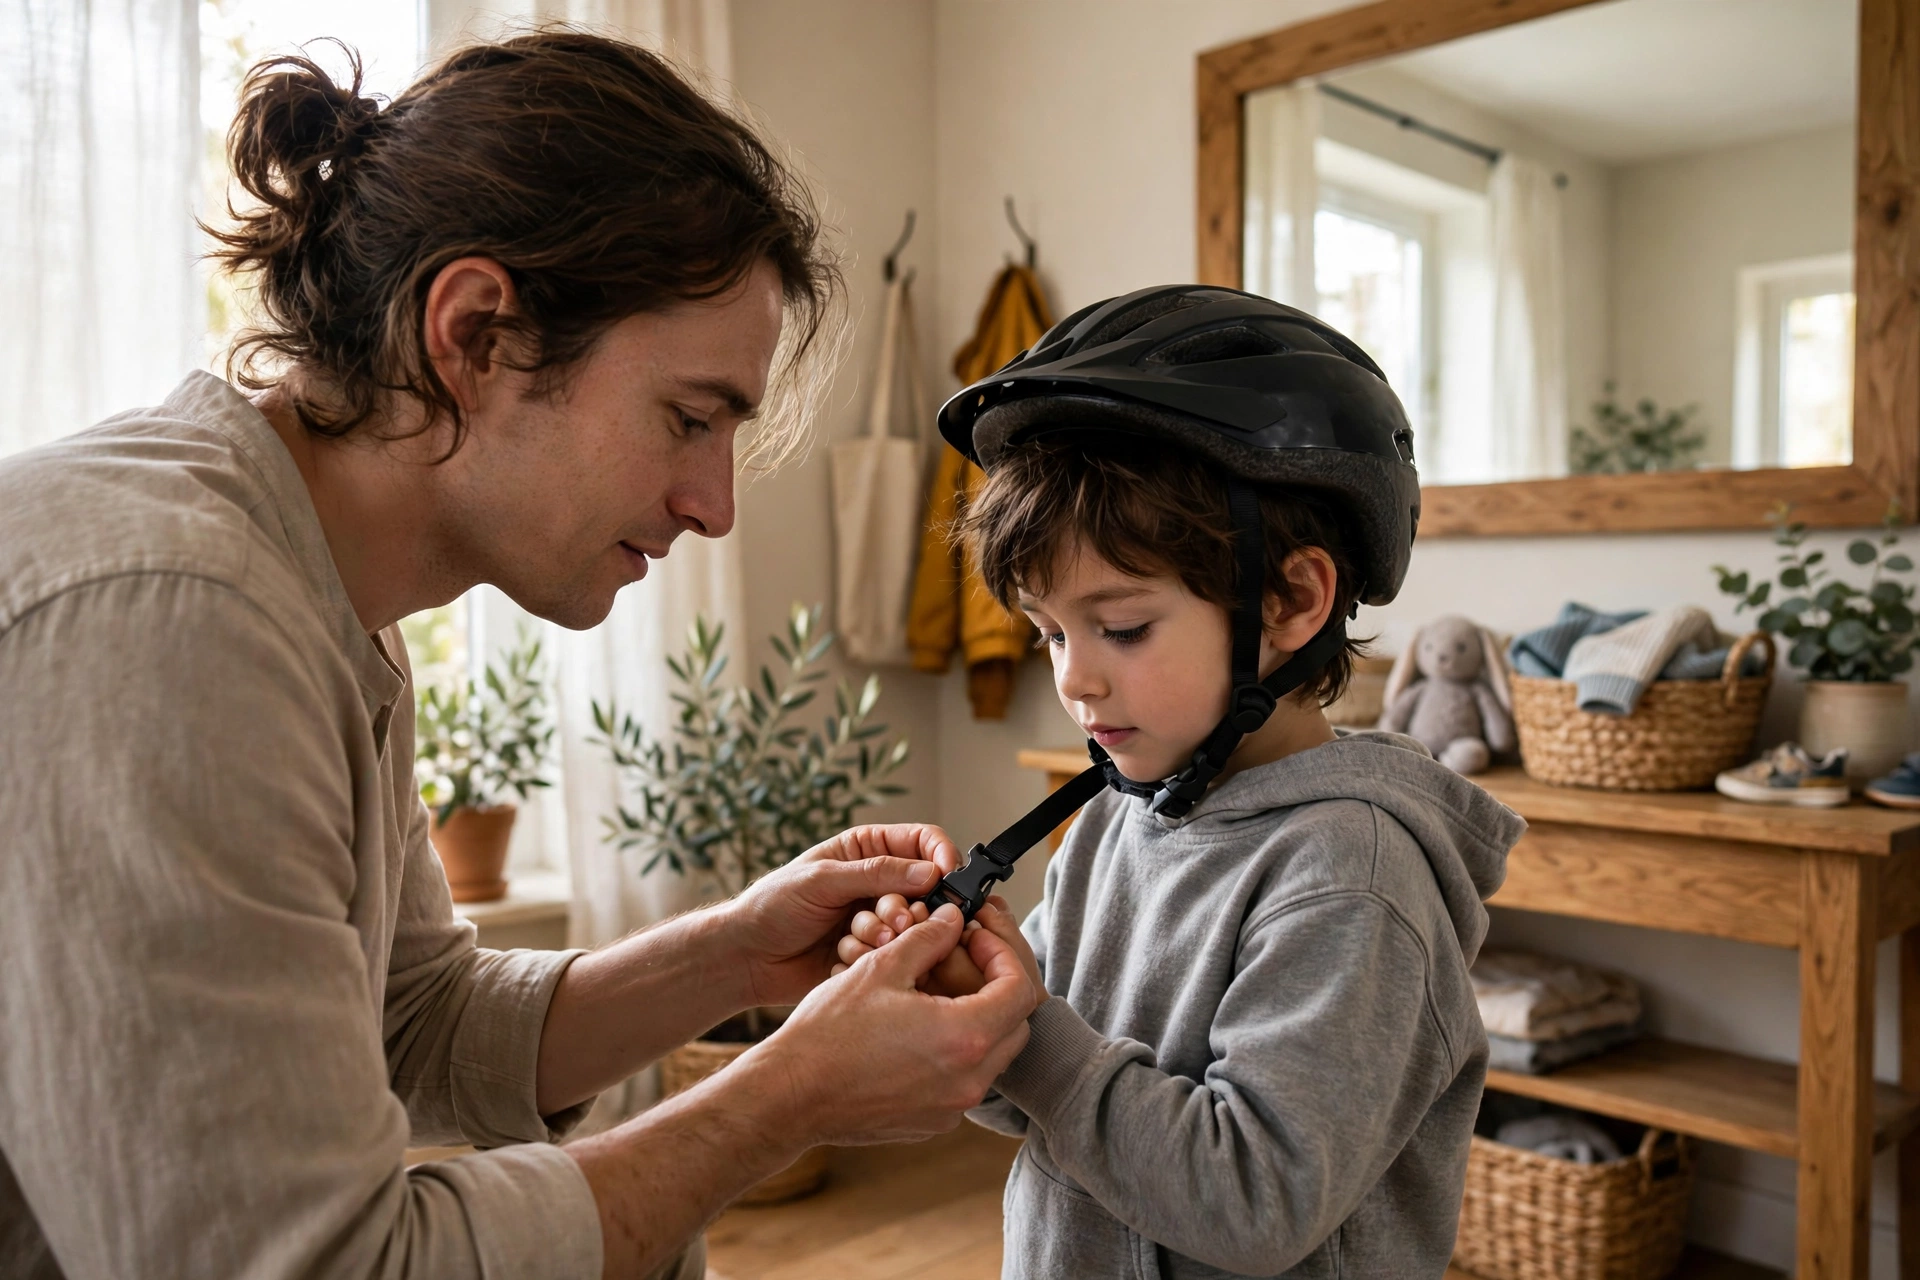
You can teach a child to fasten their own helmet by breaking the job into three small steps — level on the head, straps in a V under the ears, click and snug the buckle — then practicing those steps slowly at home, in the same order, every time. Most kids master the buckle with their fingers before they master the fit, so your role shifts from doing it for them to running a quick parent check afterward. Independence is the goal, but your ten-second inspection stays part of the routine.
A child who can gear up by themselves rides more willingly, helps get the whole family out the door faster, and — most importantly — is far more likely to keep the helmet on when you are not standing right there. Here is how to build that skill in stages, without the power struggles.
When Is a Child Ready to Fasten Their Own Helmet?
Readiness is about finger skills and patience more than birthday. In general terms, many preschoolers can manage a side-release buckle with practice, while other children need until the early school years before their hands are strong and coordinated enough. Watch for the building blocks: can your child pinch and squeeze small clips on toys, manage big buttons or snaps, and follow a short sequence of two or three steps?
Motivation counts as much as coordination. A child who wants to do it “all by myself” will persist through the fiddly stage; a child who is not interested yet will learn faster if you wait a few weeks and let them watch you narrate the steps in the meantime.
Either way, self-fastening is a handover, not a hand-off. Even a capable seven-year-old benefits from a parent’s final check, because children reliably learn the click long before they learn to judge snugness. Plan on your inspection being the last step of the routine for a long time.
What Are the Simple Steps to Teach First?
Give the routine a short, repeatable script your child can memorize — for example: “Level, V, click, snug.” Step one, level: helmet on, front edge low on the forehead, about two finger widths above the eyebrows, not tipped back. Have them do the mirror check here, because seeing “backwards baseball cap” versus “level” teaches faster than any description.
Step two, V: the side straps form a V that meets just under each ear. Teach your child to find the little strap divider with their fingers and slide it into place by feel. Step three, click and snug: pinch the buckle sides together until it clicks, then pull the strap end until it is snug — the family rule can be “one finger fits under the strap” — and finish with the shake test: nod and shake, and the helmet should not wobble or slide.
Teach one step at a time. Master “level” for a few rides, then add the V, then the buckle. Piling all three on at once is how kids end up buckled-but-backwards, proud and unprotected at the same time.
How Can You Make Practice Easier and Fun?
Practice at the kitchen table, not at the curb with everyone waiting. Start on a teddy bear or doll: buckling a helmet onto a stuffed animal lets your child see the parts, find the click, and build hand strength without anything squeezed against their own ears. Then move to practice on themselves in front of a mirror, in short sessions of a few minutes, finishing while it is still going well.
Turn it into a game. Time how fast they can do the full routine correctly — and time yourself too, letting them “beat” you by checking your fit. Praise the specific step they nailed (“your straps made a perfect V”) rather than generic “good job,” because specific praise tells them exactly what to repeat.
If the buckle is the sticking point, practice just the pinch-and-click motion on the loose helmet while watching TV. Some kids do better pushing the buckle parts together on a table first, where they can see the mechanism, before graduating to doing it blind under their chin. Small hands also do better with larger buckles, so if you are buying a new helmet anyway, let your child test the buckle in the shop.
How Do You Check Their Work Without Taking Over?
Make the check a named, friendly ritual — “captain’s inspection” — so it feels like ceremony rather than distrust. Run the same three things every time, narrating out loud: helmet level, straps in a V under the ears, strap snug with one finger of room, plus the shake test. Narrating matters: within a few weeks, most kids start self-checking in your words before you even ask.
Fix problems by guiding hands, not grabbing. If the helmet is tipped back, ask “what does the mirror say?” or have them find the front edge with their fingers and pull it down themselves. The child who corrects their own mistake learns; the child whose parent silently redoes it learns to wait for the redo.
Keep the check even on rushed mornings, especially on rushed mornings. The day the inspection disappears is the day loose straps become the new normal. And when a growing child moves up to a new helmet, restart the routine together for the first few rides — new buckles and different fit systems (some with extras like the rotational liner in our guide to what MIPS is and how it works) deserve a fresh round of practice.
What If the Buckle or Straps Keep Defeating Them?
First, check the hardware rather than the child. A buckle that is gritty, a strap twisted through its divider, or webbing adjusted so the loose end is hard to reach will defeat plenty of adults too. Rinse buckles that have been dropped in the dirt, untwist straps, and set the strap length so there is a reasonable tail for small hands to grip.
Pinched fingers are the most common buckle complaint. Teach your child to hold the buckle by its sides rather than squeezing the release tabs while clicking it shut, and to push the two halves together with fingertips on the ends. Some helmets use pinch-guard style buckles designed to reduce exactly this problem, which is worth knowing at replacement time.
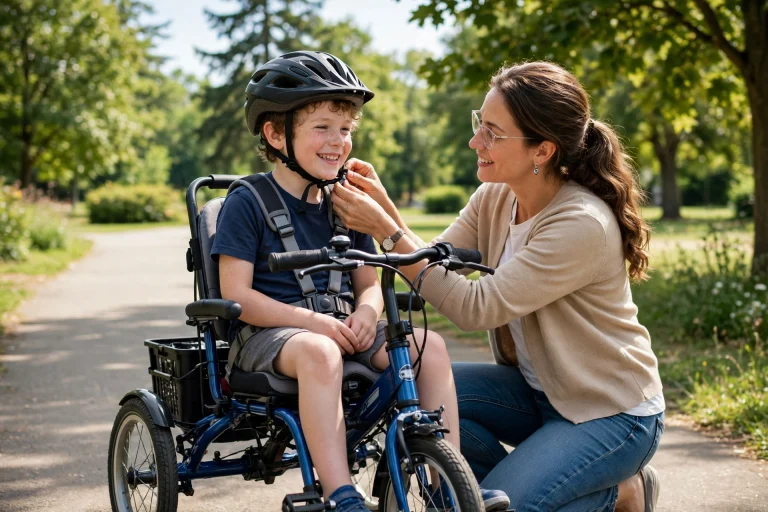
If a child has motor difficulties that make standard buckles genuinely hard, talk to the shop about alternatives — magnetic-style buckles on some helmets self-guide together and release with a slide, which many children find dramatically easier. Adaptive solutions count as success: the goal is a helmet fastened correctly every ride, not a helmet fastened the standard way.
Frequently Asked Questions
Q: What age can kids buckle their own helmet?
A: It varies a lot. In general terms, many children manage a side-release buckle somewhere between ages four and seven, once their finger strength and coordination catch up with their enthusiasm. Practice and buckle style matter as much as age.
Q: My child keeps pinching their fingers in the buckle. What helps?
A: Teach them to hold the buckle by its sides and push the halves together by the ends instead of squeezing the release tabs shut. Practice on a table where they can see their fingers, and consider a pinch-guard or magnetic-style buckle on the next helmet.
Q: Should I still check the helmet after my child fastens it themselves?
A: Yes. Kids learn the click long before they can judge snugness, level position, and strap placement. A ten-second parent check — level, V under the ears, one finger under the strap, shake test — should stay in the routine even for confident older children.

Olivia
Writer at Helmet Today, covering helmet reviews, fit and riding safety.