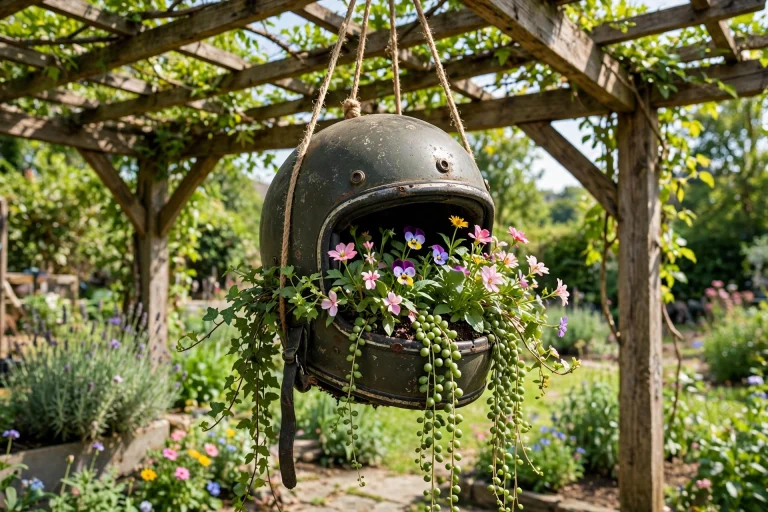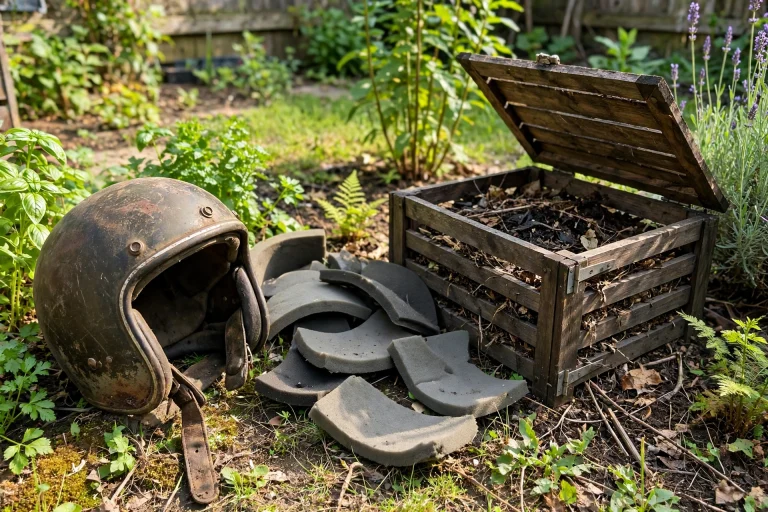

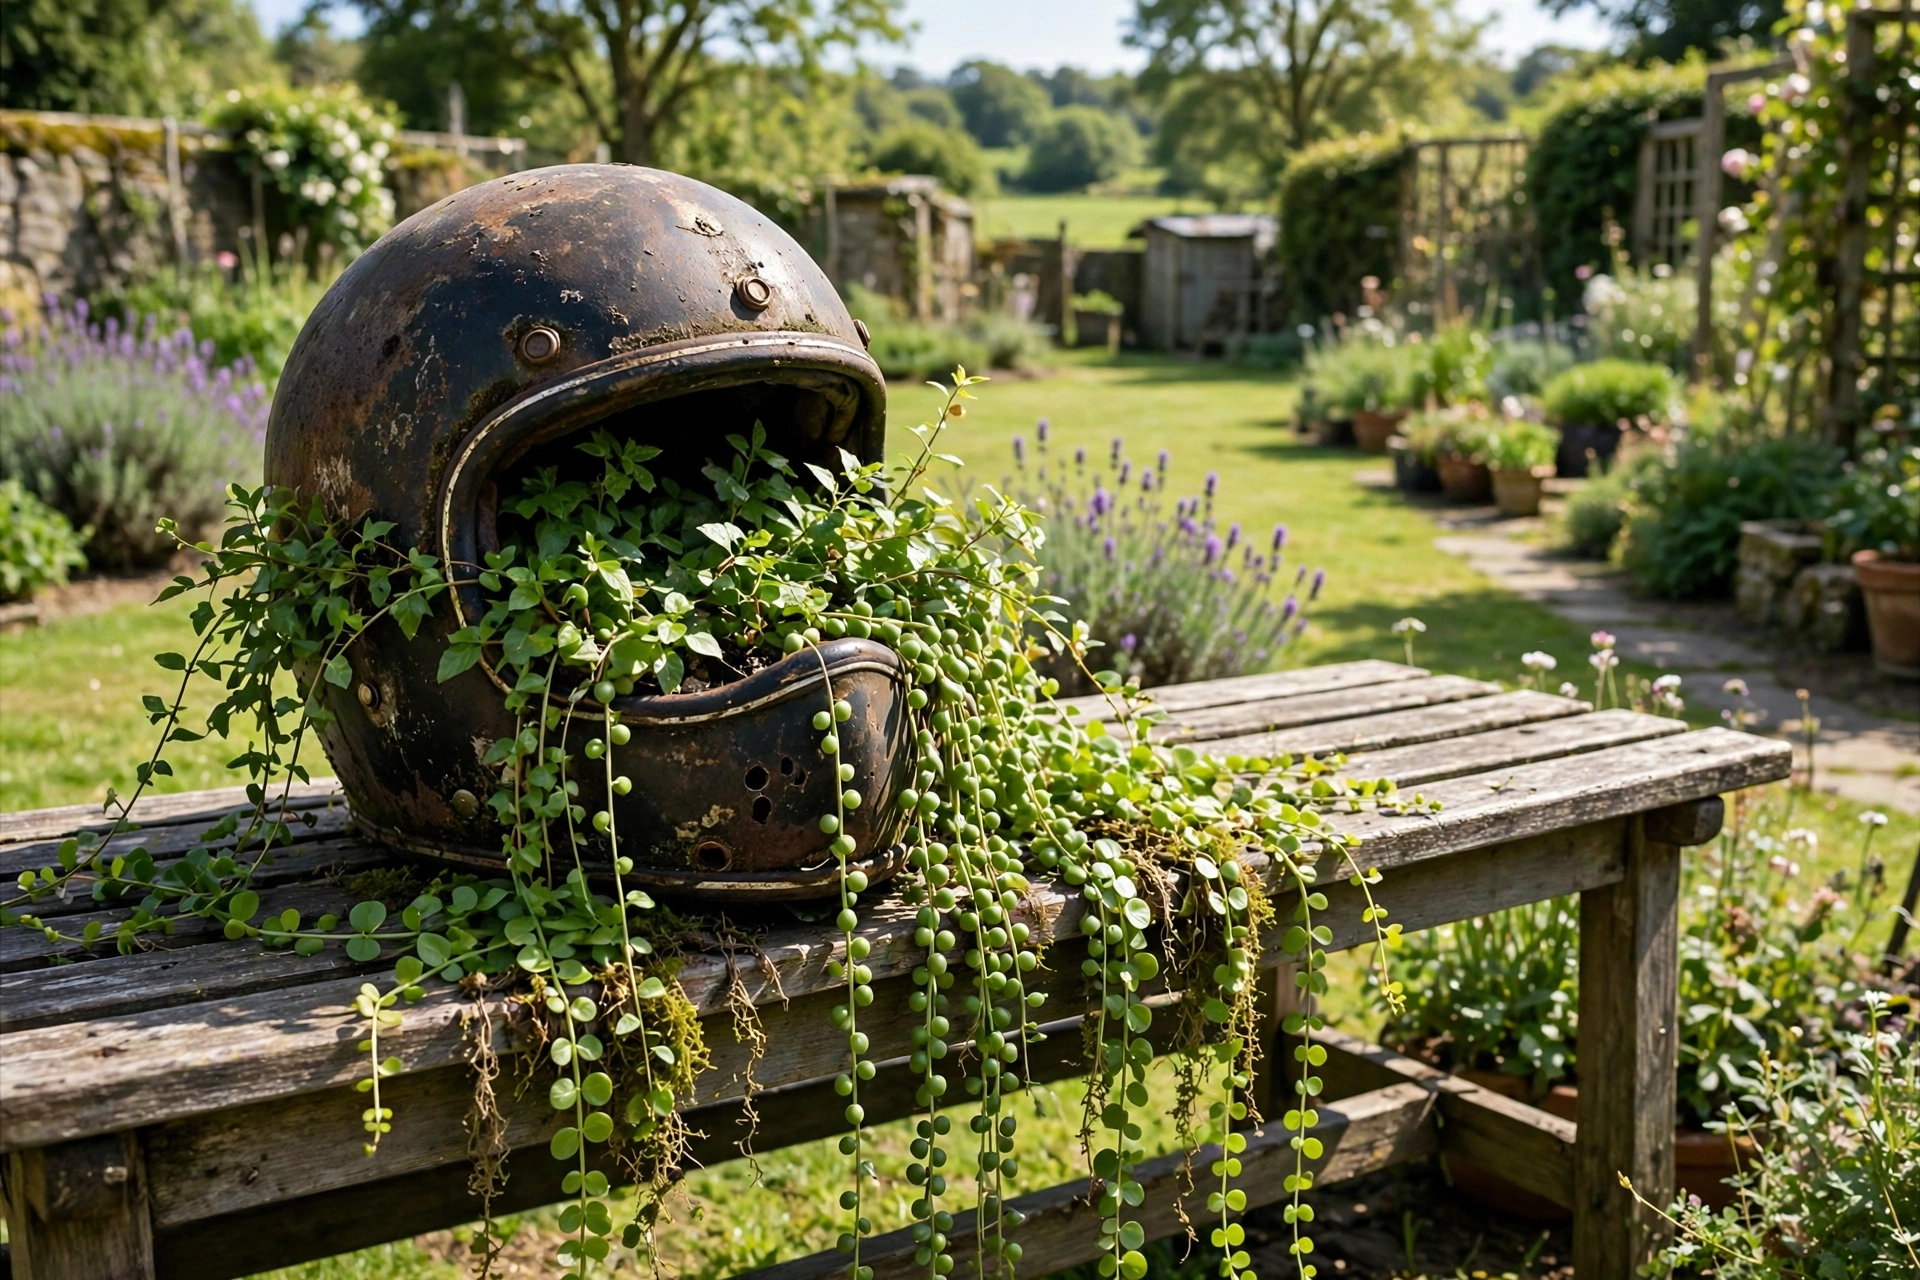
Yes, you can upcycle an old helmet into a planter — provided the helmet is truly retired, never to be worn for protection again. An old helmet makes a sturdy, weather-resistant plant pot with a ready-made bowl shape, and turning it into a planter keeps it out of landfill while giving it a second life in the garden. The key is to treat it as a decoration only, never as safety gear, and to prepare it properly with drainage holes and a safe finish.
Upcycling works best with helmets that are damaged, crashed, or simply past their safe working life. A helmet that has taken a hard impact should never be worn again, but its shape is still perfectly good for holding soil and plants. This guide explains how to choose the right helmet, prepare it safely, and plant it up.
Which Old Helmets Make Good Planters?
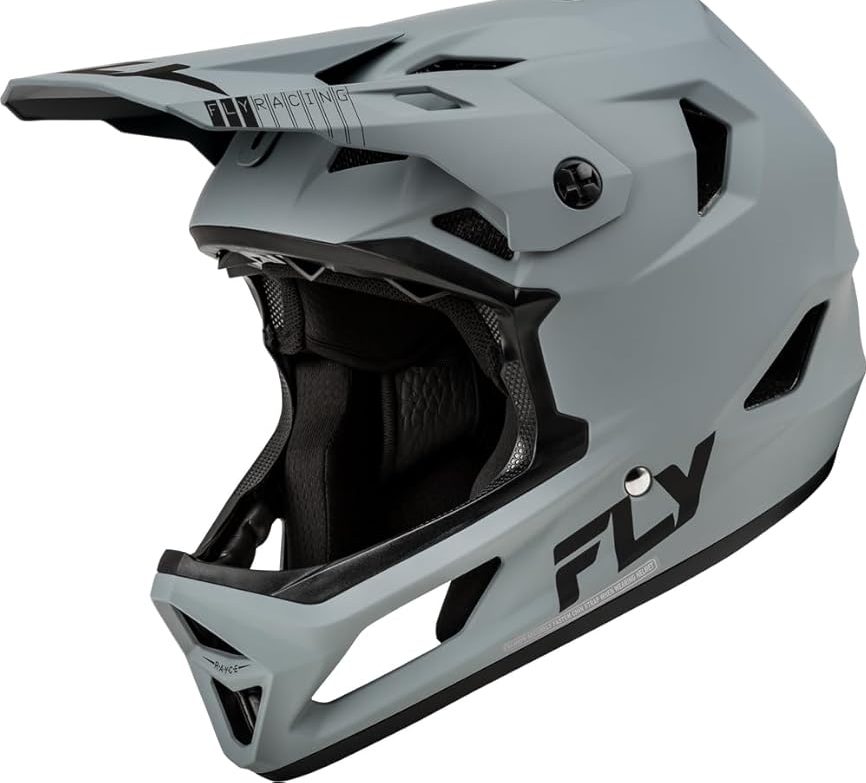
Almost any retired helmet can become a planter, but some work better than others. Full-face motorcycle helmets and large bicycle helmets give you the most room for soil and roots, while smaller helmets suit herbs and small trailing plants. A helmet with a wide, open shape is easier to plant than one with a narrow opening.
The condition of the helmet matters too. A helmet that is simply old and faded is ideal. A helmet with a cracked shell can still work, but sand any sharp edges smooth so they cannot cut you while gardening, and if the shell crumbles when you handle it, dispose of it rather than upcycling it.
One rule is absolute: once a helmet becomes a planter, it is never a helmet again. Do not be tempted to wear it for a quick ride, and do not pass it on to someone else as safety gear. Removing the straps and labels, or marking it clearly as a planter, helps make sure nobody mistakes it for a working helmet later.
How Do You Prepare a Helmet for Planting?
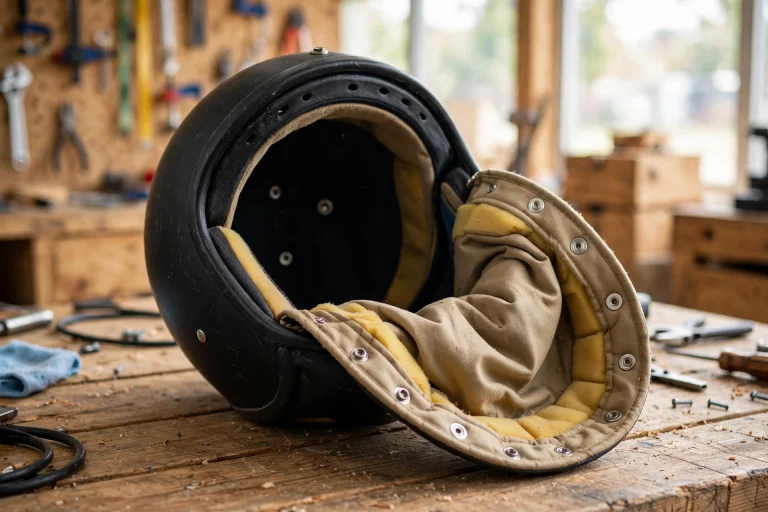
Start by cleaning the helmet thoroughly. Remove the inner liner, cheek pads, and straps if you can — most are held in with press studs, Velcro, or screws, and taking them out gives you more room for soil and stops old foam from holding damp and smelling. Wash the shell inside and out with warm soapy water, rinse it well, and let it dry completely in the sun.
Next, add drainage holes. Plants sitting in waterlogged soil will rot, so the helmet needs a way for excess water to escape. Drill three or four small holes in the lowest part of the shell, or cut a few slots with a sharp craft knife if the shell is soft plastic. Wear eye protection and gloves while you drill, and work slowly so the shell does not crack. If you are unsure about drilling, you can also use the helmet as a decorative outer cover with a small plastic plant pot sitting inside it instead.
Finally, think about the finish. A quick sand and a coat of outdoor paint can turn a battered helmet into a bright garden feature and help protect the shell from sun and rain. Use paint made for outdoor use on plastic surfaces, and let each coat dry fully. If you like the helmet’s original look, leave it as it is. If you are curious about how modern helmet shells and liners are put together, reading about what MIPS is for helmets can help you understand the layers you are taking apart.
What Plants Grow Best in a Helmet Planter?
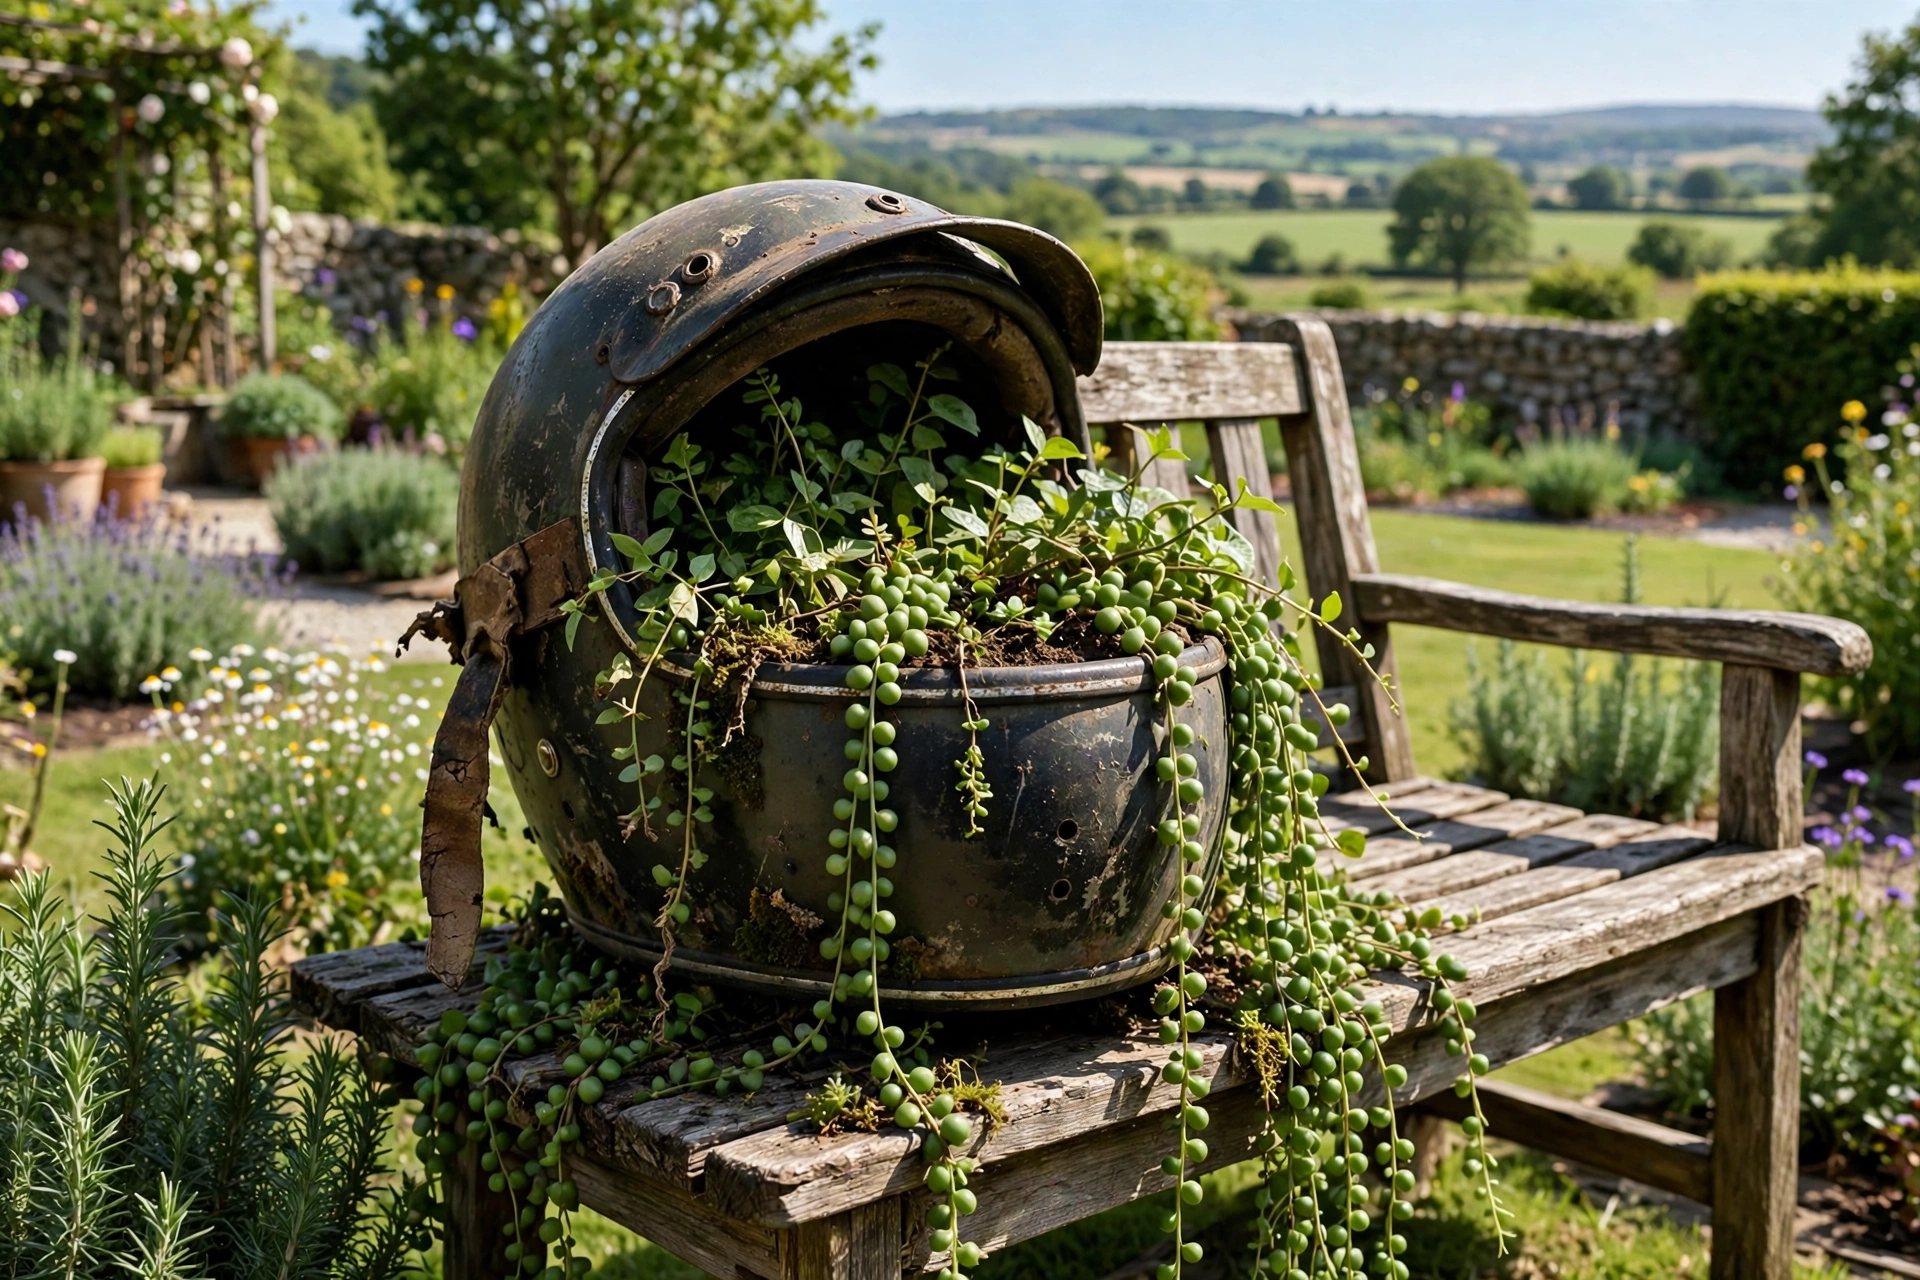
Helmet planters hold less soil than a normal pot, so the best plants are ones that do not need deep roots. Trailing plants such as ivy, string of pearls, or creeping jenny look wonderful spilling over the rim of a helmet, and they make the most of the helmet’s round shape. Small herbs like thyme, oregano, and chives also do well, and they give you something useful to pick from the garden.
Succulents are another good choice, especially for a helmet planter that will sit in full sun. They need little water, cope well with shallow soil, and come in shapes and colours that suit a quirky container. Sedums and echeverias are easy to start with and need very little care once they settle in. Avoid plants that grow large quickly or need deep, rich soil, such as tomatoes or large shrubs, because they will soon outgrow the helmet.
How Do You Plant and Care for a Helmet Planter?
Planting is simple. Cover the drainage holes with a small piece of broken pottery or a square of fine mesh so the soil does not wash straight out, then fill the helmet about two-thirds full with a light, free-draining potting mix. Set your plants in place, fill around them with more mix, and press it down gently. Water well so the soil settles, and top up with a little more mix if it sinks.
Watering needs a light touch, because a helmet holds only a small amount of soil and it can dry out quickly in sun or become soggy in heavy rain. Check the soil with your finger before watering: if the top feels dry, water; if it still feels damp, wait.
Feeding is light as well: a weak liquid feed once a month during the growing season is usually enough, and succulents need even less. Trim trailing stems when they get too long, and remove dead leaves promptly. If the planter stays outside through winter, check that water can still drain freely, because trapped water can freeze and crack the shell.
Where Should You Put a Helmet Planter?
A helmet planter is a talking point, so put it somewhere it can be seen. A garden bench, a fence post, a wall bracket, or a shelf near the back door all work well. Hang it by its strap from a sturdy hook for a hanging planter, but check the strap and the hook regularly — a helmet full of wet soil is heavy, and you do not want it falling on someone.
Think about drainage underneath as well. Water will drip from the holes after rain or watering, so avoid placing it above a seat, a slippery walkway, or anything water might damage. A saucer underneath catches drips, or place it on gravel or soil where water can soak away.
Finally, remember that a helmet planter is a decoration, not a toy. Keep it out of reach of small children who might try to wear it, and make sure it is stable wherever it sits. A helmet that is firmly placed, well planted, and clearly a garden feature will give you years of pleasure and keep an old piece of gear out of the bin.
Frequently Asked Questions
Q: Can I use a crashed helmet as a planter?
A: Yes, as long as the shell is stable enough to hold soil. It must never be worn again for protection, and any sharp edges should be smoothed before you handle it.
Q: Do I have to drill holes in the helmet?
A: Drainage holes are strongly recommended so the soil does not stay waterlogged and rot the roots. If you would rather not drill, you can use the helmet as a decorative cover with a small pot with drainage holes sitting inside it instead.
Q: Will a helmet planter last outside?
A: Yes, in general terms. Helmet shells are made to cope with sun and rain, so they last well outdoors. Good drainage, a coat of outdoor paint if you like, and checking it each season will help it last for years.

Olivia
Writer at Helmet Today, covering helmet reviews, fit and riding safety.