Replace a welding helmet lens as soon as the view stays cloudy after a proper clean, the filter flickers or darkens unevenly, or you can see cracks, pits or dead spots in it. In practice there are two different parts to keep straight: the cheap sacrificial cover lens, which you should swap often, and the main filter behind it, which is the expensive heart of the helmet and only needs replacing when it is genuinely failing. Knowing which one has gone bad saves money and keeps your eyes protected.
Most vision problems turn out to be a worn cover lens that costs very little to replace. But ignoring a genuinely failing filter is a serious mistake: a filter that no longer switches or shades properly can expose your eyes to a painful arc flash. This guide walks through the signs for each part.
What Is the Difference Between the Cover Lens and the Main Filter?
On the outside of the viewing stack sits a clear or lightly tinted plastic cover lens. Its only job is to take the abuse: molten spatter, grinding dust and scratches land on it instead of on the filter. Because it is a wear item, it is cheap and quick to swap, and heavy users may go through several in a busy period.
Behind the cover sits the main filter — a fixed dark glass plate in a passive helmet or the electronic auto-darkening cartridge in an ADF helmet. This is the part that blocks ultraviolet and infrared radiation and shades your view of the arc, and it is by far the most expensive component. A thin inner cover lens protects it from sweat, dust and scratches on the inside face.
When your view deteriorates, suspect the covers first: a hazy, milked-over picture is usually spatter damage on the outer cover, not a dying filter. Replacing the cover restores a clear view in minutes; replacing a healthy filter is an expensive fix for a cheap problem.
When Does the Outer Cover Lens Need Replacing?
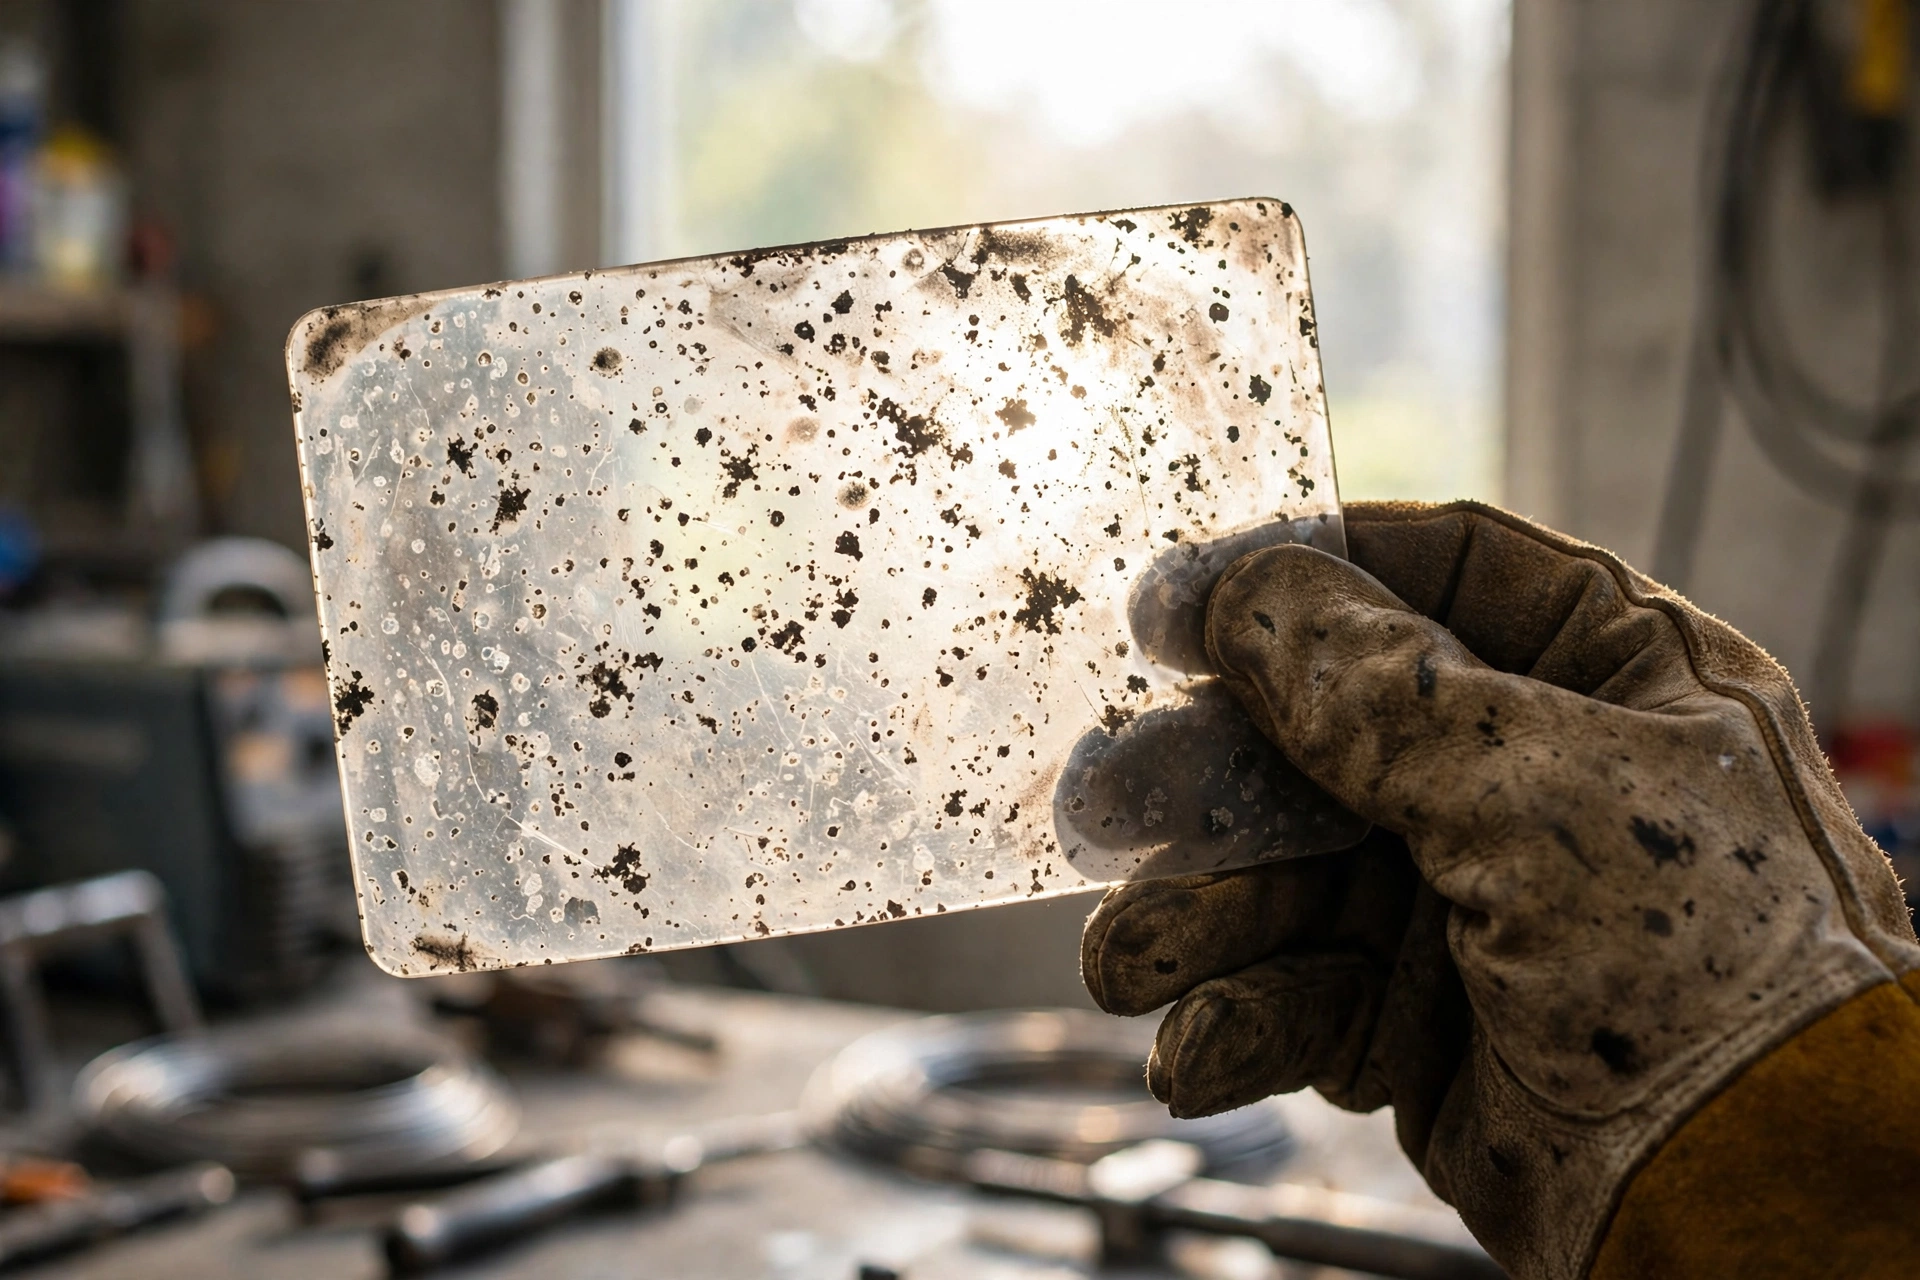
The outer cover has done its job when it is covered in tiny pits and burn specks from spatter. Each pit is where molten metal landed and melted into the plastic, and once there are enough of them your view of the puddle turns fuzzy and scattered. No cleaning trick reverses pitting — the damage is in the plastic itself.
Scratches and cloudiness are the other signals. A cover wiped with a gritty glove or cleaned with a harsh solvent can develop a permanent haze — if it looks frosted or crazed held up to the light, it is finished. Cracks matter too: a cracked cover lets spatter reach the filter behind it, turning a small expense into a large one.
In general terms, treat cover lenses as consumables, like contact tips or grinding discs. Keep spares in the toolbox, change them the moment the view bothers you, and never weld with the cover removed to “see better for one quick job” — that one job can pit the filter permanently.
What Signs Mean the Main Filter Itself Is Failing?
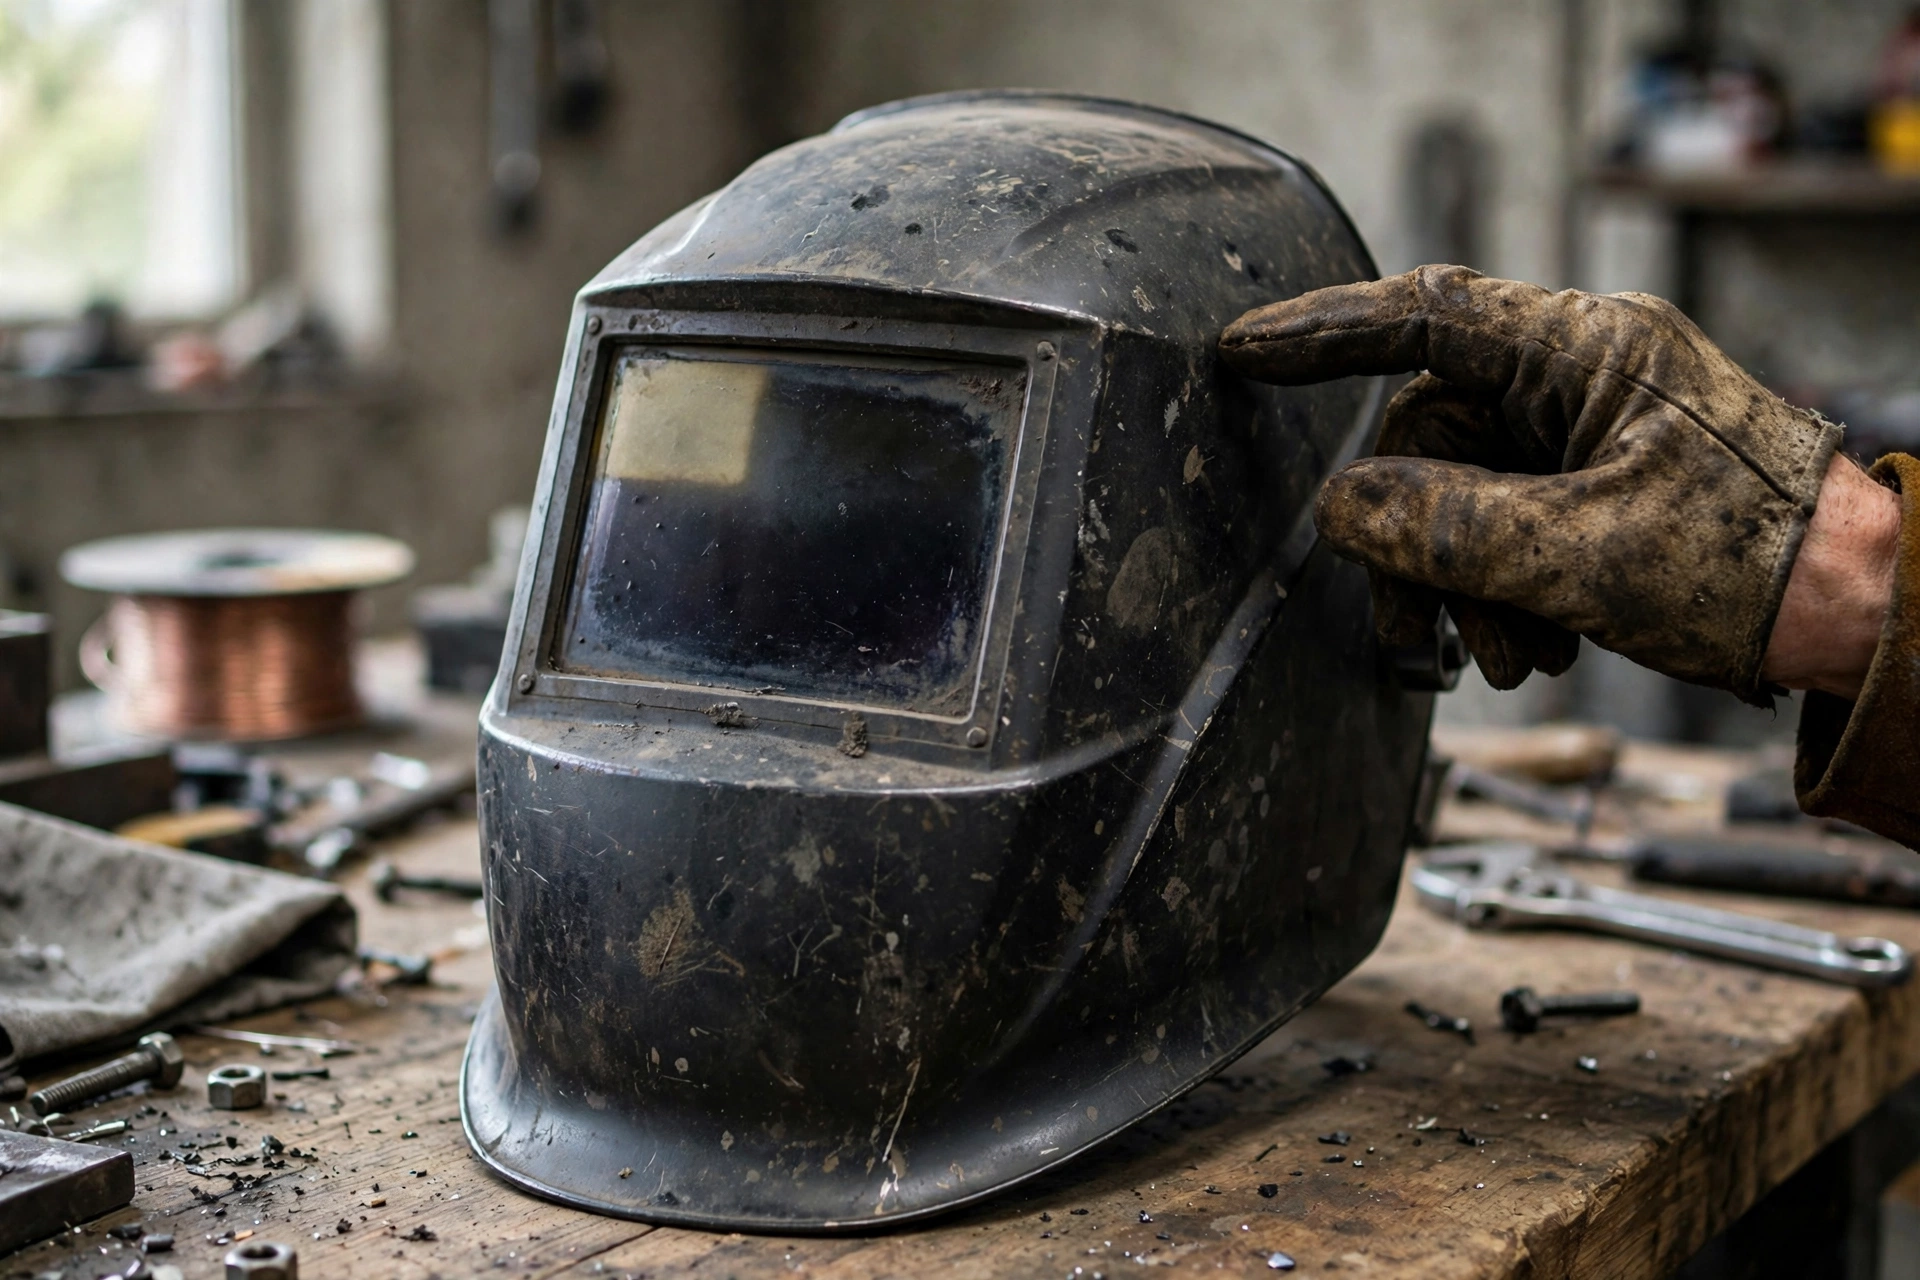
On an auto-darkening helmet, the clearest warning sign is flicker: the lens flashes light and dark, switches late, or lets a burst of brightness through when the arc starts. Any delay between the arc striking and the lens darkening means your eyes are taking unfiltered light, and the helmet should come out of service until fixed. Uneven darkening — one corner or edge staying lighter than the rest — points to a damaged sensor or a failing cartridge.
Dead spots are another filter problem. If part of the viewing area never darkens, or looks permanently blotchy even with the helmet off, the liquid crystal layers inside the cartridge have likely been damaged by heat, impact or moisture. That failure does not heal, and no setting adjustment will fix it.
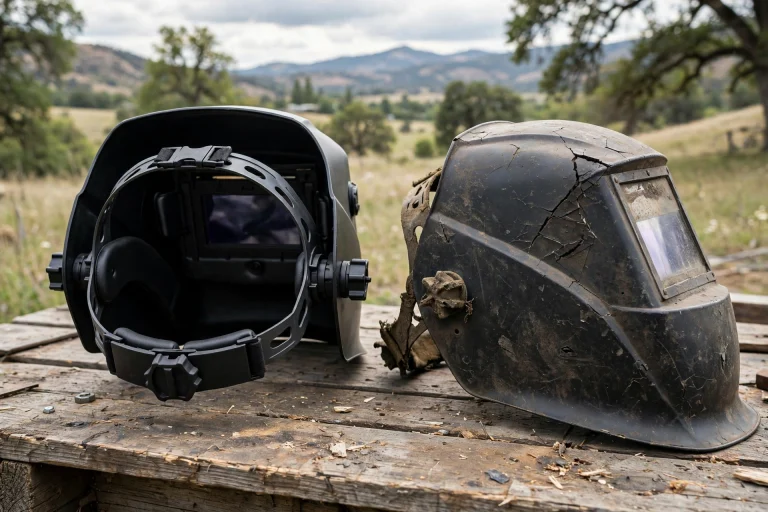
On a passive helmet the failures are physical: a cracked glass plate, chipped edges, or heat warping. A cracked passive filter must be replaced before the next arc, full stop. Light leaking around the edges of any filter — a bright halo facing the arc — means the filter or its retaining frame is damaged or badly seated.
Can You Clean a Cloudy Lens Instead of Replacing It?
Often, yes — and cleaning should always be your first step. Remove the outer cover lens and wash it gently with mild soap and water, drying with a soft, clean cloth. Workshop grime, overspray and dust film wash off easily and can look deceptively like permanent clouding. Clean the inner cover and filter surface the same gentle way, per the maker’s instructions.
What you must not do is reach for solvents, abrasive pads or a rag with grinding grit in it. Aggressive cleaning is itself a common cause of the frosted view people blame on age. Clean both covers, reassemble, and look through the helmet at a bright light.
If the view is still hazy with clean covers in place, the problem sits deeper — usually a scratched or degraded filter — and replacement is the answer. If it clears up, you have saved yourself the cost of a filter. Either way, the order of operations is: clean first, judge second, buy last.
What About Batteries, Sensors and Settings Before You Give Up on a Filter?
Auto-darkening filters fail for boring reasons more often than exotic ones. Weak or dead batteries are the classic culprit: a lens that darkens weakly, switches slowly or behaves erratically may simply need fresh batteries, or a few hours of light on its solar cell if solar-assisted. Some cartridges are sealed; check your manual before assuming the worst.
Sensors come next. The small light sensors on the front trigger the darkening, and if they are covered by a pitted cover lens, spatter or dust, the cartridge cannot see the arc in time. Clean the sensor windows and make sure nothing — including the workpiece or your hand position — blocks their view of the arc.
Finally, check the controls. Sensitivity set too low can delay triggering in low-amp work, and a helmet accidentally left in grinding mode will not darken at all. Work through batteries, sensors and settings in that order; if the lens still flickers or darkens unevenly afterward, the cartridge itself has failed and replacement is the only sensible option.
Reading the condition of protective gear honestly is a skill that carries across everything you wear on your head. The same habit — checking for hidden damage and degraded materials — applies to riding helmets, where features like MIPS rotational protection only work if the helmet itself is sound. Worn-out protection is a problem you fix the day you spot it, not the day it fails.
Frequently Asked Questions
Q: How often should the cover lens be replaced?
A: Whenever spatter pitting, scratches or haze noticeably cloud your view — there is no fixed schedule. Busy production welders may change covers frequently, while occasional users get much longer from one. Keep spares on hand so a cloudy cover never tempts you to weld without one.
Q: My auto-darkening lens flickers only sometimes. Is that safe to live with?
A: No. Intermittent flicker means your eyes are sometimes catching unfiltered arc light, and the cause — batteries, blocked sensors or a failing cartridge — needs finding before you weld again. Troubleshoot in that order, and if the flicker survives fresh batteries and clean sensors, replace the filter.
Q: Can a cracked passive filter glass still be used if the crack is at the edge?
A: No. A cracked filter can leak unfiltered light and may fail further under heat. Passive filter plates are among the cheaper parts of a helmet, so replace any that is cracked or chipped before striking another arc.

Olivia
Writer at Helmet Today, covering helmet reviews, fit and riding safety.