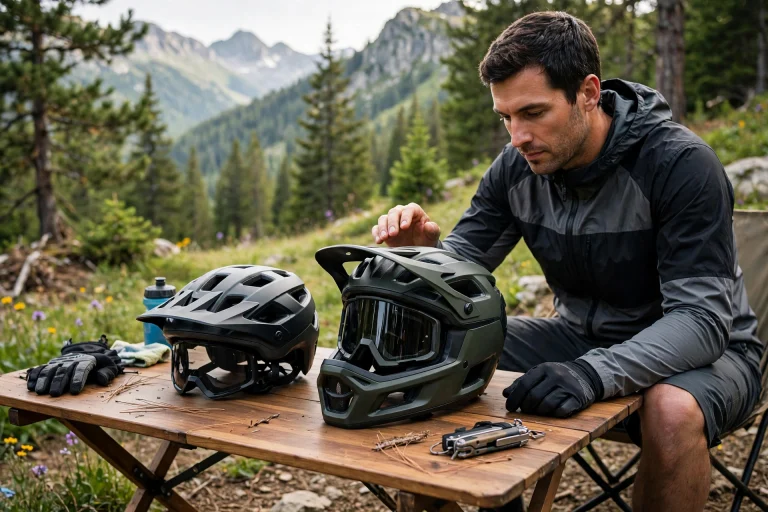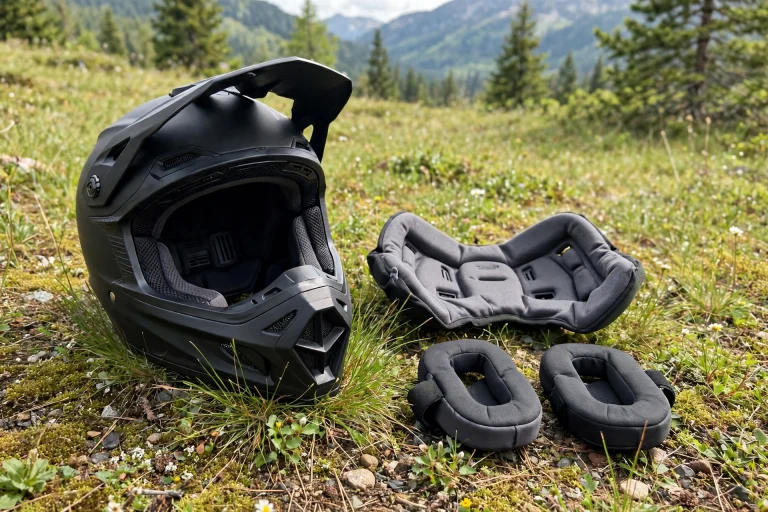
Wear a bike helmet level on your head — not tilted back — with the front edge about two finger-widths above your eyebrows, the straps forming an even V under each ear, and the buckle centered and snug under your chin. That position is what the helmet was designed and tested for. A helmet worn tilted, loose, or perched too high leaves your forehead and temples exposed and can shift or come off in a crash.
Getting this right takes about thirty seconds once you know the checks, and it makes more difference to your safety than the price of the helmet. An inexpensive helmet worn correctly will outperform an expensive one worn badly every time, because coverage and stability in the first moment of impact are what matter. Certification testing assumes the helmet is sitting in this exact position, so treat every adjustment below as part of the helmet’s design, not as optional fine-tuning.
What Is the Correct Position for a Bike Helmet?
The helmet should sit flat and level, as if you balanced a book on top of it. The front edge should come down low on your forehead, roughly two finger-widths (about an inch) above your eyebrows. That low front is deliberate: the forehead and temples are common impact points in falls, and the helmet only protects what it covers.
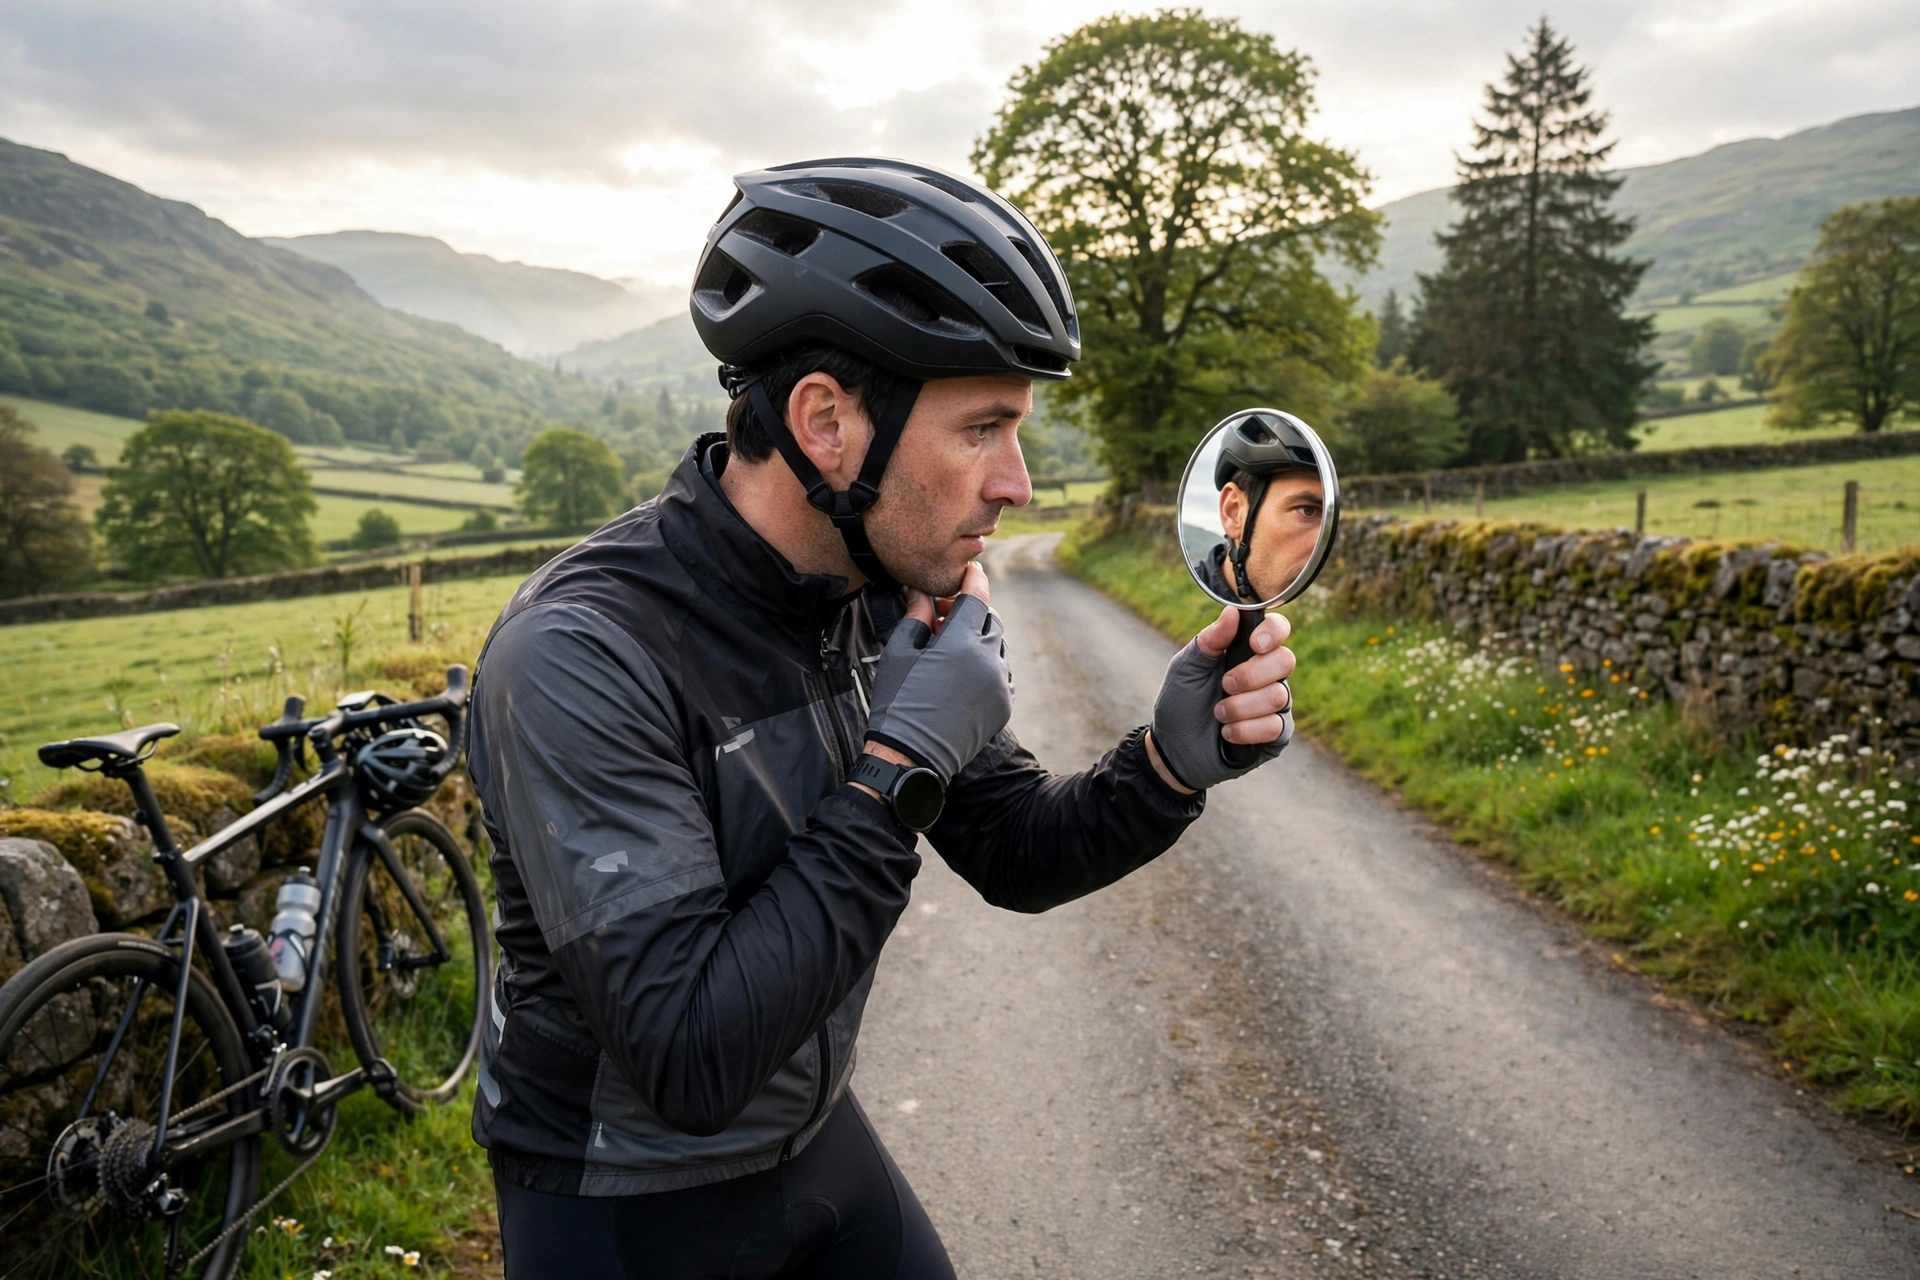
Tilting the helmet back is the most common mistake riders make. It feels natural and keeps the helmet out of your eyes, but it exposes the entire forehead and moves the protective foam away from where forward falls land. Equally wrong is wearing it tipped far forward like a cap, which uncovers the back of the head. Before every ride, glance in a mirror or your phone camera: the helmet’s rim should look level front-to-back and side-to-side, and you should just be able to see its front edge when you look up.
How Should the Straps Sit Around Your Ears?
The side straps should form a V (or Y) shape that frames each ear, meeting at a slider just below your earlobe. Neither strap should cross over the ear itself, twist, or sit far in front of or behind it. When the V is even on both sides, the helmet stays centered and cannot roll forward or backward.
Start by loosening the sliders, putting the helmet on level, then sliding each divider until it sits about half an inch below the earlobe with the ear neatly inside the V. If one side’s V is bigger than the other’s, the helmet will pull crooked no matter how tight the chin strap is, so take the extra moment to match them. Riders with fit systems at the back should also dial the retention cradle snug — it works with the straps to stop the helmet rocking.
How Tight Should the Chin Strap Be?
Snug enough that you can fit only one or two fingers between the strap and your chin, and centered so the buckle sits under the middle of your chin rather than off to one side. You should be able to open your mouth and feel the helmet press down slightly on top of your head — that is the standard home test for correct tension.
A loose chin strap is nearly as bad as no strap. In a crash or even a hard fall, a loose helmet can rotate, slide back, or tear off completely before it absorbs anything. But do not overtighten either: a strap that chokes or leaves you unable to swallow comfortably will end up loosened mid-ride. The right setting is firm, flat against the skin with no twists, and comfortable enough to forget about. Modern helmets may also include inner systems such as MIPS for helmets, and these low-friction layers are designed to move slightly during an angled impact — another reason the outer fit and straps must hold the helmet exactly where it belongs.
What Are the Most Common Bike Helmet Wearing Mistakes?
The tilted-back helmet leads the list, followed closely by the loose strap. After those come: wearing the helmet backwards (the fit system dial belongs at the back), perching it high on the forehead like a hat, fastening the buckle off-center, and wearing it over a thick winter hat or bulky hood, which adds a slippery layer that ruins the fit and lets the helmet shift. High ponytails forced under the helmet cause a similar problem by pushing it up and back.
Unfastened straps deserve their own warning. An unbuckled helmet offers almost no protection in a real fall, because the first impact usually knocks it off. Make buckling up as automatic as picking the bike up. For kids especially, check the fit yourself every ride — straps loosen, sliders migrate, and children grow out of settings faster than adults expect.
What Is a Quick Pre-Ride Helmet Check?
Use the eyes-ears-mouth routine. Eyes: look up — you should just see the helmet’s front edge, confirming it is low and level. Ears: feel that each strap’s V frames your ear with the slider just below the lobe. Mouth: open wide — the strap should pull the helmet down slightly, confirming snug tension. The whole check takes seconds once it is a habit.
Add one more test whenever you adjust anything or try a new helmet: push the helmet firmly forward, backward, and side to side with your hands. It should move your scalp a little rather than sliding freely over it. If it slides, tighten the retention dial first, then re-check the straps. A helmet that passes these checks is sitting where its foam and shell were engineered to protect you.
Frequently Asked Questions
How far above my eyebrows should a bike helmet sit?
About two finger-widths — roughly an inch. Low enough to cover the forehead, high enough to stay out of your vision. If you can see a lot of forehead in the mirror, the helmet is too high or tilted back.
Can I wear a bike helmet over a cap or winter hat?
A thin cycling cap or skull cap made for under-helmet use is fine. Thick hats and hoods are not — they create slack and let the helmet shift in a crash. Choose a helmet-compatible liner or a balaclava designed for cycling instead.
Is it okay to ride with the chin strap unbuckled on short trips?
No. Most falls happen close to home, and an unbuckled helmet usually comes off before it can help. Buckle up for every ride, however short — it takes two seconds.

Olivia
Writer at Helmet Today, covering helmet reviews, fit and riding safety.