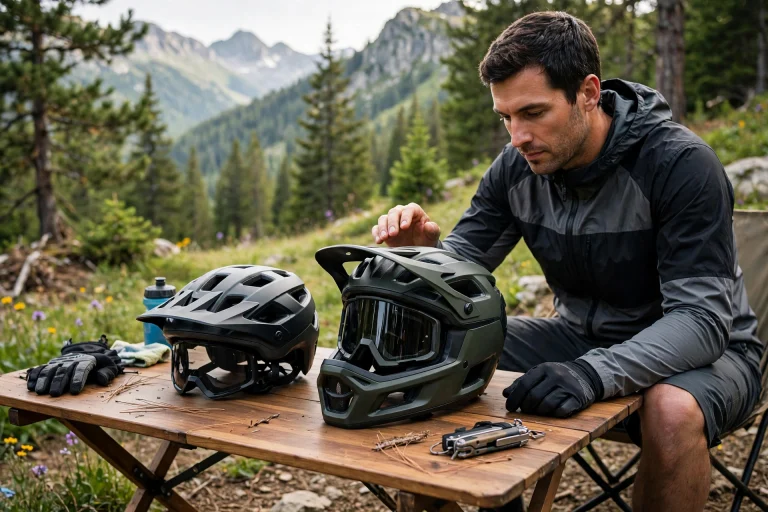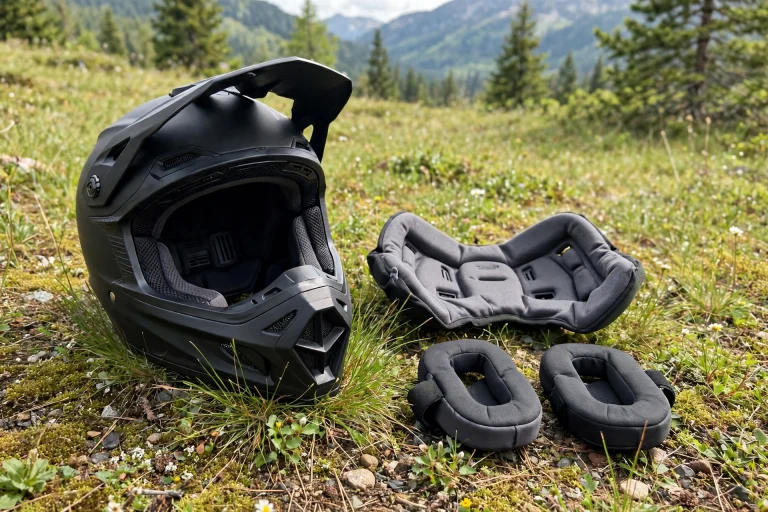
To attach a light to a bike helmet safely, use a mount made for helmets — a vent strap mount, a helmet-rated adhesive mount, or the integrated mount some helmets include — position the light centered on top of the shell, and aim the beam slightly downward so it lights the trail or road without blinding others. Never drill into a helmet shell, and never use adhesives the helmet manufacturer does not allow, because both can damage the shell and void its certification.
A helmet light is one of the best upgrades for night riding. Because it sits high and points wherever you look, it fills in the shadows your handlebar light misses — around corners and over obstacles. But a helmet is safety equipment first, so how you attach the light matters as much as the light itself.
What Types of Helmet Light Mounts Are Available?
Strap mounts are the most universal and the safest for your helmet. A flexible strap threads through the helmet’s vents and cinches the mount base down on top of the shell. Nothing sticks to or alters the shell, the mount can be removed without a trace, and the breakaway design on many mounts lets the light detach in a crash rather than levering against your head. If your helmet has generous vents, this is the option to try first.
Adhesive mounts use a curved base with strong double-sided tape shaped to sit on the shell. They are quick and tidy, but this is where caution applies: some helmet manufacturers state that adhesives can damage shell materials and may void the warranty or certification, while others supply or approve specific adhesive mounts for their helmets. Check your helmet maker’s guidance before sticking anything to the shell, use only the mount maker’s supplied tape, and place it on a smooth area of shell — never over a vent edge or seam.
Integrated mounts are the neatest solution. A growing number of helmets include a built-in mount point, magnetic fitting, or accessory port designed by the manufacturer for lights or cameras. Because the helmet was engineered and certified with that fitting in mind, it removes all guesswork. If you know you will ride at night often, choosing a helmet with an integrated mount when you buy is the smartest route.
Why Must You Never Drill or Modify a Helmet Shell?
This rule has no exceptions. A helmet shell and the foam beneath it work as a system: the shell spreads impact force and the foam crushes to absorb it. Drilling a hole creates a stress concentration, cracks can spread from it, and the certification the helmet was tested under no longer applies. Manufacturers are explicit that drilling, cutting, or unauthorized modifications void the helmet’s certification and warranty.
The same logic applies to strong solvents and non-approved adhesives, which can chemically attack shell plastics and foam. A helmet light is a genuinely useful accessory, but no accessory is worth turning a certified helmet into an uncertified one. If a light cannot be mounted with a strap mount, an approved adhesive mount, or a built-in fitting, it is the wrong light for that helmet.
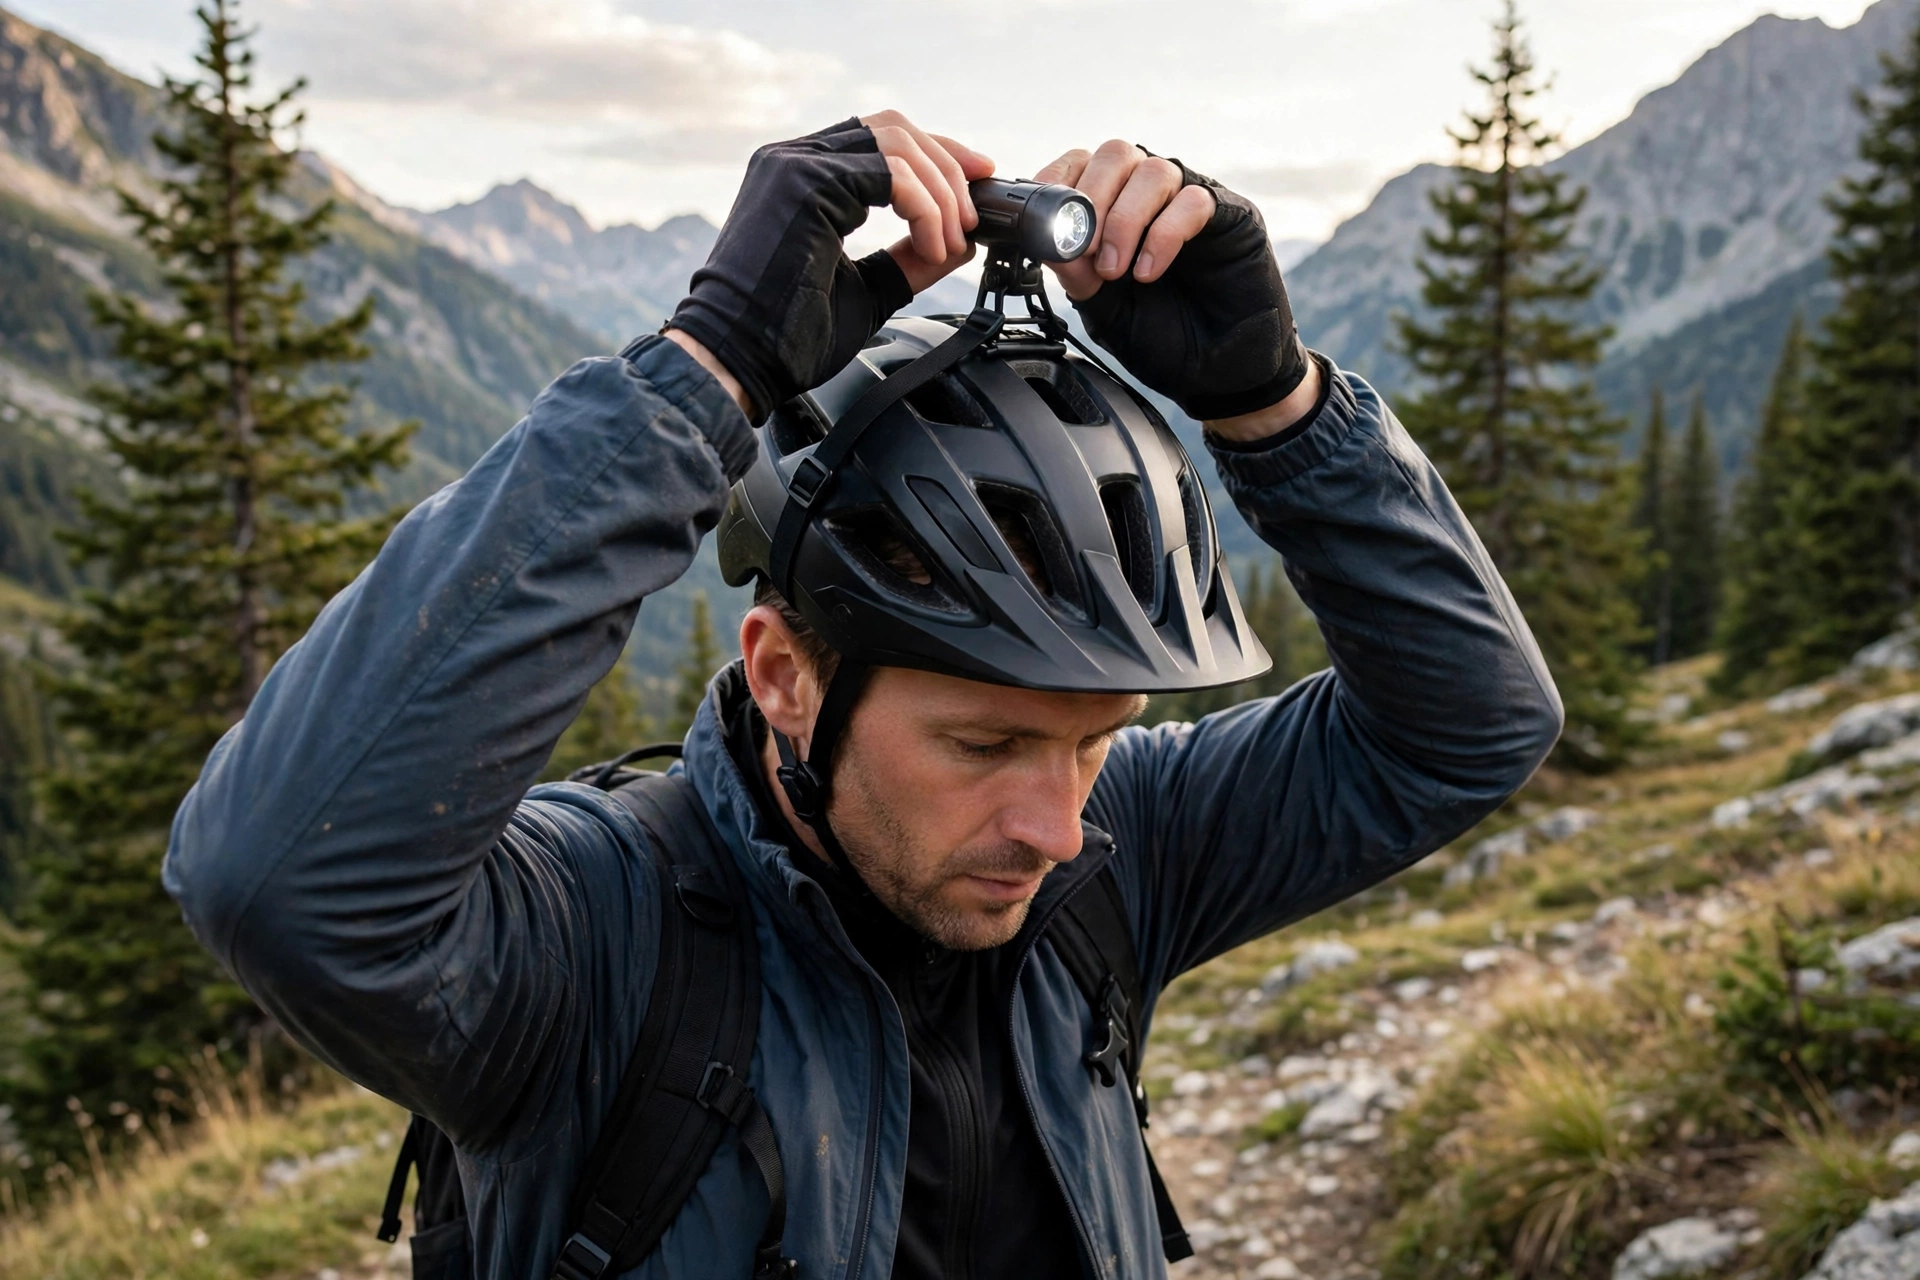
Mount position matters for safety as well as visibility. Center the light on top of the shell, in line with the bike, rather than far forward on the visor or low at the back. Keep the added weight modest — a heavy light strains your neck on a long ride and makes the helmet more likely to shift.
How Do You Aim a Helmet Light Correctly?
Aim the beam slightly downward, so the center of the beam lands on the ground a comfortable distance ahead of you in your natural riding position — roughly where your handlebar light’s beam ends, so the two overlap rather than doubling up on the same patch. Because a helmet light follows your head, it will sweep as you look around; that is its great advantage for reading corners and trail features, but it also means a beam aimed too high will dazzle drivers and other riders every time you glance up.
Set the aim at home in the dark: sit on the bike in riding position, look straight ahead, and adjust the mount angle until the beam pools where you want it. Then do a short test ride and fine-tune. For off-road night riding, many riders pair a wide beam on the bars with a slightly tighter spot beam on the helmet for distance and cornering. Also consider a small rear-facing red light or reflective detail on the helmet if your rides are on the road, since your head is the highest point drivers see.
One related safety point: a helmet light works with your helmet’s fit and protection systems, so make sure the mount and strap do not interfere with the retention dial or sit under the low-friction liner inside the shell. If you are unfamiliar with that system, what MIPS is for helmets explains how the liner works and why nothing should obstruct its movement.
Is a Helmet Light a Replacement for Bike Lights?
No — it is a supplement, not a replacement. Most road rules require lights fixed to the bicycle itself: a white front light and a red rear light, and those requirements apply whether or not you also wear a helmet light. A helmet light can dip, turn away, or run flat mid-ride, and your bike needs to stay visible and legal regardless.
Flashing modes deserve a note. Rules on flashing bicycle lights vary by country, state, and even city, and a flashing helmet light at driver eye level can be distracting at close range. A steady helmet beam paired with your bike’s lights is the safest default for the road and gives you consistent depth perception on the trail.
How Do You Check the Light Stays Put on a Ride?
Before every night ride, do a ten-second check. Tug the mount firmly in every direction — it should not rock or slide. Shake your head hard with the helmet on: the light should not rattle, rotate, or shift aim. If you use a strap mount, confirm the strap is still tight through the vents, since straps can loosen over time. For adhesive mounts, check the edges of the base for lifting.
During the first ride with a new setup, stop after a few minutes and re-check aim and tightness, particularly after rough ground or low branches off-road. Choose mounts with a breakaway or quick-release feature if you ride in the woods, so a branch strike pops the light off instead of wrenching your helmet. Finally, build the habit of charging: a helmet light is only useful with a charged battery, so plug it in with your bike lights after every night ride.
Frequently Asked Questions
Will an adhesive mount damage my helmet?
It can, depending on the helmet and the adhesive. Some manufacturers prohibit adhesives because they can attack shell materials and void certification. Check your helmet maker’s guidance first, or choose a strap mount or a helmet with an integrated fitting to be safe.
Where is the best place to mount a light on a helmet?
Centered on top of the shell, in line with the bike. This keeps the helmet balanced, aims the beam where you look, and avoids the leverage problems of visor or rear mounting.
Can a helmet light replace my handlebar light?
No. Road rules generally require lights fixed to the bicycle, and a helmet light can turn away or run flat. Use the helmet light as a supplement that points where you look, alongside proper bike-mounted front and rear lights.

Olivia
Writer at Helmet Today, covering helmet reviews, fit and riding safety.