
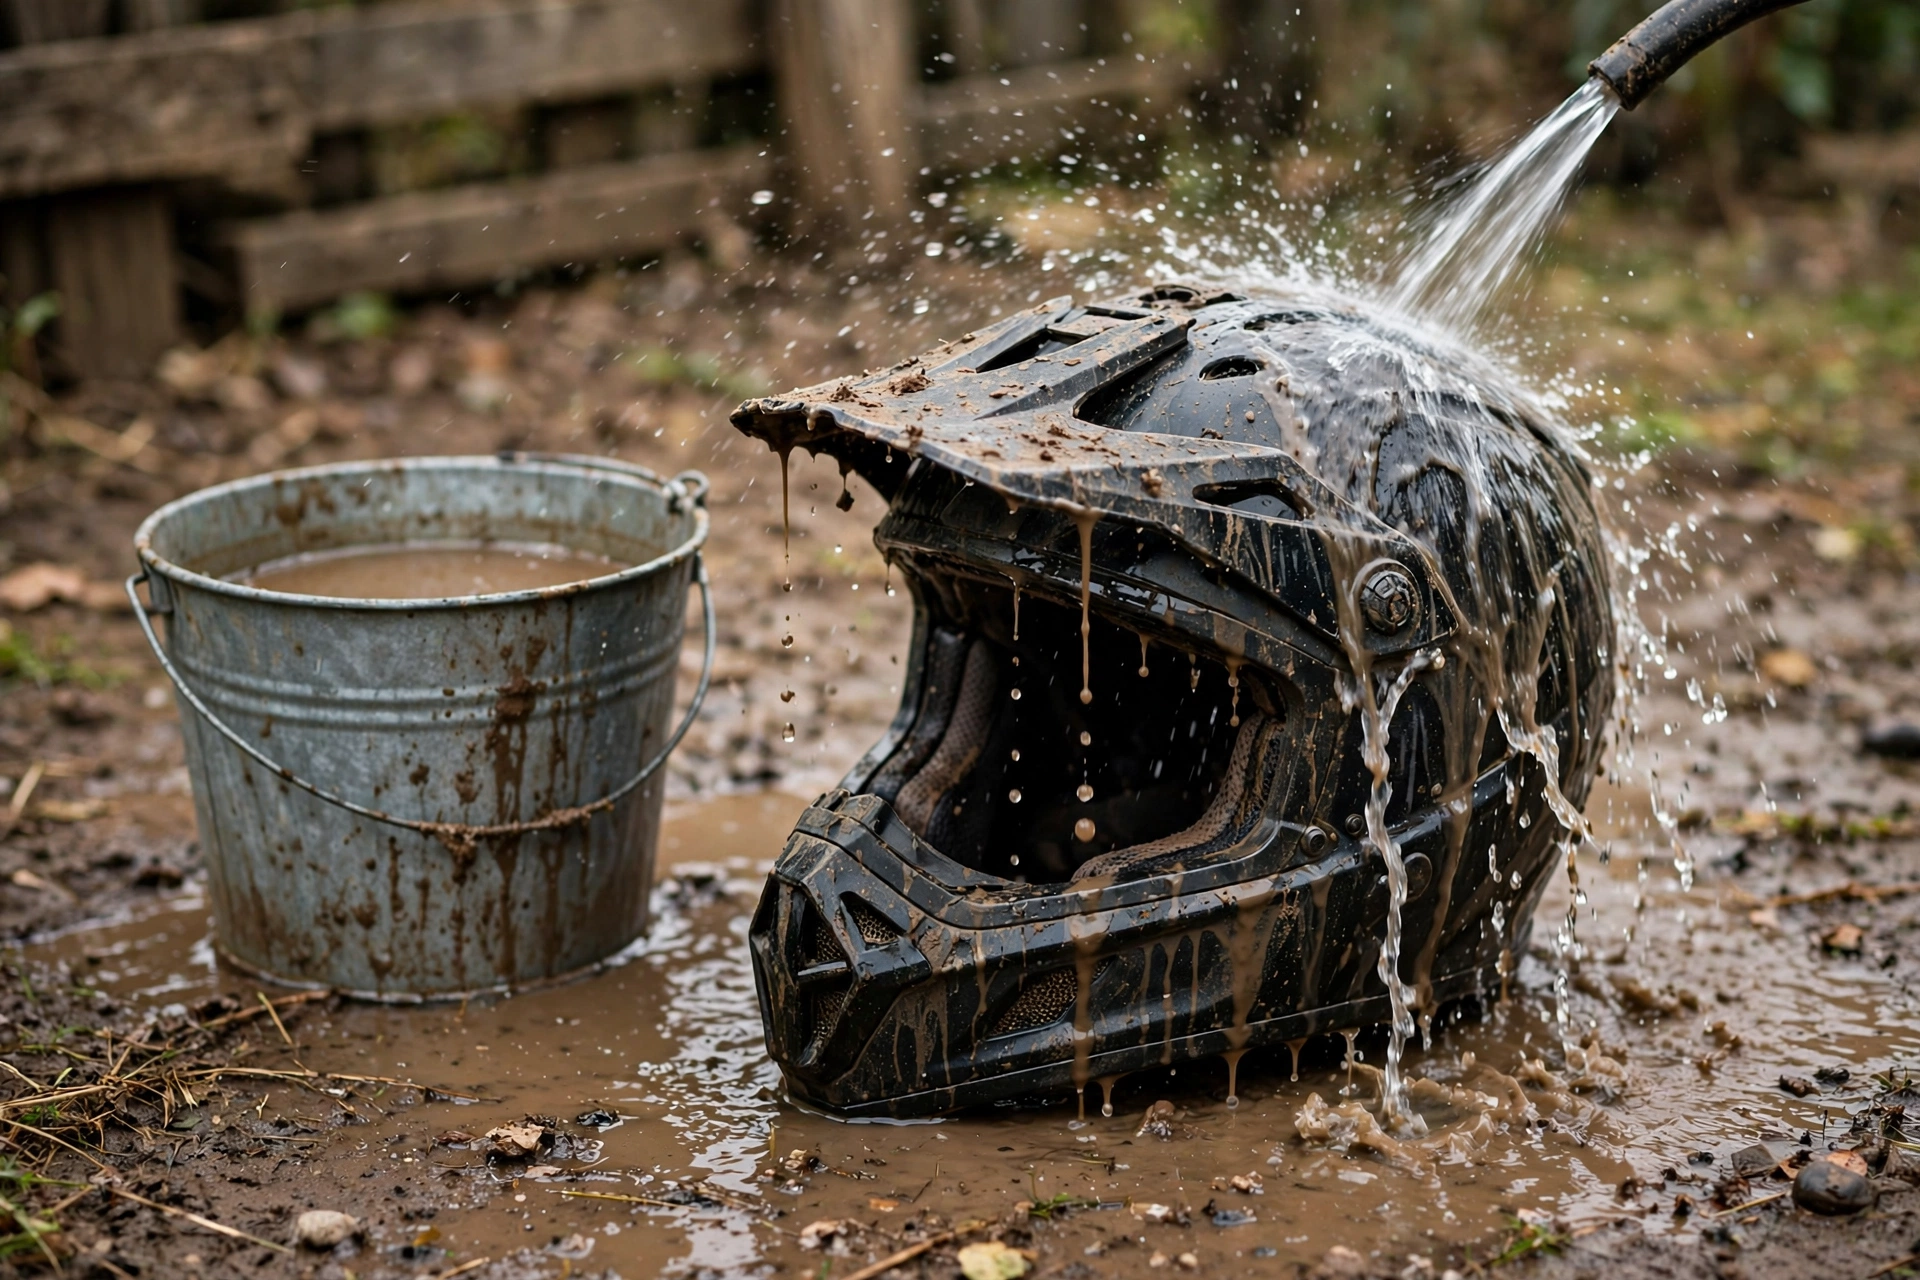
To clean an ATV helmet after mud riding, let the mud dry first, then remove the liner and cheek pads, wash them and the shell gently with lukewarm water and a little mild soap, rinse, and let everything air-dry completely before reassembling. Dried mud brushes off without grinding grit into the finish, and gentle washing is the key rule everywhere else: no solvents, no pressure washer, no harsh chemicals on the shell or foam.
A mud-caked helmet cleaned the wrong way gets scratched, stinks worse, and ages early. Cleaned the right way, the job takes a few minutes and keeps the helmet fitting and smelling like it should. Here is the sequence that works.
Why Should You Let the Mud Dry First?
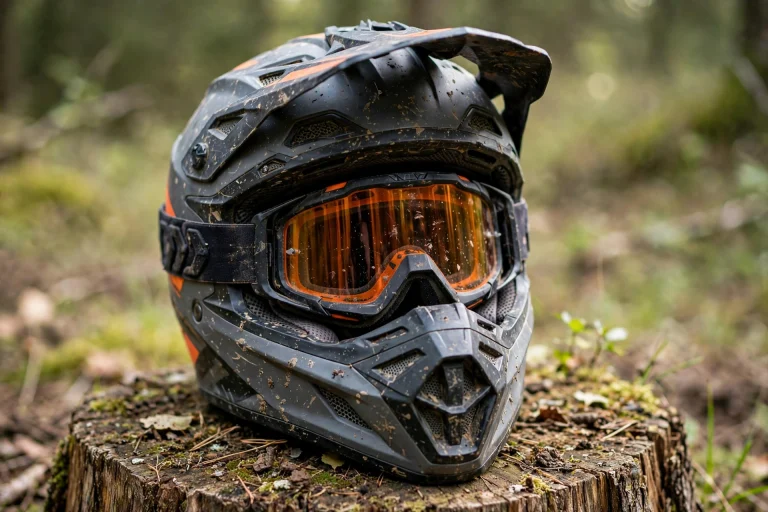
Wet mud is a grinding paste. Wipe at it and you drag grit across the shell’s finish and across goggle lenses, leaving fine scratches, and you smear the rest into vents, seams, and the liner. Dry mud, by contrast, loses its grip: most of it flakes, taps, and brushes away with your hands or a soft brush.
Let the helmet sit until the mud is dry to the touch, then shake and brush off everything loose over a bin or outside. Only then bring water in. You will use less of it, spread less grit around, and see the helmet’s real state — including any new scratches or damage from the ride — far more clearly.
The same applies to your goggles: let them dry, tap off the loose dirt, and only then wash the lens gently, because a muddy lens wiped dry is a scratched lens.
What Should You Remove Before Washing?
Take the helmet apart the way the maker intends. Most off-road helmets have removable comfort liners and cheek pads that unsnap or pull out, and removing them lets you wash the sweat and mud out properly instead of swilling water around inside the shell. The peak usually unclips or unscrews as well, which makes it far easier to wash on its own.
Work out how the parts come off the first time by checking the manual or the maker’s instructions rather than forcing snaps and tabs — broken liner fittings are a silly way to damage a helmet during cleaning. Take a phone photo of anything that looks complicated before it comes apart.
With the liner out, you can also inspect the energy-absorbing foam underneath: look for cracks, dents, or crushed spots from the ride, and check straps and the buckle for fraying and mud packed into the mechanism.
Do not forget the parts riders usually skip. The strap and buckle collect a paste of mud and sweat that stiffens the webbing and gums up the fastening — rinse them in the same mild soapy water and work the buckle open and closed until it runs clean. Vent sliders and the goggle strap’s path across the shell also trap grit; a soft brush clears them. If your helmet has a removable breath guard or chin curtain, pull it out and wash it with the liner pieces, since it sits directly in the stream of mud thrown up from the front tires and holds more dirt than any other small part.
How Do You Wash the Shell, Liner, and Pads?
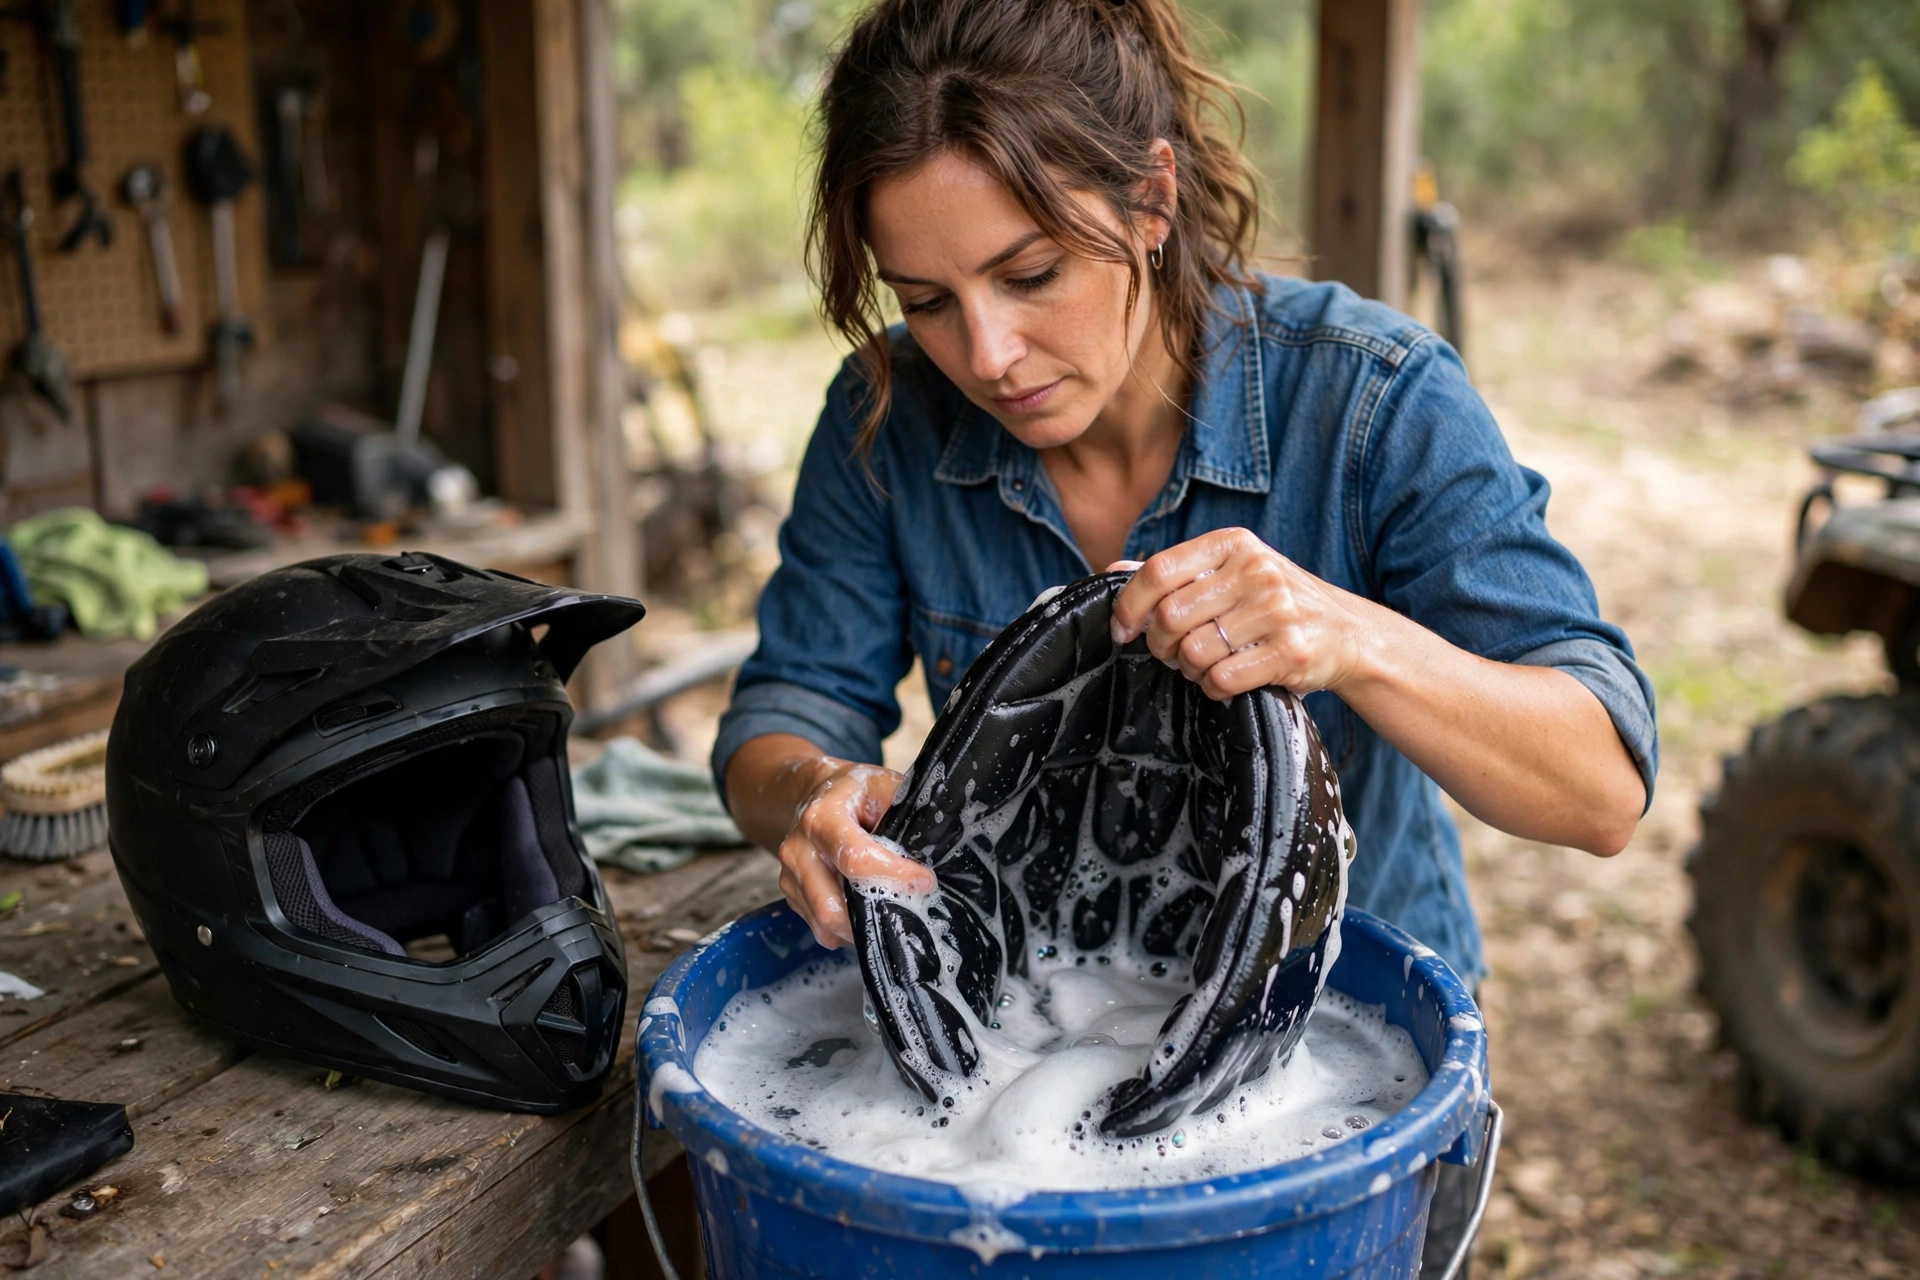
For the removable liner and cheek pads, a basin of lukewarm water with a small amount of mild soap or the maker’s helmet cleaner is all you need. Submerge, squeeze gently and repeatedly to work the mud and sweat out, then rinse in clean water until it runs clear. Sweat and mud deep in the padding are why helmets start to smell, and squeezing in soapy water is what actually removes them — surface sprays only mask it.
For the shell, use a soft cloth or sponge with the same mild soapy water. Work the mud out of vents and around the peak mounts with a soft brush or an old soft toothbrush, and rinse with a gentle stream of water — never a pressure washer, which can force water and grit into vents, seams, and the foam.
Keep the strong chemicals away entirely. Solvents, degreasers, glass cleaners, and petroleum-based products can attack the shell finish and, far worse, the energy-absorbing foam, weakening it invisibly. Mild soap and water is not a compromise; it is what the materials are made to be cleaned with.
How Should You Dry and Reassemble the Helmet?
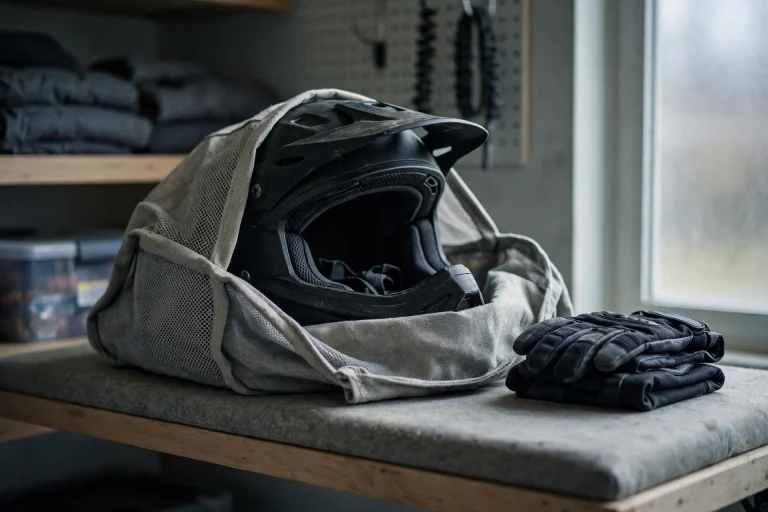
Air-dry everything, away from direct heat. Squeeze the pads in a towel to remove most of the water, then let liner, pads, and shell sit in moving air until fully dry — which can take a day. Heat from radiators, hair dryers, or a hot vehicle can warp plastics and foam and shrink padding, so patience is part of the method.
Do not reassemble or store the helmet damp. A helmet put away wet grows mildew in the padding and smells permanently sour within a few rides, and the damp works on straps and fittings too. If you ride again before the liner is dry, some riders keep a second liner set for exactly this reason.
Refit the liner and pads once everything is dry, reattach the peak, and do a quick strap, buckle, and fit check before the next ride. A clean helmet that fits snugly is doing its whole job — including the parts you cannot see, since the protective liner works as designed only when the helmet sits correctly, the same principle behind designs like rotational-impact liners such as MIPS. Cleaning is maintenance for the safety system, not just the smell.
Frequently Asked Questions
Q: Can I put my helmet liner in the washing machine?
A: Hand washing in a basin is the safer default — machines can tear fittings and distort pads. If the maker explicitly says a liner is machine washable, use a gentle cycle and a wash bag, and air-dry it. When in doubt, hand wash.
Q: Can I use a pressure washer on a muddy helmet?
A: No. A pressure jet forces water and grit into vents, seams, and the foam liner, and can damage finishes and fittings. A garden hose on a gentle setting or a bucket and cloth is as much water pressure as a helmet needs.
Q: How often should I deep-clean my ATV helmet?
A: Wash the liner whenever it starts to hold a smell or feels grubby — for regular mud riders that may be every few rides — and give the shell a gentle wash after muddy days. A quick brush-off and air-out after every ride keeps the deep cleans further apart.

Olivia
Writer at Helmet Today, covering helmet reviews, fit and riding safety.