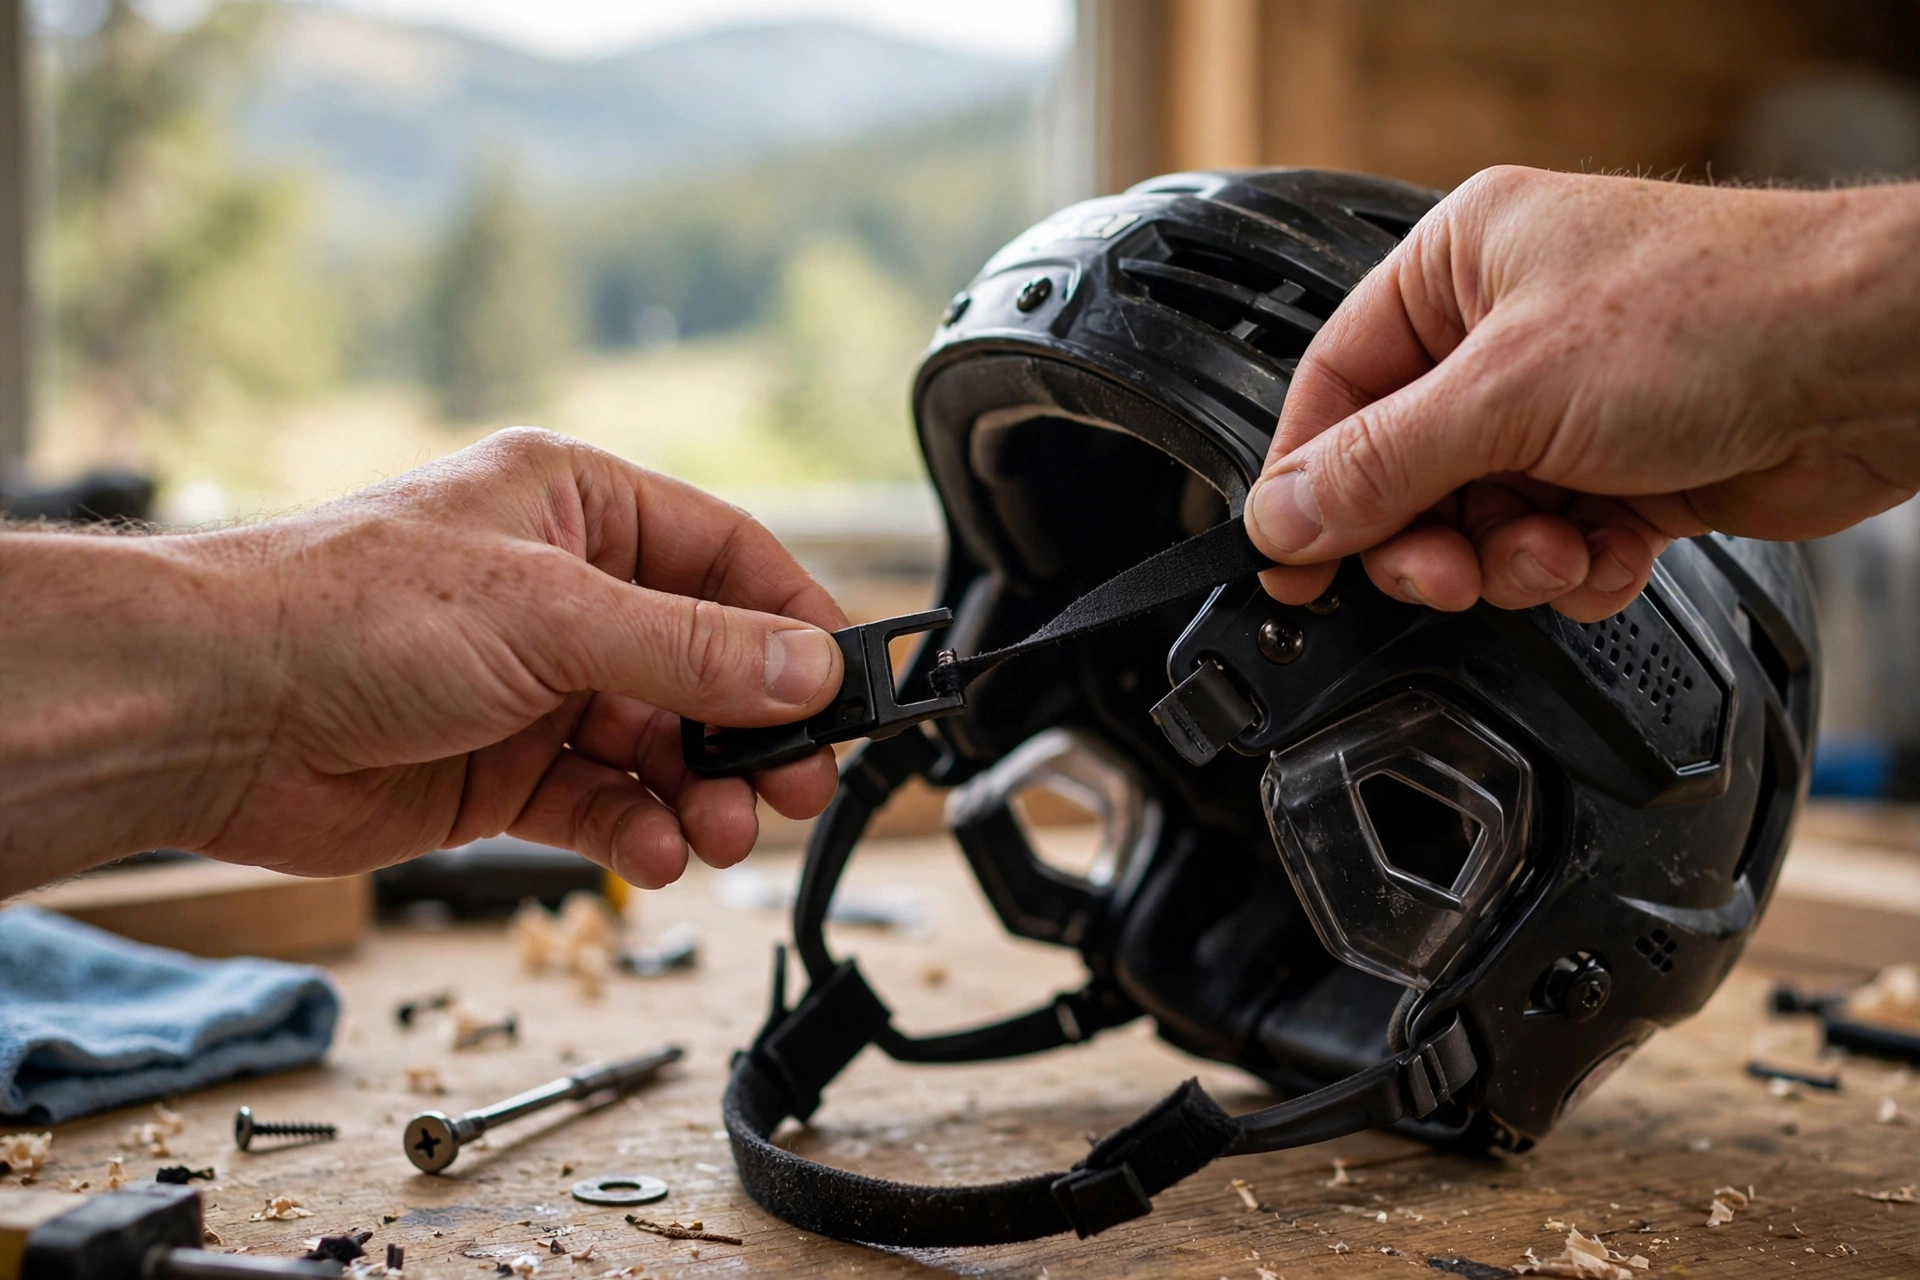
Yes — replacing a hockey helmet chin strap is a simple ten-minute job you can do at home with a basic screwdriver. The strap and chin cup are wear items, and a frayed strap or cracked cup can fail in a collision and let the helmet shift or come off. The steps below cover knowing when a strap is worn out, removing the old hardware, fitting the new strap, and checking everything before you play.
How do you know when a chin strap needs replacing?
Inspect the strap the way you would any other piece of safety gear. Replace it if the webbing is frayed, cut, or thinning, if the stitching is pulling loose, or if the strap has stretched so much that it will not hold an adjustment from one game to the next. The chin cup itself should be replaced if the plastic is cracked, the padding is crushed flat, or the cup rocks loosely no matter how carefully you set the straps.
Hardware matters too. Snaps that pop open with a light tug, screws that will not tighten, and rusted fittings are all failure points waiting for the wrong hit. A chin strap only protects you if the helmet stays in position during a fall or collision, and a worn strap is the weakest link in that chain. When in doubt, replace it — straps are among the cheapest parts on the whole helmet.
Age alone is a clue as well. Straps that have soaked up seasons of sweat stiffen, fade, and lose the elasticity that keeps adjustment sliders where you set them. If you find yourself re-tightening the same strap every period, it has already told you it is done. Youth players should have straps checked more often, because growing heads change the fit and put different stress on the same hardware.
What tools and parts do you need for the job?
You need the correct replacement strap for your helmet, a flathead or Phillips screwdriver depending on your helmet’s hardware, and a clean, flat surface to work on. Most hockey chin straps attach at four points — snaps or screws near the ears and lower mounting points — with the chin cup threaded through or clipped onto the strap in the middle.
Before you start, lay the new strap next to the old one and compare lengths, buckle style, and hardware. Some leagues also require specific strap setups, so check any rules that apply to your level of play. Taking a quick photo of the original strap routing with your phone is a smart move; it removes all guesswork when you thread the new one the same way.
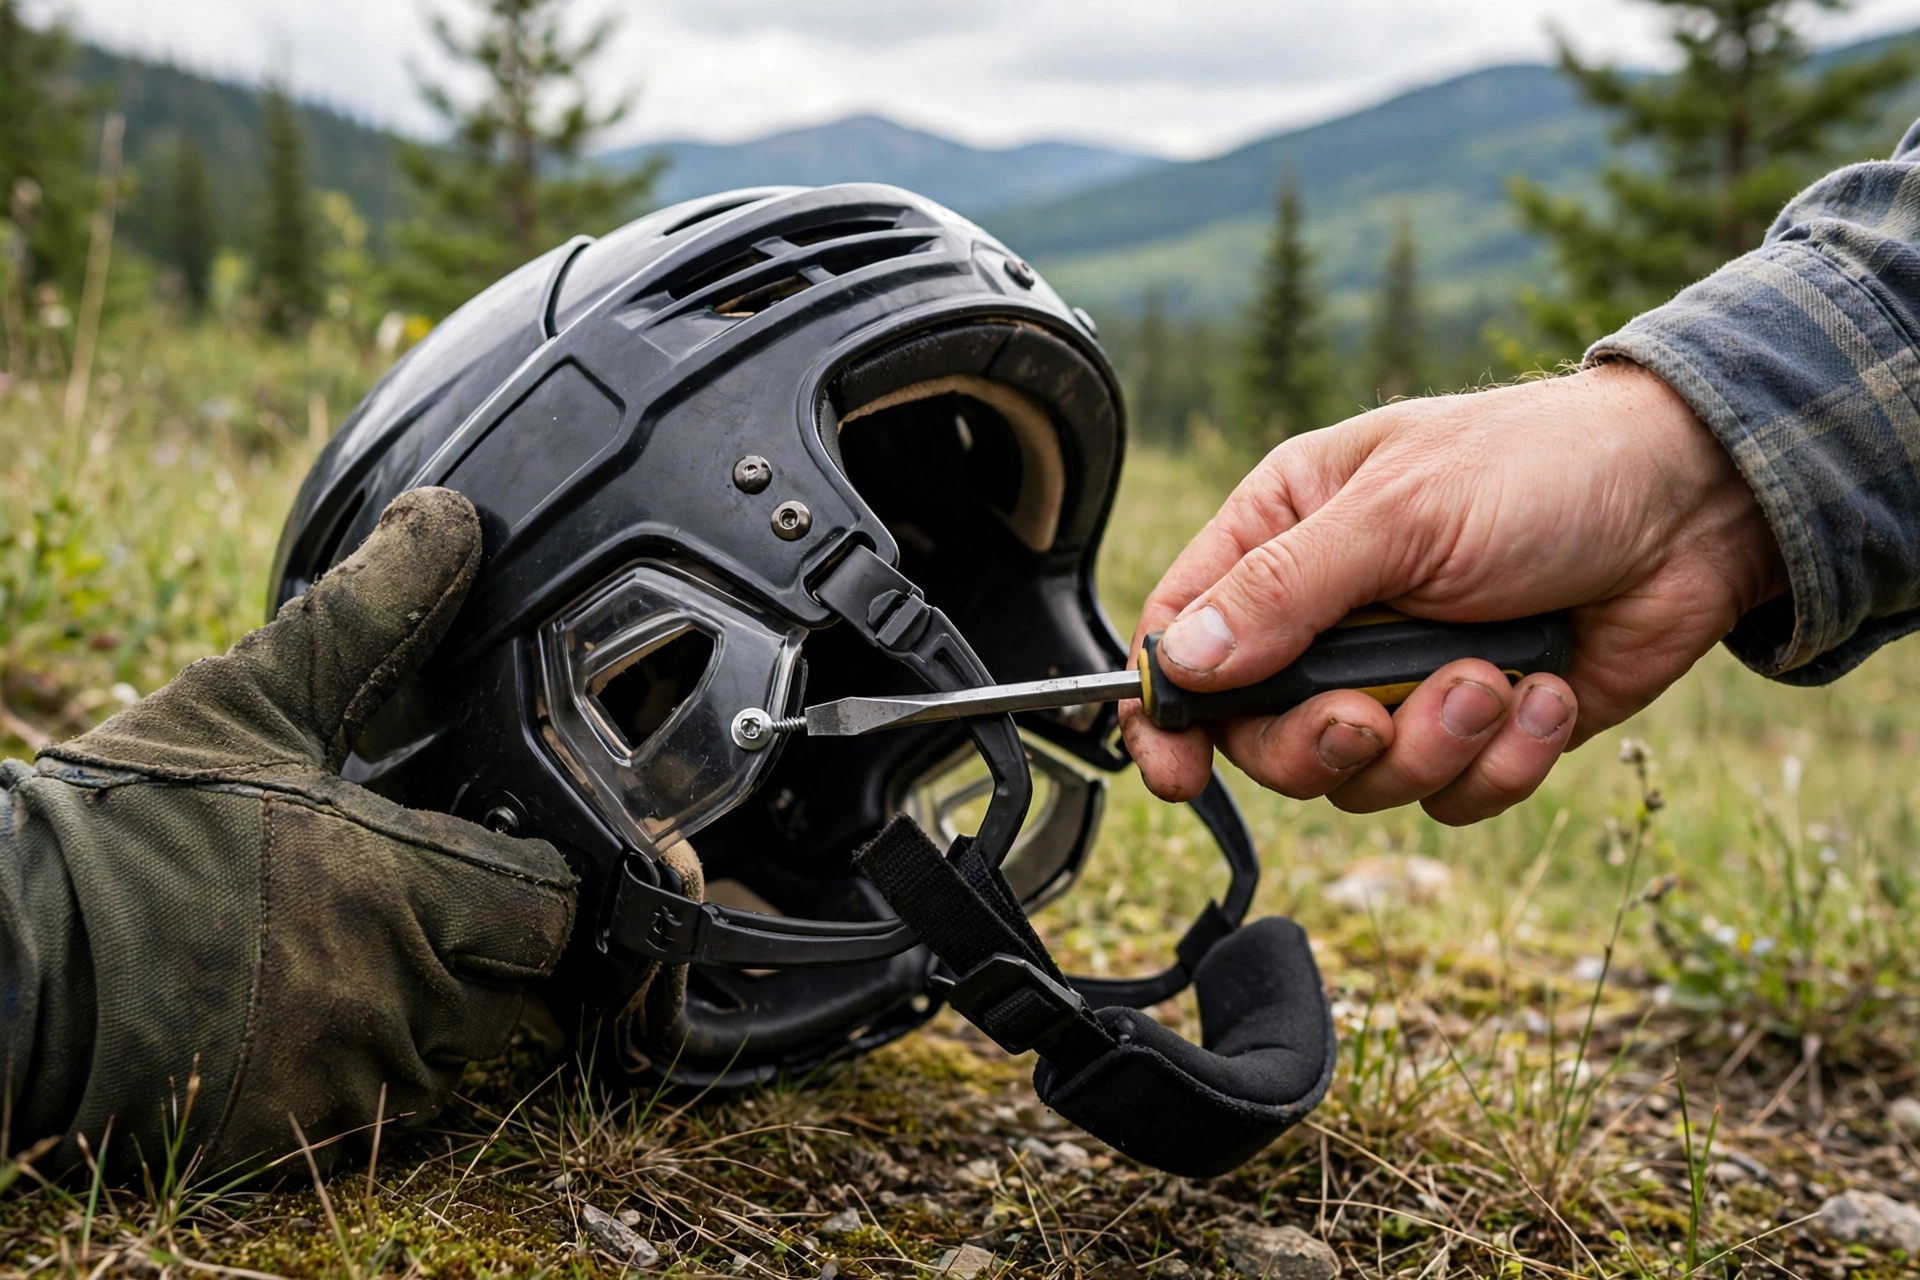
How do you remove the old chin strap, step by step?
Start with the snaps: grip the helmet shell firmly and pull each snap straight off its post with steady pressure. Work around the helmet one point at a time rather than yanking the whole strap free. For screwed fittings, hold the inside post still with one hand and turn the screwdriver counterclockwise until the screw comes out. Drop every screw and post into a small dish so nothing rolls away onto the floor.
Once the ends are free, slide the old strap out of the chin cup if it is a thread-through design, or unclip the cup if it snaps on. This basic hardware layout is shared across helmet sports — the same approach we walk through for attaching a chin strap to a football helmet applies here, just with hockey’s lighter hardware. Note which side of the cup faces up before you remove it, because cups are shaped and only sit comfortably one way.
How do you fit the new strap and adjust the chin cup?
Attach the new strap in reverse order: thread or clip the chin cup into position first if your design allows, then fasten each end to its post or screw. Tighten screws until snug — firm, but not so hard that you crack the plastic fittings. Press each snap down until you feel and hear it seat fully on its post.
Now put the helmet on and center the cup under your chin. Adjust both sides evenly so the cup does not pull to one side, then set the length so the strap is snug with roughly one finger of space between strap and chin. You should be able to open your mouth and talk, but the helmet should not shift when you shake your head. Uneven side lengths are the most common fitting mistake, so compare the strap tails on both sides before you call it done.
If the cup position feels right standing still but rides up when you look down, the rear straps are usually a touch long compared with the front. Shorten adjustments in small steps and retest; big changes overshoot and create a new problem on the other side. When in doubt, match the strap lengths to the photo you took of the original setup, then fine-tune from that known starting point instead of guessing.
What safety checks should you do before playing?
Do a hands-on check before the new strap ever sees a game. Tug each snap and screw point firmly — nothing should pop, spin, or rotate. Push the helmet up from the front and pull it from the back; the chin cup should hold the helmet in place without the strap slipping through its adjusters.
Finally, check the helmet’s overall condition while you are at it: look for shell cracks, loose ear loops, and worn or compressed padding. Recheck the strap after your first game or practice, because new webbing often settles slightly and needs a small tightening. A two-minute check after the first use keeps the fit exactly where you set it.
Frequently Asked Questions
Can I use a chin strap from a different brand?
Often yes, if the attachment style and hardware match your helmet. But chin cup shapes vary between brands, and a cup that does not match your chin will chafe and sit off-center. A matching replacement is the safer, more comfortable choice.
How tight should a hockey chin strap be?
Snug enough that the helmet does not move independently of your head, with about one finger of slack under the chin. If it leaves deep marks or stops you opening your mouth properly, it is too tight.
Can I play one game with a broken snap?
No. A missing attachment point changes how the helmet behaves in a hit and can let it come off entirely. Replace the hardware first — it is a quick, cheap fix and not worth gambling a game on.

Olivia
Writer at Helmet Today, covering helmet reviews, fit and riding safety.