
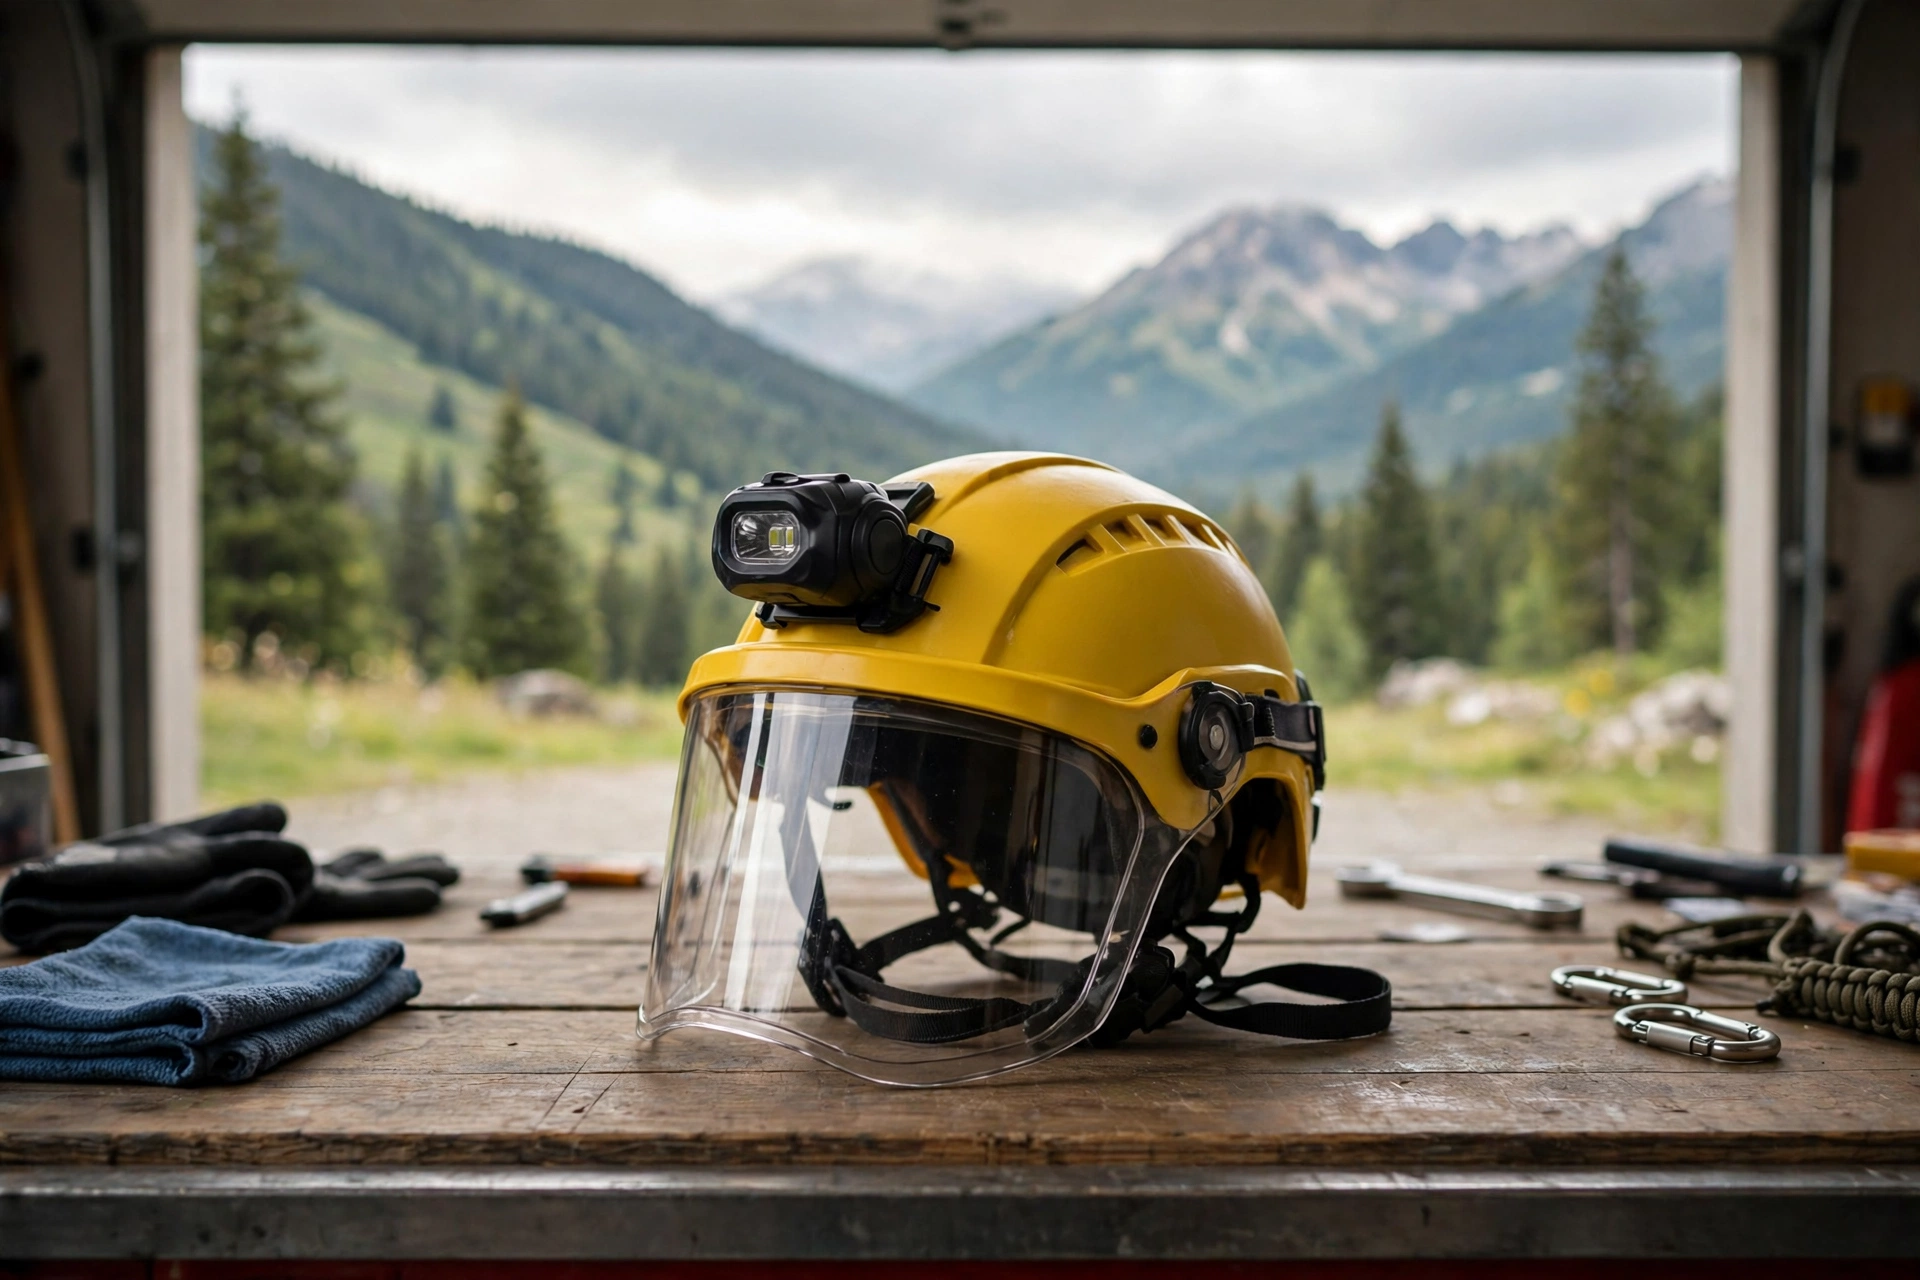
Before a shift, inspect a rescue helmet by checking the shell for cracks and dents, the suspension and straps for wear, the chin strap and buckle for function, and any visor, lamp, or fittings for damage — and take the helmet out of service if anything fails. In general terms, a two-minute check at the start of a shift catches the problems that matter, while a helmet that has never been checked can fail quietly when it is needed most.
Rescue helmets take hard use: they are dropped, knocked against door frames, soaked, and baked in vehicles. A pre-shift inspection is the habit that keeps a worn helmet from becoming a false sense of security. This guide gives you a practical routine you can run through every shift.
What Should You Check on the Shell First?
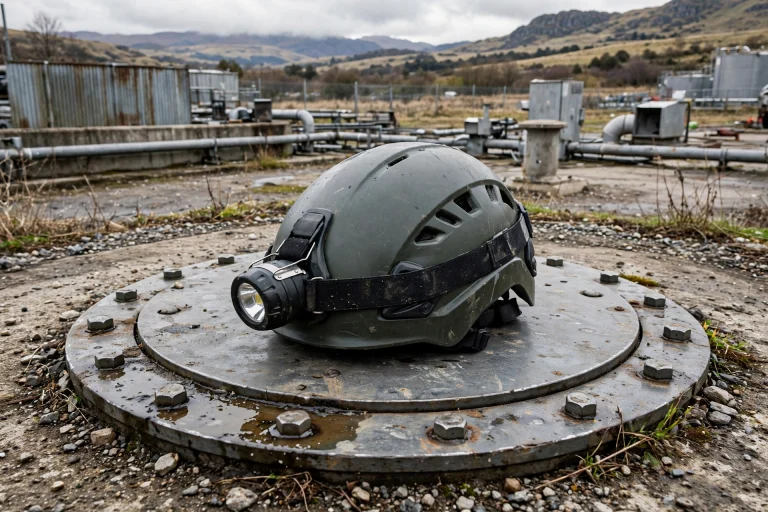
Start with the outside of the shell. Hold the helmet up to the light and look over the whole surface for cracks, deep gouges, dents, or soft spots. Pay attention to the crown and the brim edges, where impacts usually land, and to any mounting points for lamps, visors, or cameras, since cracks often start around holes and fittings. Fading, chalkiness, or a brittle feel can signal long exposure to sun or chemicals, which weakens the shell even without a visible crack.
Also check for signs of heat damage, such as blistering, warping, or melted spots, and for chemical damage such as discolouration or a tacky surface. A helmet that has been through a serious impact or a chemical exposure should be reported, even if it looks mostly fine: damage to the shell’s structure is not always visible from the outside. When in doubt, ask your equipment officer rather than guessing.
How Do You Inspect the Suspension and Straps?
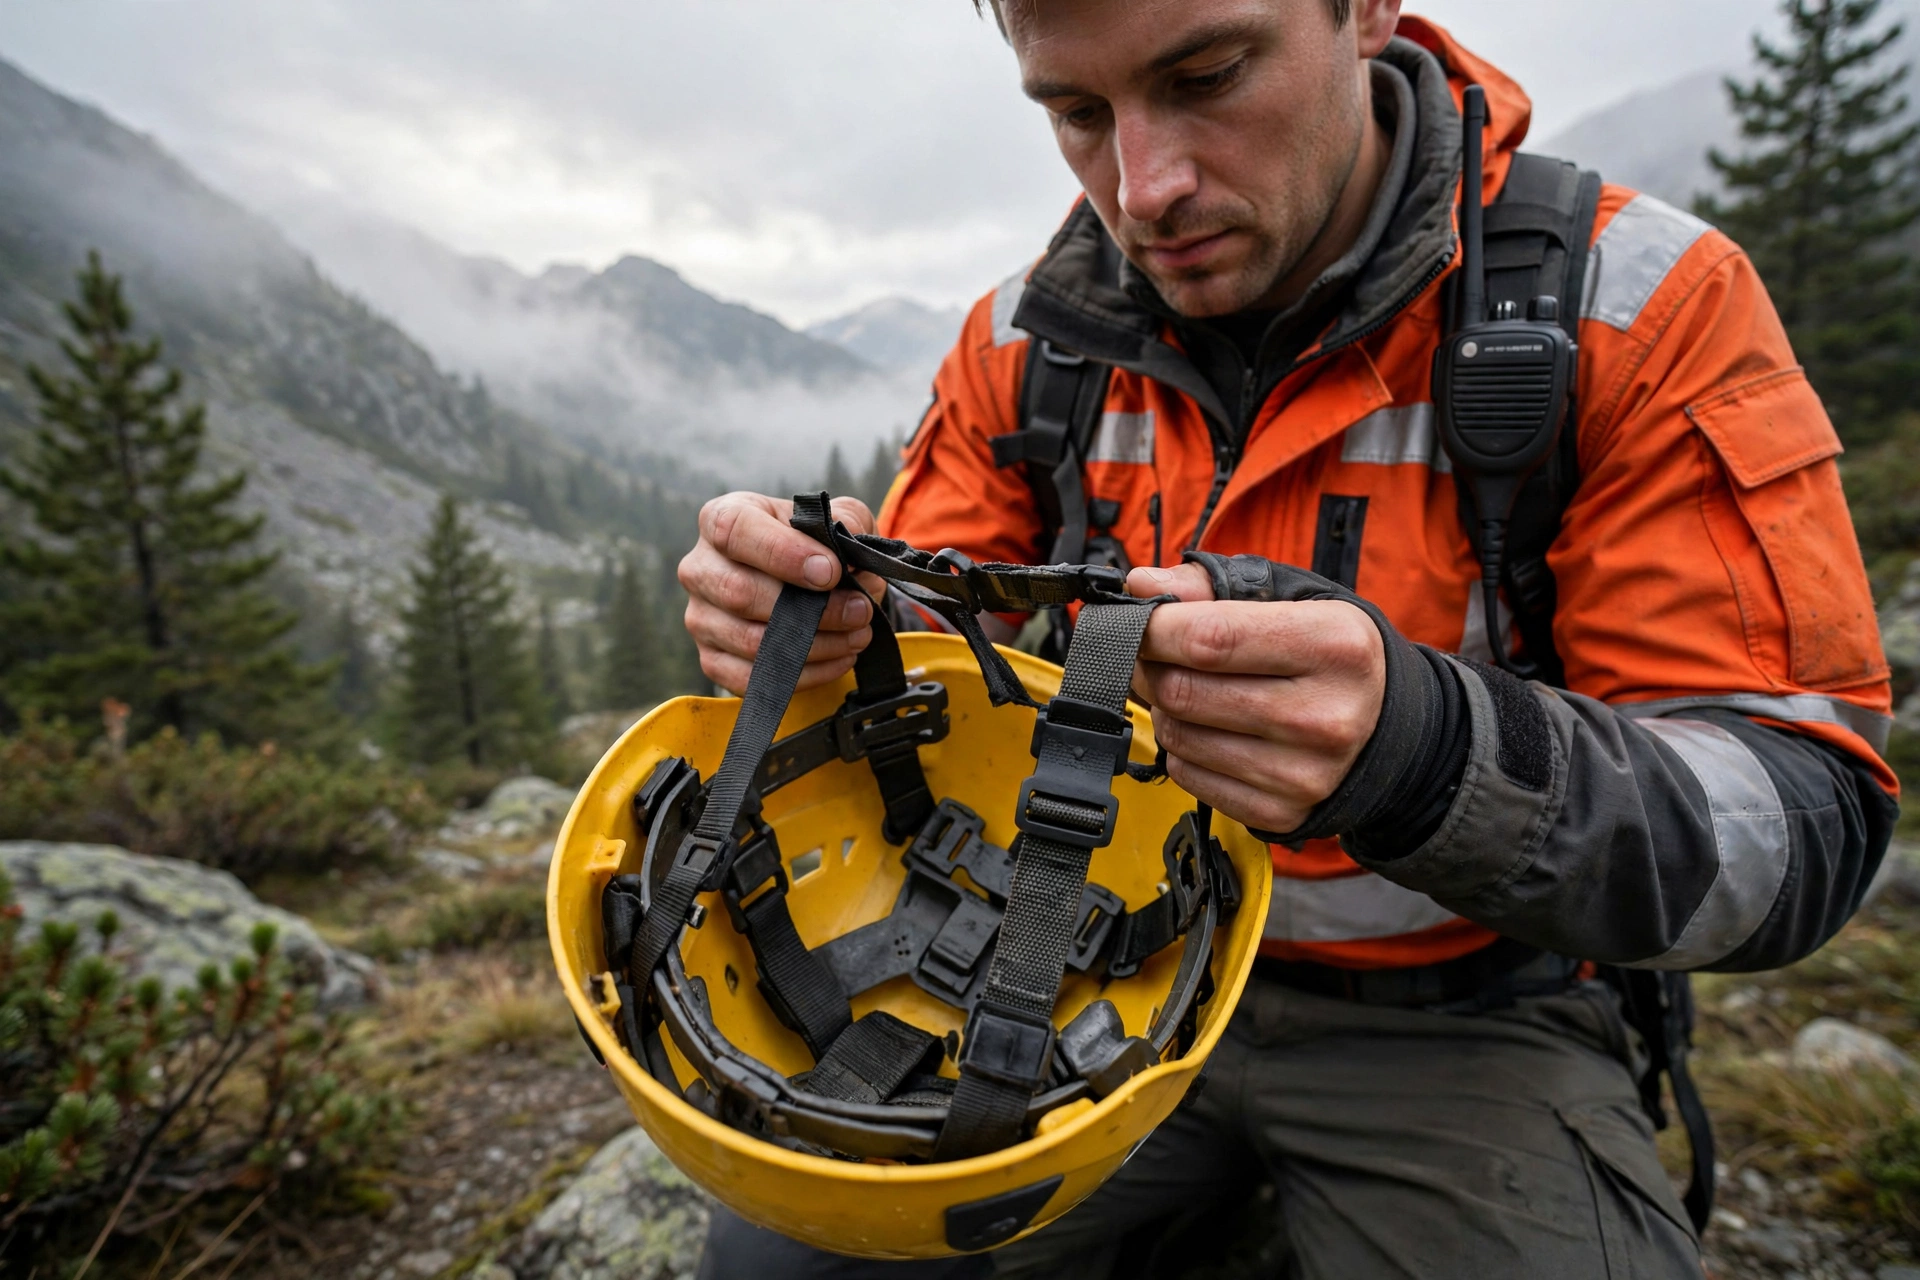
Next, turn the helmet over and inspect the suspension. Look at the webbing for fraying, cuts, or stretched sections, and check the cradle clips and anchor points for cracks or looseness. Pull gently on each strap to make sure it is firmly attached. A suspension that has gone slack or lost its shape will not hold the helmet correctly in a fall, even if the shell is perfect.
Check the comfort padding too. Padding that is flattened, torn, or missing changes the fit and can create pressure points that tempt the wearer to loosen the helmet. Washable padding should be clean and dry; padding that smells of mould or is still damp from the last shift needs attention before the helmet goes back into service. Finally, fasten and unfasten the chin strap and buckle, and adjust the ratchet or sizing band through its range to confirm everything moves and holds as it should.
What About Visors, Lamps, and Other Fittings?
If your helmet carries a visor or eye shield, check it for cracks, deep scratches, and secure mounting. A scratched visor that blurs vision is a hazard in itself, and a visor that flops loose will not stay in place when you need it. Goggle clips and retainers should hold firmly, and any fitted goggles should be clean with an intact strap.
Check helmet-mounted lamps by switching them on and confirming the beam and the battery. A dead lamp discovered on a night call is a needless problem. Ear defenders, if fitted, should move freely and seal properly. Communication headsets should be tested with a quick radio check where your procedures require it. Fittings that are broken or missing should be replaced before the shift, not worked around.
How Do You Check the Fit Before a Shift?
Put the helmet on and run the fit check. It should sit level, cover your forehead, and feel snug all around without pressure points. Shake your head firmly: the helmet should move with your head, not slide. Fasten the chin strap snugly and confirm the buckle holds. If you wear other kit — a hood, goggles, ear protection, a breathing apparatus mask — put those on too and check that nothing conflicts or pushes the helmet out of position.
This is also the moment to confirm the helmet is yours or, if helmets are shared, that it has been adjusted to your head. A helmet adjusted for someone else’s head is not a fitted helmet. If you cannot get a stable, comfortable fit after adjusting, report it: the suspension may be worn, the size may be wrong, or the helmet may need replacement parts.
What Should You Do If the Inspection Finds a Problem?
Minor problems, such as a dirty visor or a lamp battery, can often be fixed on the spot. Anything affecting the shell, suspension, chin strap, or buckle is different: tag the helmet out of service, report it through your department’s system, and take a replacement helmet. Do not try to repair structural damage yourself with tape or glue, and do not put a suspect helmet back on the rack for the next crew.
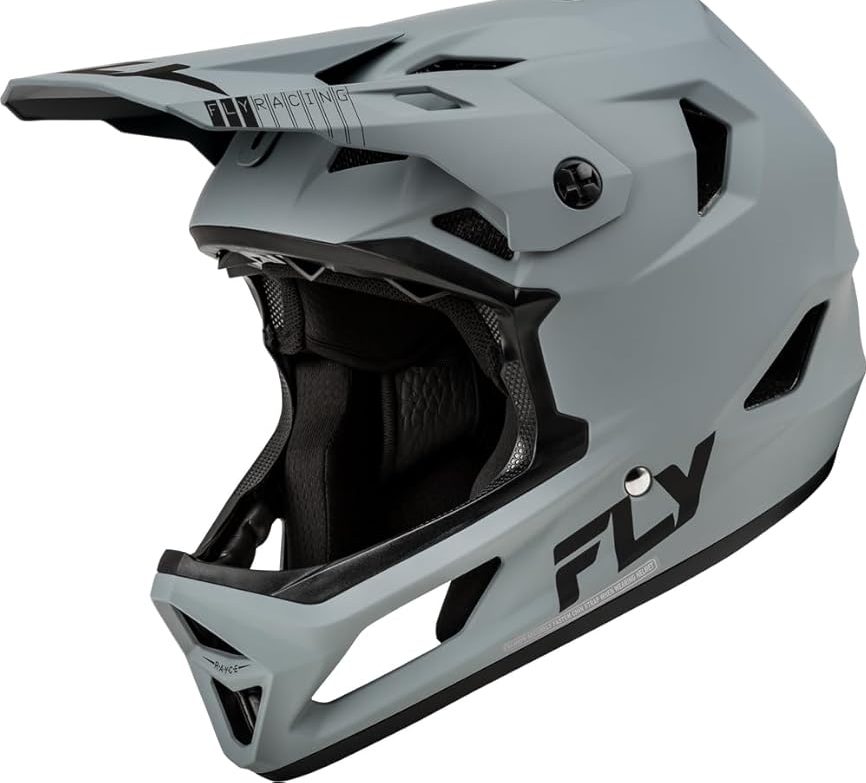
Record the inspection where your department requires it. Some services use a simple log or a tag system; others record inspections digitally. Whatever the system, a record creates a history that shows when a helmet was last checked and what was found, which helps equipment officers spot patterns — such as a batch of helmets wearing out together — before they become a safety issue. If the same fault keeps appearing across several helmets, raise it as a fleet issue rather than treating each case alone, since a pattern may point to a storage or handling problem. If you are learning about helmet technology, reading about what MIPS is for helmets can help you understand one of the features you may see listed on modern helmets.
Frequently Asked Questions
Q: How long should a pre-shift helmet inspection take?
A: In general terms, about two minutes once the routine is familiar: shell, suspension, straps, fittings, and fit. It is one of the quickest checks in a pre-shift routine and one of the most worthwhile.
Q: Should I inspect a helmet I did not use last shift?
A: Yes. A helmet sitting on a rack can still be damaged, knocked, or affected by its environment, and a shared helmet may have been used by someone else. Check it before you rely on it.
Q: When should a rescue helmet be replaced rather than repaired?
A: When the shell is cracked, heat-damaged, or has taken a serious impact, replacement is the safe option. Suspension parts, padding, and fittings can usually be replaced, but shell damage generally means the helmet is finished.

Olivia
Writer at Helmet Today, covering helmet reviews, fit and riding safety.