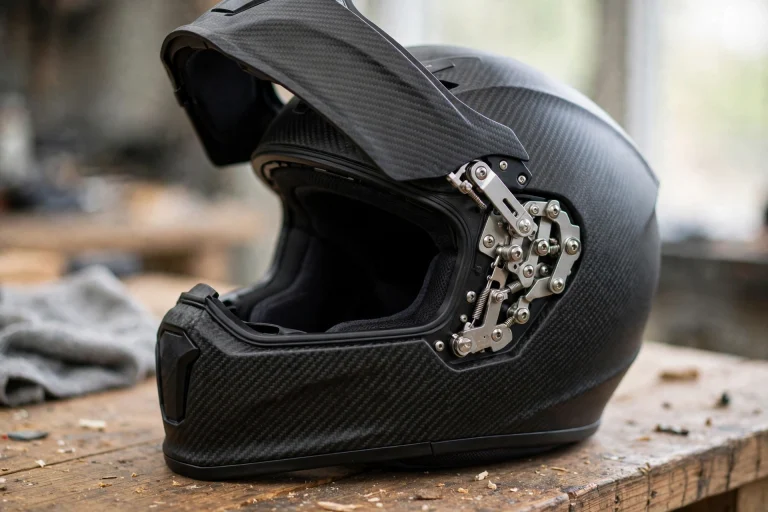

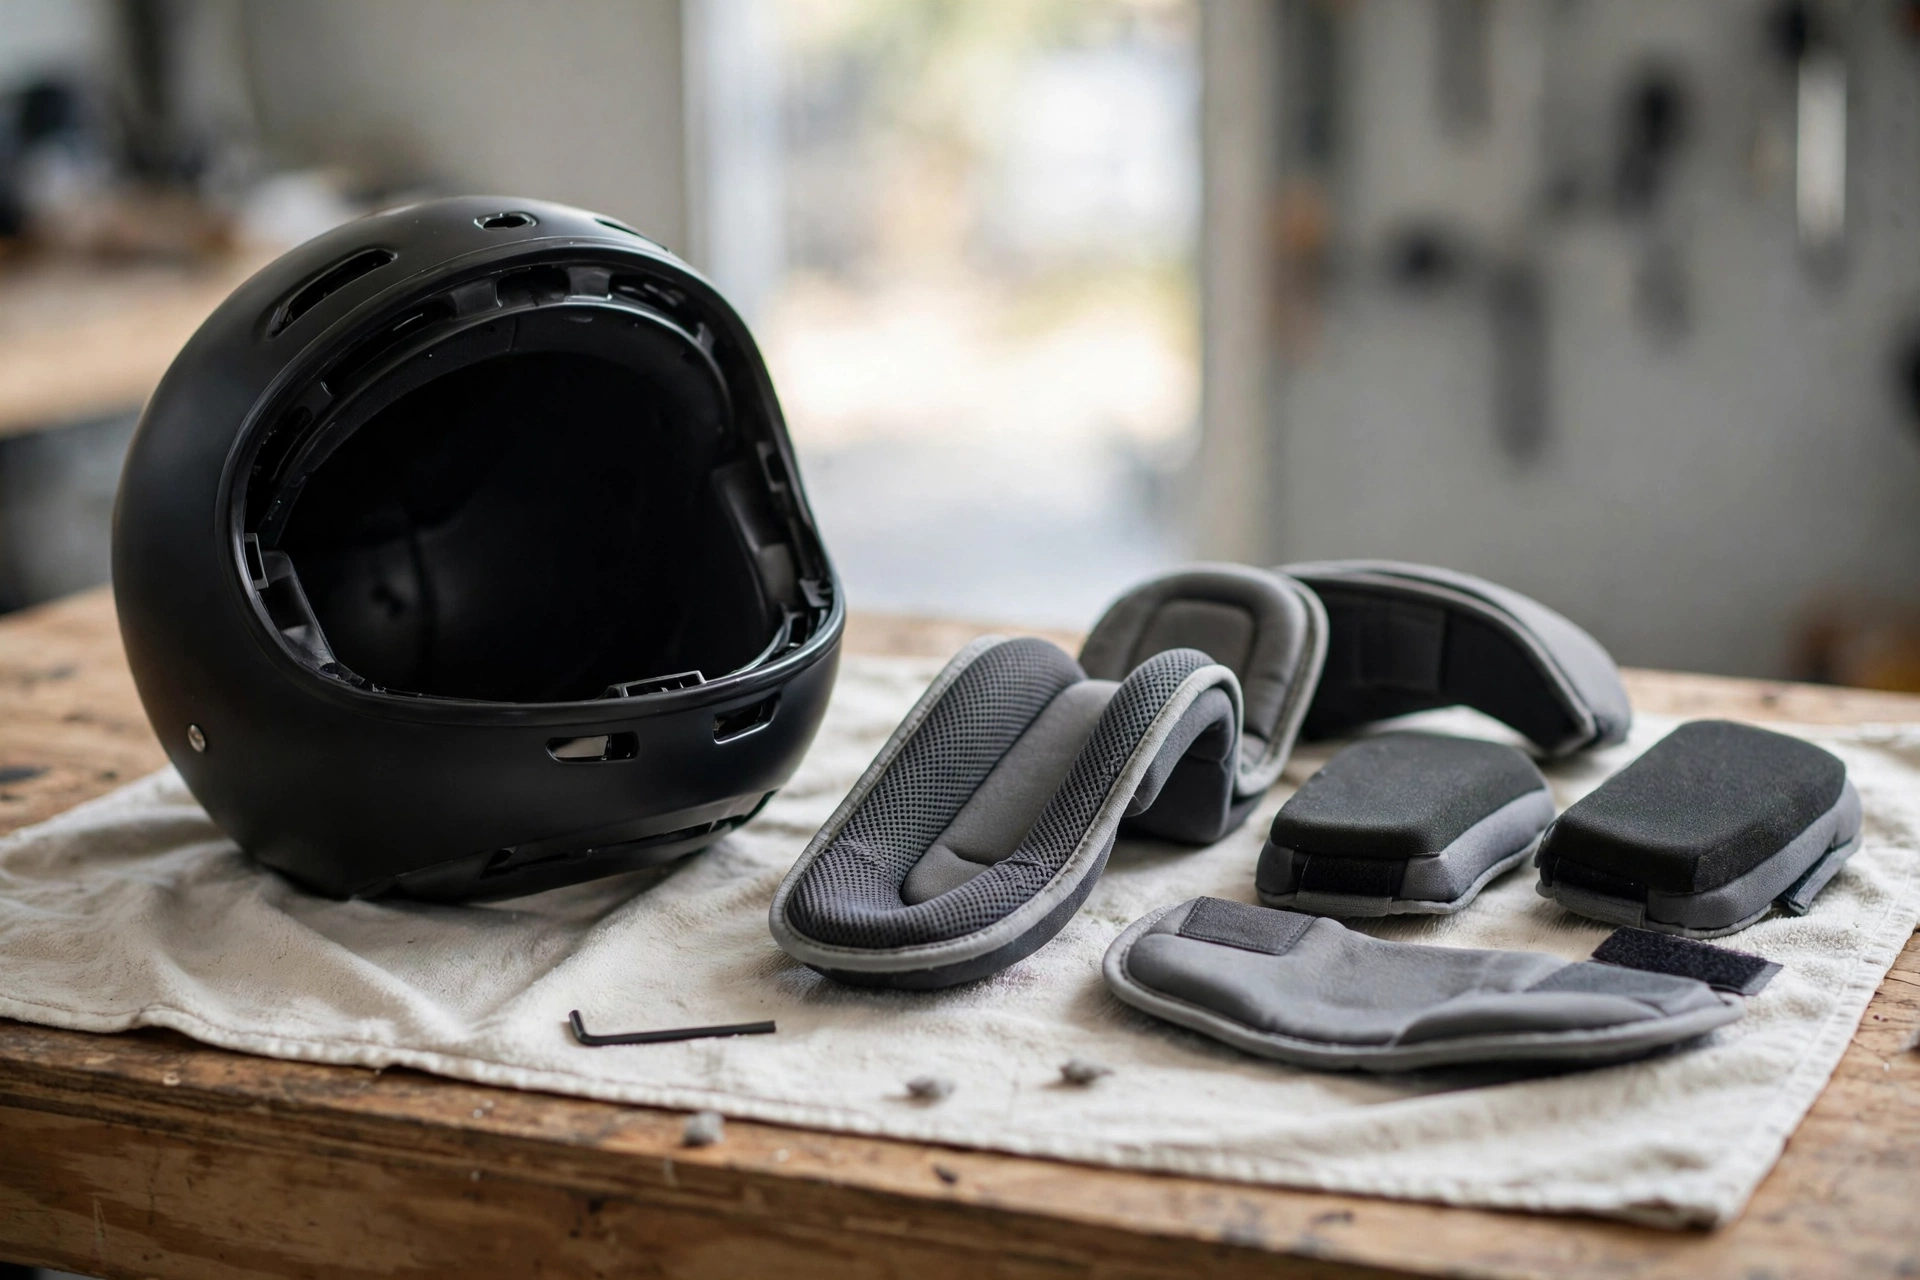
To clean a motorcycle helmet interior after a long tour, remove the liner and cheek pads if they come out, wash them gently with mild soap and lukewarm water, and let everything air-dry fully before you put the helmet back together. A long tour leaves the inside of a helmet damp with sweat, dust, and road grime, and cleaning it is not just about smell — a clean liner works better, feels better, and lasts longer. The job is simple, but it needs care, because harsh cleaning can damage the materials that protect you.
After days on the road, the inside of a helmet can be surprisingly dirty. Sweat soaks into the liner, dust works its way through the vents, and insects and road spray can leave marks on the pads. If you put the helmet away dirty, the smell sets in, the liner can become stiff, and the padding can wear out faster. Cleaning the interior after a tour is one of the easiest pieces of helmet care, and it is worth doing while the memory of the ride is still fresh, in general terms.
What Do You Need Before You Start Cleaning?
You need very little: a basin of lukewarm water, a mild soap or a gentle shampoo, a soft cloth, and a clean towel. Avoid harsh detergents, bleach, solvents, and strong cleaning sprays, because these can damage the liner fabric and the foam underneath. If your helmet’s manual recommends a particular cleaner, follow that guidance — the manufacturer knows what the materials can handle.
Check whether your helmet’s liner and cheek pads are removable. Most modern touring helmets have a fully removable interior held in by snaps or hook-and-loop fasteners, and your manual will show how each piece comes out. Take a quick photo of the interior before you remove anything, so you can see how the pads fit back in afterwards. Lay the pieces out in order as you take them out, and keep small parts such as snaps together so nothing gets lost.
How Do You Wash a Removable Helmet Liner?
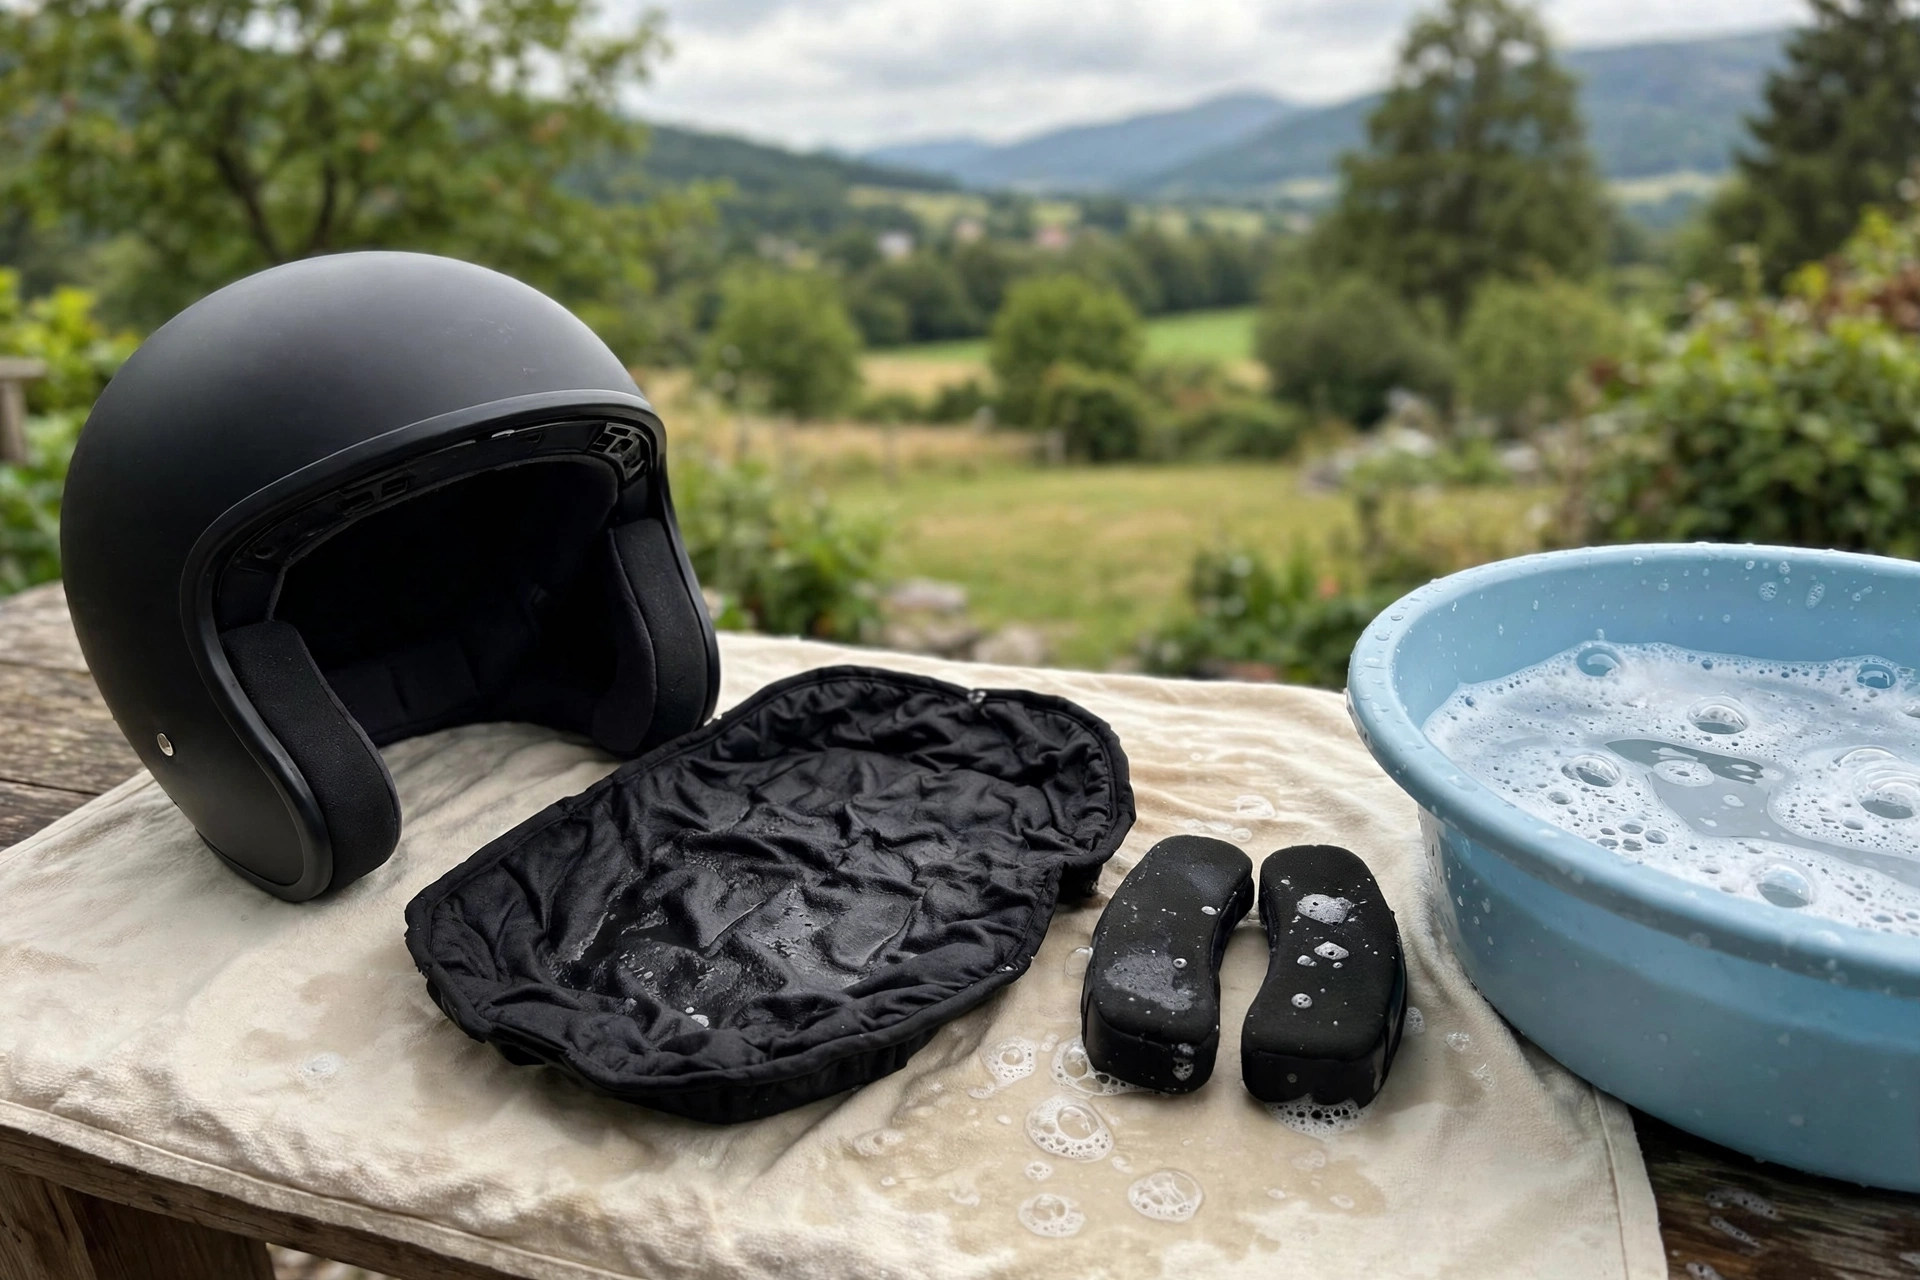
Start by taking the liner and cheek pads out of the shell, following the manual’s instructions. Fill a basin with lukewarm water — never hot, as heat can damage the foam — and add a small amount of mild soap or baby shampoo. Swish the pieces gently in the water, pressing them lightly to work the soap through the fabric. Do not wring them out hard or twist them, because that can tear the fabric or deform the foam.
Let the pieces soak for a few minutes if they are heavily soiled, then rinse them in clean lukewarm water until the water runs clear and no soap remains. Soap left in the liner can irritate your skin on the next ride, so rinse thoroughly. Press the water out gently with a clean towel, squeezing rather than wringing, and then leave the pieces to air-dry in a well-ventilated place, away from direct sunlight and heat.
How Do You Clean a Helmet Interior That Does Not Come Out?
Some helmets have a fixed liner that cannot be removed, and these need a gentler approach. Dampen a soft cloth with lukewarm water and a little mild soap, wring it out well, and wipe the inside of the helmet carefully, working around the pads and the shell. Use a second clean, damp cloth to wipe away the soap, and then a dry cloth to take off as much moisture as you can.
For stubborn smells in a fixed liner, a light spray of a fabric freshener made for helmets can help, but use it sparingly and let the helmet air out fully afterwards. Avoid soaking the liner, because water trapped between the liner and the shell is hard to dry and can cause smells of its own. If the fixed liner is very dirty or damaged, ask a dealer whether a replacement liner is available for your model — many manufacturers sell them.
Air the helmet out well after cleaning a fixed liner. Leave it upside down in a ventilated room, with the visor open, so air can circulate through the interior. A small fan nearby can speed things up, but do not aim hot air into the helmet. In general terms, a fixed liner needs a little more patience than a removable one, but the same rule applies: gentle cleaning, thorough rinsing, and complete drying.
What About the Vents, Visor, and Chin Curtain?
The vents deserve attention after a long tour, because dust and insects collect in them and can block airflow. Use a soft brush or a gentle blast of air to clear the vent openings, and wipe around them with a damp cloth. Do not poke sharp objects into the vents, as this can damage the mechanism. If your helmet has a chin curtain or a breath guard, take it out and wash it with the liner, or wipe it clean if it is fixed.
The visor needs care too, but it is part of the outside of the helmet rather than the interior. Wash it with lukewarm water and a soft cloth, and dry it with a clean microfibre cloth to avoid scratches. If your visor has an anti-fog insert, check the manufacturer’s guidance before cleaning it, because some inserts are damaged by certain cleaners. A clean visor makes the whole helmet feel fresh, and it is essential for clear vision.
While the helmet is apart, take a moment to check the chin strap for grime and wear. Wipe the strap with a damp cloth and mild soap, and check the stitching and the buckle for damage. A strap that is dirty can irritate your neck, and a damaged strap is a safety issue. If you want to understand the safety technology inside your helmet, reading about what MIPS is for helmets is a useful starting point.
How Do You Store a Helmet After Cleaning It?
Once everything is fully dry, put the liner and pads back in, following your photo or the manual so each piece sits correctly. Press the snaps or fasteners firmly into place and check that nothing is twisted or bunched up. A pad that is fitted wrongly can change how the helmet sits on your head, so take a moment to check the fit by putting the helmet on before you ride again.
In general terms, cleaning the interior after every long tour, and washing the liner regularly during a tour if you can, keeps the helmet comfortable and extends its life. A clean helmet is a helmet you will enjoy wearing, and that matters on a long ride, when comfort and concentration go hand in hand.
Frequently Asked Questions
Q: Can I put a helmet liner in the washing machine?
A: In general terms, no — hand washing is safer. Machine washing can damage the foam and fabric, and the spinning can deform the pads. Wash the liner gently by hand in lukewarm water with mild soap, then air-dry it fully.
Q: How long does a helmet liner take to dry?
A: Usually at least a day in a well-ventilated place, longer in damp weather. Turn the pieces over so both sides dry, and do not use heat to speed it up. Never refit a liner that is still damp.
Q: Can I use regular household cleaner inside my helmet?
A: No. Harsh detergents, bleach, and solvents can damage the liner fabric and the foam underneath. Use only mild soap or a gentle shampoo in lukewarm water, and follow your helmet manual’s guidance.

Olivia
Writer at Helmet Today, covering helmet reviews, fit and riding safety.