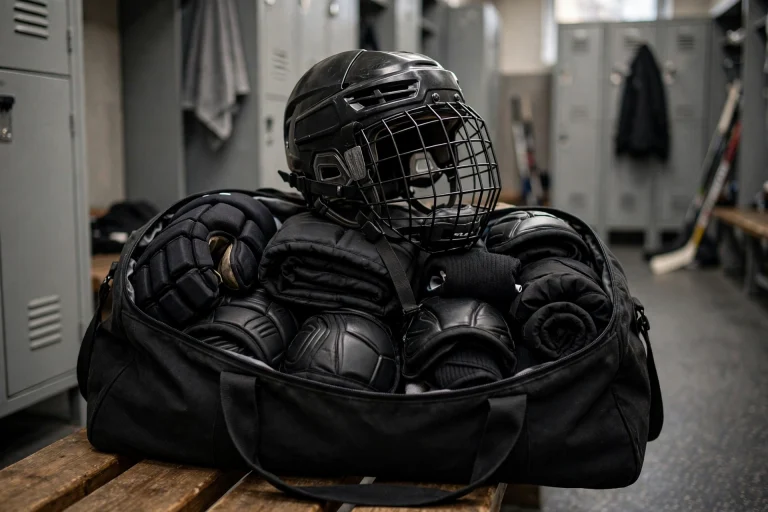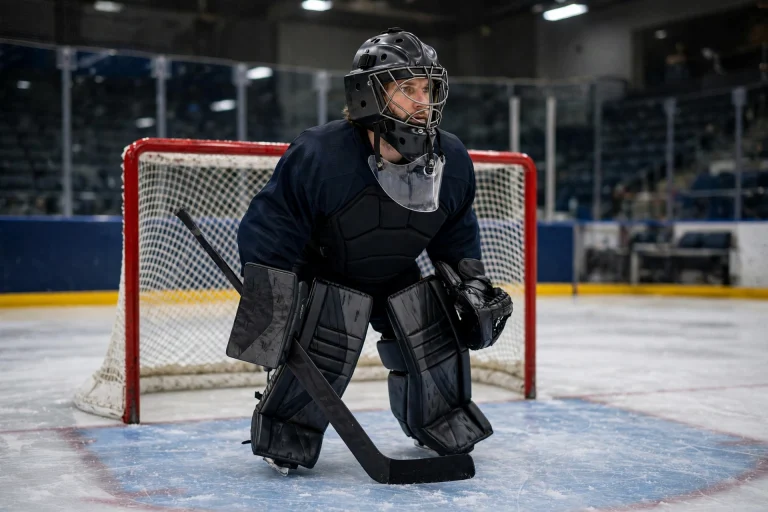

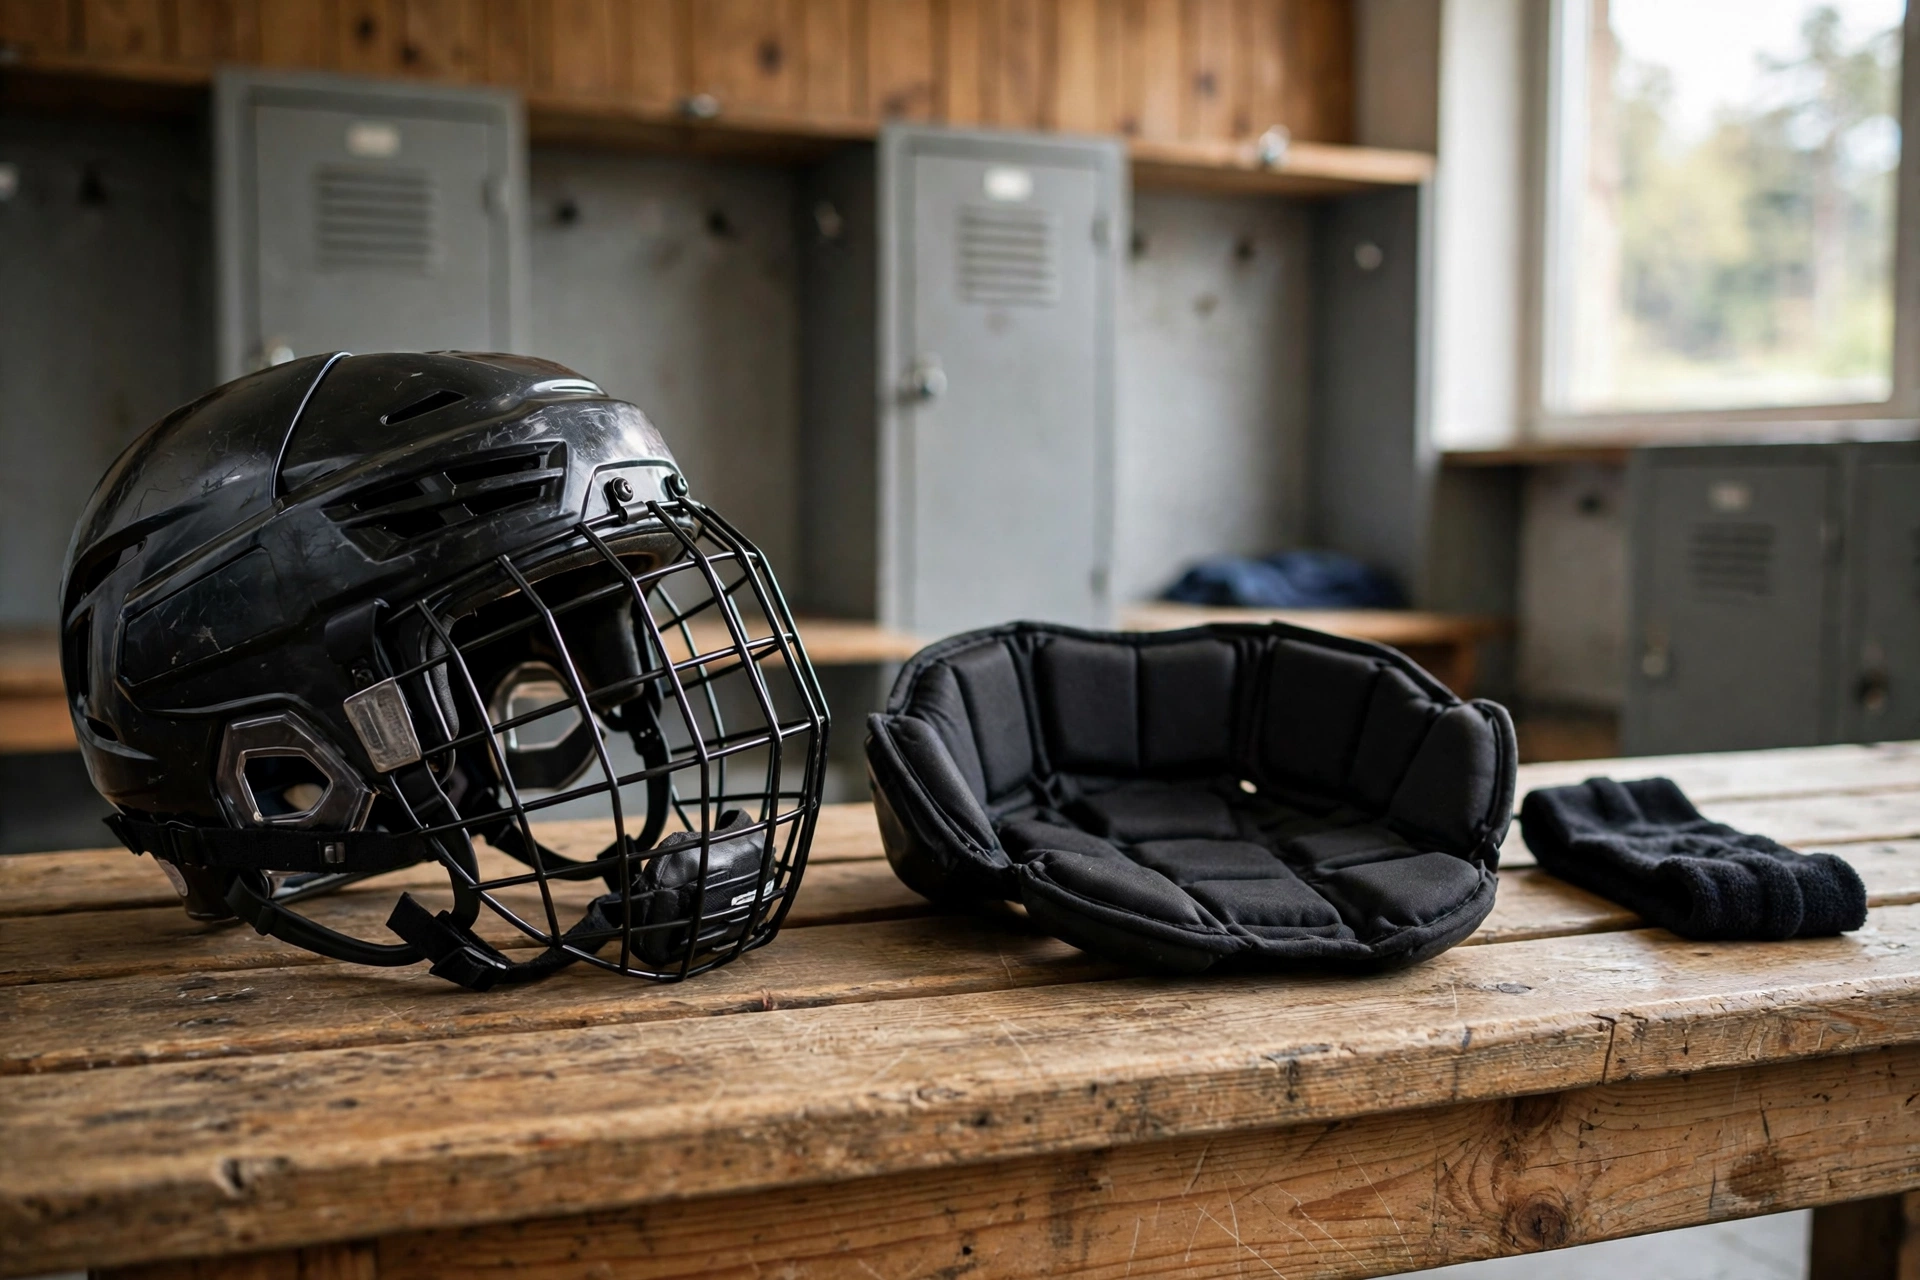
Yes, you can replace the padding and sweatband in a hockey helmet yourself — most modern helmets use snap-in or hook-and-loop pads that pull out and push back in without tools. The padding and sweatband are the parts of a hockey helmet that wear out first: they soak up sweat, flatten with use, and lose their grip over a season or two. Replacing them is a cheap way to make an old helmet feel comfortable and secure again, and in general terms it is a job any player can do at home in a few minutes.
This guide explains how hockey helmet padding and sweatbands work, when to replace them, and how to fit new ones step by step. It also covers cleaning the parts you keep, and when worn padding means the whole helmet needs replacing instead.
What Do the Padding and Sweatband Actually Do?
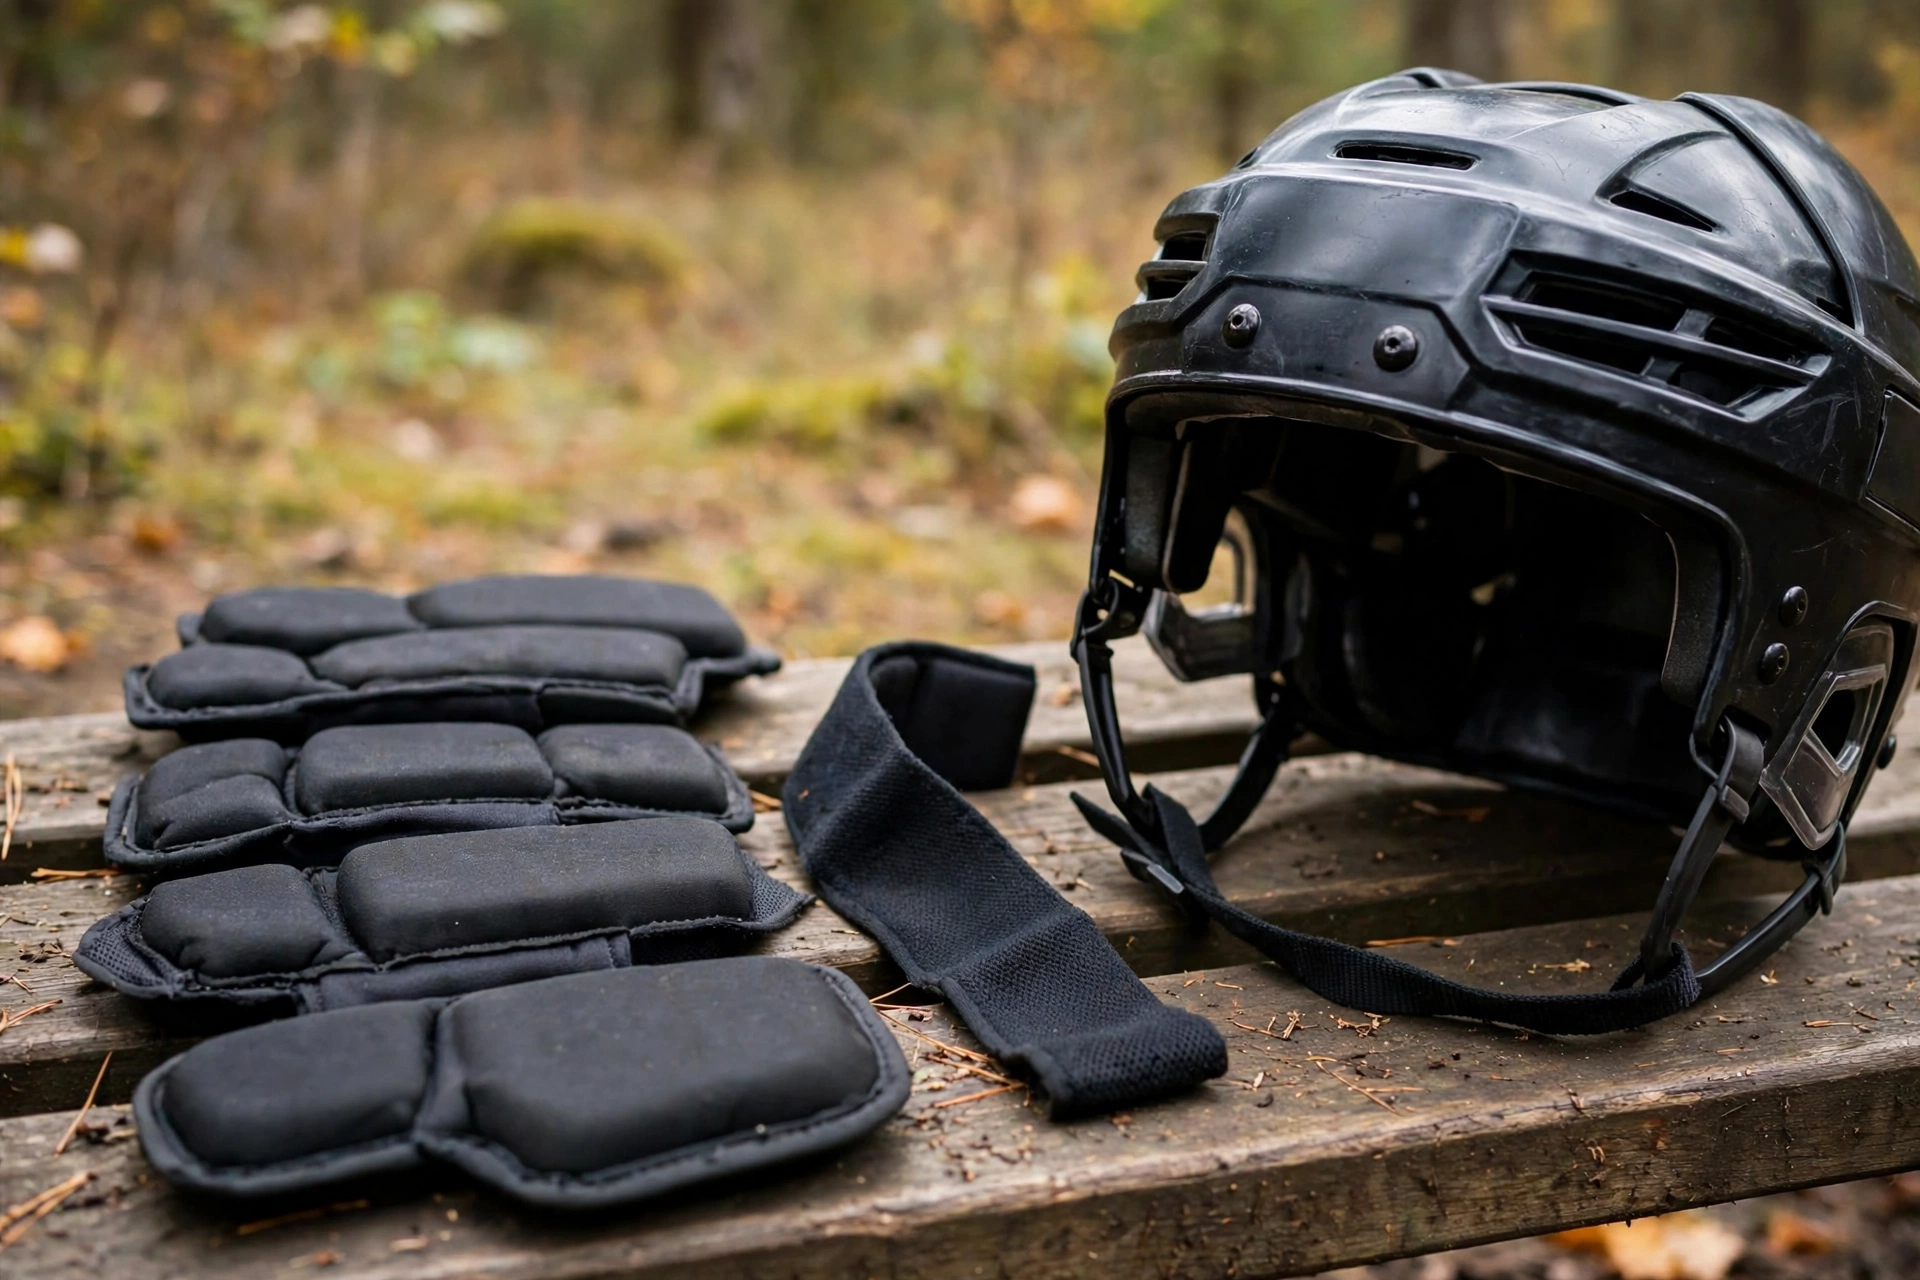
The padding inside a hockey helmet does two jobs at once. First, it cushions your head against the hard shell, spreading the force of a bump or a fall so no single spot takes the full impact. Second, it holds the helmet in place on your head, filling the gap between the shell and your skull so the helmet does not wobble when you skate, turn, or take a hit. A helmet with flat or missing padding fits loosely, and a loose helmet protects less well than one that sits snug.
The sweatband, sometimes called the brow pad, sits across the forehead at the front of the helmet. Its job is to catch sweat before it runs into your eyes, and to add a comfortable layer between the shell and your forehead. It is the pad that gets wettest during a game, so it is usually the first part to smell, wear thin, or come loose. Padding also helps the helmet fit your head shape — swapping a thick pad for a thin one, or the other way around, can fine-tune the fit.
When Should You Replace the Padding or Sweatband?
In general terms, the sweatband should be replaced when it no longer stays in place, when it has gone flat and hard, or when it smells even after washing. Sweat and skin oils break down the foam over time, and a sweatband that has lost its spring will not grip your forehead properly, which lets the helmet shift during play.
The main padding should be replaced when it is torn, crumbling, or compressed so flat that the shell sits close to your head. Press each pad with your thumb: if it springs back, it is still working; if it stays dented or feels hard and thin, it is time for a new one. Also check the fastenings — if a pad will not stay attached to the shell, it cannot do its job.
How often this happens depends on how much you play. A player who skates several times a week may need new pads every season, while a casual player may get several seasons from one set. Check the padding at the start of each season and replace anything worn before it becomes a problem on the ice.
How Do You Remove the Old Padding and Sweatband?
Removing the old padding is usually simple. Most hockey helmets use one of two systems: hook-and-loop fastening, where the pad peels away from a matching patch inside the shell, or snap fittings, where small plastic snaps hold the pad in place. For hook-and-loop pads, grip the edge and peel it away slowly — do not yank it, or you may tear the foam. For snap fittings, press each snap from the side to release it. Start with the sweatband at the front, then work around the sides and back, noting where each pad came from so you can match the new ones to the right spots.
Once the pads are out, wipe the inside of the shell with a damp cloth, let it dry fully, and check the hook-and-loop patches and snap fittings while you are there — if a patch has come loose, it may need re-gluing, and if a snap is broken, the new pad will not hold. If you want to understand more about the impact technology inside modern helmets, reading about what MIPS is for helmets is a useful background read.
How Do You Fit the New Padding and Sweatband?
Fitting new pads is the reverse of removing the old ones, and it helps to work in the same order: sweatband first, then the side pads, then the rear pads. For hook-and-loop pads, line the pad up with its patch and press it firmly into place, smoothing it from the centre outwards so it sits flat. For snap fittings, line up each snap and press it home until it clicks, then tug the pad gently to check it is secure.
Make sure each pad sits in the right place and the right way round, with the sweatband running evenly across the forehead and the side pads over your ears without pressing on them. If your helmet came with pads of different thicknesses, try the standard set first and adjust only if the fit feels wrong.
Once all the pads are in, put the helmet on and check the fit: it should sit level, feel snug all the way around, and stay put when you shake your head gently. If it feels tight in a new spot, check that the pad behind that spot is seated flat — a folded pad is the most common cause of a new pressure point.
Can You Clean the Padding Instead of Replacing It?
Yes, cleaning can extend the life of padding that is dirty but not yet worn out. Remove the pads and wash them by hand in warm water with a small amount of mild soap, rinse them well, and let them dry fully in the air before putting them back. Do not use a washing machine or a tumble dryer, because the heat and tumbling can damage the foam and the backing.
For a quick clean between games, wipe the sweatband with a damp cloth and let the helmet air out, and never store a wet helmet in a closed bag, because the damp and warmth will grow smells quickly. Leaving the helmet out in the open air after a game is one of the simplest ways to keep it fresh.
Cleaning helps with smell and dirt, but it cannot fix foam that has gone flat or torn. If a pad has lost its spring or is falling apart, no amount of washing will bring it back — replace it instead. Clean the pads often and replace them when cleaning no longer makes a difference.
Frequently Asked Questions
Q: Where do I buy replacement padding for my hockey helmet?
A: In general terms, replacement pad sets are sold by helmet makers and hockey shops, often as a kit matched to a specific helmet model. Check the model name inside your helmet first, then look for pads made for that model so the fit and fastenings match.
Q: Can I use padding from a different helmet model?
A: It is not a good idea. Pads are shaped and sized for a specific shell, and pads from another model may not fit the fastenings or sit flat. Poorly fitting pads can make the helmet loose or uncomfortable, so use pads made for your helmet.
Q: Does replacing the padding mean my helmet is as good as new?
A: New padding improves comfort and fit, but it does not renew the shell or the impact lining. If the helmet is cracked, has had a hard impact, or is past its recommended life, replacing the pads is not enough — the helmet itself should be replaced.

Olivia
Writer at Helmet Today, covering helmet reviews, fit and riding safety.