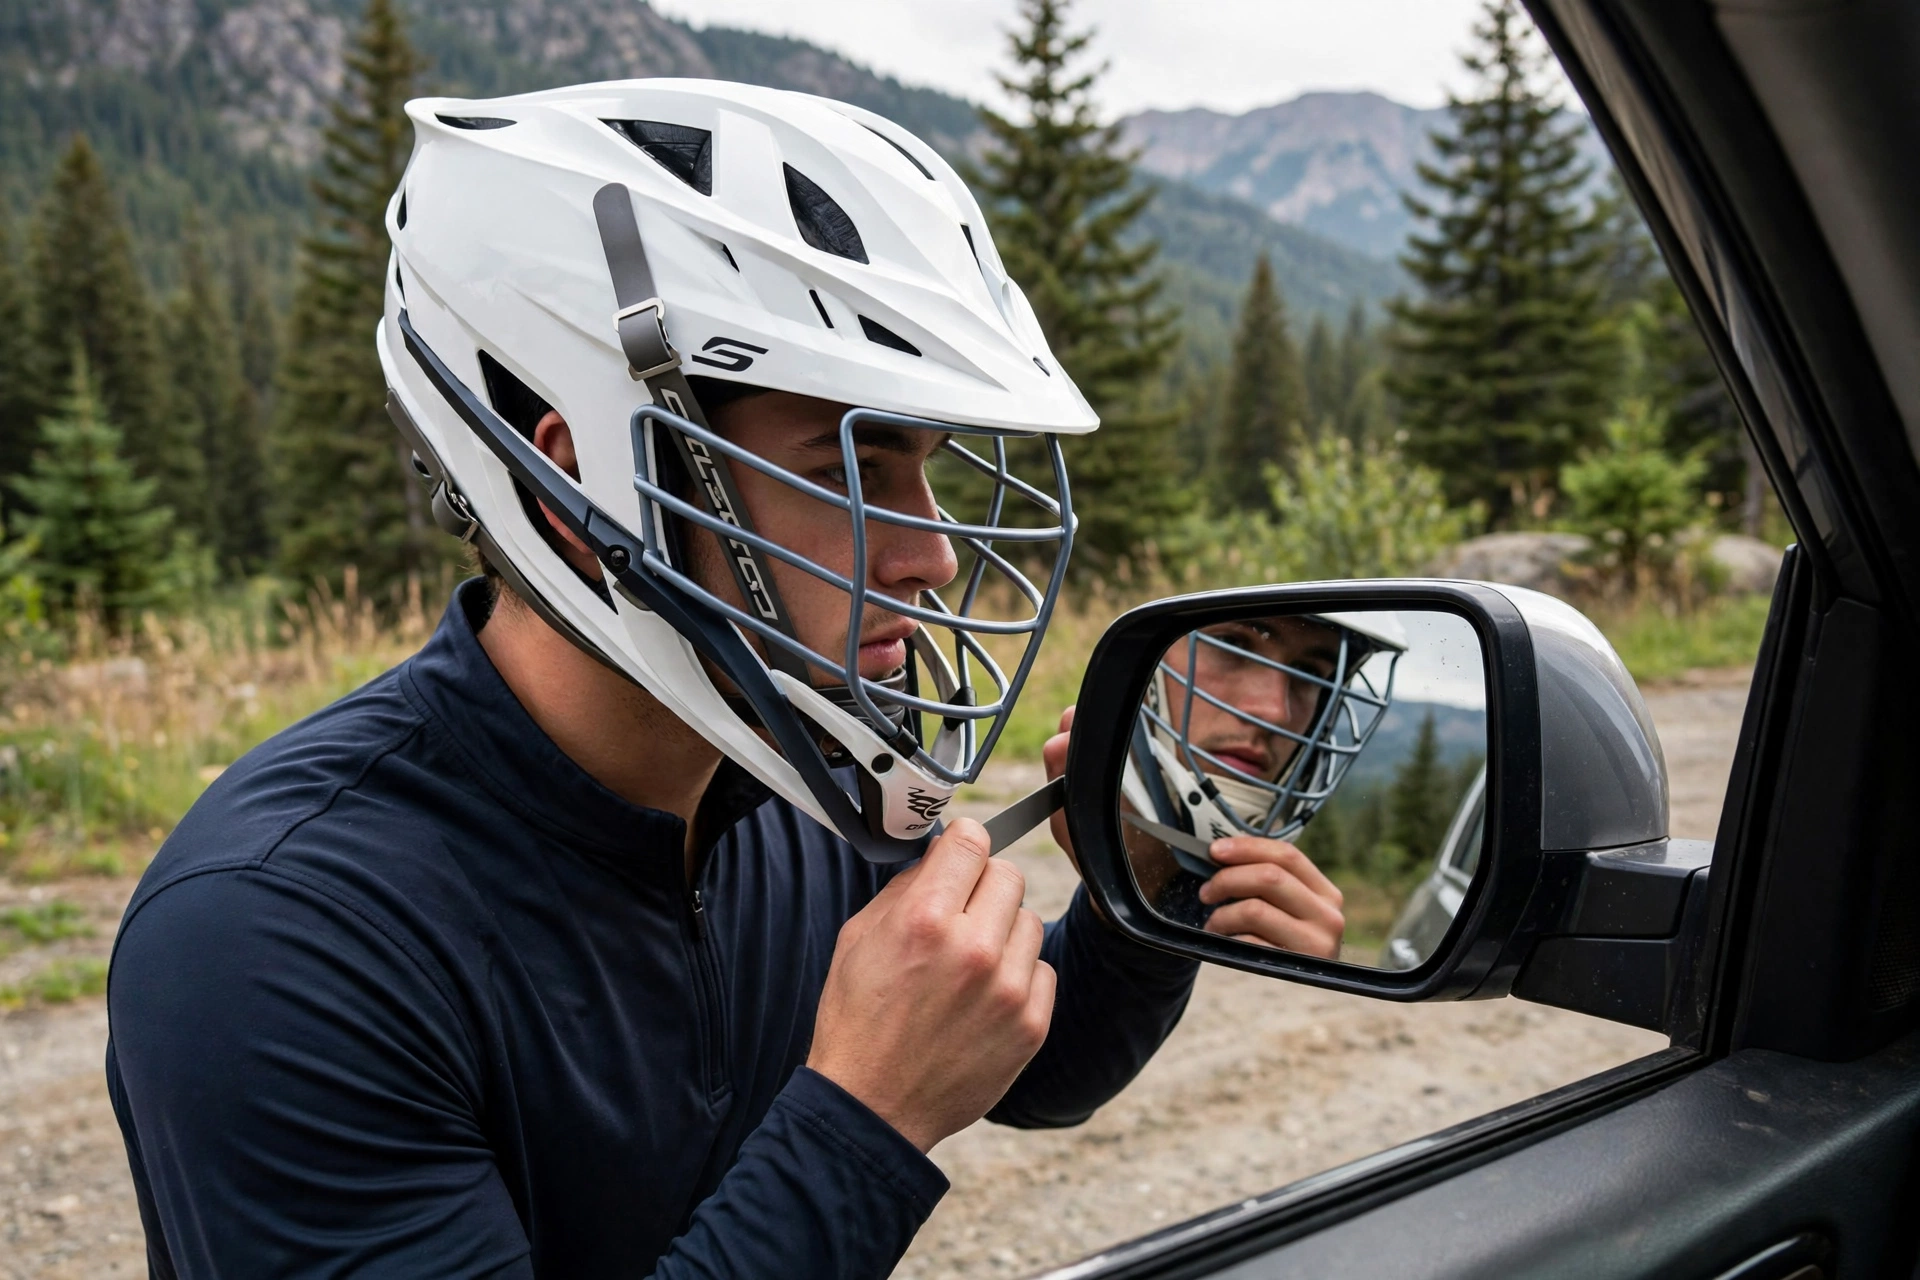
Adjusting a cascade-style lacrosse helmet comes down to four things: the rear fit system, the mask position, the chin strap and cup, and the ear loops. Set them in that order with the helmet on your head, and you are aiming for a level shell, eyes looking through the top of the mask, and zero wobble when you shake your head.
Cascade designs (including the widely used R and S-series style shells) integrate the mask closely with the shell, which gives great sight lines when adjusted properly — and a helmet that feels “off” in several ways at once when it is not. The good news is that nearly every fit complaint on these helmets traces back to one of the four adjustments below, and each takes under a minute once you know where it is.
How Do You Adjust the Rear Fit System?
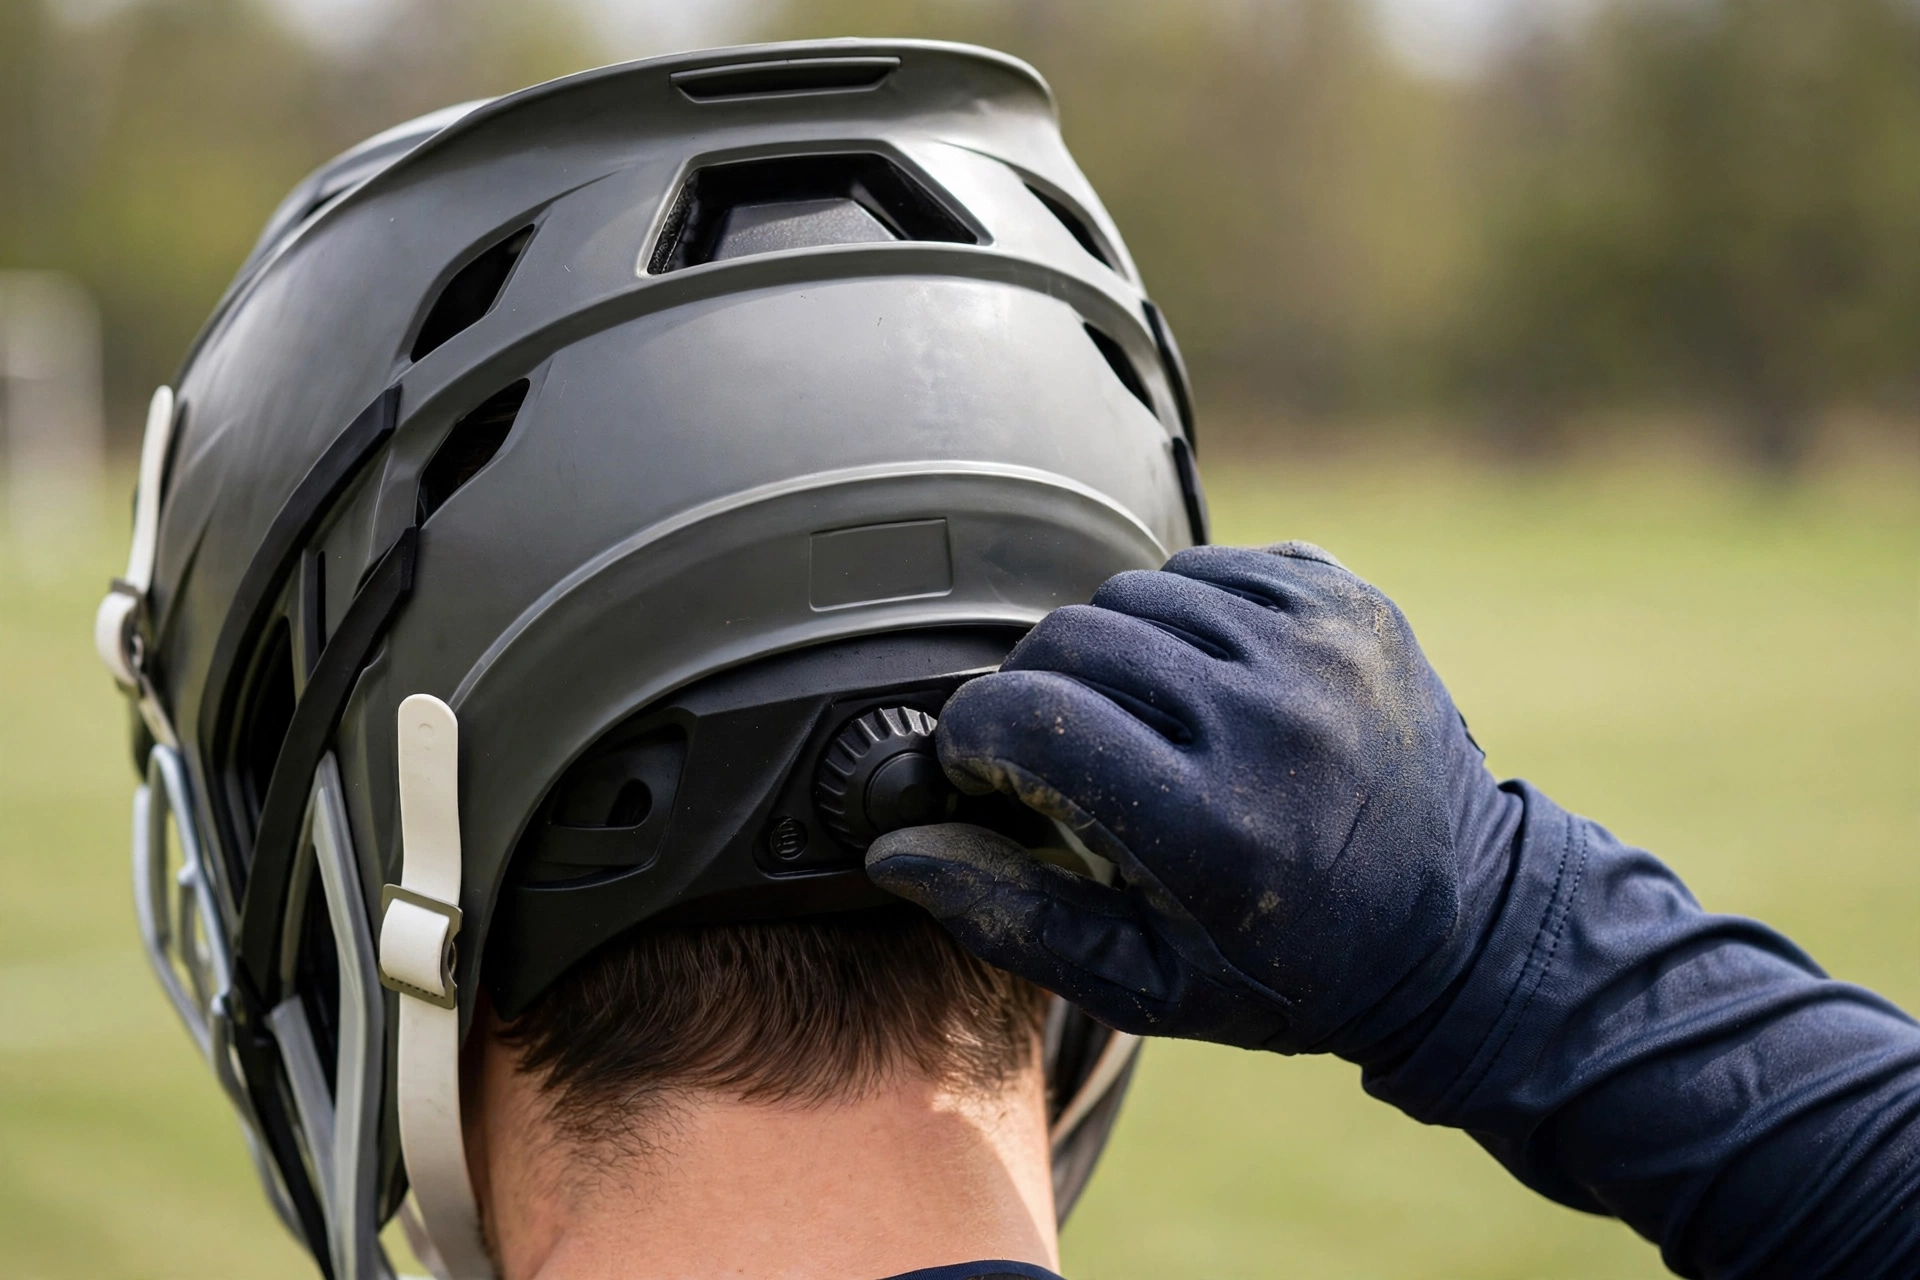
Most cascade-style helmets use a rear adjustment — a dial, a ratchet, or a sliding fit band at the back of the shell, sometimes paired with adjustable internal pads. Put the helmet on with the system fully loosened and the chin strap undone. Seat the front edge about an inch above your eyebrows, then tighten the rear system gradually until the helmet grips evenly around your whole head.
Tighten in small steps and check as you go. The grip should feel like a firm headband, with contact at the sides as well as front and back. If you reach the tightest setting and the helmet still rocks, the shell is likely a size too big — no amount of dial will fix that properly. If pressure concentrates at the back of your skull, you have gone too far; back off until the pressure spreads out.
Some models also let you change the fit with different pad thicknesses inside the shell. Use pads to solve one-sided looseness or a high spot on the crown, and use the dial only for overall snugness. Mixing the two correctly is what separates a genuinely fitted helmet from one that is simply squeezed on.
How Do You Set the Mask and Cage Position?
On cascade-style helmets the mask is fixed to the shell, so its position is adjusted indirectly: by shell height on your head, by the balance of the internal padding, and by strap tension. Start by checking the shell sits level — front edge even, not tipped back so the mask drops low or pushed forward so the cage crowds your face.
Your eyes should sit high in the mask opening, with your natural sight line passing through or just beneath the top bar. This “seeing through the top bar” position is the signature of a correctly adjusted cascade fit: it maximizes downward peripheral vision for ground balls while the lower bars protect your face. If you are looking through the middle of the cage, the helmet is sitting too high or tilted back; if the top bar cuts across your straight-ahead view, it is sitting too low or rotated forward.
Check symmetry in a mirror. The mask should be the same distance from each cheek, and the chin bar should sit level. A mask that crowds one side usually means uneven chin straps rather than a mask problem, so fix the straps before assuming the cage is bent. Never bend the mask to correct alignment — a bent cage must be inspected, not adjusted. Helmet structures are engineered as a system, much like the slip-plane technology explained in our guide to MIPS and rotational impact protection, and forcing parts out of shape undermines that design.
How Do You Adjust the Chin Strap and Chin Cup?
Buckle the strap with the cup centered on the point of your chin, then equalize the two sides: the same exposed strap length and the same tension left and right. On cascade helmets the strap adjustment is done at the buckles and sliders on each side, and small differences here are the number-one cause of a helmet that pulls crooked during play.
Set overall snugness so the helmet follows your jaw when you open your mouth wide, with roughly a finger’s width of space under the strap. Then tune the front-to-back balance: if the cup slides forward when you look down, shorten the rear straps slightly; if it digs in under your jaw when you look up, give the front straps a little length. Make changes a few millimeters at a time and re-test, because strap geometry interacts — changing one side changes how the cup sits everywhere.
Finish by checking the cup itself. It should cradle your chin, not perch on top of it or hang below your jawline, and the strap webbing should lie flat without twists, which create pressure lines and uneven tension.
Where Should the Ear Loops Sit?
The ear loops (the strap sections that pass around your ears) should frame each ear evenly, with the ear opening of the shell aligned over your ear canal so you can hear normally. If a loop crosses the middle of your ear or pulls the shell down on one side, adjust the slider on that side until the V of the straps sits around the ear rather than on it.
Balanced ear loops also act as a quick visual check of the whole adjustment: viewed from the front, both sides should look like mirror images. If one loop hangs lower, the corresponding strap is longer, and the helmet will tend to rotate that way in contact. Fix it at the slider rather than by over-tightening the rear dial.
How Do You Fix Pressure Points and Other Fit Problems?
Forehead pressure usually means the shell is riding too low or the front padding is taking load that should be shared — re-seat the helmet slightly higher and re-set the rear dial. A hot spot at the crown often responds to a thinner crown pad if your model offers pad options. Pain behind the ears points to ear loop position or a strap twisted at the slider.
Work through problems one change at a time, in the original order: rear system, shell position, straps, ear loops. Changing everything at once leaves you unsure what helped. And accept the limits of adjustment: if the helmet still rocks side to side at the dial’s tightest setting, or causes a headache within ten minutes at its loosest comfortable setting, it is the wrong size or head shape for you, and the correct fix is a different shell — not more force.
Frequently Asked Questions
Why am I looking through the middle of the mask?
The helmet is sitting too high or tilted back. Re-seat it so the front edge is about an inch above your eyebrows, level, then re-set the rear fit system and check that your sight line passes through the top of the mask.
My helmet pulls to one side during play. What causes that?
Uneven chin straps are the usual cause. Equalize the strap length and tension on both sides, center the chin cup, and check that the ear loops mirror each other before suspecting a bent mask.
Can I bend the mask to fix its position?
No. Never bend a lacrosse mask. Position is corrected through shell height, padding balance, and strap tension. A mask that is actually bent should be taken out of play and inspected, as its protective strength may be compromised.

Olivia
Writer at Helmet Today, covering helmet reviews, fit and riding safety.