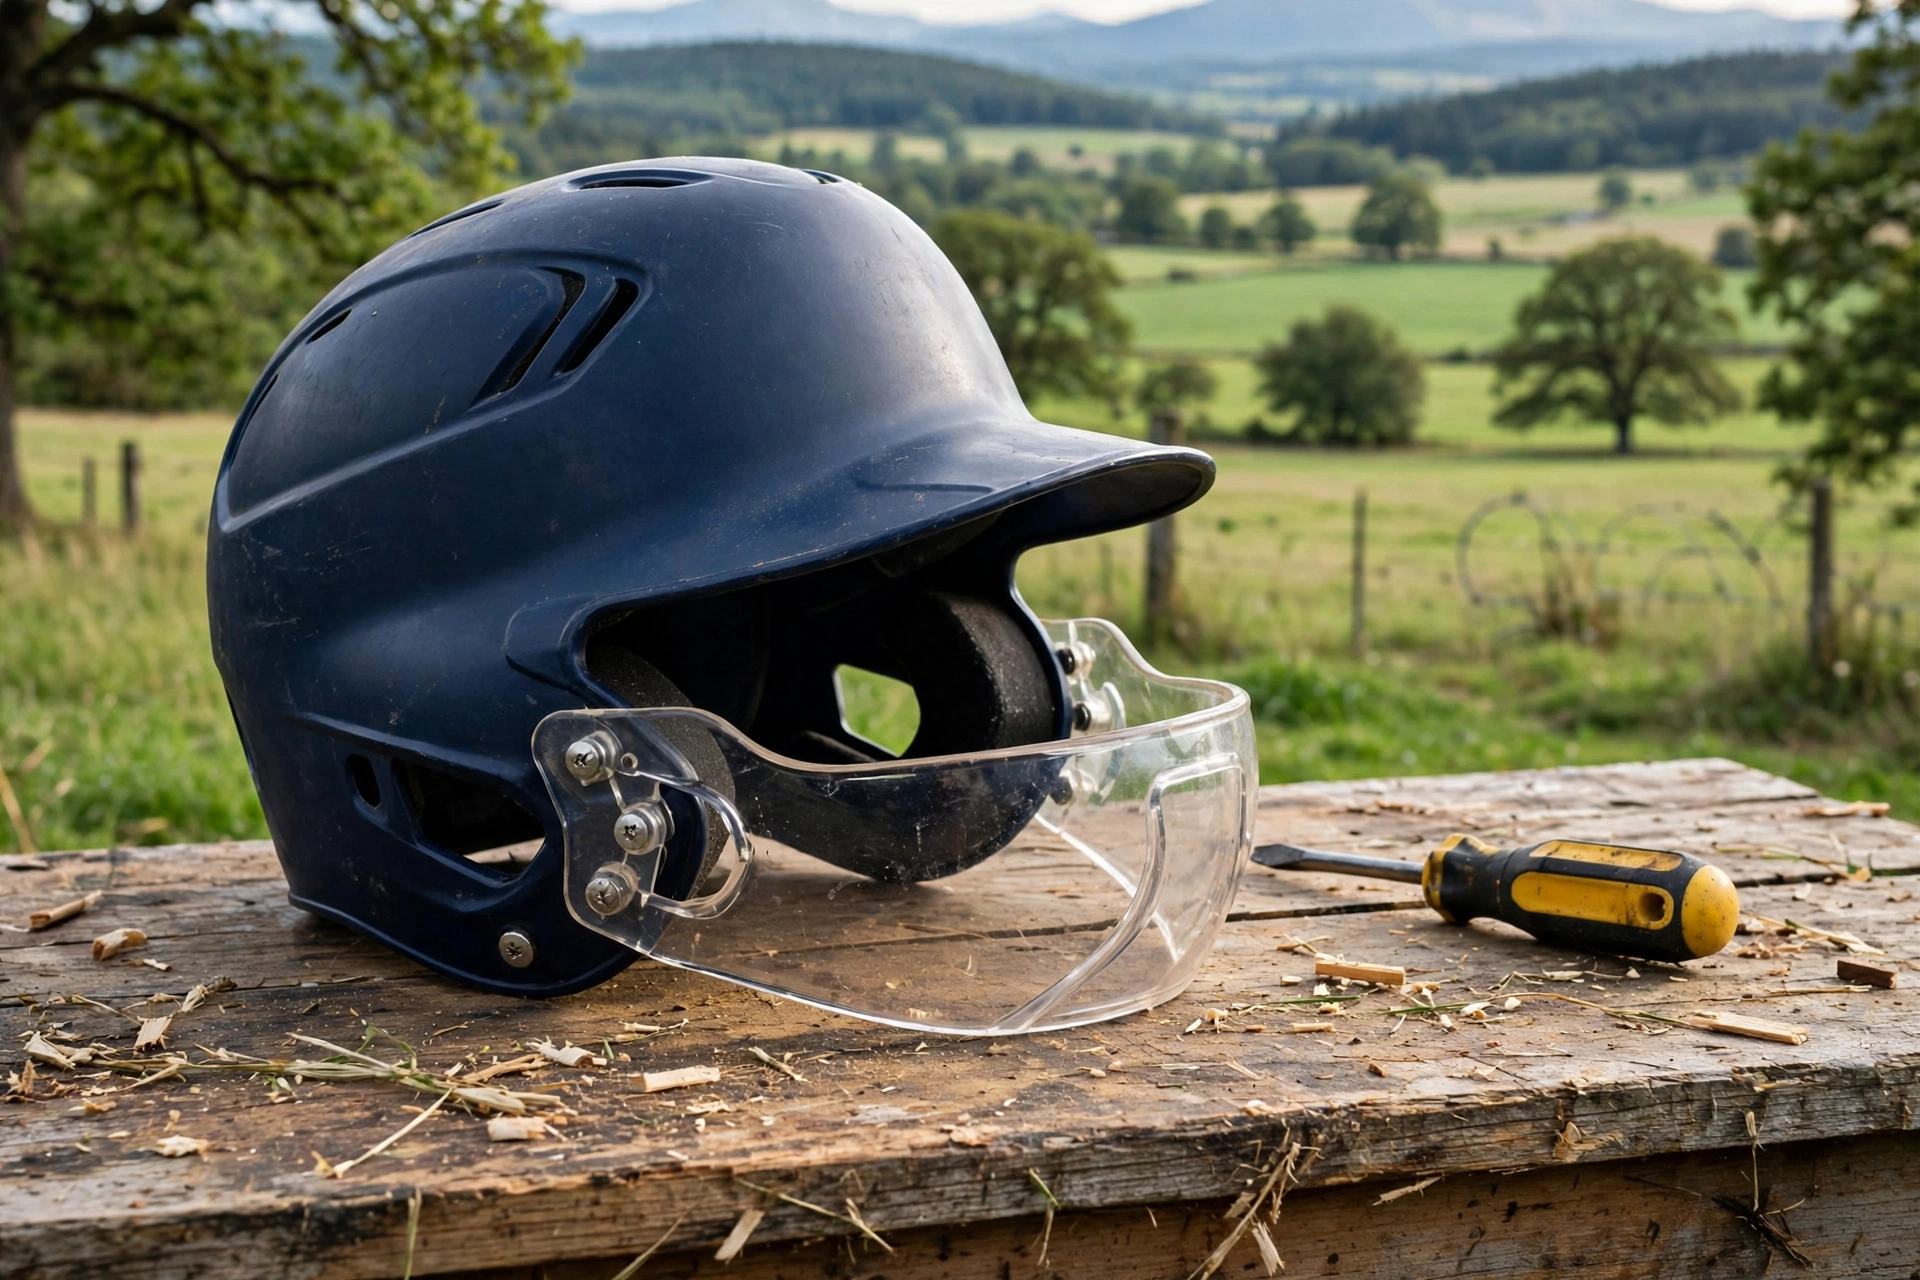
Attaching a jaw guard to a batting helmet is a quick job if the guard is made for your helmet. Line the guard up with the pre-drilled mounting holes on the ear flap, fit the supplied hardware, and snug the screws down evenly without over-tightening. The whole process usually takes about ten minutes with a basic screwdriver, and no drilling should ever be needed on a compatible helmet.
A jaw guard (sometimes called a cheek flap or C-flap style guard) extends protection from the ear flap across the cheek and jaw on the side facing the pitcher. Done right, it sits close to the face without touching it, does not block your view of the ball, and stays solid when the helmet moves. Done wrong — forced onto the wrong model or cranked down too hard — it can crack the shell or rattle loose, so work through the steps in order.
Is Your Jaw Guard Compatible With Your Helmet?
Jaw guards are not universal. Almost every guard is molded for a specific helmet model or model family, and the mounting hole pattern differs between brands and even between youth and adult versions of the same line. Before you start, check the packaging or product listing for your exact helmet model name and size range. If the guard is described as fitting a different shell, the holes will not line up, and forcing it risks damaging both parts.
Side matters just as much. A right-handed batter needs the guard on the left ear flap, facing the pitcher; a left-handed batter needs it on the right side. Many guards are sold as right-side or left-side versions, and some are handed by the batter, not the ear, in the product name, so read the description carefully. Also confirm whether your guard uses screws, snaps, or a clamp-style bracket, because the hardware in the box tells you exactly how it is meant to attach.
Finally, check that your helmet actually has the mounting holes. Most modern helmets come pre-drilled on both ear flaps, but older or budget models sometimes do not. If there are no holes, do not drill your own — drilling a shell can weaken it and void its certification. In that case, look for a clamp-on guard made for helmets without holes, or replace the helmet with a model designed for a guard.
What Tools and Hardware Do You Need?
You need very little: a Phillips-head screwdriver is the main tool, and some kits use a small hex key instead, which is usually included in the box. Lay out everything before you start — the guard itself, the screws or bolts, any washers or spacers, and the plastic caps or covers some brands supply to finish the mounting points. Count the pieces against the instruction sheet so you are not hunting for a missing washer halfway through.
It helps to work on a clean, flat surface with the helmet sitting steady, ear flap facing up. A towel underneath stops the shell from sliding or picking up scratches. If a face mask is already fitted, check it does not share the guard’s mounting holes — on a few models it does, and both must be refitted together using longer screws.
One more preparation step: clean the ear flap area with a damp cloth and let it dry. Dirt or grit trapped between the guard and the shell prevents the guard from seating flat, which is the most common cause of a guard that creaks or shifts later. When you are thinking about overall head protection, it is also worth understanding how modern safety systems work — our guide to MIPS helmet technology explains how helmets manage different kinds of impact forces.
How Do You Attach the Jaw Guard Step by Step?
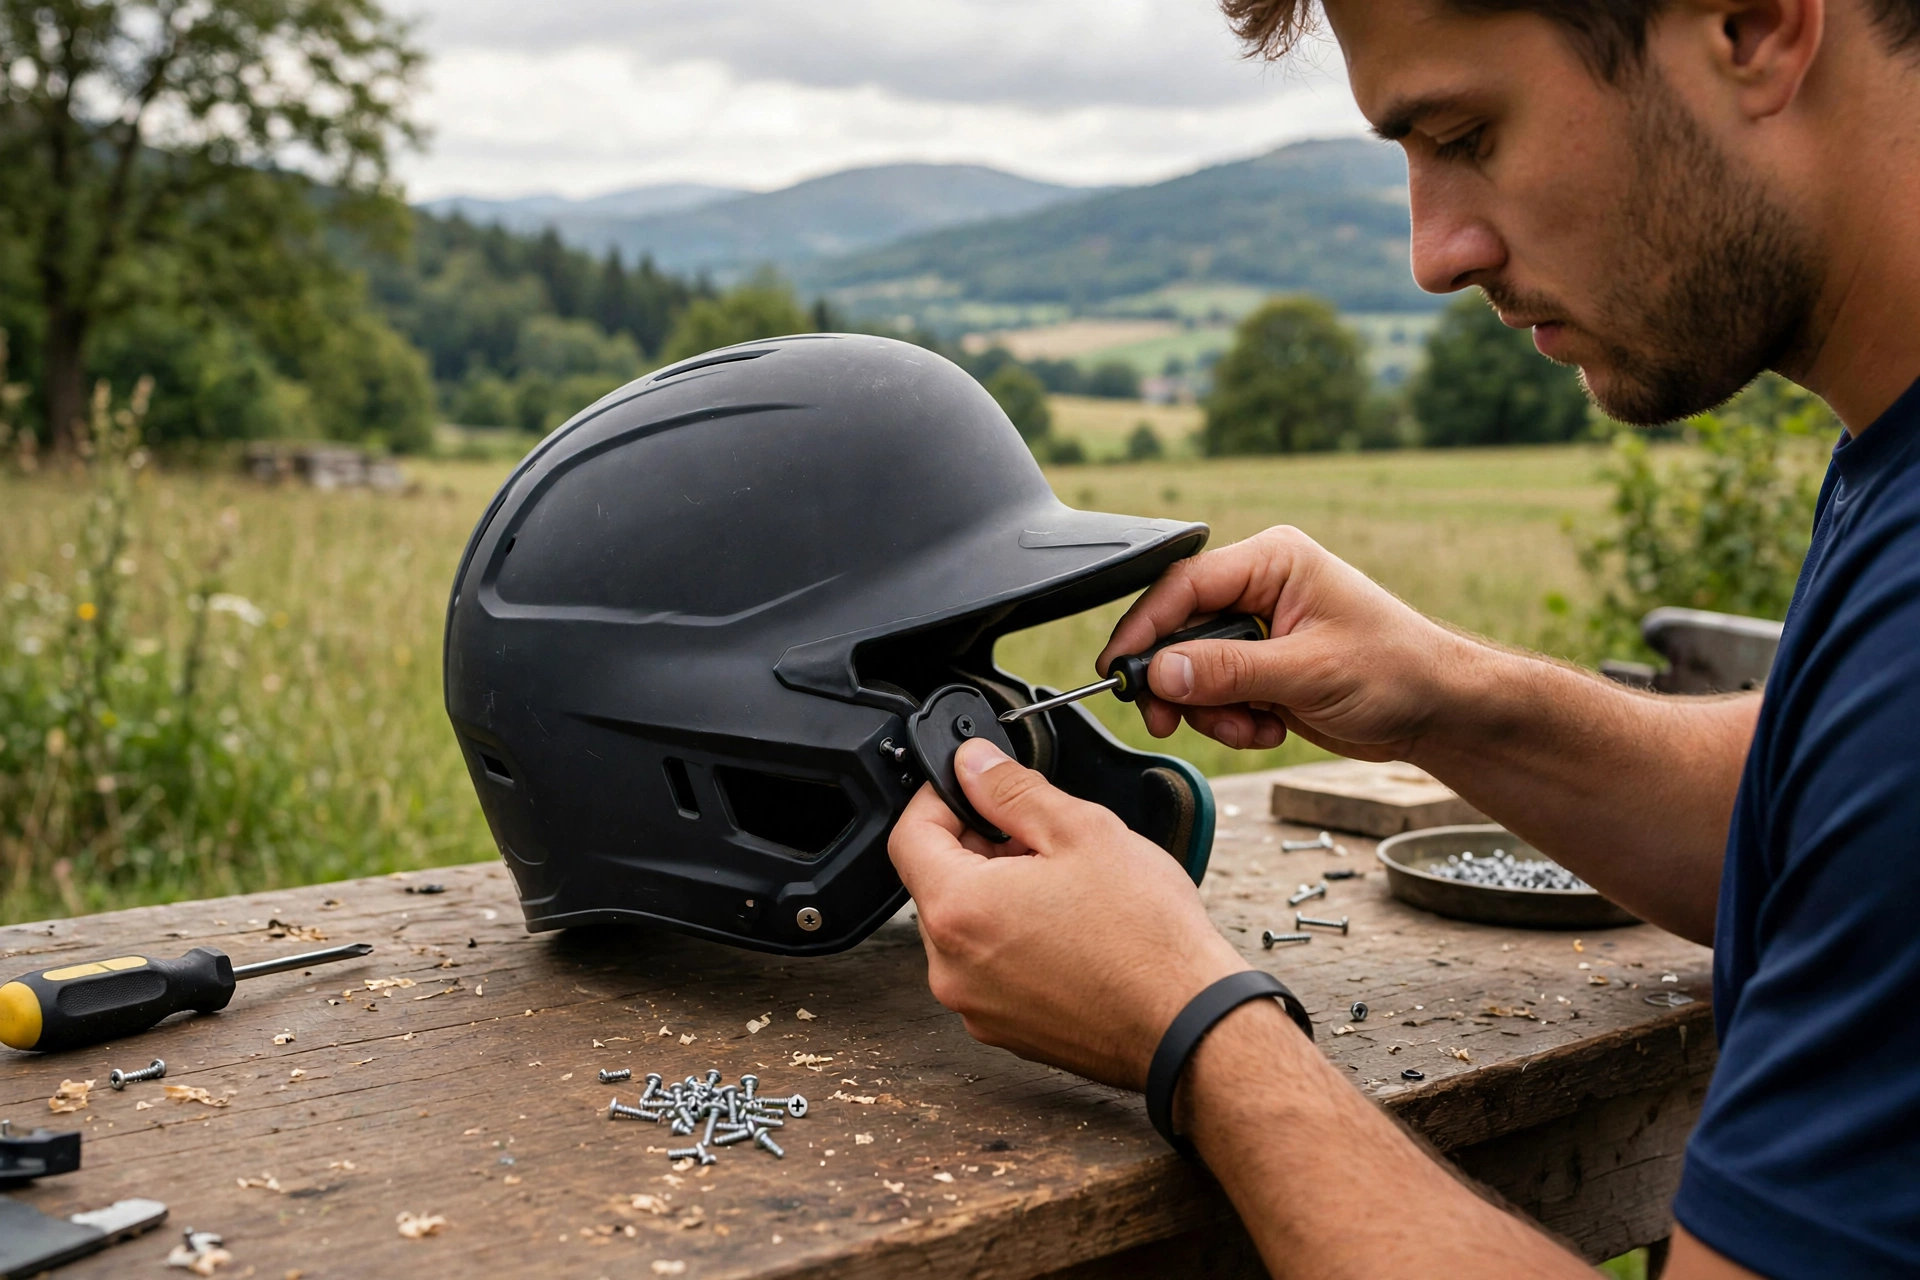
Hold the guard against the ear flap on the correct side and line up its holes with the holes in the shell. The guard should follow the curve of the flap naturally. If you have to bend or force it to reach a hole, stop — that is a compatibility problem, not something more pressure will fix. With the holes aligned, push the screws or bolts through from the outside, adding washers in the order shown in the instructions.
Start every screw by hand or with just a few turns of the screwdriver before tightening any of them fully. This lets the guard settle evenly against the shell. Then work around the mounting points in a crisscross pattern, tightening a little at a time, the same way you would tighten wheel nuts. Finish when each screw is snug and the guard no longer shifts when you push it firmly with your thumb.
Do not over-tighten. The shell and guard are both plastic, and excessive torque can crack the shell around the hole or strip the threads, which ruins the mounting point. Snug and solid is the target — the guard should feel like part of the helmet, with no clicking, rocking, or gap you can slide a fingernail into along the edge.
How Should the Guard Sit on Your Face?
Put the helmet on exactly as you would in the batter’s box, with the chin strap or fit system set as usual. The guard should cover the cheek and jaw on the pitcher side, sitting close to the face with a small, even gap — roughly a finger’s width — all the way along. It should not press into your cheek, rub your jaw when you talk, or push the helmet off-center.
Take your stance and turn your head toward where the pitcher would be. Your front eye should have a completely clear line to the ball; the top edge of the guard must sit below your field of vision, not crossing it. Swing the helmet gently side to side and nod: the guard should move with the helmet as one piece, with no independent wobble. If it touches your face only when you open your mouth wide or clench, that is normally fine; constant pressure or a visible tilt of the helmet means something is misaligned and worth refitting.
Are Jaw Guards Allowed in Your League?
Rules vary. Many youth and school leagues allow jaw guards and some encourage them, but certain leagues require that any attachment be made by the helmet’s manufacturer for that exact model, and that the helmet keep its certification labels intact. Some rule sets also prohibit guards that were drilled or modified to fit. Before the season, check your league’s rulebook or ask the league office, and keep the guard’s packaging showing the model match in case an umpire asks.
Inspect the mounting screws every few games, because impacts and travel in a kit bag can work them loose. If a screw is lost, replace it with the same type and length — a longer screw can poke through toward the padding inside.
Frequently Asked Questions
Can I attach a jaw guard to any batting helmet?
No. The guard must be made for your helmet model, and the helmet needs the matching pre-drilled holes or a clamp-style guard designed for it. Never drill a shell yourself, as that can weaken it and void its certification.
Which side does the jaw guard go on?
On the side facing the pitcher: the left ear flap for a right-handed batter and the right ear flap for a left-handed batter. Check whether the product names the side by batter or by ear before ordering.
How tight should the mounting screws be?
Snug enough that the guard cannot shift when pushed firmly, tightened gradually in a crisscross pattern. Over-tightening can crack the plastic shell or strip the threads, so stop as soon as the guard feels solid.

Olivia
Writer at Helmet Today, covering helmet reviews, fit and riding safety.