
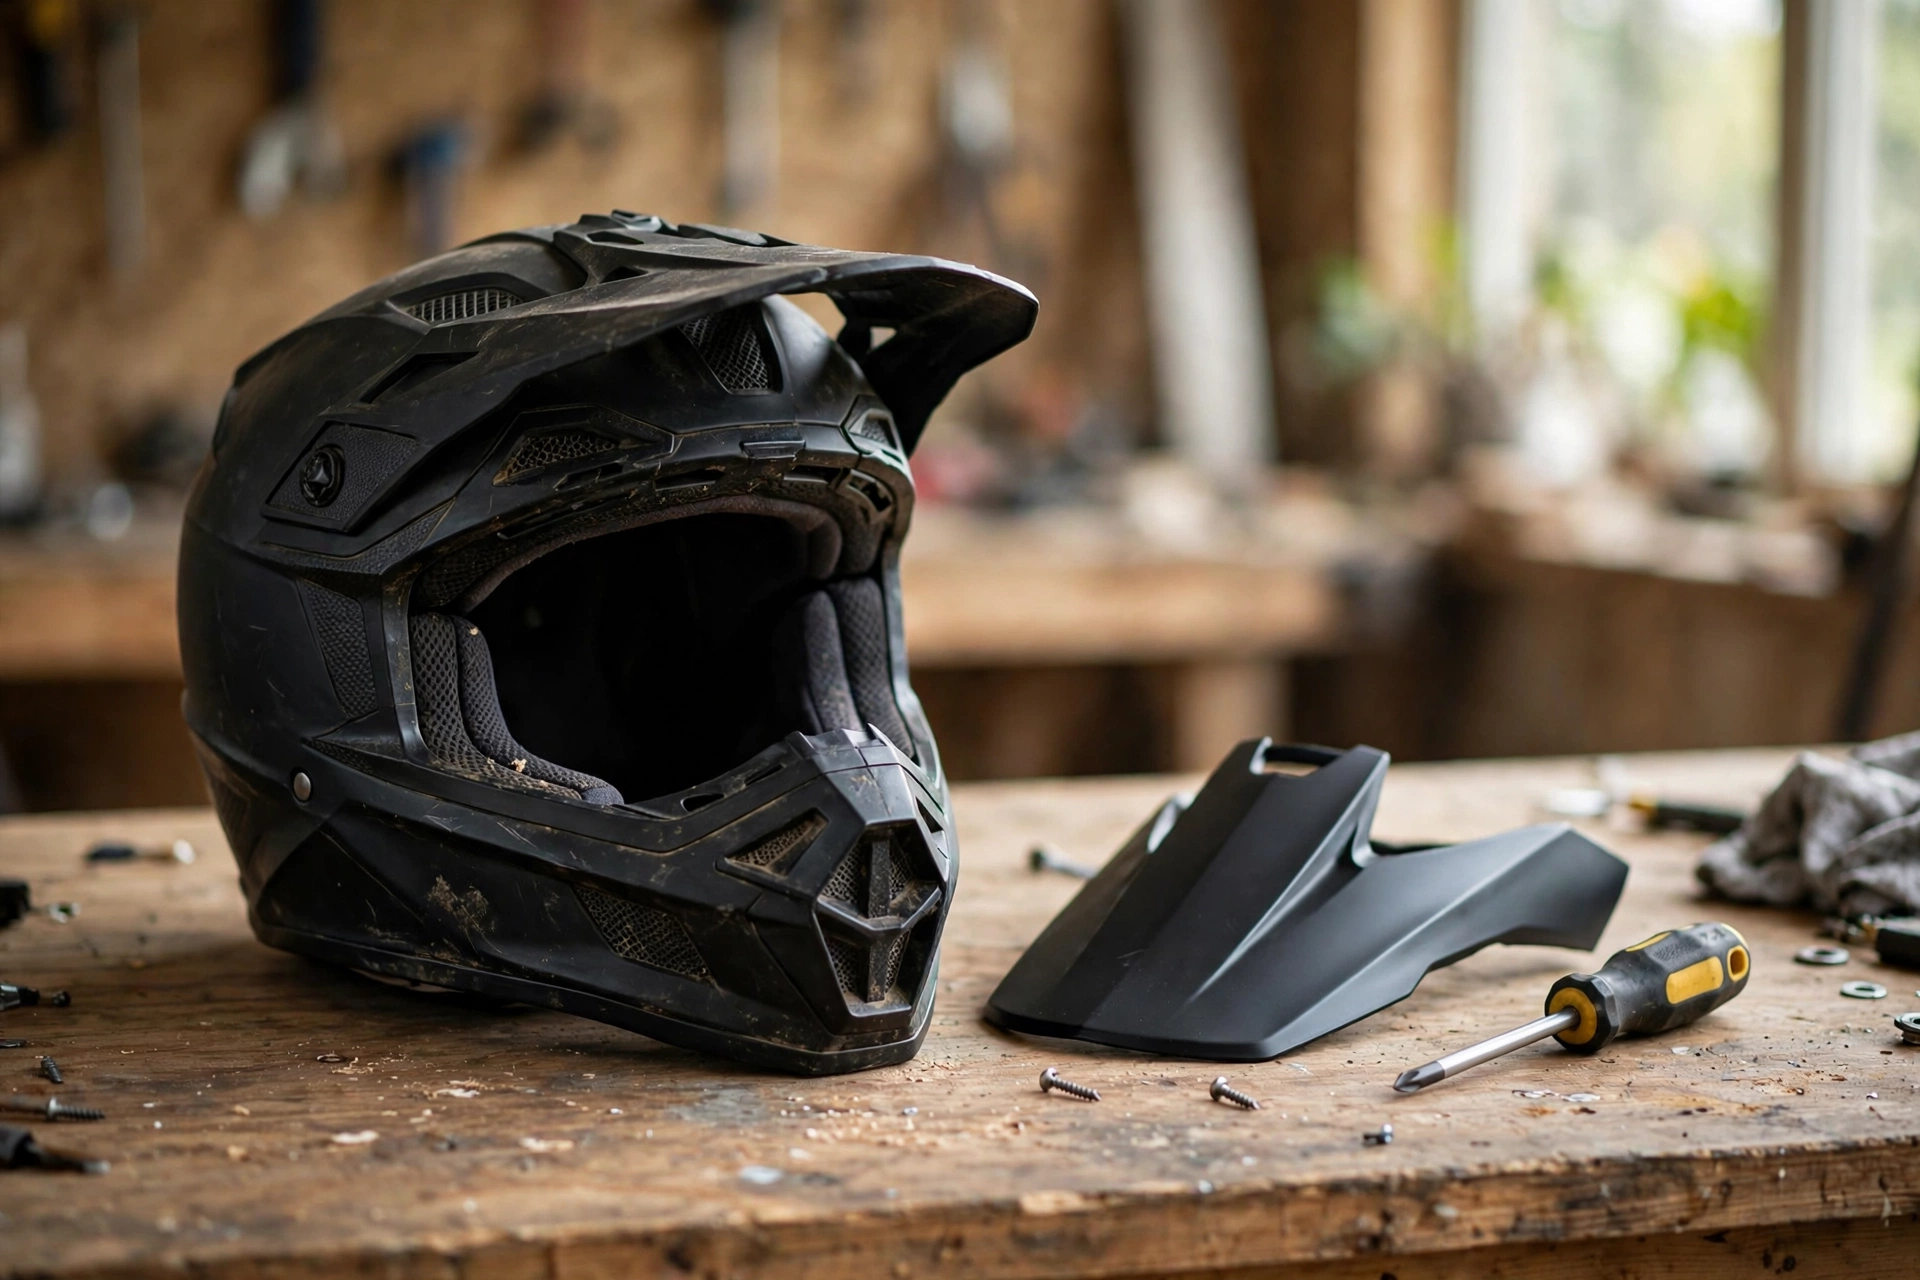
To replace a helmet peak, you remove the screws or clips holding the old peak, lift it off the shell, line up the new peak with the mounting points, and refit the screws evenly. The job usually takes only a few minutes and needs no special tools, but the peak must be the right one for your helmet model, or it will not line up with the mounting holes.
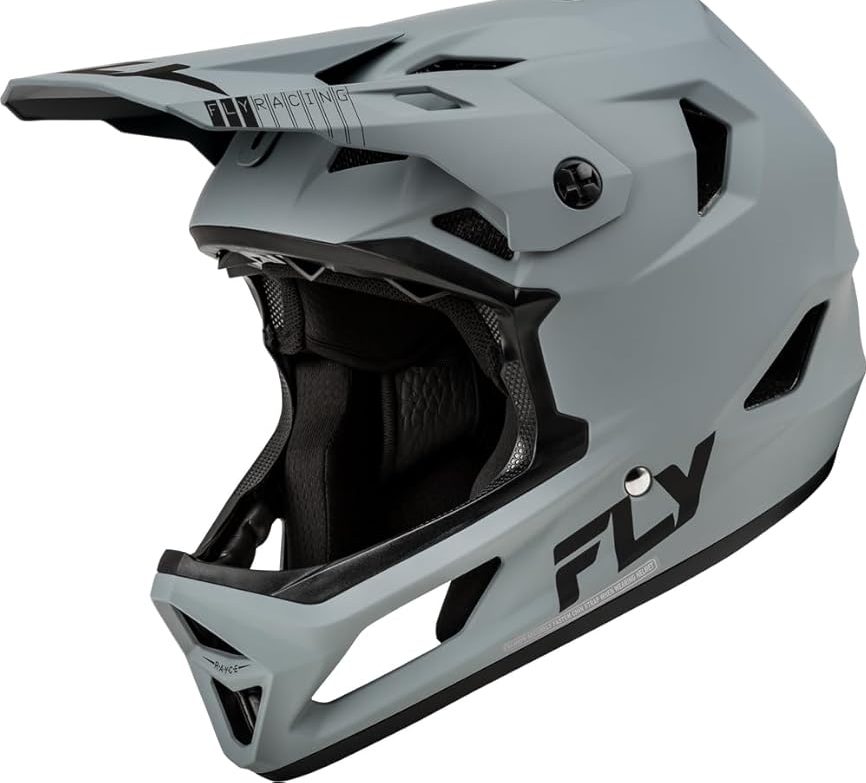
The peak is the projecting brim on the front of an off-road or adventure helmet. It shades the eyes, deflects mud and branches, and gives the helmet its distinctive look. Peaks can crack in a fall or fade with age, and replacing one is a simple way to refresh a helmet. This guide explains in general terms how to do it safely.
When Should You Replace a Helmet Peak?
The most common reason to replace a peak is damage. A peak that has cracked, especially around the mounting points, should be replaced, because a crack can spread and the peak may break off while you are riding. A peak that has been bent or warped may also need replacing, since it will not sit level and may catch the wind unevenly.
Age and sunlight can also take their toll. Over time, the plastic in a peak can become brittle and fade, and the mounting holes can wear loose. If the peak wobbles even when the screws are tight, the holes may be worn and a new peak is the sensible fix. In general terms, a peak that moves around on its own is not doing its job properly.
Sometimes riders replace a peak simply to change the look of a helmet or to fit a longer or shorter peak for a different kind of riding. That is a fair reason too, as long as the new peak is made for the helmet and fits the mounting points correctly.
How Do You Remove the Old Peak?
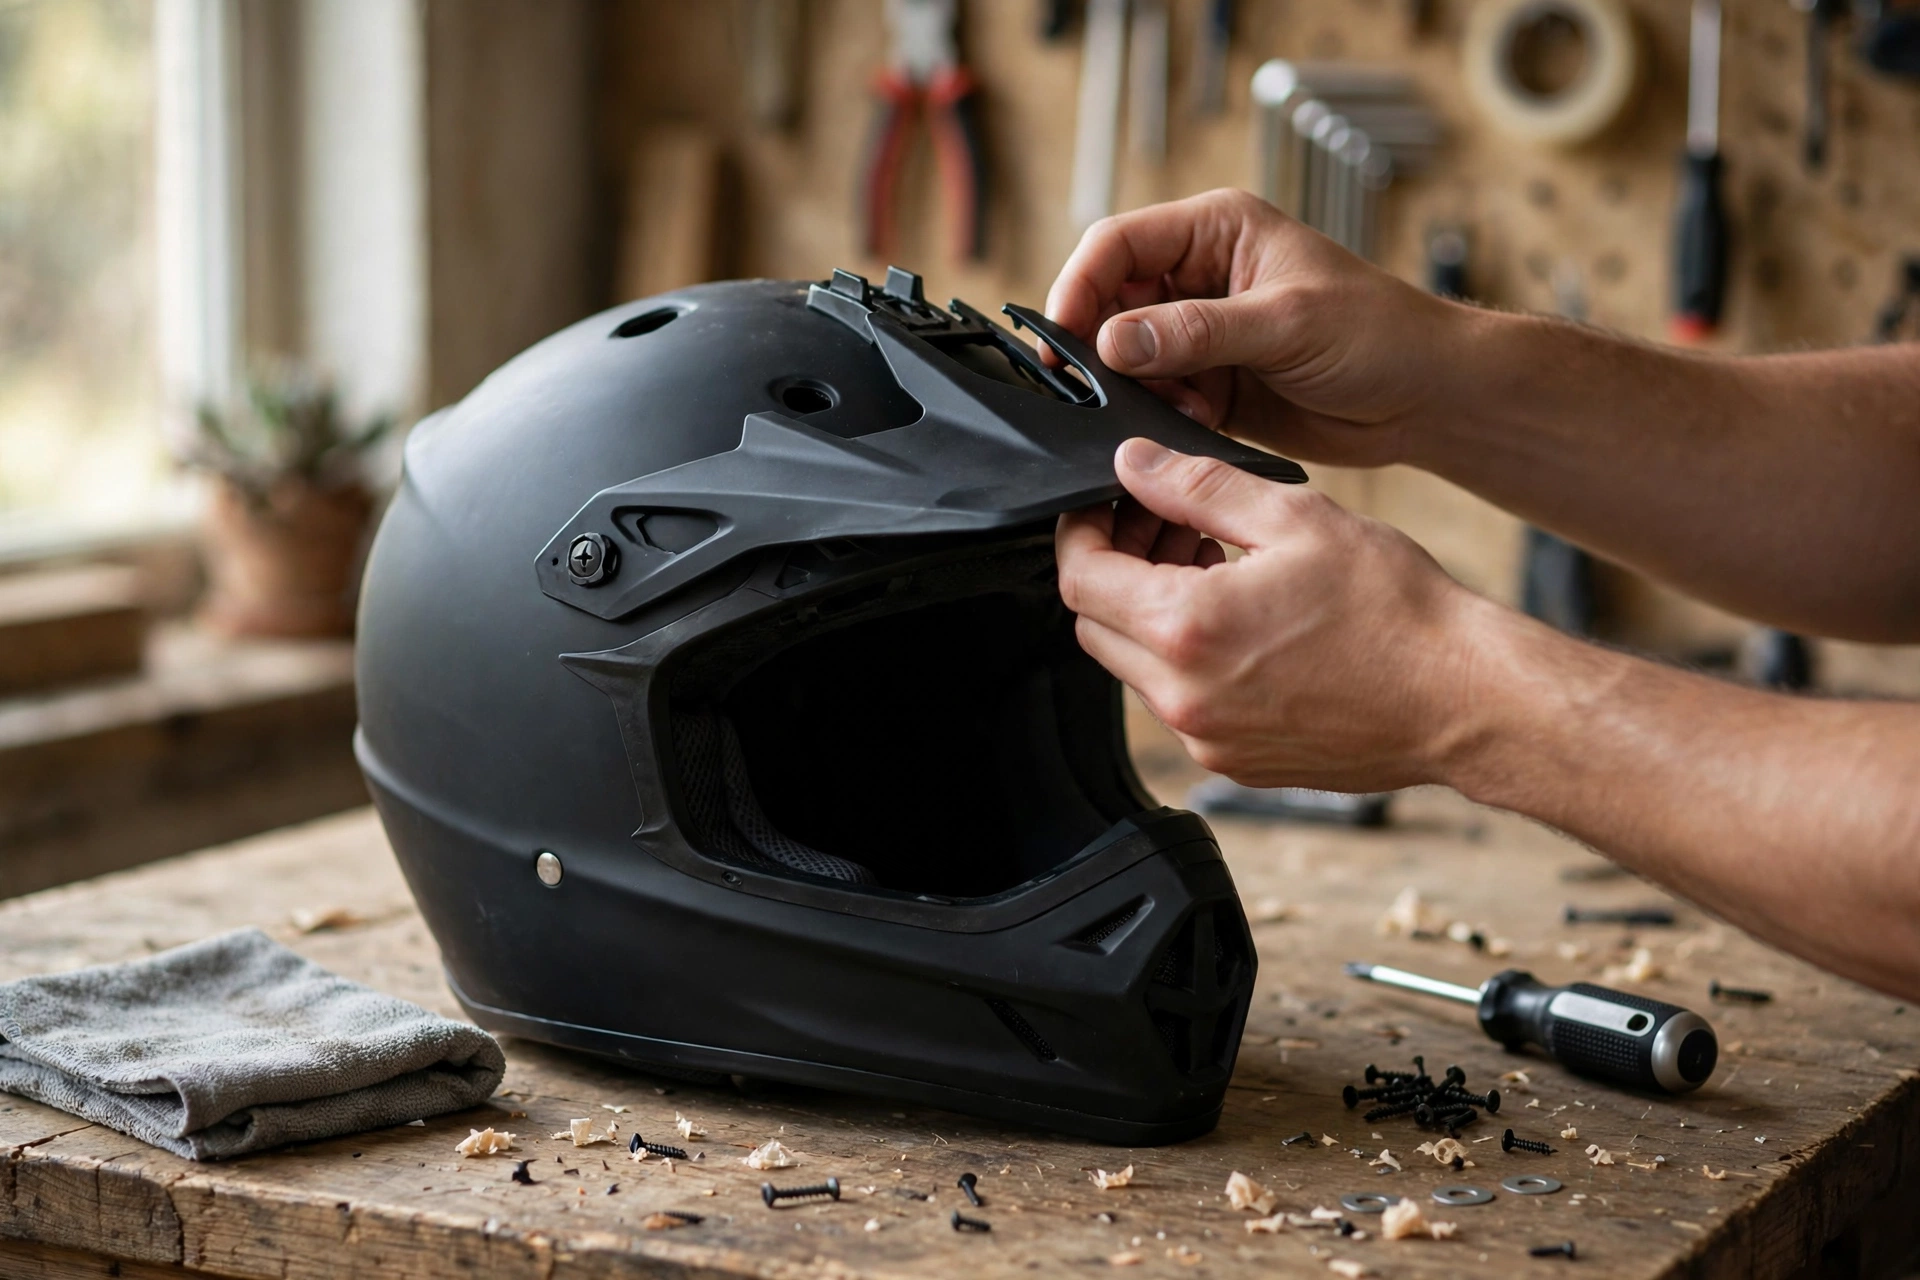
Start by placing the helmet on a stable surface with the peak facing you. Most peaks are held on with two or three screws on each side, sometimes hidden under small covers or side pods. Remove any covers first, then undo the screws one at a time, keeping them in a small tray so they do not get lost. Work on one side at a time so the peak stays supported until the last screw is out.
Some peaks are held on with clips or a press-fit system rather than screws. For these, look for a release tab or a clip that needs to be pressed or lifted, and work gently: forcing a clip can break the mounting point on the helmet itself. If you are not sure how the peak is held on, check the helmet maker’s instructions or look for a small diagram on the maker’s website.
Once the fixings are out, lift the peak away from the shell and check the mounting area. Look for cracks in the shell around the holes, and clean away any dirt or grit that has collected underneath. This is also a good time to check the screws themselves: if they are rusty or the heads are worn, replace them along with the peak.
How Do You Fit the New Peak?
Place the new peak over the mounting points and check that every hole lines up before you put any screws in. If a hole does not line up, the peak may be the wrong model, or it may be sitting at a slight angle. Do not force a screw into a hole that does not line up, since that can crack the peak or damage the thread in the helmet.
Put the screws in loosely at first, starting each one by hand so you can feel the thread engage. Once all the screws are in place, tighten them gradually, alternating between the sides so the peak stays level. The screws should be snug, but not so tight that the plastic around them bulges or cracks. In general terms, a firm hand-tightening is enough.
Once the peak is fitted, check it from the front and the side. It should sit level and centred, with an even gap between the peak and the shell on both sides. Lift and lower the visor or goggles to make sure the peak does not catch on them. Then give the peak a gentle wiggle: it should feel solid, with no movement at the mounting points. If you want a broader understanding of the safety parts inside your helmet, reading about what MIPS is for helmets is a useful background read.
How Do You Choose the Right Replacement Peak?
The safest choice is a peak made for your exact helmet model. Helmet makers usually sell replacement peaks in the colours of their helmets, and these are guaranteed to fit the mounting points. Have your helmet model and size ready when you order, since some models have changed their peak design over the years.
Aftermarket peaks can also work well, but they need to be checked for compatibility. Look for a peak that lists your helmet model by name, and check the number and position of the mounting holes. A universal peak may fit several helmets, but it may need adapters or may not sit as neatly as a model-specific peak.
Also think about the length and shape. A longer peak gives more shade and more protection from mud, but it catches more wind. A shorter peak is more stable at speed. If you ride mostly on the road, a shorter peak may suit you better, while trail riders often prefer a longer one. Choose the length that matches the riding you do most.
How Do You Look After a Helmet Peak?
Peaks need little maintenance, but they should be checked regularly. Look for cracks around the mounting holes, and check that the screws are still tight, since vibration can loosen them over time. A quick check when you clean your helmet is usually enough to catch a problem early.
Clean the peak with a soft cloth and mild soap, and avoid harsh cleaners or solvents that can damage the plastic or the finish. If the peak is scratched, light scratches can often be left alone, but deep scratches or cracks are a sign that the peak should be replaced. In general terms, a peak is a wear item, and replacing it when it is damaged is part of looking after your helmet.
When the helmet is stored, try not to rest anything heavy on the peak, since that can warp it over time. Storing the helmet on a shelf or a stand, rather than hanging it by the peak, will help the peak keep its shape. A peak that stays level and secure is a small thing, but it makes a real difference to comfort and vision on the ride.
Frequently Asked Questions
Q: Can I replace a helmet peak myself?
A: In general terms, yes. Most peaks are held on with a few screws or clips, and the job takes only a few minutes. Just make sure the new peak is made for your helmet model and that every mounting hole lines up before you tighten the screws.
Q: How do I know if my peak needs replacing?
A: Look for cracks, especially around the mounting holes, and check whether the peak wobbles when the screws are tight. A cracked, warped, or loose peak should be replaced before you ride again.
Q: Does a longer peak give better sun protection?
A: Yes, a longer peak gives more shade, but it also catches more wind at speed. For mixed riding, a medium-length peak is often a good compromise, and an adjustable peak lets you change the angle to suit the conditions.

Olivia
Writer at Helmet Today, covering helmet reviews, fit and riding safety.