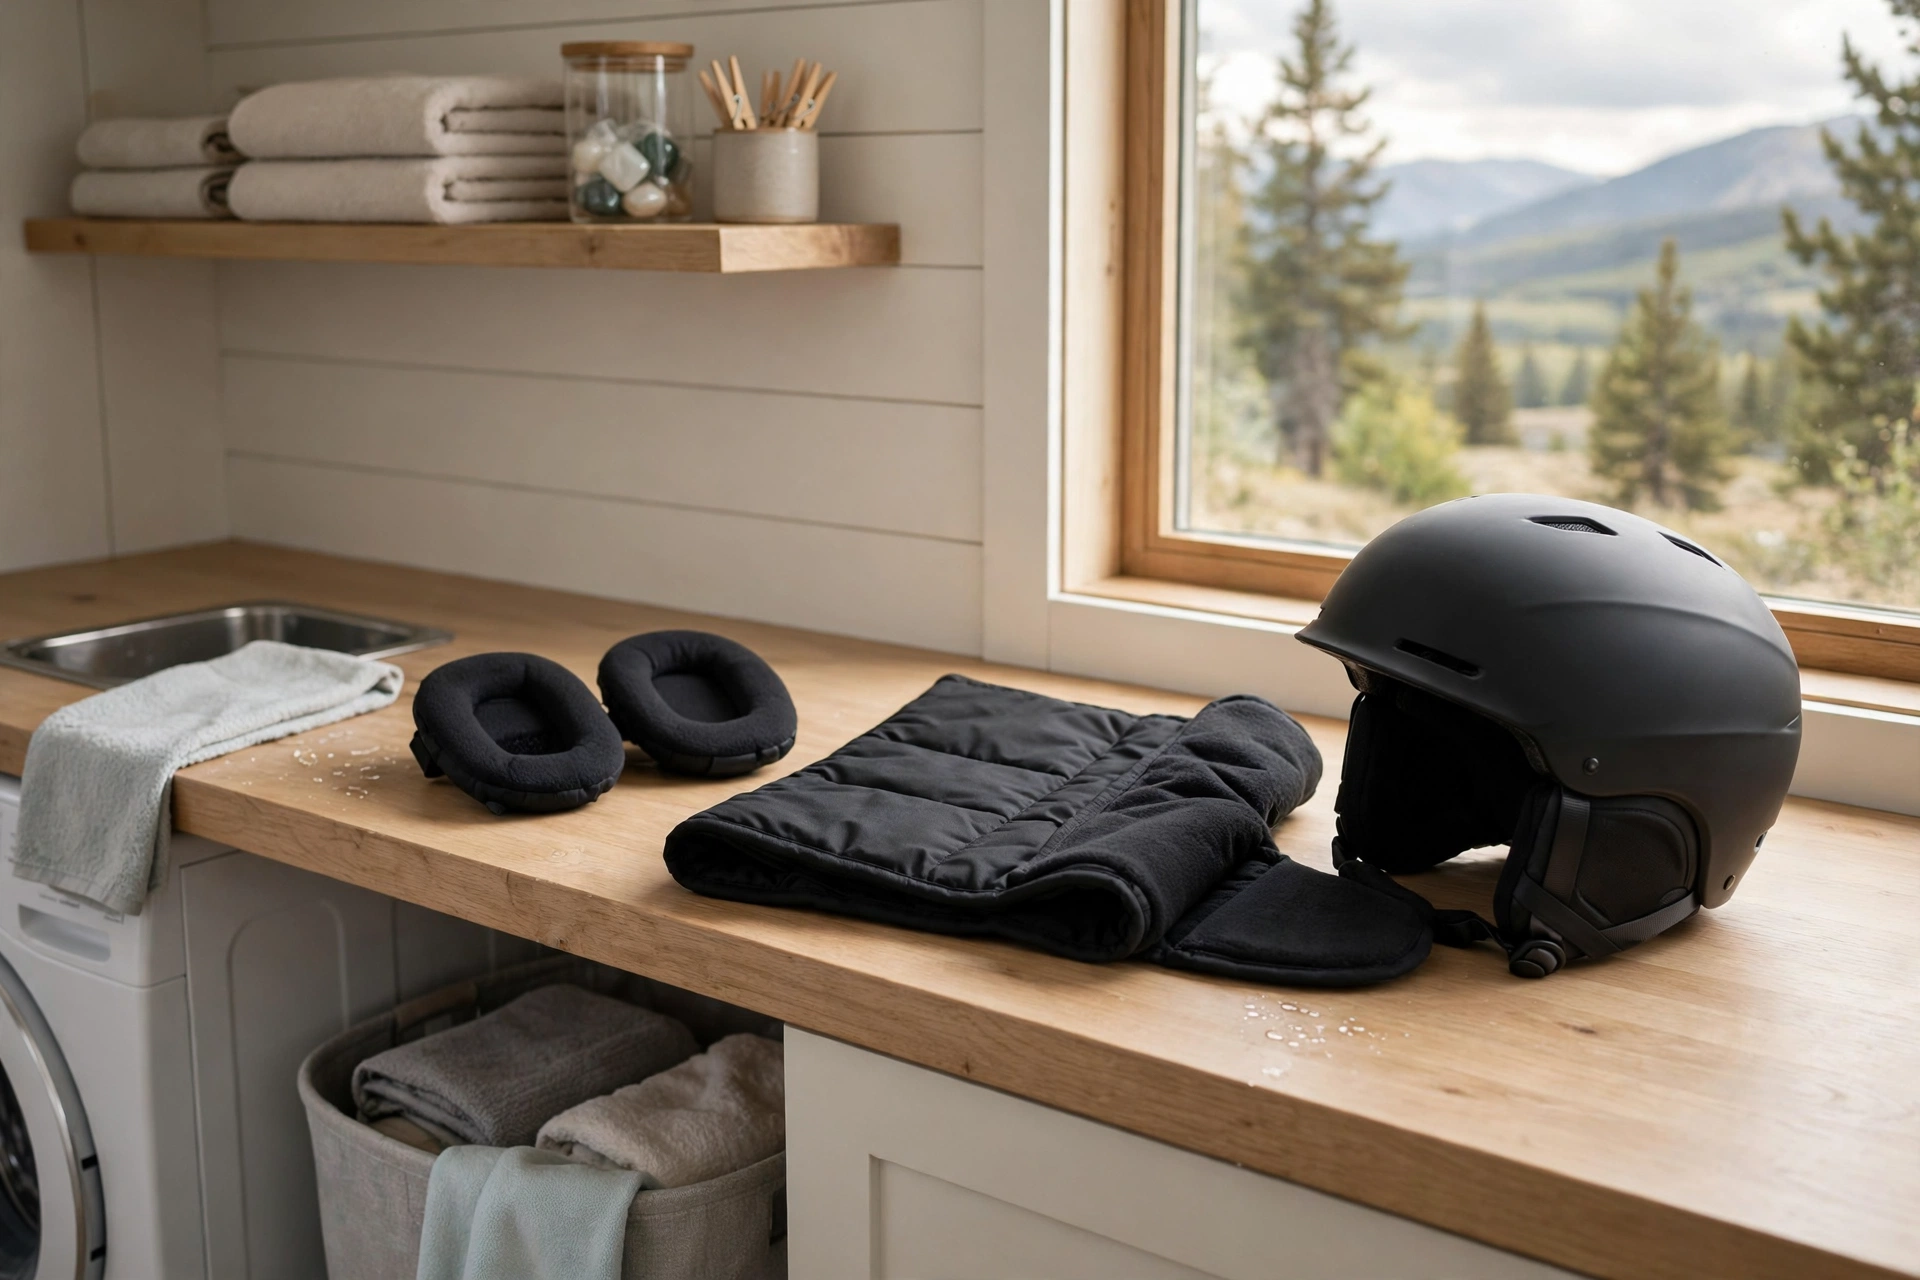
Most ski helmet liners come out easily: find the snap buttons or hook-and-loop tabs around the inside edge, work them free one at a time with gentle pressure close to each attachment point, and lift the liner and ear pads out without forcing anything. The whole job takes a few minutes, and a removable liner lets you hand-wash away sweat and odor without soaking the helmet itself.
Which parts of a ski helmet are actually removable?
On most modern ski helmets, the removable parts are the main comfort liner — the padded fabric piece that covers the inside of the shell — and the ear pads, which usually attach separately. Some helmets use a one-piece liner that includes the ear pads, and others add a removable neck roll or a thin liner designed to work with a beanie or balaclava.
Not everything inside comes out. The hard foam energy-absorbing liner bonded to the shell is permanent, and it must never be pried out, soaked, or washed as a separate piece. The same basic layout applies whether you ski or ride, as our comparison of ski helmet vs snowboard helmet designs shows — the shells differ slightly, but the removable comfort liners work the same way. If you are unsure which pieces are meant to come out, check the care label inside the helmet.
How do you remove the liner and ear pads without damaging them?
Work slowly and support the liner as you go. Start at the front or back edge and find the attachment points: small plastic snaps that pop into sockets, hook-and-loop tabs, or a combination of both. For snaps, slide a fingertip under the liner right next to the snap and lift with steady pressure close to the attachment. Pulling from the middle of the fabric can tear the snap clean out of the liner.
Ear pads usually release with a firm pull on their tabs or a short row of snaps, and some slide out of a channel in the shell. If something resists, stop and look for a hidden tab rather than forcing it. Take a phone photo of the liner in place before you start; when it is time to refit everything, that photo settles every argument about which tab went where.
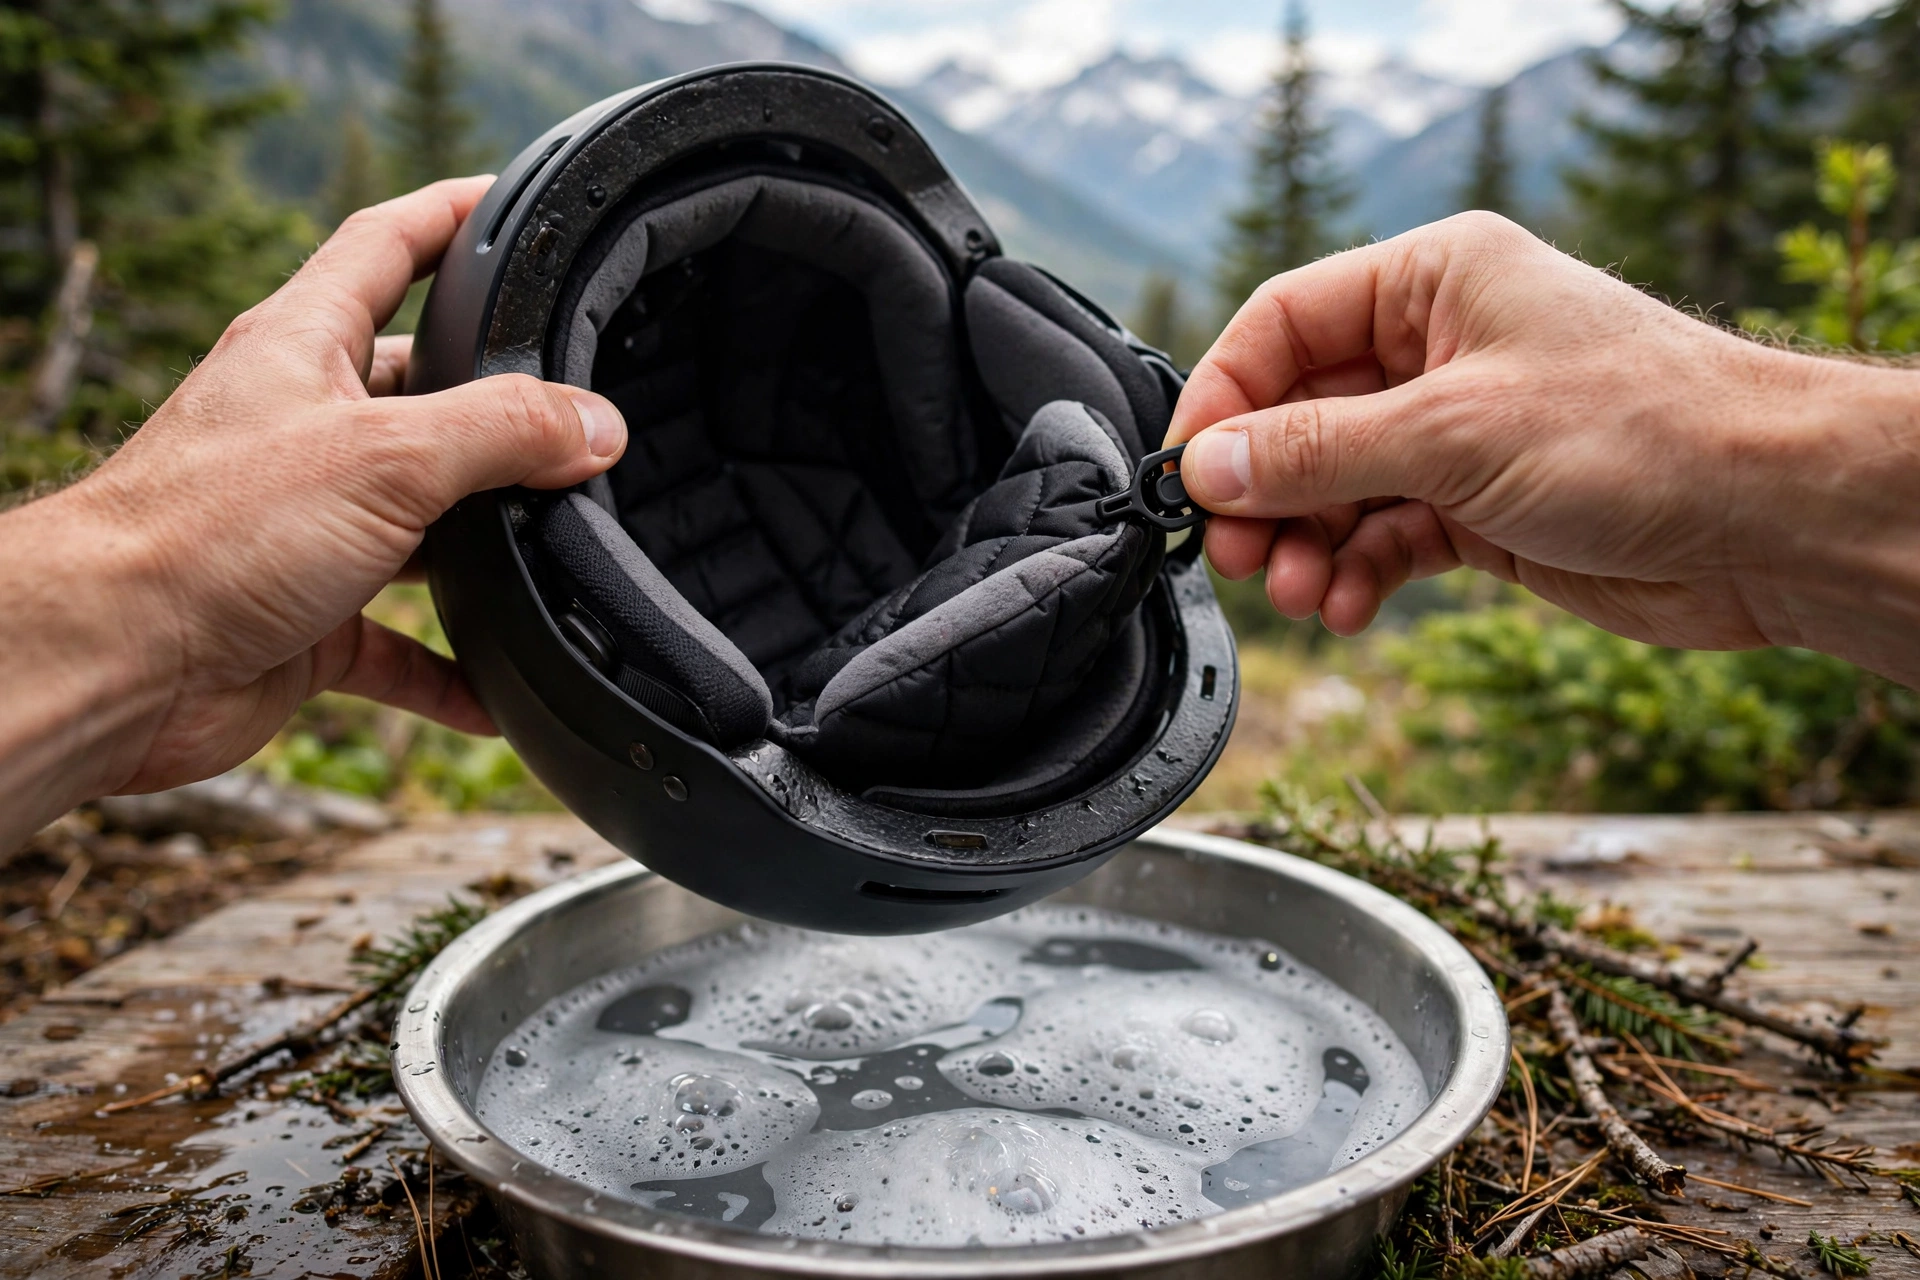
While the liner is out, take the chance to inspect the inside of the shell. Wipe the bonded foam gently with a damp cloth if it looks dusty — never soak it or use solvents — and check for cracks, dents, or white stress marks in the foam. Finding damage now is far better than discovering it later, and a helmet with crushed or cracked energy foam should be replaced, not relined. Also note how the liner’s front edge aligns with the shell so reassembly matches.
How should you hand-wash the liner and ear pads?
Fill a basin with lukewarm water and a small amount of mild detergent or gentle soap. Submerge the liner and ear pads and squeeze them gently, working the soapy water through the padding. Sweat, salt, and sunscreen build up most around the forehead band and the ear pads, so give those spots extra attention without scrubbing hard.
Rinse in clean lukewarm water until no soap remains — leftover detergent makes fabric stiff and can irritate your skin on the next day out. Avoid bleach, strong stain removers, and very hot water, all of which break down the padding and the stitching. If the liner still smells stale after one wash, a longer soak in the same mild solution usually does more than harsher chemicals would.
If the liner comes out in several separate pieces — front band, crown pad, side pads — lay them out in the order you removed them so nothing gets mixed up or left behind. Washing the pieces together in the same basin is fine. Small mesh laundry bags can help keep tiny parts together if you are washing several helmets’ liners at once, but keep them out of any machine regardless of the bag.
How do you dry and reinstall the liner correctly?
Press the water out gently with a clean towel — do not wring the padding, which can distort its shape. Then air-dry the pieces in a ventilated spot away from direct heat. Radiators, hair dryers, and tumble dryers are all off-limits: heat can warp the foam backing, shrink the fabric, and damage the snap fittings. The liner should be completely dry before it goes back in, which typically means leaving it overnight.
To reinstall, reverse your removal steps. Align the liner with the shell, press each snap home until it clicks, and smooth the hook-and-loop tabs flat so nothing bunches under your head. Refit the ear pads and check that they sit evenly on both sides. Then try the helmet on: the liner should feel uniform all the way around, with no folds, pressure points, or loose edges.
When should you replace the liner instead of washing it?
Washing restores freshness, but it cannot restore crushed padding. Replace the liner if the foam stays flattened, the fabric is torn, the snaps no longer hold, or a sour smell survives a proper wash. A compressed liner changes how the helmet sits on your head, and a helmet that has shifted position is not protecting you the way it was fitted to.
Many brands sell replacement liner kits for their helmets, which is a far cheaper refresh than a new helmet. But remember that the helmet itself has a lifespan independent of its liner: if the shell is cracked or the bonded foam is damaged after a fall, no new liner makes it safe again, and the whole helmet should be retired.
Frequently Asked Questions
Can you machine-wash a ski helmet liner?
Most makers say no. Machine washing can tear snaps loose, distort the padding, and fray the fabric edges. Hand-washing in lukewarm water takes about ten minutes and is the method the care labels recommend.
How often should you wash the liner?
Whenever it starts to smell or feel stiff and salty with sweat. For regular skiers that is often every few weeks of use, plus one good wash before storing the helmet away for the summer.
What if a snap will not go back in?
Check alignment first — the snap must sit directly over its socket — then press firmly with your thumb. If the socket in the foam is damaged, a replacement liner kit or a helmet shop repair is the fix. Do not glue padding into the helmet.

Olivia
Writer at Helmet Today, covering helmet reviews, fit and riding safety.