
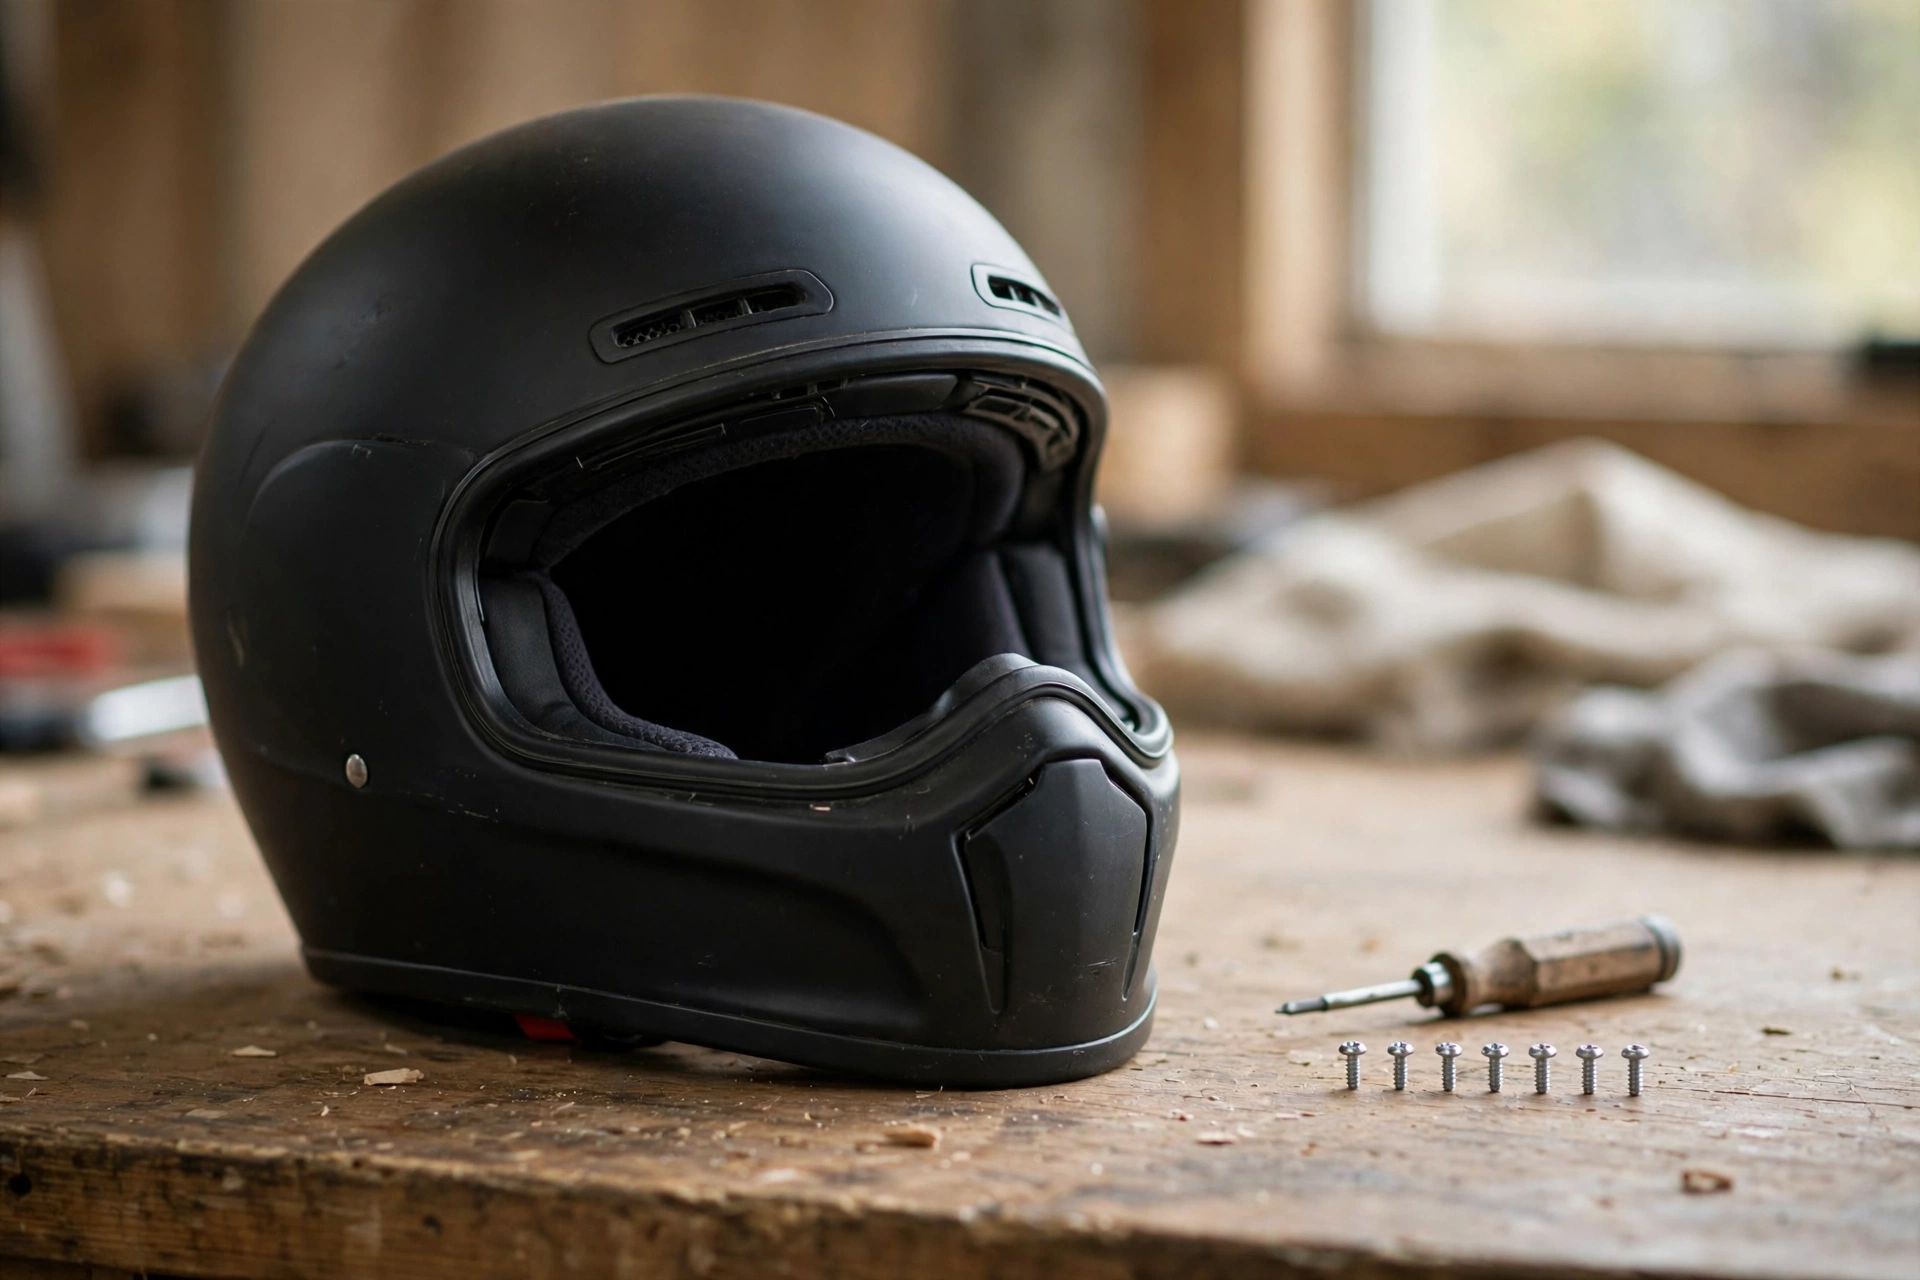
To replace helmet visor screws, you remove the old screws from the visor mechanism, fit new screws of the same size and thread, and tighten them just enough to hold the visor firmly without cracking the plastic. It is a small job, but the screws are easy to lose and the wrong size can damage the helmet, so it is worth working slowly and keeping the parts organised.
Visor screws hold the visor — and on many helmets the side pods or the peak — in place. They are under constant vibration when you ride, so they can work loose over time, and the heads can wear if they are overtightened. This guide explains in general terms how to replace them, how to match the right screws, and how to keep them from coming loose again.
What Do Helmet Visor Screws Do?
Visor screws are the small fasteners that attach the visor to the sides of the helmet shell. On a full-face motorcycle helmet, they usually sit at the pivot point where the visor swings up and down. On an off-road helmet, similar screws often hold the peak in place, and on some cycling helmets they hold a small visor or shield.
The screws do more than just hold the visor on. They set how tightly the visor sits against the shell, which affects how well it seals against wind and rain, and they control how smoothly the visor moves. If a screw is too loose, the visor can rattle or drop down on its own. If it is too tight, the visor can be hard to move or the plastic around the screw can crack.
In general terms, visor screws are specific to the helmet model. Different brands use different thread sizes, lengths, and head shapes, so a screw that fits one helmet may not fit another. That is why it is worth identifying the exact screws your helmet uses before you buy replacements, rather than guessing from a general hardware shop.
How Do You Remove the Old Visor Screws?
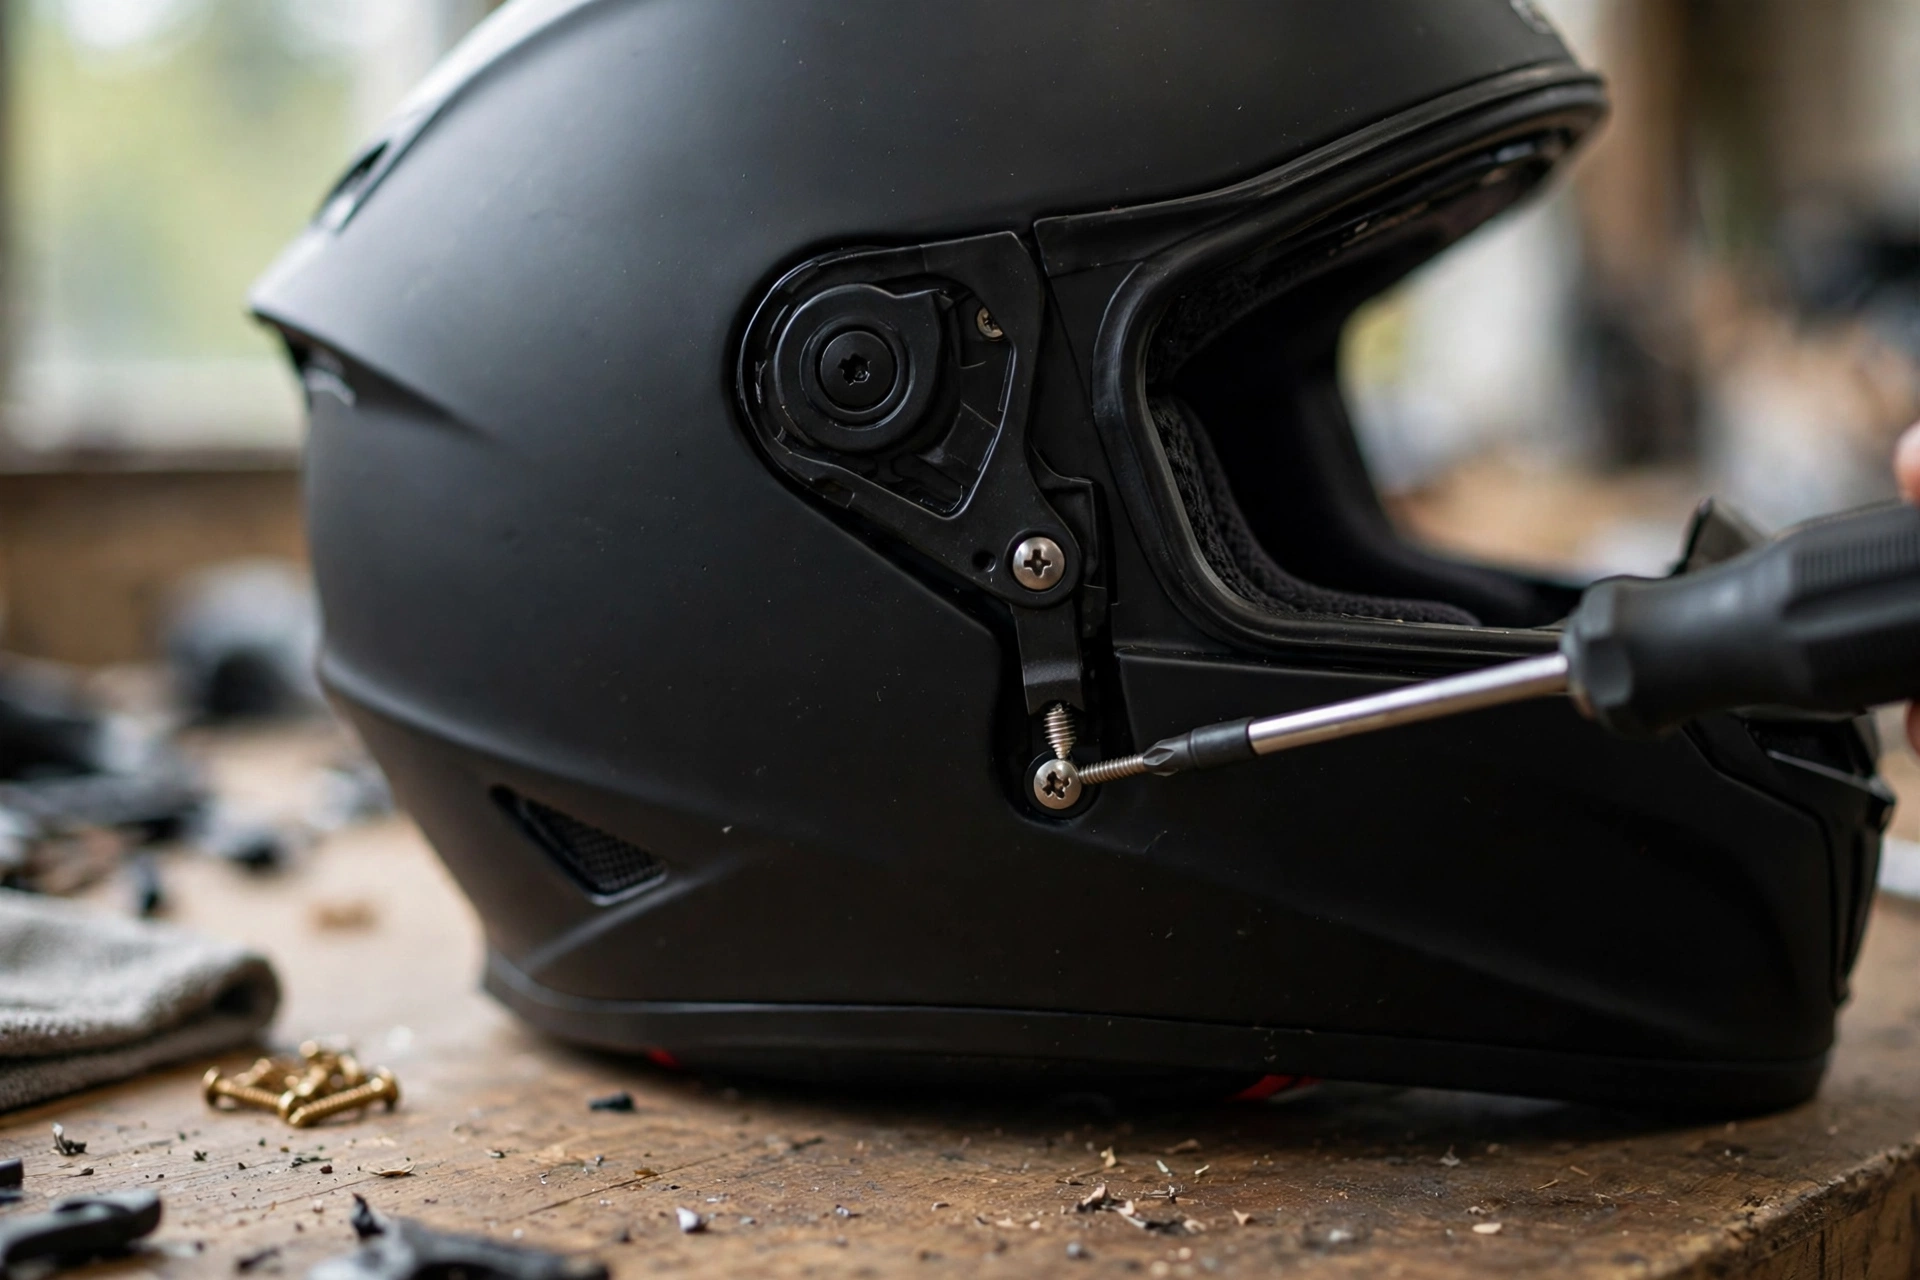
Start by opening the visor fully and laying the helmet on a soft surface so it does not roll around. Work on one side at a time so the visor stays supported while you remove the first screw. Use a screwdriver that fits the screw head exactly, since a loose-fitting driver is the most common cause of a damaged screw head.
Turn the screw anticlockwise and keep a gentle pressure on it as it comes out. If a screw is stuck, do not force it: a drop of penetrating oil left for a while can help, and a rubber band pressed between the driver and the screw head can give extra grip on a worn head. Put each screw, washer, and spacer in a small tray as you remove it, in the order it came off, so you can put everything back the same way.
Once the screws are out, lift the visor away carefully and note how any washers or spacers were arranged. Some helmets have a small spring or a detent plate under the visor, and these parts can fall out if you are not watching. Take a photo before you take anything apart, so you have a clear reference when you put it back together.
How Do You Fit the New Screws?
Fit the new screws in the same order as the old ones, with the washers and spacers in the same places. Start each screw by hand so you can feel whether the thread is engaging properly; if it feels stiff or cross-threaded, back it out and try again rather than forcing it. A screw that goes in at an angle can damage the thread in the helmet, which is much harder to fix than a lost screw.
Tighten the screws gradually, alternating between the two sides so the visor stays level. The right tightness is firm enough that the visor stays where you put it, but loose enough that it still moves smoothly. In general terms, you should be able to lift and lower the visor with one hand, and it should stay up when you leave it open. If you are unsure, check the helmet maker’s guidance, and if you want a broader view of how helmet safety parts fit together, reading about what MIPS is for helmets is a good background read.
Some riders add a tiny drop of threadlocker to the screws to stop them vibrating loose. If you do this, use a low-strength threadlocker made for small screws, and use only a very small amount. A strong threadlocker can make the screws almost impossible to remove later, and it can damage some plastics, so check that it is safe for your helmet first.
How Do You Choose the Right Replacement Screws?
The safest option is to buy the screws from the helmet maker or from a dealer who stocks parts for your exact model. Helmet makers usually sell visor screw kits that include the screws, washers, and any small parts that go with them, and these are guaranteed to fit. If you order from the maker, have your helmet model and size ready.
If you are buying generic screws, you need to match the thread, the length, and the head shape. A screw that is too long can press against the inside of the helmet or poke through the shell, while a screw that is too short will not hold the visor securely. Stainless steel screws are a good choice because they resist rust, but they should still be the right size for the job.
How Do You Stop Visor Screws Coming Loose Again?
Vibration is the main reason visor screws come loose, so a regular check is the simplest defence. Make it a habit to check the screws when you clean your helmet, and tighten them gently if they have moved. Do not overtighten them, since that can strip the thread or crack the plastic around the screw hole.
Keeping the visor mechanism clean also helps. Dirt and grit in the pivot can make the visor stiff, which puts extra strain on the screws when you move it. Wipe the pivot area with a soft cloth and a little mild cleaner, and let it dry before you put the visor back. A clean mechanism moves smoothly and puts less load on the screws.
In general terms, visor screws are a wear item rather than a fit-and-forget part. They are small and cheap, so replacing them at the first sign of wear is sensible. If a screw keeps coming loose even after you have replaced it and used a little threadlocker, the thread in the helmet itself may be worn, and that is a job for a dealer or the helmet maker rather than a home fix.
Frequently Asked Questions
Q: Can I use any screw to replace a helmet visor screw?
A: No. Visor screws are specific to the helmet model, and the wrong thread or length can damage the helmet or fail to hold the visor. Buy the screws made for your helmet model, or match the thread, length, and head shape exactly.
Q: How tight should helmet visor screws be?
A: Tight enough that the visor stays where you put it, but loose enough that it still moves smoothly with one hand. Overtightening can crack the plastic or strip the thread, so tighten gradually and check the visor movement as you go.
Q: Why do my visor screws keep coming loose?
A: In general terms, vibration is the usual cause. Check the screws regularly, make sure the washers are in good condition, and consider a tiny drop of low-strength threadlocker made for small screws if the problem keeps coming back.

Olivia
Writer at Helmet Today, covering helmet reviews, fit and riding safety.