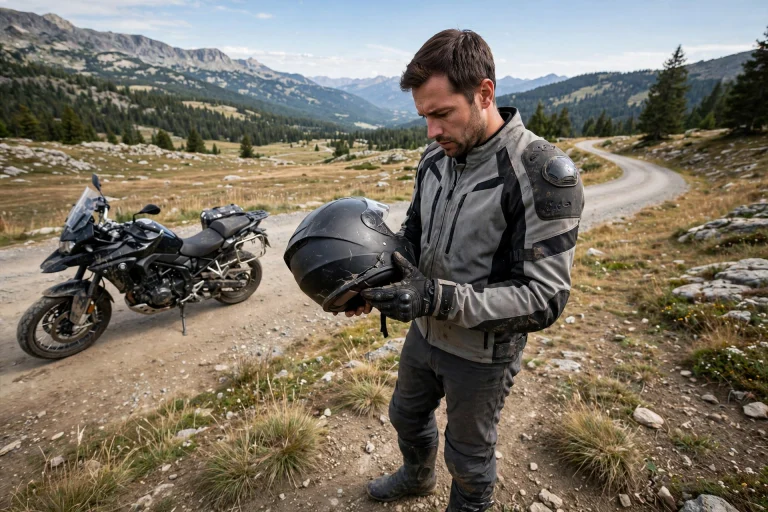

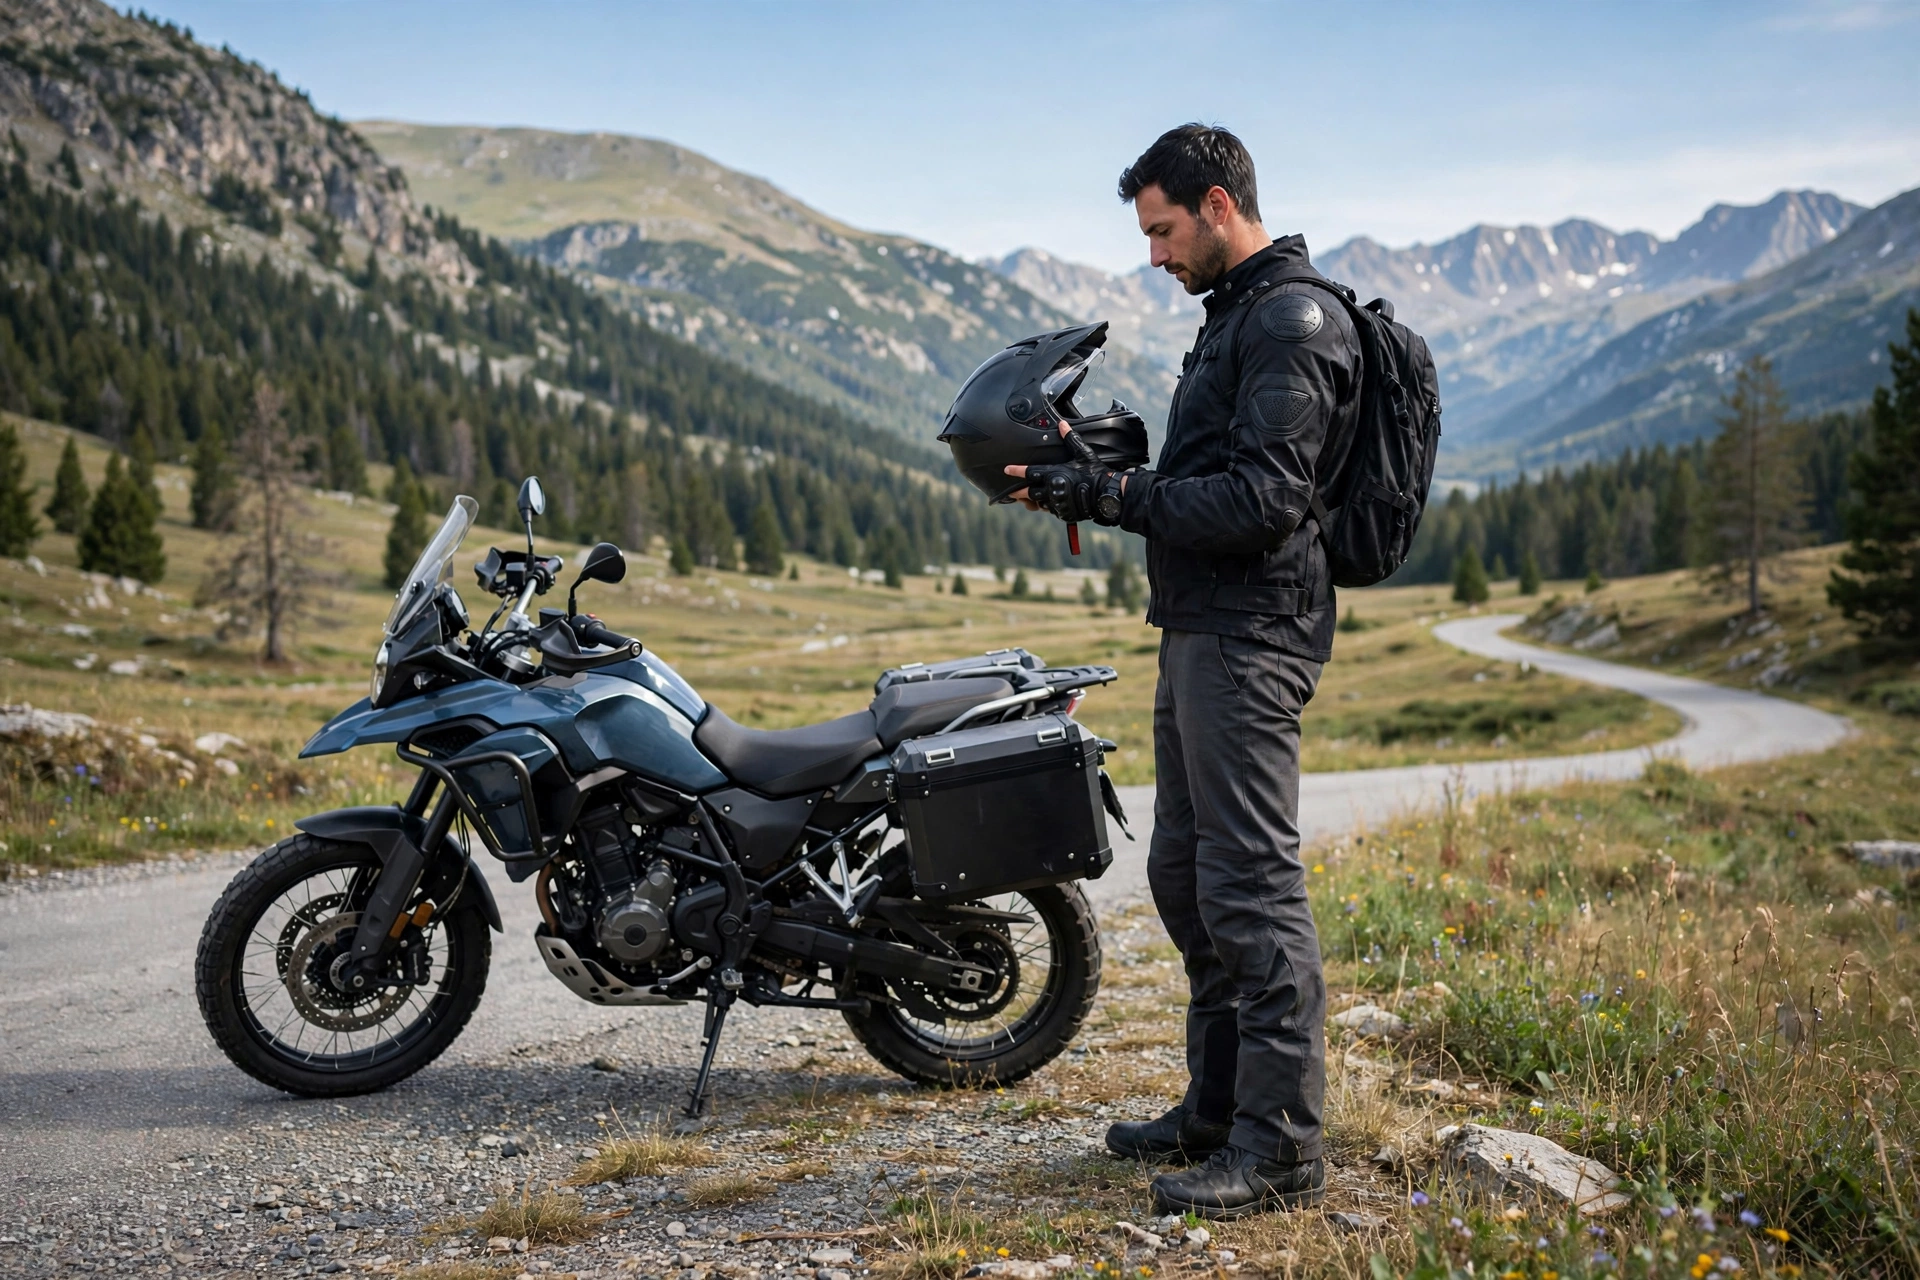
A helmet inspection checklist before every ride covers the shell, straps, buckle, liner, visor, and fit, checked quickly before you set off. It is a short routine that takes only a minute or two, and it catches problems such as cracks, loose straps, or a dirty visor before they become a danger on the road. Helmets take a lot of wear between rides, from being knocked in the garage to straps loosening over time, so a helmet that was fine last week may not be fine today. In general terms, checking before every ride is one of the simplest safety habits a rider can build.
Why Check Your Helmet Before Every Ride?
Checking your helmet before every ride matters because small problems can grow unnoticed between rides. A strap can loosen, a buckle can develop a crack, or a visor can pick up a scratch that blurs vision in sunlight. None of these is obvious from a distance, but each can matter at speed, and a quick check before setting off is the easiest way to catch them.
A pre-ride check also builds a habit of noticing change. When you handle your helmet every day, you learn what it normally looks and feels like, so new damage stands out quickly. If you want to understand one of the safety technologies used in modern helmets, reading about what MIPS is for helmets is a good place to start, and a pre-ride check is also a good time to make sure any such liner layer is sitting correctly. In general terms, a helmet you check every ride is a helmet you can trust.
What Does the Shell Check Cover?
The shell check covers the whole outside of the helmet. Run your hands over the shell and look for cracks, dents, deep scratches, or soft spots, paying attention to the area around the vents and the edges, where cracks often start. The shell should feel firm and even all over, with no area that gives or feels spongy under pressure. Any visible crack or dent is a reason to stop and look more closely.
It is also worth checking that any vents, spoilers, or trim pieces are secure and not loose or missing. A loose vent can rattle and distract, and a missing trim piece can leave an edge exposed. In general terms, the shell is the helmet’s first line of defence, so a quick look and feel over its whole surface is the foundation of the pre-ride check, and it only takes a few seconds.
How Do You Check the Straps and Buckle?
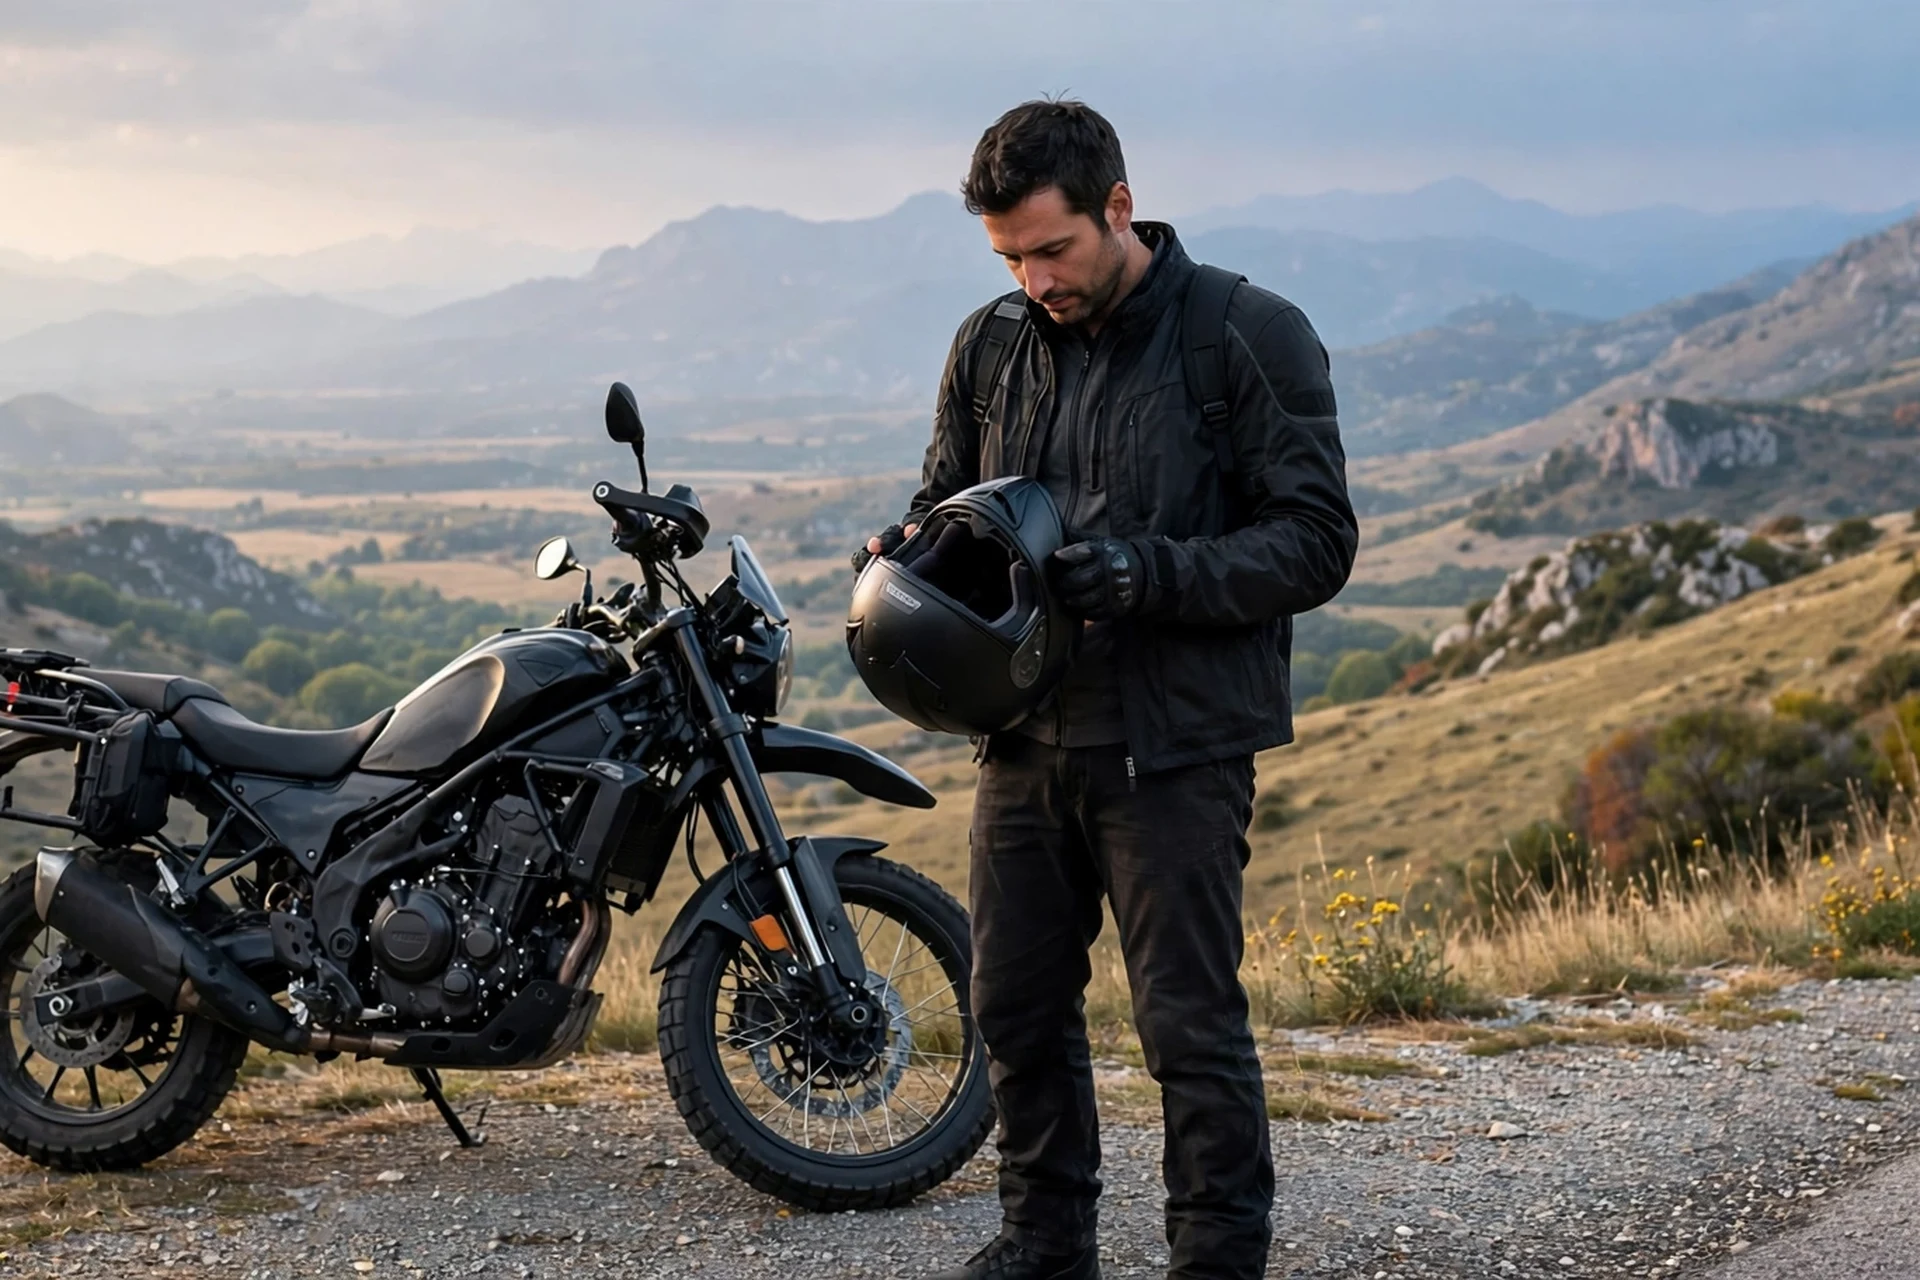
To check the straps, pull each one firmly and look along its full length for fraying, cuts, or stretched sections. The stitching where the straps join the helmet deserves a close look, since torn or loose stitching can weaken the whole retention system. The straps should feel strong and even, with no thin or fuzzy spots that suggest wear.
To check the buckle, fasten and unfasten it, making sure it clicks shut firmly and does not slip open when tugged. The buckle should work smoothly, with no cracks or bent parts, and the strap adjusters should hold their setting. A buckle that sticks, slips, or feels loose should not be trusted on a ride. In general terms, the straps and buckle are what keep the helmet on your head, so they deserve a firm check every time.
What Should You Check Inside the Helmet?
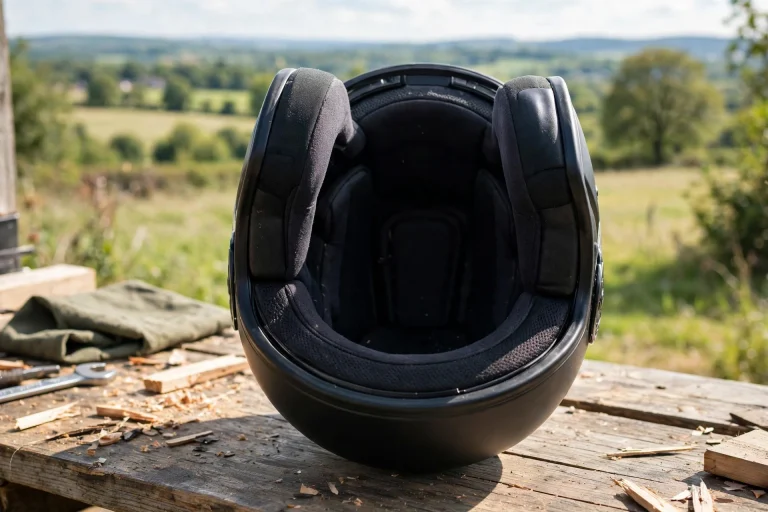
Inside the helmet, check the liner and comfort padding for damage, wear, and cleanliness. Press the liner gently and feel for cracks, compressed areas, or sections that are looser than the rest, since these can be signs of past damage. The comfort padding should sit firmly in place, with no torn seams or padding that has gone flat, lumpy, or loose.
It is also worth checking for dampness, odours, or dirt, since a helmet that is stored damp can develop smells and the padding can wear out faster. If the padding is removable, taking it out to air and wash it now and then keeps the helmet fresher and more comfortable. In general terms, the inside of the helmet matters as much as the outside, because it is the part that sits against your head and absorbs impact.
How Do You Check the Visor and Vents?
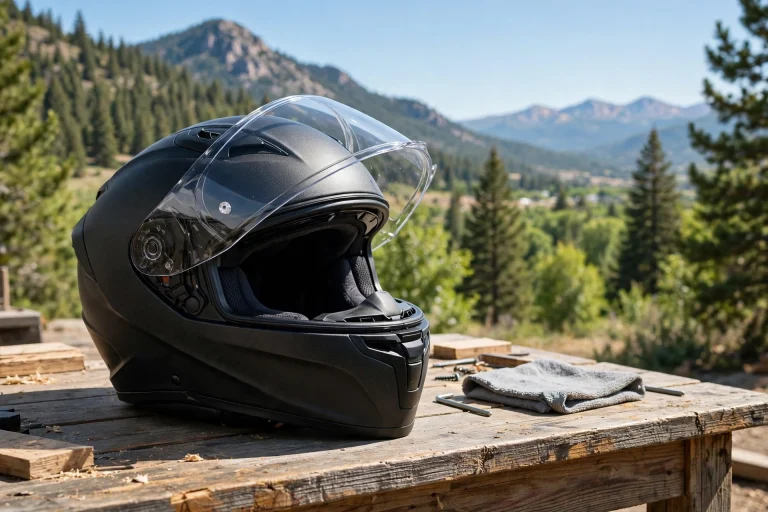
To check the visor, look through it in good light for scratches, cracks, or dirt that could blur your vision. A scratched visor can scatter sunlight and make it hard to see, especially at dawn or dusk, so any visor with damage in the line of sight should be cleaned or replaced. The visor mechanism should open and close smoothly and stay in the position you set, without dropping or rattling.
To check the vents, open and close each one and make sure it moves freely and stays where you put it. Blocked vents can fog the visor and make the helmet hot, so it is worth making sure they are clear of dirt and insects. In general terms, clear vision and working airflow are both part of a safe ride, and a quick visor and vent check before setting off helps with both.
What Should You Do If Something Fails the Check?
If something fails the check, the sensible step is not to ride with that helmet until the problem is dealt with. A loose strap or a dirty visor can often be fixed in a minute, by tightening an adjuster or cleaning the visor, and then the ride can go ahead. A cracked shell, a damaged liner, or a broken buckle is a different matter, and the helmet should not be used until it is repaired or replaced.
Keeping a simple routine helps: check, fix what can be fixed, and set the helmet aside if anything is beyond a quick fix. It is worth keeping a spare visor or a basic cleaning cloth with your riding kit, so small problems can be sorted on the spot. In general terms, a failed check is the system working as it should, and it is far better to find a problem in the driveway than to discover it at speed.
How long does a pre-ride helmet check take?
Only a minute or two once it becomes a habit. A quick look and feel over the shell, straps, buckle, liner, and visor is enough to catch most problems before you set off.
What is the most important thing to check?
The straps and buckle matter most, since they keep the helmet on your head, followed closely by the shell and liner. A helmet that cannot stay in place, or one with a cracked shell, should not be ridden in.
Should I check my helmet even if I checked it yesterday?
Yes, a quick check before every ride is the safest habit. Helmets can be knocked or damaged between rides, and straps can loosen, so a fresh check each time catches problems early.

Olivia
Writer at Helmet Today, covering helmet reviews, fit and riding safety.