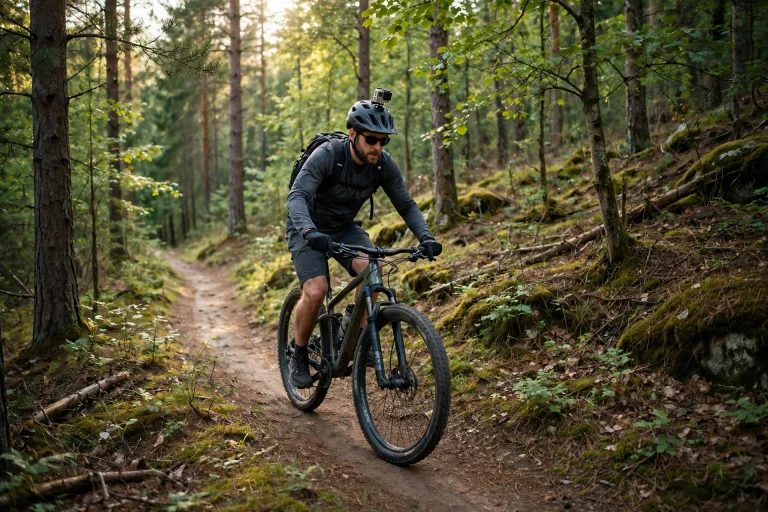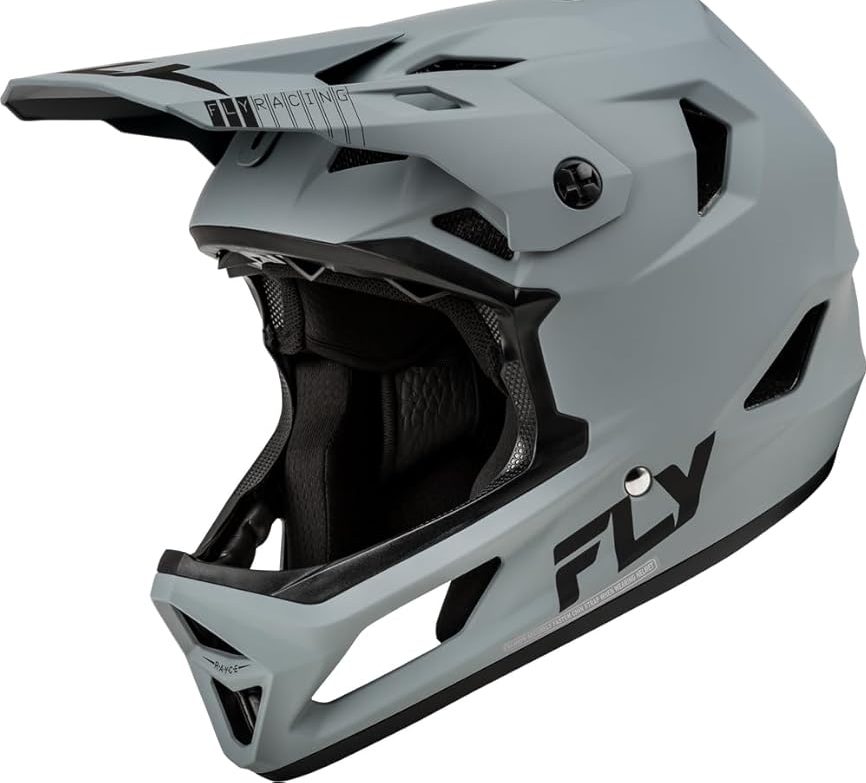

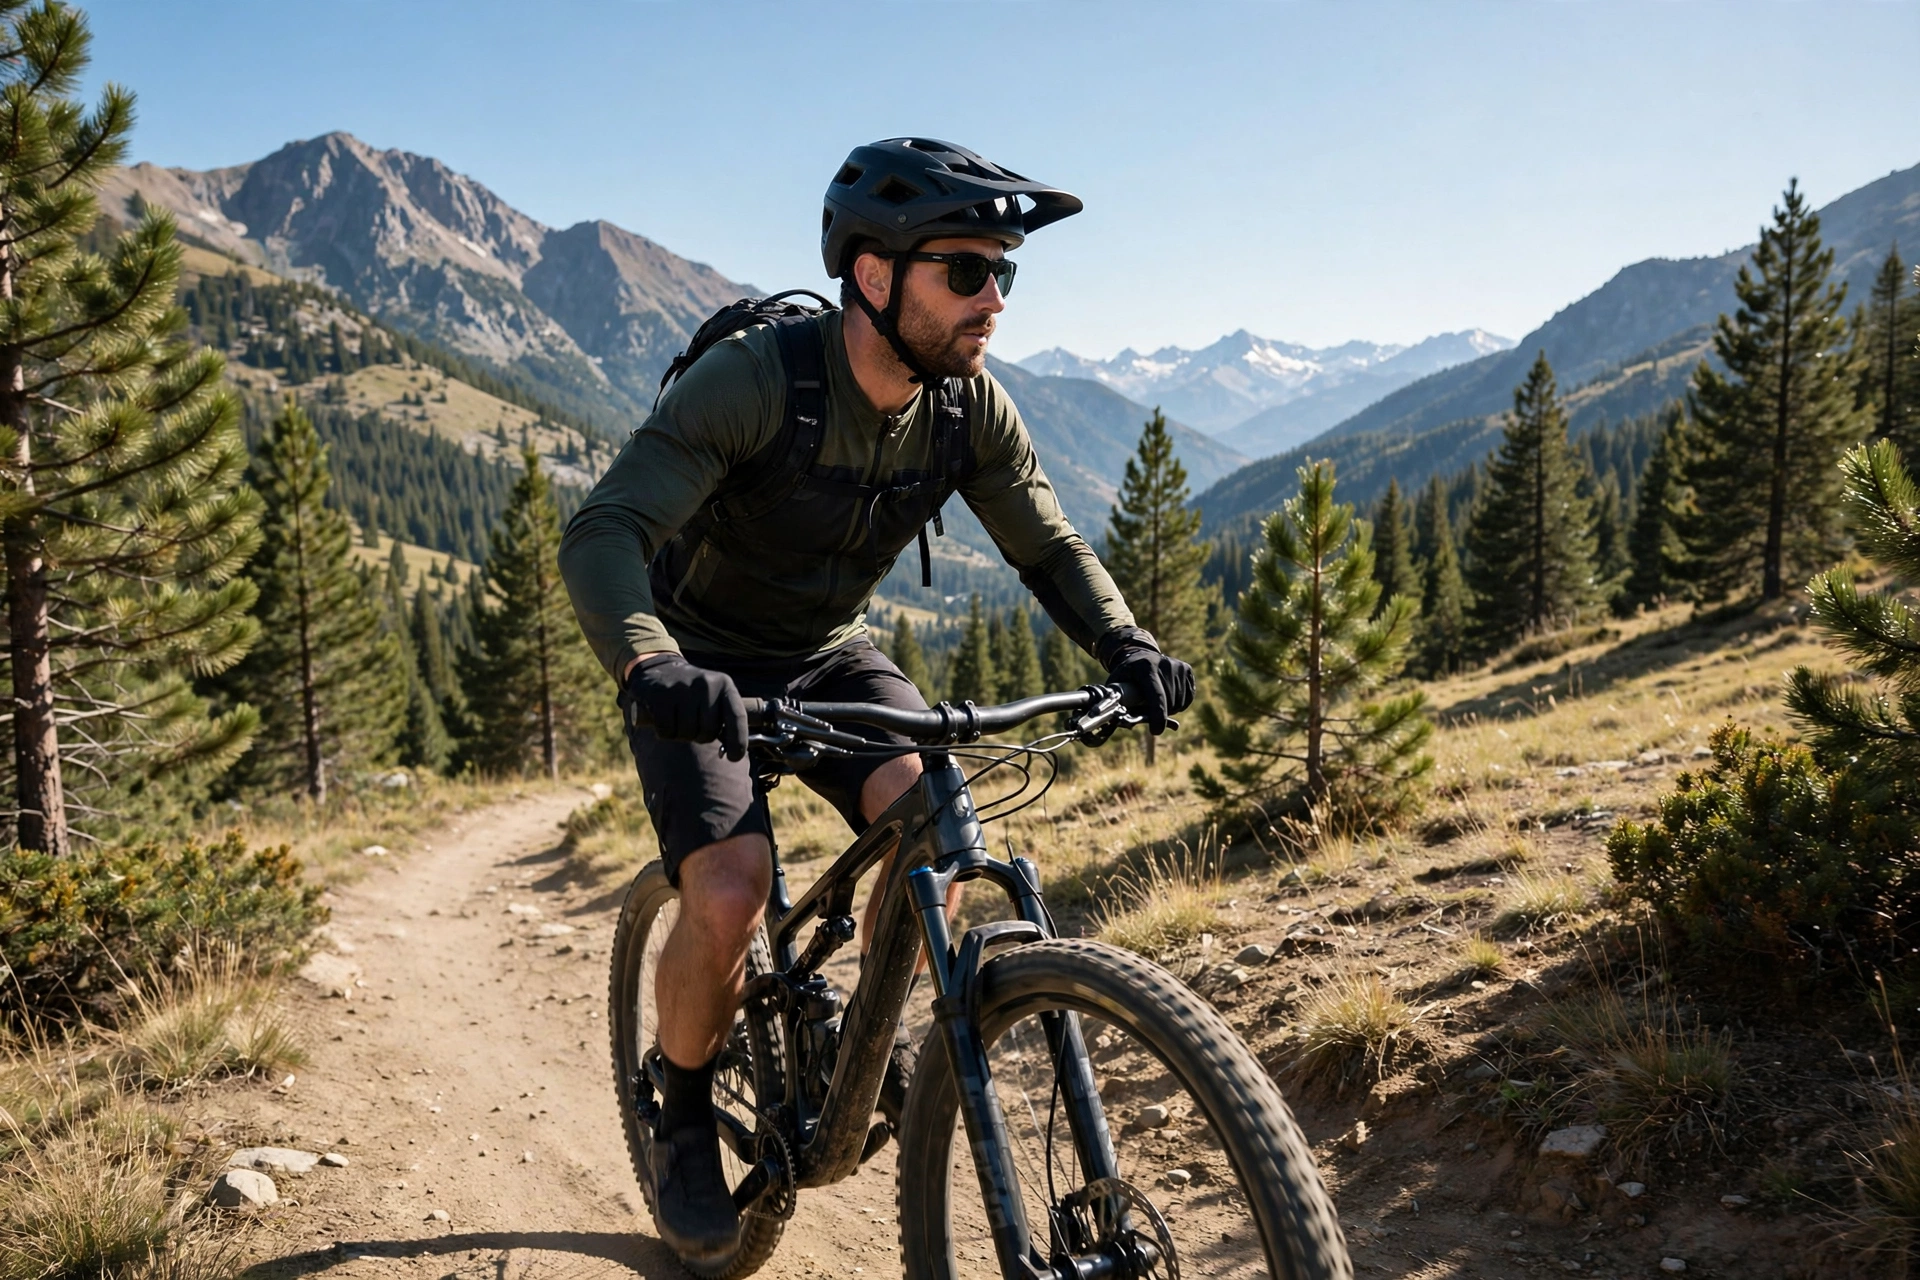
To attach a peak to a bike helmet, fit a peak made for your helmet model using its clips, screws, or slots, and in general terms, the peak should sit level, feel firm, and move — or break away — rather than staying rigid in a crash. Most peaks are clip-on or bolt-on accessories that mount to the front of the shell, above the forehead. The exact method depends on the helmet, so the maker’s instructions for your model are the place to start.
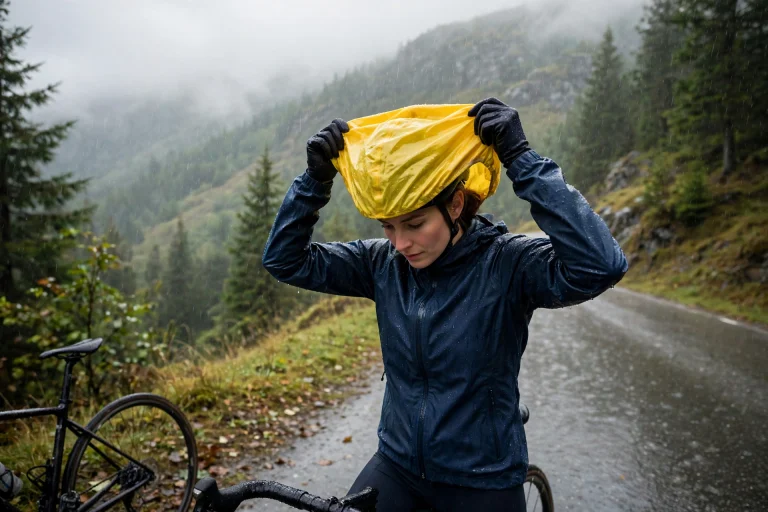
A peak, also called a visor, is the small brim at the front of many mountain bike and commuter helmets. It shades your eyes from sun and rain, keeps branches and spray out of your face, and can stop mud flicking up from the front wheel. Some helmets come with a peak fitted, some come with one in the box, and some can take an aftermarket peak. This guide explains how each type attaches and how to get a secure fit.
What Types of Peak Fit a Bike Helmet?
The most common type is a clip-on peak, which pushes into slots or clips moulded into the front of the helmet shell. These are easy to fit and remove, and many can be adjusted up or down by moving the clips to a different position. A second type is a bolt-on peak, which is held by small screws or bolts that thread into inserts in the shell. Bolt-on peaks feel more solid, but they need the right screws and should never be forced into a helmet that was not made for them.
A third type is an adjustable peak, which mounts on a small bracket or hinge so you can tilt it up or down. These are common on mountain bike helmets, where riders raise the peak to make room for goggles on a climb and lower it for sun or rain on a descent.
How Do You Attach a Clip-On Peak Step by Step?
Start by checking that the peak matches your helmet model. A peak made for a different helmet may look similar but sit at the wrong angle or fail to clip in properly. Lay the peak against the front of the helmet and line up its clips with the slots or mounts on the shell, then press each clip in firmly until it clicks or seats fully. Work from one side to the other, rather than forcing one clip in at an angle.
Once the peak is on, check the fit. It should sit level across the forehead, with an even gap on both sides, and it should not wobble when you shake the helmet gently. If the peak has an adjustment, set it to the position you ride in most, and check that it does not block your view when you look up or lean forward. Try the helmet on and look ahead as if you were riding: the peak should shade your eyes without cutting off the trail in front of you.
If a clip will not seat, stop and check the alignment rather than forcing it. Forcing a clip can crack the peak or damage the mount on the helmet. Remove the peak, line the clips up again, and try once more. If it still will not fit, the peak is probably the wrong model for your helmet, and a different one is needed.
How Do You Attach a Bolt-On Peak?
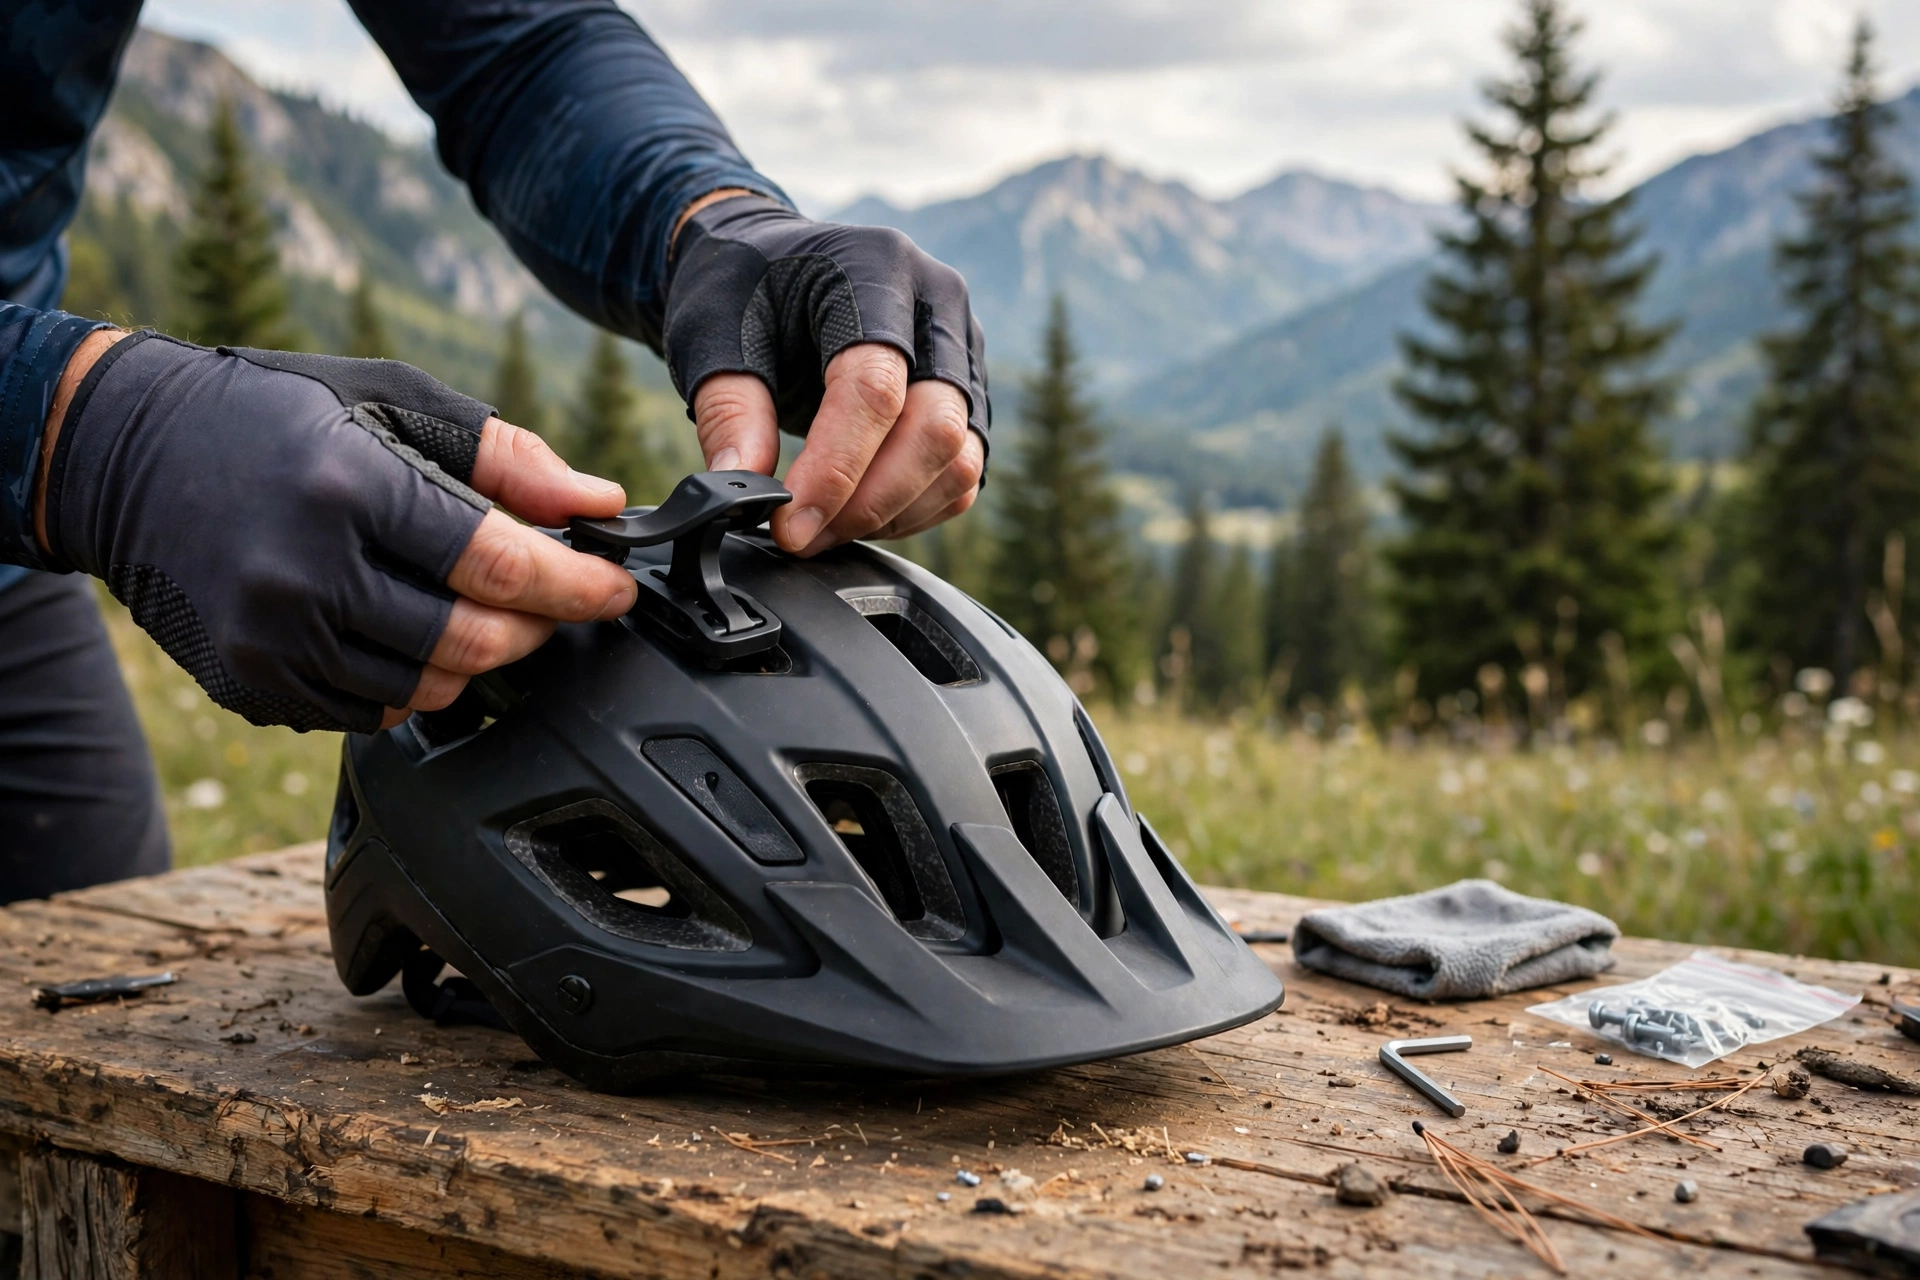
A bolt-on peak uses small screws or bolts that pass through holes in the peak and into threaded inserts in the helmet shell. Use only the screws supplied with the peak or specified by the helmet maker, and check that they are the right length: a screw that is too long can press into the helmet’s inner liner, while one that is too short will not hold.
Line the peak up with the inserts, insert the screws by hand first, and then tighten them gently with the correct tool. Tighten each screw a little at a time, alternating between them, so the peak seats evenly. Stop as soon as the peak feels firm — overtightening can crack the peak, strip the insert, or distort the shell. If the peak uses plastic screws or breakaway bolts, that is deliberate: they are designed to give way in a crash rather than holding rigid.
After fitting, check the peak the same way as a clip-on: shake the helmet, check that the peak is level, and try it on to confirm it does not block your view. If your helmet has a retention system or a liner that sits near the front, reading about what MIPS is for helmets can help you understand how the inside of the helmet works, and why screws and mounts must never press on the liner or stop the fit system from moving as designed.
Should a Peak Be Rigid or Break Away in a Crash?
In general terms, a peak should be able to move or break away in a crash, rather than staying rigidly fixed to the helmet. A peak that catches the ground and stays fixed can lever the helmet or twist your head, which is why many helmet makers design peaks with flexible mounts, plastic screws, or breakaway clips. The peak is meant to shade and shield you, not to become a lever in a fall.
That is also why you should never glue a peak to a helmet, or fix it with screws that were not made for the job. Glue and the wrong screws can make a peak far more rigid than the maker intended, and solvents in some glues can damage the shell. If a peak has broken off in a fall, replace it with the correct part rather than repairing it with glue or tape.
How Do You Choose the Right Peak for Your Riding?
Think about what you want the peak for. For sun, a longer peak gives more shade, while for rain a peak that angles down a little keeps spray off your glasses. For trail riding, a peak that adjusts up and down is useful, because you can raise it for goggles on a climb and lower it for a descent. For commuting, a short, neat peak may suit better, as it is less likely to catch wind or look out of place.
Size and shape matter too. A peak that is too wide can catch branches on narrow trails, while one that is too short may not shade your eyes at all. If you wear goggles, check that the peak leaves enough room for them to sit against the helmet without a gap, and that raising the peak does not push the goggles down onto your nose.
Frequently Asked Questions
Q: Can I add a peak to a helmet that did not come with one?
A: Only if the helmet has mounts, slots, or screw inserts for a peak. If it has none, it was not designed for one, and you should not drill holes or glue a peak on.
Q: Why does my peak keep coming loose?
A: In general terms, worn clips, loose screws, or the wrong peak for your helmet model are the usual causes. Check the clips and screws, replace worn parts, and confirm the peak matches your helmet.
Q: Should I remove the peak for road riding?
A: You can if you prefer, especially on a road helmet where a peak adds drag. Many mountain bike peaks are easy to remove, so take it off for road rides and refit it for trails.

Olivia
Writer at Helmet Today, covering helmet reviews, fit and riding safety.